
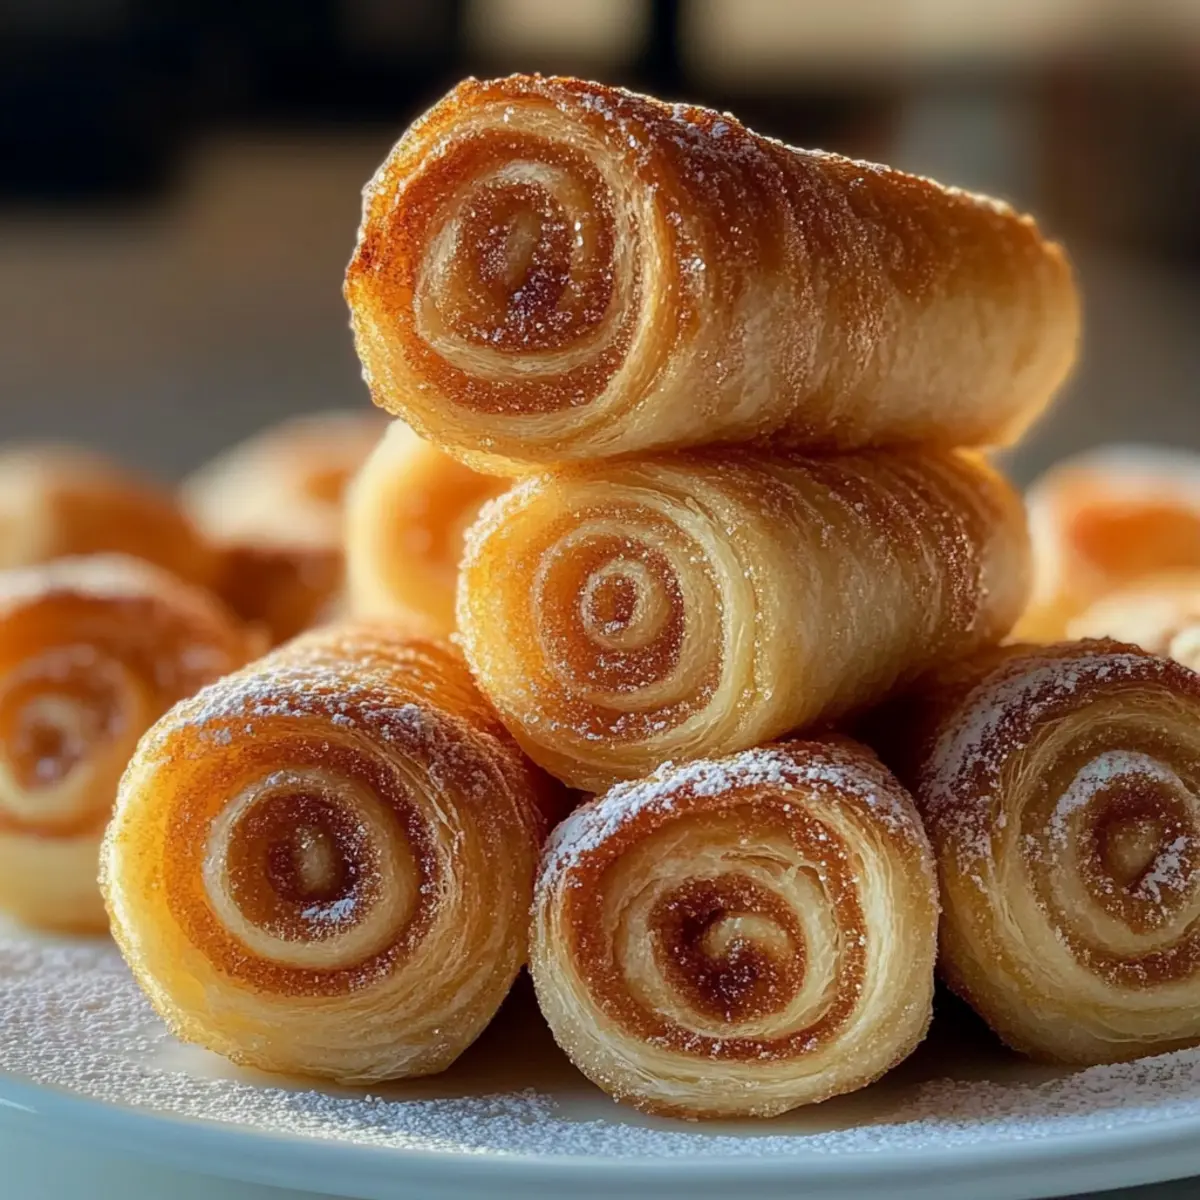
The aroma of freshly baked pastries wafting through the house often brings back some of the sweetest memories. Today, I’m inviting you to recreate that warmth with my Classic Sugar Snails—a delightful twist on traditional pastries that are deceptively easy to make! These soft, spiral treats enveloped in a buttery, sugar-coasted embrace make for a perfect addition to any brunch spread or an indulgent snack. With minimal prep time and no troublesome frosting required, both budding bakers and seasoned pros will find joy in crafting these flaky, delicious delights. Are you ready to roll up your sleeves and whisk your way to a batch of these irresistible Sugar Snails?
Why are Sugar Snails a must-try?
Irresistible Aroma: The moment you place these pastries in the oven, your kitchen will be filled with a heavenly scent that transforms your space into a cozy bakery.
Quick Preparation: With just a handful of ingredients and minimal prep time, you can whip up these delightful treats even on the busiest mornings.
Versatile Variations: Feel free to play with flavors! Whether it’s adding a hint of cinnamon or a splash of vanilla, these Sugar Snails can easily be customized to suit any palate.
Crowd-Pleasing Treat: Perfect for brunch, snacks, or dessert, these pastries are sure to impress friends and family alike.
No Frosting Needed: Unlike other pastries, these snails shine with their sugar-coated crust alone, making them lighter yet just as satisfying—ideal for those who prefer a less sweet option!
Enjoy them fresh out of the oven or paired with a warm cup of coffee. You’ll want to make these Sugar Snails again and again!
Sugar Snails Ingredients
For the Dough
- All-purpose flour – Provides structure while keeping the dough soft; measure carefully to avoid excess.
- Yeast (active dry or instant) – Essential for rising; ensure freshness for the best results.
- Milk – Whole or 2% milk enriches the dough; warm slightly to activate yeast.
- Unsalted butter – Use softened for spreading evenly and controlling salt content.
- Egg – Adds richness and binds the dough together.
- Salt – Enhances flavor and balances sweetness.
For the Filling
- Granulated sugar – Integral for the signature caramelized sweetness of the Sugar Snails.
Optional Add-ins
- Cinnamon – Mixing cinnamon with sugar gives a classic twist.
Feel free to experiment with these ingredients to create your perfect batch of Sugar Snails!
Step‑by‑Step Instructions for Sugar Snails
Step 1: Prepare Dough
Warm 1 cup of milk in a saucepan until it’s just slightly warm to the touch (about 110°F or 43°C). In a bowl, mix the warmed milk with 2 teaspoons of active dry yeast and 1 teaspoon of sugar, allowing it to sit for about 5–10 minutes until it becomes frothy.
Step 2: Mix Ingredients
In a large mixing bowl, combine 3 cups of all-purpose flour, 1/4 cup of granulated sugar, 1 teaspoon of salt, and 1 beaten egg. Add in the frothy milk-yeast mixture along with 1/4 cup of softened unsalted butter. Stir until a soft dough begins to form.
Step 3: Knead
Turn the dough out onto a lightly floured surface and knead it for 8–10 minutes or until it becomes smooth and elastic. The dough should be slightly tacky to the touch—if it’s too sticky, sprinkle a little extra flour as needed.
Step 4: First Rise
Form the kneaded dough into a ball and place it in a greased bowl, covering it with a clean kitchen towel. Allow it to rise in a warm spot for 1 to 1.5 hours, or until it has doubled in size.
Step 5: Roll Out
Once the dough has risen, turn it out onto a floured surface. Roll the dough into a rectangle, approximately 10×15 inches, ensuring an even thickness throughout to create perfectly shaped Sugar Snails.
Step 6: Add Filling
Spread 1/4 cup of softened unsalted butter evenly over the surface of the dough rectangle. Generously sprinkle about 1/2 cup of granulated sugar across the buttered dough, allowing it to coat the surface evenly.
Step 7: Shape Snails
Starting from one long edge, carefully roll the dough tightly into a log shape. Once rolled, use a sharp knife or unflavored dental floss to slice the log into 12 equal pieces, creating your Sugar Snails.
Step 8: Second Rise
Place the sliced snails into a greased baking dish, leaving space between each one. Cover them with a kitchen towel and let them rise for an additional 30-45 minutes until they are puffy and have doubled in size.
Step 9: Bake
Preheat your oven to 350°F (175°C). When ready, bake the Sugar Snails in the preheated oven for 20-25 minutes, or until they are golden brown and the sugar is caramelized, filling your kitchen with a delightful aroma.
Step 10: Cool
Once baked, remove the Sugar Snails from the oven and let them cool in the baking dish for about 10 minutes before serving. This cooling period allows the sugar to set, ensuring a perfect, flaky texture.
What to Serve with Classic Sugar Snails?
Indulging in these delightful spiral pastries opens up a world of enchanting pairings to elevate your meal experience.
-
Fresh Fruit Salad: Bright, juicy fruits provide a refreshing contrast, balancing the sweetness of the Sugar Snails beautifully.
-
Smooth Yogurt Parfait: Creamy yogurt layered with granola offers a delightful crunch, making every bite a textural joy alongside the soft pastry.
-
Rich Coffee Blend: A robust coffee enhances the indulgence of Sugar Snails, creating a perfect cozy moment—ideal for brunch or an afternoon pick-me-up.
-
Herbal Tea Selection: Calming herbal teas, like chamomile or peppermint, harmonize with the pastries, allowing their delicate flavors to shine through.
-
Whipped Cream Delight: A dollop of light whipped cream adds an element of creaminess, creating a luscious dip for your pastries.
-
Cinnamon-Spiced Apples: Warm, spiced apples deliver a comforting touch that pairs seamlessly with the fluffy pastries, evoking cozy childhood memories.
-
Chocolate Drizzle: Drizzling melted chocolate adds an irresistible touch of decadence, making these Sugar Snails extra special for dessert.
Whether it’s for a lazy weekend brunch or a sweet ending to a dinner, these pairings will surely elevate your experience with Sugar Snails!
Make Ahead Options
These Sugar Snails are perfect for busy home cooks who love to meal prep! You can shape the snails and refrigerate them overnight (up to 24 hours) before baking. To do this, simply complete the steps to form your snails, then cover them tightly and place them in the fridge. This method keeps them fresh and allows the flavors to develop. When you’re ready to enjoy them, let the snails rise for 30-45 minutes at room temperature, then bake as directed. By preparing them ahead, you’ll have delightful Sugar Snails ready with minimal effort, making your mornings a breeze!
Expert Tips for Sugar Snails
-
Measure Flour Accurately: Overmeasuring flour can lead to dry pastries. Use a kitchen scale or spoon flour into your measuring cup and level it off for precision.
-
Check Yeast Freshness: Always verify your yeast is active before starting. If there’s no froth after 5-10 minutes, your yeast may be dead, and the dough won’t rise.
-
Kneading Technique: Knead until the dough is smooth and slightly tacky to ensure a perfect texture in your Sugar Snails. If sticky, add flour a little at a time.
-
Avoid Overbaking: Keep an eye on your pastries in the oven. Remove them as soon as they are golden, not brown; this prevents dryness.
-
Make Ahead Convenience: Shape the Sugar Snails and refrigerate them overnight, then bake fresh in the morning for a delightful breakfast treat!
Sugar Snails Variations & Substitutions
Feel free to get creative with your Sugar Snails—there are endless ways to customize these delightful pastries, making them uniquely yours.
-
Dairy-Free: Substitute almond or coconut milk and use dairy-free margarine for a delicious alternative.
-
Gluten-Free: Use a gluten-free flour blend, ensuring that your yeast is also gluten-free to maintain that fluffy texture.
-
Chocolate Lover’s Delight: Add chocolate chips to the filling for a decadent twist that will satisfy any sweet tooth.
-
Nutty Crunch: Incorporate chopped walnuts or pecans inside the roll for a delightful crunch that adds a new texture.
-
Spiced Up: For a more aromatic flavor, mix ground cardamom or nutmeg with the sugar before sprinkling it on the dough.
-
Fruity Surprise: Add a layer of your favorite fruit preserves like raspberry or apricot underneath the butter for a fruity kick.
-
Coconut Twist: Sprinkle shredded coconut along with the sugar to infuse a tropical flavor in your pastries.
-
Maple Syrup Drizzle: Instead of sugar in the filling, use maple syrup for a buttery sweetness that will make the Sugar Snails irresistibly tempting.
Feel free to explore these ideas, and don’t hesitate to check out our tips on how to store and freeze your treats for later enjoyment! Whether you’re enjoying them fresh out of the oven or paired with a cup of coffee, these variations are sure to elevate your Sugar Snails to new heights.
How to Store and Freeze Sugar Snails
Airtight Container: Store Sugar Snails in an airtight container at room temperature for up to 2 days to maintain their flaky texture.
Refrigeration: If you need them to last a bit longer, you can refrigerate them for up to 5 days. Just be sure to wrap them well to prevent drying.
Freezer: Freeze baked Sugar Snails for up to 2 months. Place them in a single layer on a baking sheet first to avoid sticking, then transfer to a freezer-safe bag.
Reheating: When you’re ready to enjoy, reheat in an oven preheated to 350°F (175°C) for about 10 minutes until warmed through, ensuring they come out fresh and delightful!
Sugar Snails Recipe FAQs
How do I choose the right yeast for Sugar Snails?
Absolutely! For the best results, I recommend using active dry yeast or instant yeast. Just ensure it’s fresh! You can check the freshness by activating it in warm milk with a bit of sugar. If it froths up after 5-10 minutes, you’re good to go!
What is the best way to store Sugar Snails?
You can keep your Sugar Snails in an airtight container at room temperature for about 2 days. If you want them to last longer, refrigerate them for up to 5 days. Just make sure they’re well wrapped to keep them from drying out!
Can I freeze Sugar Snails for later?
Absolutely! To freeze, first let the baked Sugar Snails cool completely. Then, place them in a single layer on a baking sheet to prevent sticking and freeze until solid. After that, transfer them to a freezer-safe bag where they can stay fresh for up to 2 months. When you’re ready to enjoy, just reheat them in an oven at 350°F (175°C) for about 10 minutes until warm and flaky!
What should I do if my dough isn’t rising?
Very good question! If your dough isn’t rising, it might be due to inactive yeast. Be sure your yeast is fresh and that the milk is warm but not too hot (around 110°F or 43°C is ideal). If the mixture does not froth after 5-10 minutes, consider starting over with fresh ingredients to ensure a successful rise!
Are Sugar Snails suitable for people with gluten allergies?
If you or your loved ones have gluten allergies, I recommend using a gluten-free all-purpose flour blend designed for baking instead of regular all-purpose flour. This way, you can enjoy these delightful Sugar Snails without any worries!
How can I tell when the Sugar Snails are baked just right?
To achieve the perfect bake, aim for a golden-brown color on the snails. They should look puffed and lightly caramelized. I recommend keeping a close eye on them during the last few minutes of baking—remove them as soon as they are just golden to avoid any dryness!
Delicious Sugar Snails: Your New Favorite Sweet Pastry
Ingredients
Equipment
Method
- Warm 1 cup of milk in a saucepan until it's just slightly warm to the touch (about 110°F or 43°C). In a bowl, mix the warmed milk with 2 teaspoons of active dry yeast and 1 teaspoon of sugar, allowing it to sit for about 5–10 minutes until it becomes frothy.
- In a large mixing bowl, combine 3 cups of all-purpose flour, 1/4 cup of granulated sugar, 1 teaspoon of salt, and 1 beaten egg. Add in the frothy milk-yeast mixture along with 1/4 cup of softened unsalted butter. Stir until a soft dough begins to form.
- Turn the dough out onto a lightly floured surface and knead it for 8–10 minutes or until it becomes smooth and elastic.
- Form the kneaded dough into a ball and place it in a greased bowl, covering it with a clean kitchen towel. Allow it to rise in a warm spot for 1 to 1.5 hours, or until it has doubled in size.
- Once the dough has risen, turn it out onto a floured surface. Roll the dough into a rectangle, approximately 10x15 inches.
- Spread 1/4 cup of softened unsalted butter evenly over the surface of the dough rectangle. Generously sprinkle about 1/2 cup of granulated sugar across the buttered dough.
- Starting from one long edge, carefully roll the dough tightly into a log shape. Slice the log into 12 equal pieces.
- Place the sliced snails into a greased baking dish, leaving space between each one. Cover them with a kitchen towel and let them rise for an additional 30-45 minutes.
- Preheat your oven to 350°F (175°C). Bake the Sugar Snails in the preheated oven for 20-25 minutes, or until golden brown.
- Once baked, remove the Sugar Snails from the oven and let them cool in the baking dish for about 10 minutes before serving.
Leave a Reply