
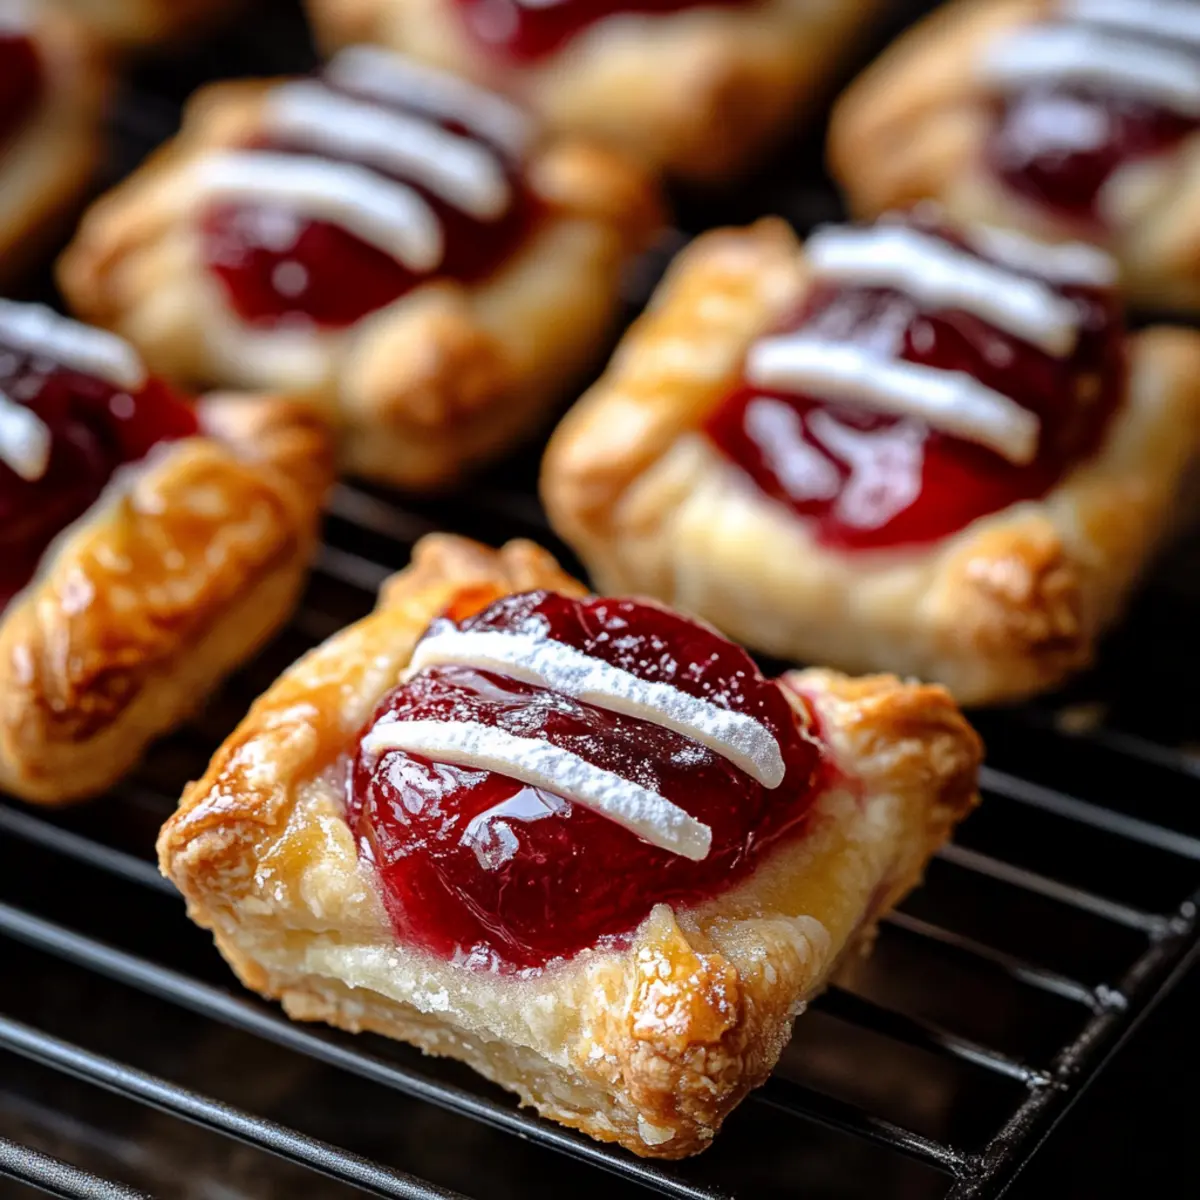
In a cozy kitchen filled with the enticing aroma of baked goods, I found myself in a delightful mini crisis: what to serve at my upcoming gathering? That’s when the idea of creating Quick & Easy Cherry Pie Bites sparked joy. These bite-sized desserts are a playful twist on the classic cherry pie, perfect for anyone seeking a quick, easy, and budget-friendly treat. Just imagine fluffy, golden crescents enveloping a sweet-tart cherry filling, all while being incredibly simple to whip up. They’re not just an impressive crowd-pleaser but also great for satisfying late-night cravings! What flavors do you think would pair well with cherry in this delightful bite?
Why Are Cherry Pie Bites So Irresistible?
Quick and Easy: With just a few ingredients and minimal prep, you’ll have these delightful treats ready in no time.
Budget-Friendly: Using crescent roll dough means you won’t break the bank, making it a perfect option for gatherings or weeknight desserts.
Endless Variations: Feel free to experiment with different fillings like blueberry or peach; the possibilities are only limited by your imagination!
Crowd-Pleaser: These bite-sized beauties are sure to impress guests, making them a favorite at any event. Serve them warm with coffee, or try them alongside a scoop of vanilla ice cream for that extra indulgence! Looking for more delicious ideas to complement your gatherings? Check out my Pumpkin Pie Protein balls for a light treat, or whip up some savory Butter Beef Bites to balance the sweetness.
Cherry Pie Bites Ingredients
For the Dough
- Crescent Roll Dough – A convenient base that offers a light and flaky exterior; puff pastry can be used for an even more decadent texture.
For the Filling
- Cherry Pie Filling – A sweet and tangy delight; you can opt for homemade for a flavor upgrade.
- Cream Cheese – Adds a rich, creamy element; feel free to skip it if you prefer a lighter bite.
For Sweetness
- Powdered Sugar – Sweetens the cream cheese mixture and balances the tartness of the cherries.
- Vanilla Extract – Elevates the overall flavor profile with its warm notes.
For Baking
- Butter – Ensures a golden, crisp finish; brushing the dough with melted butter creates moisture and flavor.
- Coarse Sugar – An optional topping to add a bit of crunch and sweetness if you’re feeling indulgent.
For Glazing (Optional)
- Powdered Sugar Glaze – Mix powdered sugar with milk or cream for a smooth drizzle that enhances your Cherry Pie Bites visually and taste-wise.
These ingredients come together to create a dessert that is not only simple to prepare but also packed with nostalgic flavor, making it a perfect treat for any occasion!
Step‑by‑Step Instructions for Cherry Pie Bites
Step 1: Preheat the Oven
Begin by preheating your oven to 375°F (190°C). While the oven warms, prepare a baking sheet by lining it with parchment paper — this prevents sticking and makes cleaning up effortless. Ensure your baking area is neat, so you can easily transition between steps while making your delicious Cherry Pie Bites.
Step 2: Prepare the Cream Cheese Mixture
In a mixing bowl, combine softened cream cheese, powdered sugar, and vanilla extract. Use a hand mixer or whisk to blend until the mixture becomes smooth and creamy, which should take about 2-3 minutes. This step is essential as it adds richness to your Cherry Pie Bites.
Step 3: Unroll the Crescent Roll Dough
Carefully unroll the crescent roll dough and separate it into triangles. Place the triangles on your prepared baking sheet, ensuring they are spaced apart to allow for even baking. The dough should be slightly chilled for easier handling, so be quick yet gentle in this step.
Step 4: Add Filling to Each Triangle
Take ½ teaspoon of the cream cheese mixture and place it into the center of each dough triangle. Next, add 1-2 cherries on top of the cream cheese mixture. This layering creates a delightful contrast of flavors and textures in each Cherry Pie Bite.
Step 5: Fold and Seal the Bites
Carefully fold the triangle around the filling and pinch the edges tightly to seal them. You can also crimp the edges with a fork for an extra touch of elegance. Be mindful to leave a small part of the filling peeking through; this will create a beautiful presentation once baked.
Step 6: Brush with Butter
Melt a tablespoon of butter and use a pastry brush to generously coat the tops of each sealed Cherry Pie Bite. This step not only adds richness but also contributes to that beautiful golden color as they bake. If desired, sprinkle coarse sugar on top for added sweetness and crunch.
Step 7: Bake Until Golden
Transfer the baking sheet to your preheated oven and bake the Cherry Pie Bites for 10-12 minutes, or until they are beautifully golden brown and flaky. Keep an eye on them as they bake; the sight of bubbling cherry filling peeking out is a sure sign of deliciousness!
Step 8: Drizzle with Optional Glaze
Once baked, remove the bites from the oven and let them cool for a few minutes. If you choose to make the optional glaze, mix powdered sugar with a splash of milk until smooth. Drizzle this over your warm Cherry Pie Bites for a sweet finishing touch that enhances both their flavor and appearance.
Cherry Pie Bites Variations & Substitutions
Feel free to get creative with these Cherry Pie Bites; the possibilities are as delightful as they are delicious!
-
Fruit Swap: Try using blueberry, apple, or peach filling instead of cherry for a fun flavor twist. Each fruit brings its own sweet-tart character, creating a refreshing change.
-
Chocolate-Cherry Twist: Add a few chocolate chips to your cherry filling for a decadent chocolate-cherry experience. This combination creates a rich, dessert-like indulgence that will have everyone asking for more!
-
Creamy Cheesecake Bites: Incorporate cream cheese into the filling for a cheesecake-inspired version. The creaminess will elevate your bites and provide a delightful contrast to the tart cherries.
-
Nutty Crunch: Sprinkle sliced almonds or chopped walnuts on top or inside your bites for a pleasant crunch. The nuts not only add texture but also offer a nutty flavor that pairs beautifully with cherries.
-
Sweet Glaze Variations: Experiment with different glaze flavors, like almond extract or lemon juice mixed into the powdered sugar glaze. This can elevate your bites, adding brightness and a touch of sophistication.
-
Spicy Kick: Want a bit of heat? Add a pinch of cayenne pepper to the cream cheese mixture for a surprising kick. It’s a fun way to mix sweet and spicy for adventurous eaters.
-
Gluten-Free Option: Use gluten-free crescent roll dough as a substitute to make these bites friendly for those with gluten sensitivities. You can still enjoy the flaky goodness without compromising on taste!
-
Vegan Style: For a plant-based twist, replace the cream cheese with a vegan alternative and opt for a plant-based dough. Don’t forget to check your cherry filling as well!
These variations can breathe new life into your Cherry Pie Bites, making them versatile for every taste. Why not serve them alongside other crowd-pleasers like Spicy Salmon Bites or savory Butter Beef Bites? You’ll have a delightful dessert spread that caters to all cravings!
Make Ahead Options
Cherry Pie Bites are perfect for meal prep enthusiasts! You can assemble the bites up to 24 hours in advance by completing steps 1-5 and then covering them tightly with plastic wrap, which helps prevent drying. Alternatively, you can also freeze these bites for up to 2 months; simply place them on a baking sheet, freeze until solid, and then transfer to an airtight container. To maintain their flaky texture, avoid thawing before baking; instead, bake from frozen, adding an extra couple of minutes to the cooking time. When you’re ready to serve, just brush them with butter, sprinkle with coarse sugar, and bake until golden. Enjoy these delicious Cherry Pie Bites with minimal effort!
Expert Tips for Cherry Pie Bites
-
Mind the Filling: Avoid overfilling with cherry pie filling to prevent messy leaks. Just 1-2 cherries per bite is perfect.
-
Seal Securely: Pinch edges tightly or crimp with a fork to keep the filling inside while baking. This ensures each bite is intact and enjoyable.
-
Watch the Bake Time: Baking times may vary based on the type of dough used; check for a golden brown color to know they’re ready.
-
Serve Warm: Allow Cherry Pie Bites to cool slightly before serving to avoid burns from the hot cherry filling. Warm bites truly enhance the flavor!
-
Prep Ahead: You can assemble these Cherry Pie Bites in advance and bake them just before serving, making hosting stress-free.
Storage Tips for Cherry Pie Bites
Room Temperature: Store baked Cherry Pie Bites in an airtight container at room temperature for up to 2 days to maintain their flaky texture.
Fridge: Keep any leftover Cherry Pie Bites in the refrigerator for up to 5 days. Reheat them in the oven for a few minutes to refresh their crispness.
Freezer: These bites can be frozen, either baked or unbaked, for up to 2 months. If frozen, reheat from frozen at 350°F (175°C) for 10-12 minutes until heated through.
Reheating: For the best results, always reheat Cherry Pie Bites in the oven rather than the microwave to preserve their lovely, flaky crust.
What to Serve with Cherry Pie Bites?
Warm, flaky, and sweet, there’s nothing quite like pairing these delightful bites with complementary flavors for a memorable experience.
-
Whipped Cream: Light and airy, it adds a creamy contrast that balances the sweet-tart cherry filling and enhances the overall indulgence.
-
Vanilla Ice Cream: Serve alongside a scoop for a glorious temperature and texture contrast, making each bite even more enjoyable.
-
Iced Coffee: The rich coffee blends with sweet flavors for a delightful pairing, perfect for afternoon gatherings or a brunch spread.
-
Chocolate Sauce: Drizzle over the bites for a rich and decadent addition, introducing a new layer of flavor that delights chocolate lovers.
-
Fresh Berries: Add a touch of freshness with a side of mixed berries, elevating the fruity theme while offering a burst of color on your plate.
-
Mint Leaves: Garnish with a sprig for a fresh pop that lightens the richness of the bites, creating a visually appealing touch.
-
Lemonade: This bright, tangy drink complements the sweetness of the cherry bites, refreshing your palate with every sip.
-
Lemon Zest Glaze: Whipping up a lemon glaze to drizzle over adds zesty brightness that contrasts beautifully with the cherries.
These serving suggestions will elevate your Cherry Pie Bites experience, creating delightful moments worth savoring!
Cherry Pie Bites Recipe FAQs
How do I choose ripe cherries for my filling?
Absolutely! When selecting cherries, look for those that are bright in color, plump, and firm. Avoid any that have dark spots or feel mushy, as these can indicate overripeness. If you’re using frozen cherries, ensure they are unsweetened for the best balance in your Cherry Pie Bites.
What’s the best way to store leftover Cherry Pie Bites?
You can store baked Cherry Pie Bites in an airtight container at room temperature for up to 2 days. To keep them fresh and flaky, consider using parchment paper to separate layers. If you prefer, keep them in the refrigerator for up to 5 days; however, for the best texture, I recommend reheating them in the oven briefly before serving.
Can Cherry Pie Bites be frozen?
Yes, they can! You can freeze them baked or unbaked for up to 2 months. If freezing unbaked, prepare them as directed, but do not bake. Instead, place the arranged bites on a parchment-lined baking sheet and freeze until solid. Then, transfer to a freezer-safe bag. When ready, bake straight from frozen at 350°F (175°C) for 10-12 minutes.
What should I do if my filling leaks during baking?
No worries! To troubleshoot leaks, ensure you’ve pinched the edges of the dough tightly or crimped with a fork to secure the filling inside. If it does leak, just keep an eye on the oven, as the cherry filling will create a lovely, gooey surface that can still taste amazing. You can also use less filling next time to prevent this issue.
Are Cherry Pie Bites safe for pets or those with allergies?
While these bite-sized desserts are delicious for us, they aren’t suitable for pets, especially because of the sugar and potential butter content. If you’re baking for someone with allergies, be mindful of ingredients like cream cheese or gluten in crescent roll dough. Consider using gluten-free dough alternatives and dairy-free cream cheese for an allergy-friendly version.
Can I make these Cherry Pie Bites ahead of time?
Very much so! You can prepare the bites and store them in the refrigerator for a few hours before baking, which is perfect for when you’re hosting. Alternatively, you can assemble them earlier in the day and bake just before serving for the freshest flavor!
Cherry Pie Bites That Bring Sweet Nostalgia to Your Table
Ingredients
Equipment
Method
- Preheat the oven to 375°F (190°C) and line a baking sheet with parchment paper.
- In a mixing bowl, combine softened cream cheese, powdered sugar, and vanilla extract until smooth.
- Unroll the crescent roll dough and separate into triangles on the prepared baking sheet.
- Place ½ teaspoon of cream cheese mixture and 1-2 cherries in each triangle's center.
- Fold the triangle around the filling and pinch the edges to seal them.
- Brush with melted butter and sprinkle with coarse sugar if desired.
- Bake for 10-12 minutes or until golden brown and flaky.
- Let cool slightly, then drizzle with optional glaze before serving.
Leave a Reply