
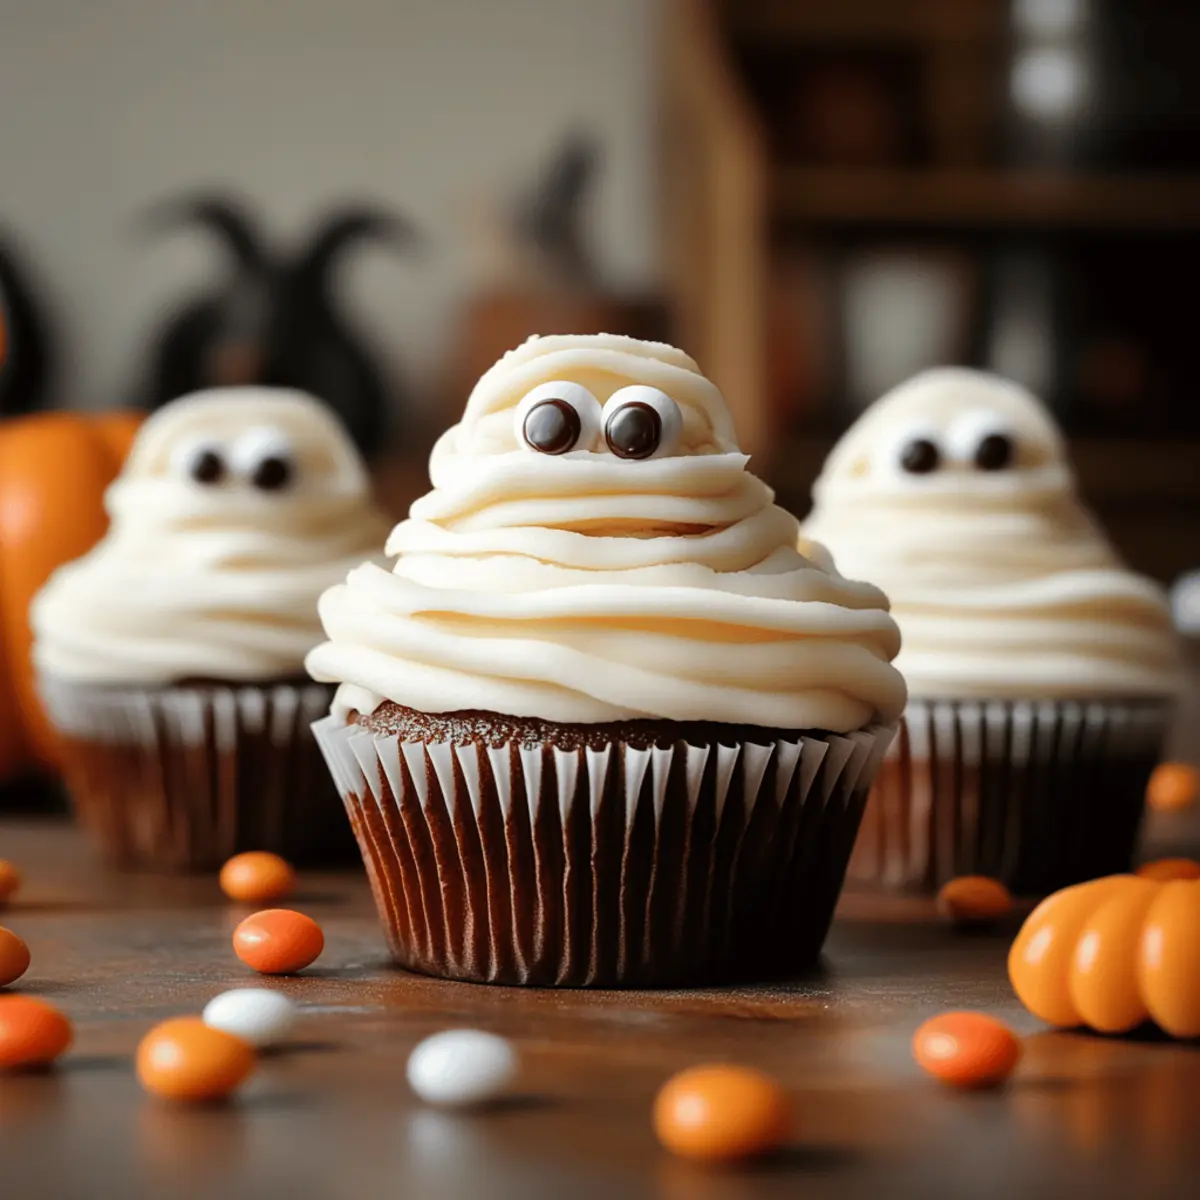
As I rummaged through my pantry, the faint sound of Halloween whispers tickled my ears, beckoning me to create something spooktacular. Enter these Mummy Cupcakes— your ultimate Halloween treat that merges moist, fluffy cake with a creamy, sweet frosting. These playful cupcakes, adorned with candy eyes and wrapped like little mummies, are not just fun to decorate but also a feast for the taste buds! They’re perfect for school parties, trick-or-treating, or simply to relish while watching a spooky movie with friends. Plus, you can easily make them diet-friendly with low-sugar or gluten-free options, ensuring everyone can enjoy this festive delight. Ready to join me on this deliciously eerie baking adventure? Let’s dive in!
Why Are Mummy Cupcakes So Fun?
Delightful Decorating: These cupcakes aren’t just a treat for the taste buds; they are an artistic canvas for creativity! Kids and adults alike will love getting involved in the decorating process, making them a delightful family activity.
Moist, Flavorful Base: The base of these cupcakes is incredibly soft and fluffy, ensuring every bite is a melt-in-your-mouth experience. Pair that with a rich buttercream frosting, and you have a combination that’s simply irresistible.
Versatile Variations: Feel free to get creative! Swap out the candy eyeballs for gummy treats or adapt the frosting colors to fit different themes and occasions.
Diet-Friendly Options: You can enjoy these spooky delights without guilt; make them low-sugar, dairy-free, or gluten-free to accommodate a variety of dietary needs.
Perfect for Parties: Whether it’s a Halloween gathering or a school bake sale, these Mummy Cupcakes are sure to be a crowd-pleaser! Add a touch of fun to your festivities that everyone will remember.
Explore our other delicious ideas, like Pumpkin Cupcakes Maple or indulge in rich Chocolate Pumpkin Cupcakes this Halloween season!
Mummy Cupcake Ingredients
• Get ready for Halloween fun with these Mummy Cupcake Ingredients!
For the Cupcakes
- Cupcake Mix – You can use either homemade batter or your favorite boxed mix for convenience.
- Eggs – Essential for binding the ingredients and creating the perfect texture.
- Milk – Adds moisture; substitute with a plant-based option for a dairy-free version.
- Vegetable Oil – Ensures the cupcakes are soft and tender.
For the Frosting
- Butter – Use unsalted for better control over sweetness.
- Powdered Sugar – The key ingredient for that classic sweet and creamy frosting; sift before using.
- White Gel Food Coloring – Helps achieve a bright white color for the mummy effect.
For the Decoration
- Candy Eyeballs – Their playful presence brings the mummies to life; use more for added fun!
- Chocolate Ganache or Melted Chocolate – Drizzle or pipe for decorative stitches on your mummies.
- Edible Marker – Optional for drawing additional details on the cupcakes.
Diet-Friendly Options
- Low-Sugar Cake Mix – An excellent choice to reduce added sugars without sacrificing flavor.
- Dairy-Free Butter – Ideal for allergy-conscious bakers, ensuring everyone can enjoy these treats.
- Gluten-Free Cupcake Bases – Perfect for those with gluten sensitivities, while still being delightfully tasty.
Step‑by‑Step Instructions for Mummy Cupcakes
Step 1: Bake Cupcakes
Preheat your oven to 350°F (175°C). Prepare your cupcake mix according to package directions or your favorite homemade recipe. Fill cupcake liners in a muffin tin about two-thirds full and bake for 18–20 minutes or until a toothpick inserted in the center comes out clean. Once baked, allow the cupcakes to cool completely on a wire rack.
Step 2: Prepare Frosting
In a mixing bowl, beat 1 cup of unsalted butter until it’s light and fluffy, about 3–4 minutes. Gradually add in 4 cups of sifted powdered sugar, mixing on low speed until combined. If desired, incorporate white gel food coloring for that classic mummy look. Beat until your buttercream frosting is smooth and creamy; set aside.
Step 3: Add Eyes
Take your cooled Mummy Cupcakes and place them on a serving tray. Using a small spatula or a knife, generously spread a thin layer of buttercream frosting on top of each cupcake. For an adorable touch, place two candy eyeballs on each frosted cupcake, gently pressing them into the frosting for a secure fit.
Step 4: Pipe Bandages
Fill a piping bag fitted with a small round tip with the remaining frosting. Start at the edge of each cupcake and pipe crisscrossing lines to create mummy bandages, making sure not to cover the candy eyes. The bandage pattern will give your Mummy Cupcakes a spooky yet fun appearance.
Step 5: Add Details
To create details like stitches, melt chocolate in the microwave or use an edible marker. With a piping bag, drizzle cooled melted chocolate in small lines across the cupcakes, mimicking the look of mummy wraps. Alternatively, use an edible marker to draw tiny stitches for an added touch of creativity.
Step 6: Chill
Once all decorations are complete, place your decorated Mummy Cupcakes in the refrigerator for about 10–15 minutes. This will help set the frosting, making it easier to handle and ensuring your spooky treats stay beautifully intact before serving. Enjoy your festive creations!
Expert Tips for Mummy Cupcakes
Cool Completely: Ensure your cupcakes are fully cooled before frosting; otherwise, the frosting may melt and lose its shape.
Frosting Consistency: If your buttercream is too soft during piping, chill it briefly to firm up for easier handling and better definition.
Engage the Kids: Allow children to join in the decorating fun! It’s a wonderful way to create lasting Halloween memories together while making Mummy Cupcakes.
Health-Conscious Swaps: Opt for low-sugar or gluten-free ingredients to cater to dietary restrictions without sacrificing flavor or festivity.
Decorate Creatively: Don’t shy away from experimenting with different edible decorations; using colorful frosting or varied candy eyes can add fun personality to each mummy!
Make Ahead Options
These Mummy Cupcakes are perfect for meal prep, allowing you to save time on bustling Halloween days! You can bake the cupcakes up to 24 hours in advance and store them in an airtight container at room temperature. Additionally, prepare the buttercream frosting and refrigerate it for up to 3 days; just give it a quick whip before decorating. When you’re ready to impress, simply frost the cooled cupcakes, add the candy eyeballs, and pipe on the mummy bandages. Chilling the decorated cupcakes for 10-15 minutes will help set the frosting, ensuring your spooky treats look just as delightful when served. With these make-ahead tips, you’ll have more time to enjoy your Halloween festivities!
What to Serve with Mummy Cupcakes
Get ready to create a delightful Halloween feast that pairs perfectly with your spooky treats!
- Witch’s Brew Punch: A refreshing, fruity drink that’s visually stunning with a hint of fizz; it’s great for parties and easy to make in large batches.
- Monster Cheese Platter: A fun assortment of cheeses and crackers arranged to look like monsters; it adds a savory counterpoint to the sweetness of the cupcakes.
- Ghostly Fruit Skewers: Thread fresh fruits like grapes, strawberries, and bananas onto skewers for a healthy, colorful side that’s perfect for little hands.
- Creepy Veggie Platter: Crunchy vegetables served with a spooky dip, like hummus shaped as a ghost, provide a nutritious contrast to the sweetness of Mummy Cupcakes.
- Spiced Pumpkin Cookies: These soft, spiced treats echo the flavors of Halloween and make a delightful addition, balancing sweetness with comforting spices.
- Hot Chocolate with Marshmallows: A warm, indulgent drink that complements the cupcakes; serve it in themed mugs for extra festive flair.
- Candy Corn Bark: Melted chocolate layered with candy corn, this treat provides a crunchy texture and visually aligns with the Halloween theme, leaving everyone wanting more!
- Caramel Apple Slices: Combine sweet and tart with these easy-to-make, handheld treats that are always a favorite around Halloween gatherings.
Celebrate the spooky season with these tasty accompaniments that elevate your Mummy Cupcakes into a full festive spread!
How to Store and Freeze Mummy Cupcakes
Room Temperature: Keep Mummy Cupcakes in an airtight container at room temperature for up to 2 days. This helps maintain their moist texture and fresh flavor.
Fridge: If you need to store them longer, place them in the refrigerator for up to 5 days. Ensure they are well-wrapped to prevent drying out.
Freezer: For longer storage, freeze the cupcakes without frosting for up to 3 months. Wrap each cupcake tightly in plastic wrap, then place them in a freezer-safe container.
Reheating: Thaw cupcakes in the fridge overnight before decorating. Allow them to come to room temperature prior to serving for the best taste and texture.
Mummy Cupcakes: Creative Ways to Customize
Feel free to let your imagination run wild with these delightful Mummy Cupcakes to suit your taste and dietary needs!
-
Low-Sugar Option: Use a low-sugar cake mix to create a healthier version without sacrificing the festive flavor.
Low-sugar cupcakes can be just as decadent! Your loved ones will still enjoy every spooky mouthful while feeling good about this treat. -
Gluten-Free Base: Swap regular flour for gluten-free alternatives to make these cupcakes safe for those with gluten sensitivities.
With just a few tweaks, everyone can indulge in these fun delights. Don’t worry; your gluten-free guests will love them just as much! -
Dairy-Free Delight: Replace regular butter with a dairy-free alternative in your frosting for a delectable non-dairy treat.
Dairy-free options can still be rich and creamy, ensuring nobody feels left out at your Halloween festivities. -
Flavor Boost: Add a hint of vanilla or almond extract to your batter for an extra layer of flavor.
Just a teaspoon can transform these cupcakes into a whole new sensory experience, making each bite even more enchanting! -
Heat It Up: Incorporate a pinch of cayenne or chili powder into the frosting for a surprising sweet-heat combo.
This unexpected twist will delight those who love a hint of spice. Your Mummy Cupcakes will have everyone talking! -
Gummy Eyes: Swap candy eyeballs for gummy candies for a chewy twist that kids will adore.
Different textures can create fun surprises, keeping the spooky spirit alive with every bite! -
Decorative Themes: Use seasonal sprinkles or edible glitter to complement the mummy look for added flair.
These cupcakes can become a charming decoration on your dessert table, adding a festive pop that can’t be ignored.
Don’t forget to take a peek at our seasonal favorites like Pumpkin Cupcakes Maple or enjoy a decadent treat with rich Chocolate Pumpkin Cupcakes this October!
Mummy Cupcakes Recipe FAQs
How do I choose the right ripeness for my ingredients?
When it comes to eggs and milk, using fresh ingredients is crucial for the best flavor and texture. Look for eggs that are not cracked, and choose milk that is within its expiration date. If using butter, opt for unsalted and at room temperature for easy mixing into your frosting.
How should I store my Mummy Cupcakes, and how long will they last?
Store Mummy Cupcakes in an airtight container at room temperature, and they’ll stay fresh for up to 2 days. If you prefer to keep them longer, place them in the refrigerator, well-wrapped, for up to 5 days. Just make sure they’re completely cooled before storing them to maintain that delightful moisture!
Can I freeze Mummy Cupcakes, and how do I do it?
Absolutely! For longer storage, freeze your Mummy Cupcakes without frosting for up to 3 months. First, let them cool completely, then wrap each cupcake tightly in plastic wrap followed by placing them in a freezer-safe container. When you’re ready to enjoy, thaw them in the fridge overnight, and allow them to come to room temperature before decorating.
What should I do if my frosting is too soft?
If your buttercream frosting turns out too soft, don’t worry! Simply refrigerate it for 10-15 minutes to firm it up. Stir it gently, and it should be ready for piping. Another tip is to gradually add more sifted powdered sugar until you reach your desired consistency. Perfect frosting is just a few steps away!
Are there any dietary considerations I should be aware of?
Certainly! When preparing Mummy Cupcakes, you can easily adjust for dietary restrictions. Consider using low-sugar cake mix to reduce sugar content, dairy-free butter for lactose intolerance, and gluten-free flour mixes for those with gluten sensitivities. Always read labels to ensure all ingredients meet your dietary needs.
What if I forget to cool my cupcakes before frosting?
If you frost warm cupcakes, the frosting is likely to melt and lose shape. If this happens, place the decorated cupcakes in the refrigerator for a short while to allow the frosting to set. Just remember for future baking adventures to always cool your cupcakes completely for the best results!
Mummy Cupcakes: Deliciously Spooky Treats for Halloween Fun
Ingredients
Equipment
Method
- Preheat your oven to 350°F (175°C). Prepare your cupcake mix according to package directions or your favorite homemade recipe. Fill cupcake liners in a muffin tin about two-thirds full and bake for 18–20 minutes or until a toothpick inserted in the center comes out clean. Once baked, allow the cupcakes to cool completely on a wire rack.
- In a mixing bowl, beat 1 cup of unsalted butter until it’s light and fluffy, about 3–4 minutes. Gradually add in 4 cups of sifted powdered sugar, mixing on low speed until combined. If desired, incorporate white gel food coloring for that classic mummy look. Beat until your buttercream frosting is smooth and creamy; set aside.
- Take your cooled Mummy Cupcakes and place them on a serving tray. Using a small spatula or a knife, generously spread a thin layer of buttercream frosting on top of each cupcake. For an adorable touch, place two candy eyeballs on each frosted cupcake, gently pressing them into the frosting for a secure fit.
- Fill a piping bag fitted with a small round tip with the remaining frosting. Start at the edge of each cupcake and pipe crisscrossing lines to create mummy bandages, making sure not to cover the candy eyes.
- To create details like stitches, melt chocolate in the microwave or use an edible marker. With a piping bag, drizzle cooled melted chocolate in small lines across the cupcakes, mimicking the look of mummy wraps. Alternatively, use an edible marker to draw tiny stitches for an added touch of creativity.
- Once all decorations are complete, place your decorated Mummy Cupcakes in the refrigerator for about 10–15 minutes. This will help set the frosting, making it easier to handle and ensuring your spooky treats stay beautifully intact before serving.
Leave a Reply