
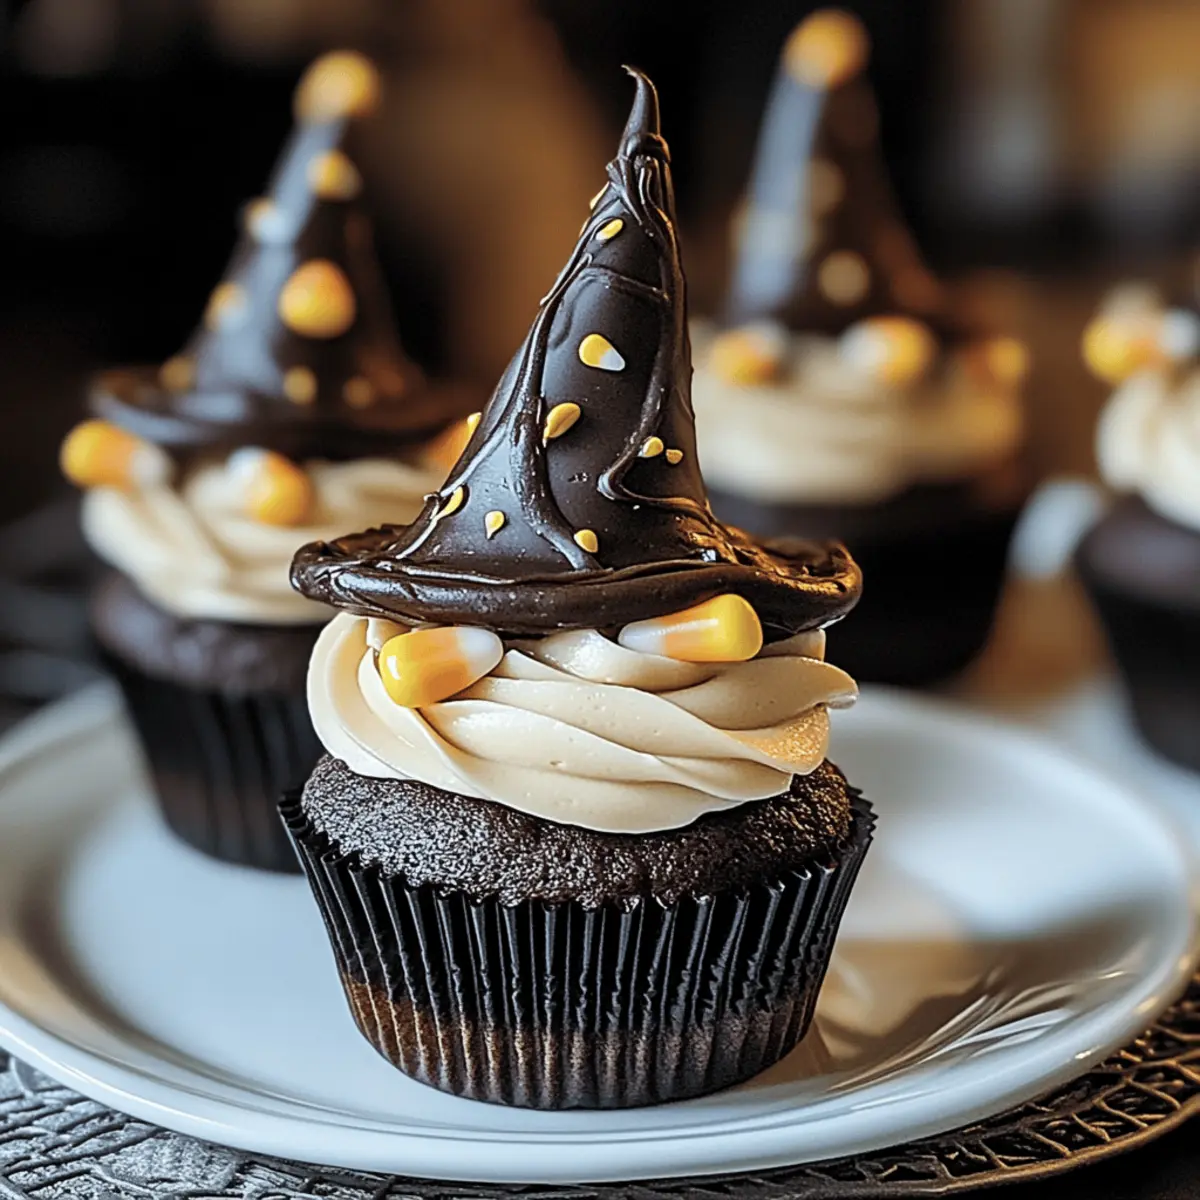
As the leaves begin to fall and spooky decorations pop up all around, I can’t help but get excited about Halloween treats! There’s something magical about creating festive desserts that bring smiles to both kids and adults—and these Easy Witch Hat Cupcakes are a delightful way to enchant your guests this season. They combine a rich chocolate cupcake with a whimsical twist, proving that fun and yum can go hand in hand. With a no-fuss assembly process, you’ll find that even novice bakers can whip up this charming dessert in no time. Plus, they’re not just adorable; their irresistible flavors make them a guaranteed crowd-pleaser at any Halloween gathering. Curious about how to conjure this spooky deliciousness? Let’s dive in!
Why You Need Witch Hat Cupcakes
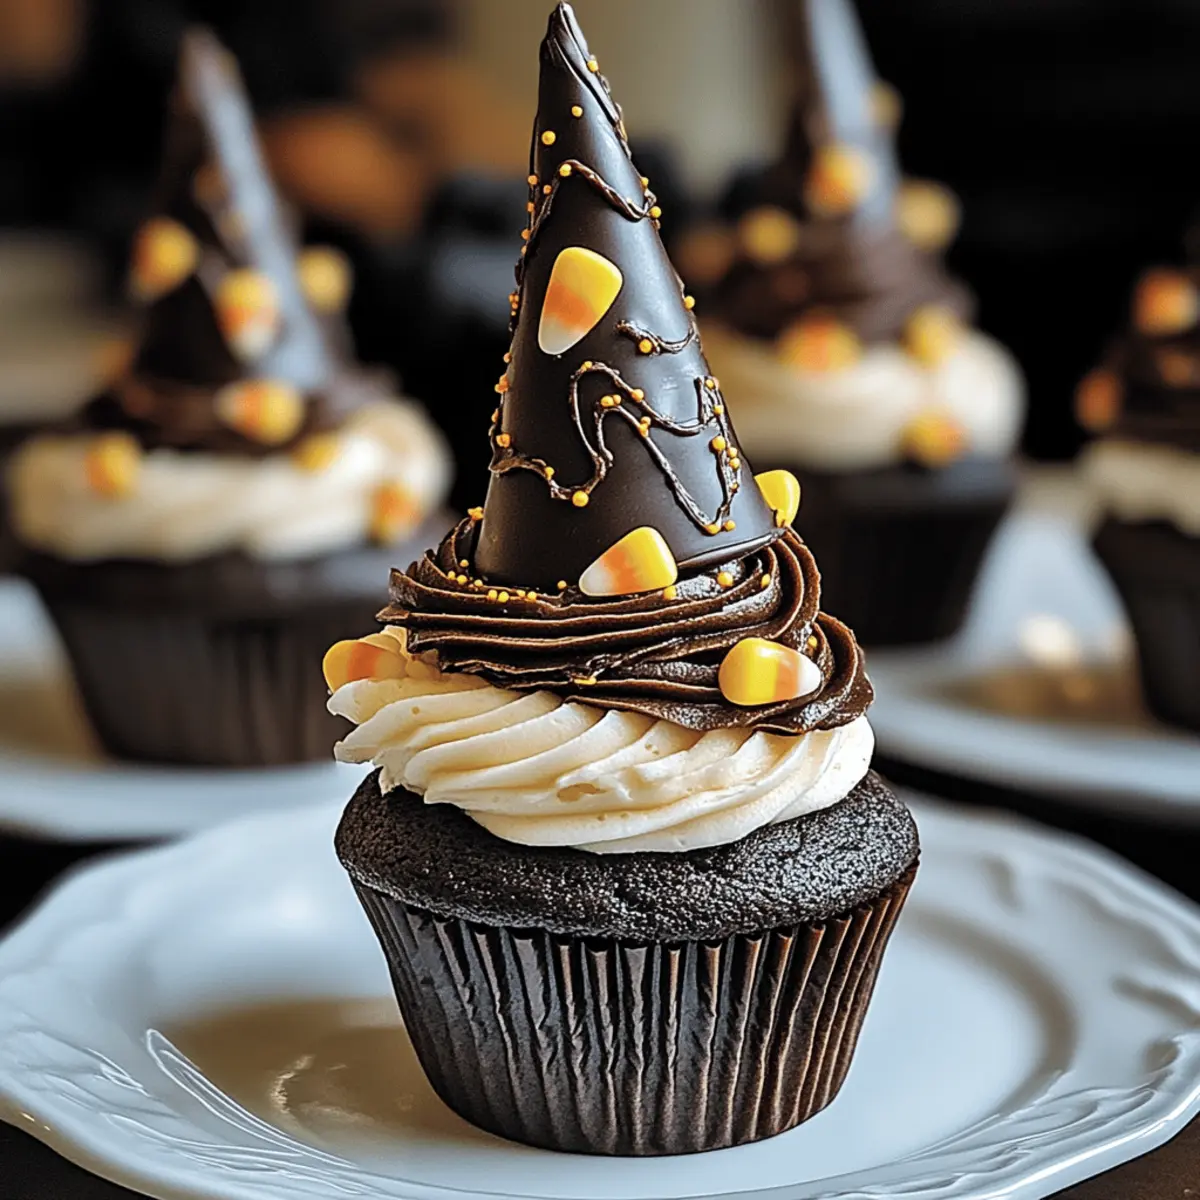
Unforgettable Presentation: These enchanting cupcakes will steal the show at your Halloween party, impressing every guest with their fun, festive design.
Rich Chocolate Flavor: Indulge in the decadent taste of chocolate cupcakes paired with silky fudge frosting—simply irresistible!
Easy Assembly: No complicated techniques are required here—perfect for both seasoned bakers and novices alike, ensuring everyone can join in the fun.
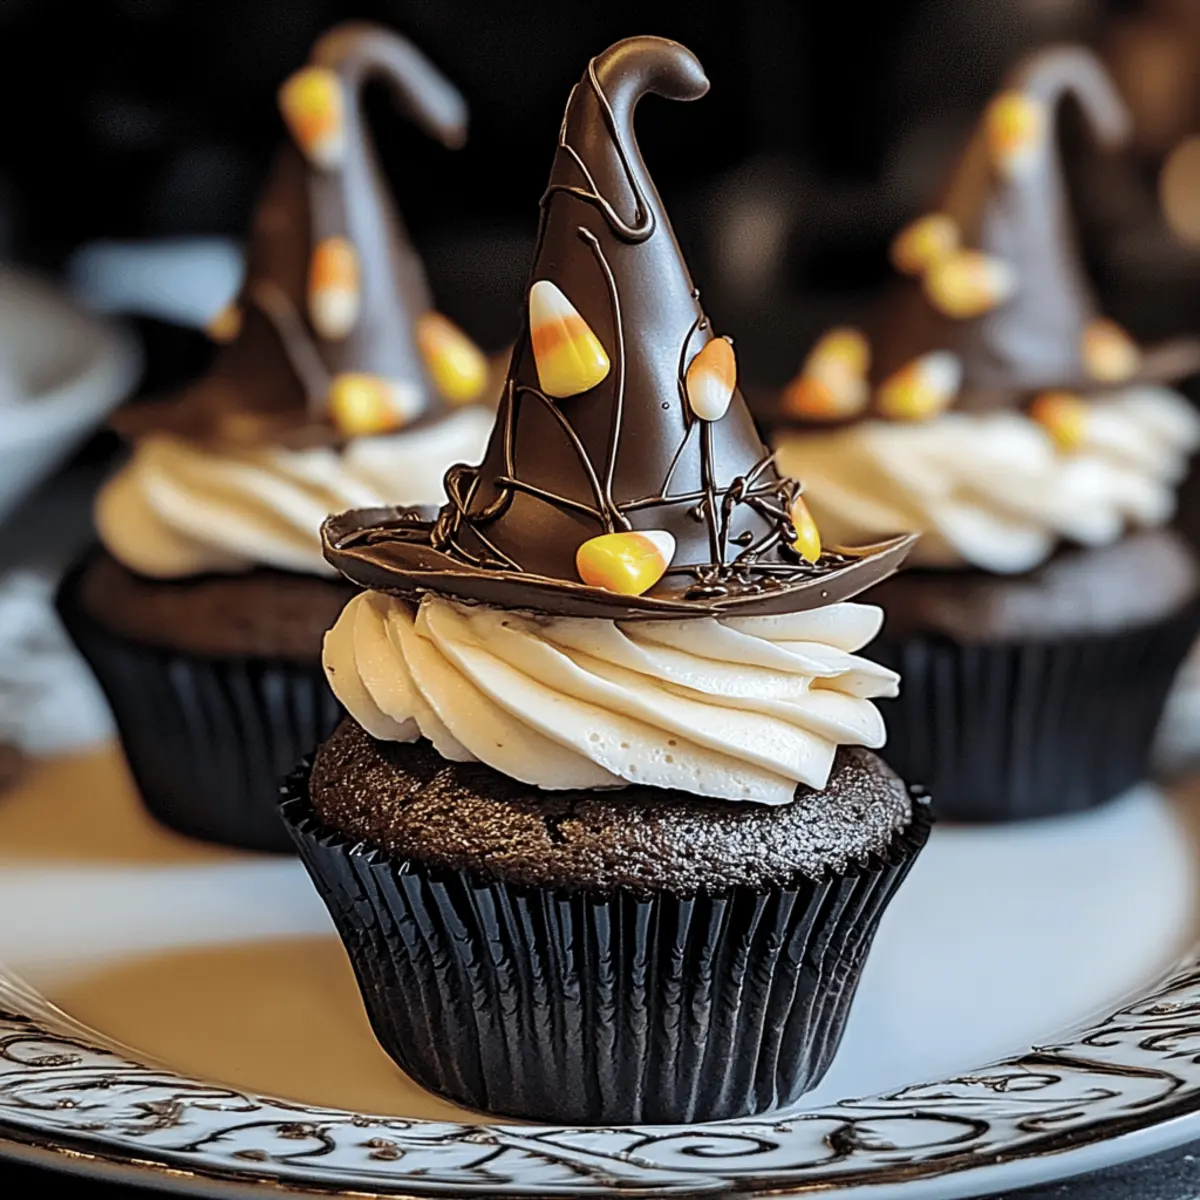
Creative Decorating: Experiment with different cookie hats and toppings, like candy corn or festive chocolates, to create a personalized touch. For more inspiration, check out our Halloween Witch Cookies!
Versatile Treats: These cupcakes are perfect for various occasions, from Halloween gatherings to school events, and are sure to delight kids and adults alike!
Witch Hat Cupcakes Ingredients
For the Cupcakes
- Chocolate Cupcakes – The foundation of these delightful treats; use store-bought or make them from scratch for a more personal touch!
For the Frosting
- Chocolate Fudge Frosting – This silky frosting adds a delicious richness and is perfect for holding the cookie hats in place; don’t hesitate to swap in cream cheese frosting for a tangy flavor.
For the Witch Hats
- Cookies (e.g., Cones or Oreos) – Choose any crisp cookie, but chocolate-flavored ones will enhance the overall chocolate experience of your Witch Hat Cupcakes.
For Decoration
- Candy Corn or Chocolate Candy – Use these to top your cookie hats, creating a festive pop of color; alternatively, M&M’s can be used for a chocolatey twist.
Step‑by‑Step Instructions for Witch Hat Cupcakes
Step 1: Bake the Cupcakes
Begin by preheating your oven to 350°F (175°C). Prepare your chocolate cupcakes using either a homemade recipe or a store-bought mix according to the package instructions. Fill cupcake liners about two-thirds full to ensure they rise beautifully without overflowing. Bake for 18–20 minutes, or until a toothpick inserted in the center comes out clean. Allow them to cool completely before frosting.
Step 2: Make the Frosting
While the cupcakes cool, whip up your chocolate fudge frosting. In a mixing bowl, combine butter, cocoa powder, powdered sugar, and milk. Beat on medium speed until the ingredients are fully incorporated, creamy, and spreadable—this should take about 3–5 minutes. This rich frosting will create a delicious bond between the cupcake and the cookie hat, so make sure it’s the right consistency.
Step 3: Assemble the Witch Hats
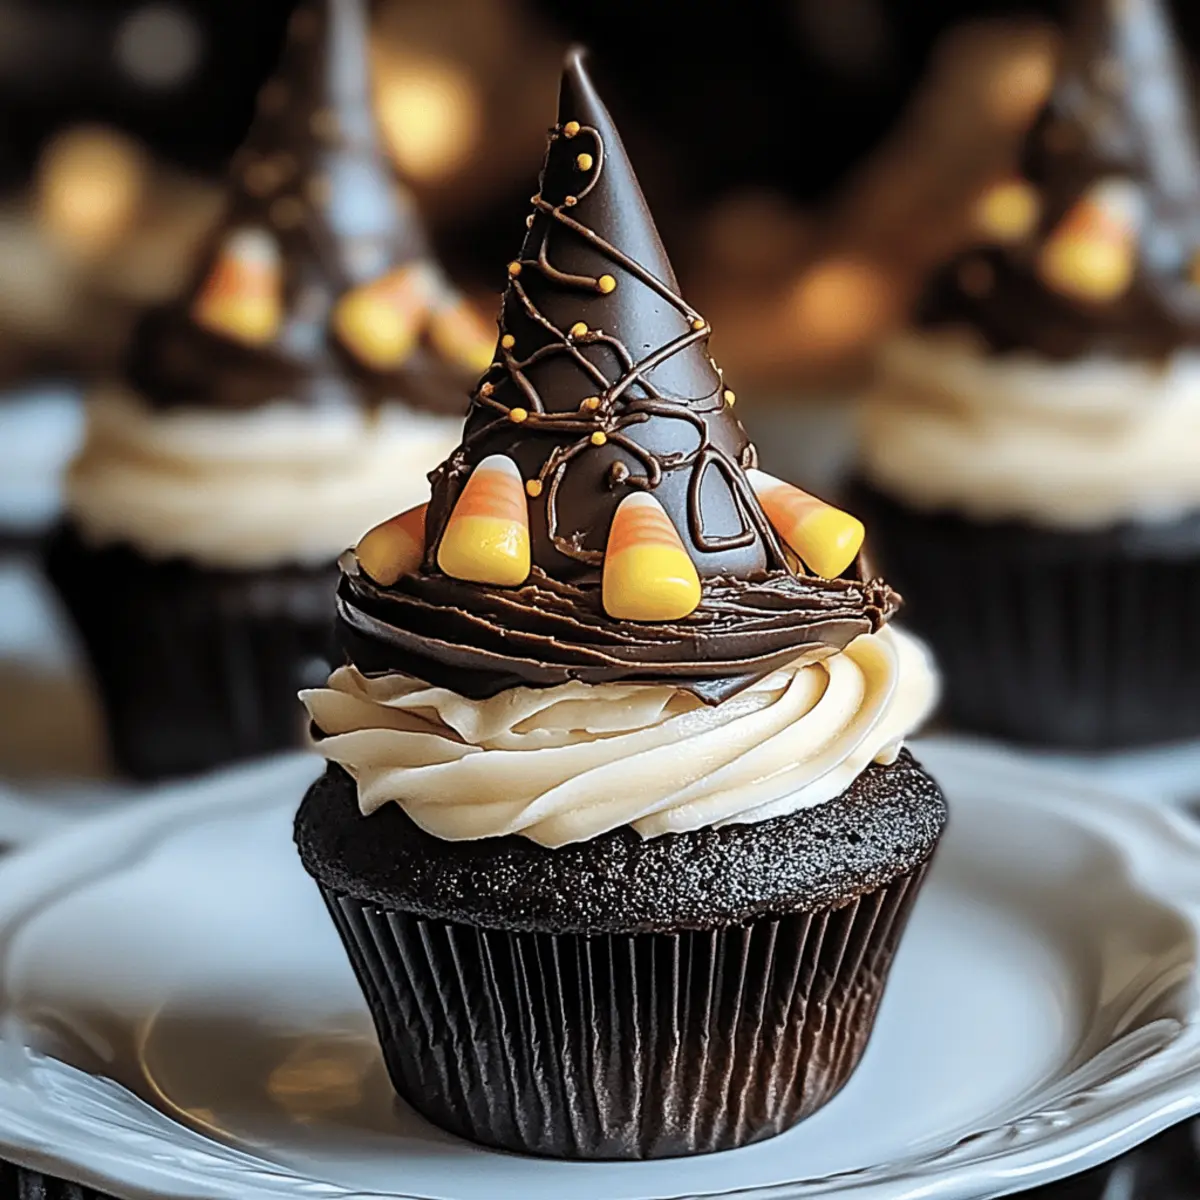
Once your cupcakes are completely cool, generously frost the top of each chocolate cupcake with the prepared chocolate fudge frosting. Using a knife or a piping bag fitted with a star tip can create an appealing, decorative layer. After frosting, gently press a cookie (like an Oreo or a cone) into the center of the frosting to create the whimsical witch hat atop each cupcake.
Step 4: Decorate the Hats
To finish off your Witch Hat Cupcakes, embellish the cookie hats with candy corn or chocolate candies. Press them gently into the top of the cookie to secure them, creating a festive look that perfectly complements the playful theme. The colorful candies will add a pop of delight, making your creations not only delicious but also visually appealing for your Halloween gathering.
Witch Hat Cupcakes Variations
Feel free to let your imagination run wild as you customize these delightful treats for a unique Halloween twist!
-
Vanilla Cupcakes: Swap out chocolate cupcakes for vanilla ones to create a lighter flavor, perfect for those who prefer a milder taste.
-
Different Cookies: Use chocolate wafers or sugar cookies instead of Oreos for the hats, giving your cupcakes a fresh flavor profile and delightful crunch.
-
Seasonal Candies: Replace candy corn with pumpkin-shaped candies to embrace a festive fall theme that adds a playful and seasonal touch.
-
Nutty Crunch: Enhance the texture by adding crushed nuts or sprinkles on top of the frosting, giving a nice contrast to the smooth chocolate.
-
Gluten-Free Option: Substitute regular flour with gluten-free flour to accommodate gluten sensitivities without sacrificing deliciousness.
-
Spicy Twist: Add a dash of cinnamon or cayenne pepper to the frosting for a surprising heat that complements the sweetness of the chocolate.
-
Decorative Fun: Use themed cupcake liners or sprinkles to turn your cupcakes into a Halloween masterpiece—think ghouls, ghosts, or bats!
-
Fruity Fillings: Consider stuffing the cupcakes with a fruity jam or pumpkin puree before frosting for an unexpected burst of flavor. If you’re into delicious combinations, check out our Chocolate Pumpkin Cupcakes for more inspiration!
With these variations, your Witch Hat Cupcakes will be nothing short of magical—and perfect for sharing with family and friends!
Expert Tips for Witch Hat Cupcakes
-
Cooling Is Key: Allow your chocolate cupcakes to cool completely before frosting. This prevents melting and ensures a neat presentation.
-
Frosting Piping: Use a piping bag with a star tip for easy and decorative frosting application. It adds a lovely touch to your Witch Hat Cupcakes!
-
Sturdy Cookie Hats: Choose crisp cookies like Oreos or cones to avoid sagging. This will help maintain the structure of the witch hats for a fun look.
-
Mix It Up: Don’t hesitate to get creative with your cookie choices and toppings. Different flavors add an exciting twist to your Witch Hat Cupcakes.
-
Assembly Time: Assemble your cupcakes as close to serving as possible to keep the frosting fresh and the hats looking their best for your guests.
Make Ahead Options
These Easy Witch Hat Cupcakes are perfect for meal prep, making your Halloween festivities a breeze! You can bake the chocolate cupcakes and store them in an airtight container for up to 3 days in advance, ensuring they stay moist. Additionally, you can prepare the chocolate fudge frosting a day ahead and refrigerate it; just let it sit at room temperature for 30 minutes before using to restore its creamy texture. To maintain the whimsical look of the witch hats, assemble the cupcakes right before serving. Simply frost the cooled cupcakes, add the cookie hats, and top them with candy corn or chocolates, ensuring delightful and fresh treats for your celebration!
How to Store and Freeze Witch Hat Cupcakes
Airtight Container: Store Witch Hat Cupcakes in an airtight container at room temperature for up to 3 days to keep them fresh and moist.
Refrigeration: If you prefer a cooler treat, you can refrigerate the cupcakes for up to a week, but make sure they are in a sealed container to prevent drying out.
Freezing: For longer storage, freeze un-frosted cupcakes individually wrapped in plastic wrap for up to 3 months. Allow thawing at room temperature before frosting and decorating.
Reheating Tips: If you enjoy your treats warm, briefly microwave thawed cupcakes for about 10-15 seconds before adding frosting for a delightful, melty experience!
What to Serve with Easy Witch Hat Cupcakes
These whimsical treats are perfect for evoking a festive Halloween vibe while making your dessert table absolutely enchanting!
-
Spooky Sugar Cookies: Soft and sweet, these can be shaped like ghosts or bats, adding to the Halloween atmosphere.
-
Festive Fruit Platter: A medley of seasonal fruits like oranges, grapes, and pomegranate seeds bring brightness and freshness, balancing the richness of the cupcakes.
-
Pumpkin Spice Latte: This cozy drink captures the essence of fall, enhancing the warm flavors of the chocolate treats with its spiced notes.
-
Gooey Caramel Dip with Apples: The combination of crunchy apples and creamy caramel is a delightful twist, offering a fresh, tart contrast to the cupcakes’ sweetness.
-
Chocolate Milkshakes: Indulging in a thick, creamy milkshake deepens the chocolate flavor experience, making it a wonderfully satisfying pairing for cupcake lovers.
-
Halloween-Themed Charcuterie Board: Serve a mix of savory snacks, chocolates, and seasonal goodies to create a striking visual feast that complements your cupcakes’ charm.
-
Ghostly Meringue Kisses: Light and airy, these meringues add an ethereal touch to your spread, providing a delicate sweetness that visitors will adore.
-
Witch’s Brew Punch: This fun, fizzy drink creates an inviting atmosphere and can be made with green sherbet and lemon-lime soda for a festive finish!
Witch Hat Cupcakes Recipe FAQs
How do I choose the right chocolate cupcakes?
Absolutely! For the best flavor and texture, look for rich chocolate cupcakes that are moist. If you’re buying store-bought, check the ingredients—aim for options with cocoa powder listed early on, which means it has a good amount. If making from scratch, ensure your recipe includes baking powder and baking soda for that perfect rise!
How do I store leftover Witch Hat Cupcakes?
Very simply! Place your Witch Hat Cupcakes in an airtight container at room temperature for up to 3 days. If you have a particularly warm environment, refrigerating them for up to a week works, just make sure they are sealed well to maintain moisture.
Can I freeze Witch Hat Cupcakes?
Certainly! For longer storage, freeze the un-frosted cupcakes by wrapping them individually in plastic wrap and placing them in an airtight container. They keep well for up to 3 months. When ready to enjoy, simply thaw at room temperature, then frost and decorate them as desired!
What should I do if my frosting is too runny?
No worries! If your frosting is runny, it likely needs more powdered sugar. Start by adding 1/4 cup at a time, mixing well after each addition until it reaches a thick, spreadable consistency. If you find it still isn’t thickening, refrigerating the frosting for about 15-30 minutes can also help firm it up before using.
Are there any dietary considerations for pets or allergies?
Definitely! Always keep in mind that chocolate is toxic for pets, so keep your Witch Hat Cupcakes out of reach of dogs and cats. For allergies, you can make these cupcakes gluten-free by substituting regular flour with a gluten-free blend. Likewise, watch out for any nut allergies by checking cookie labels carefully.
How can I customize the decorations for different age groups?
That’s a great idea! For younger kids, use colorful candy corn and playful decorations like gummy worms or edible glitter for extra fun. For adults, consider a more sophisticated touch with dark chocolate pieces or even edible flower decorations for a grown-up flair. The more the merrier when it comes to creativity!
Witch Hat Cupcakes: Magical Treats for Halloween Fun
Ingredients
Equipment
Method
- Preheat your oven to 350°F (175°C) and prepare the chocolate cupcakes using either a homemade recipe or store-bought mix. Fill cupcake liners approximately two-thirds full and bake for 18–20 minutes, or until a toothpick inserted comes out clean. Let cool completely.
- While the cupcakes are cooling, prepare the frosting by mixing butter, cocoa powder, powdered sugar, and milk in a bowl until creamy and spreadable, about 3-5 minutes.
- Once cupcakes are cool, generously frost the tops with the prepared frosting using a knife or piping bag fitted with a star tip. Press a cookie into the center of the frosting to create the witch hat effect.
- Decorate the cookie hats with candy corn or chocolate candies, pressing them gently into the top of the cookie to secure.
Leave a Reply