
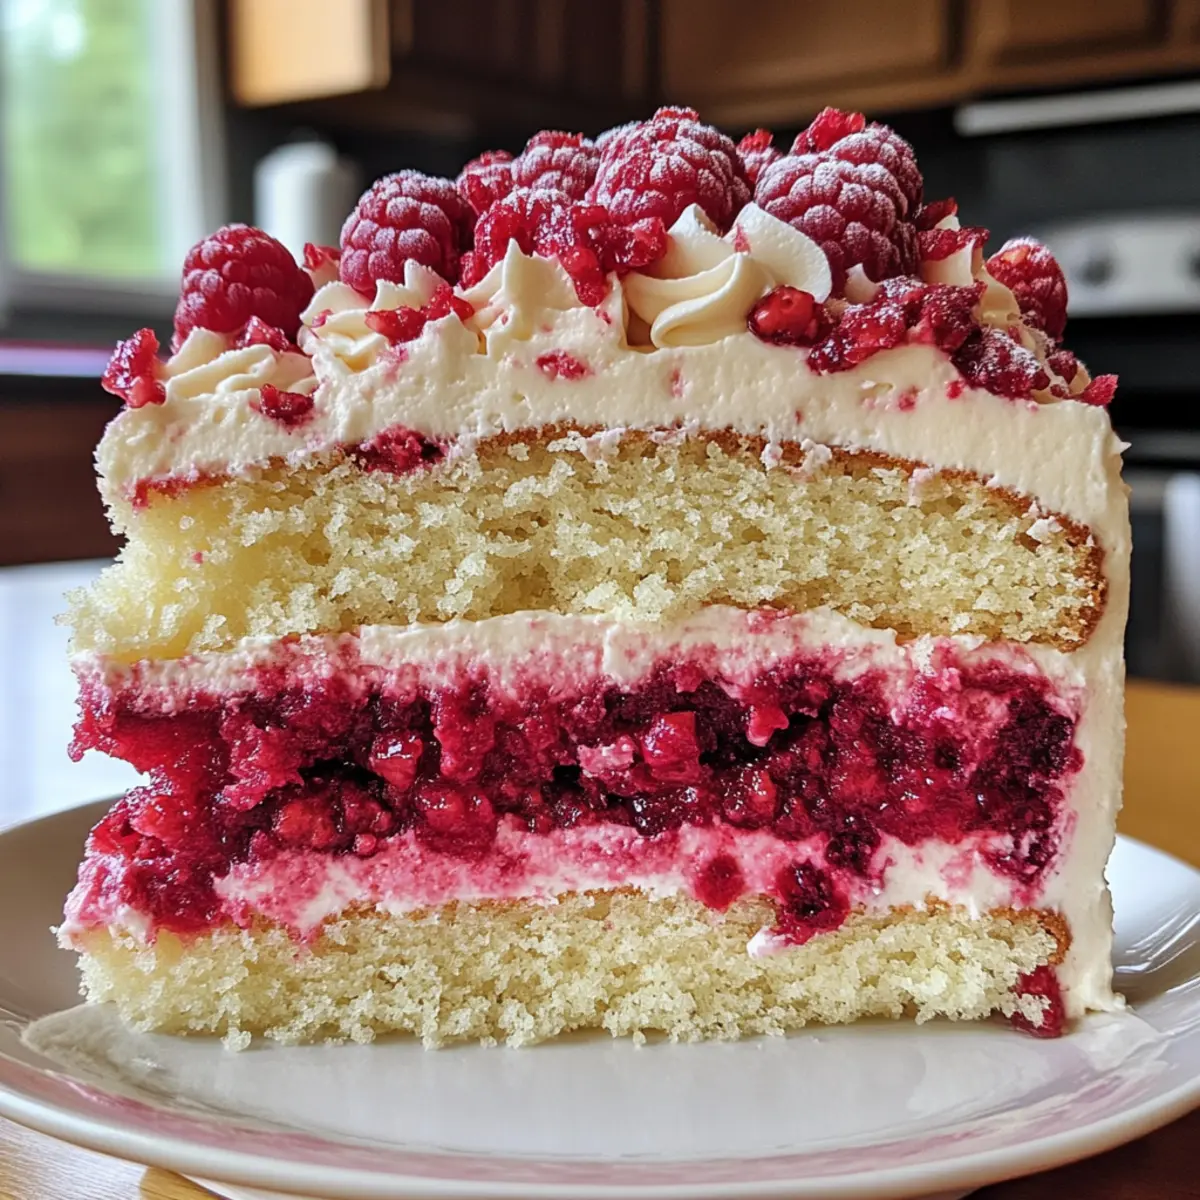
The kitchen was filled with a sweet, buttery fragrance that danced through the air, each note whispering of celebration. As I pieced together my White Chocolate Raspberry Dream Cake, I couldn’t help but feel a wave of anticipation for the joyful reactions it would evoke. This dessert isn’t just a treat; it’s an experience, effortlessly blending creamy white chocolate with the tart brightness of fresh raspberries. With its quick prep time and stunning presentation, this cake becomes the star of any gathering, whether it’s a birthday bash or a cozy dinner with friends. Curious to learn how to create this gorgeous centerpiece that’s sure to make every occasion special? Let’s get baking!
Why is This Cake So Special?
Decadent Flavor: White chocolate combined with tart raspberries creates a stunning contrast that will impress your taste buds.
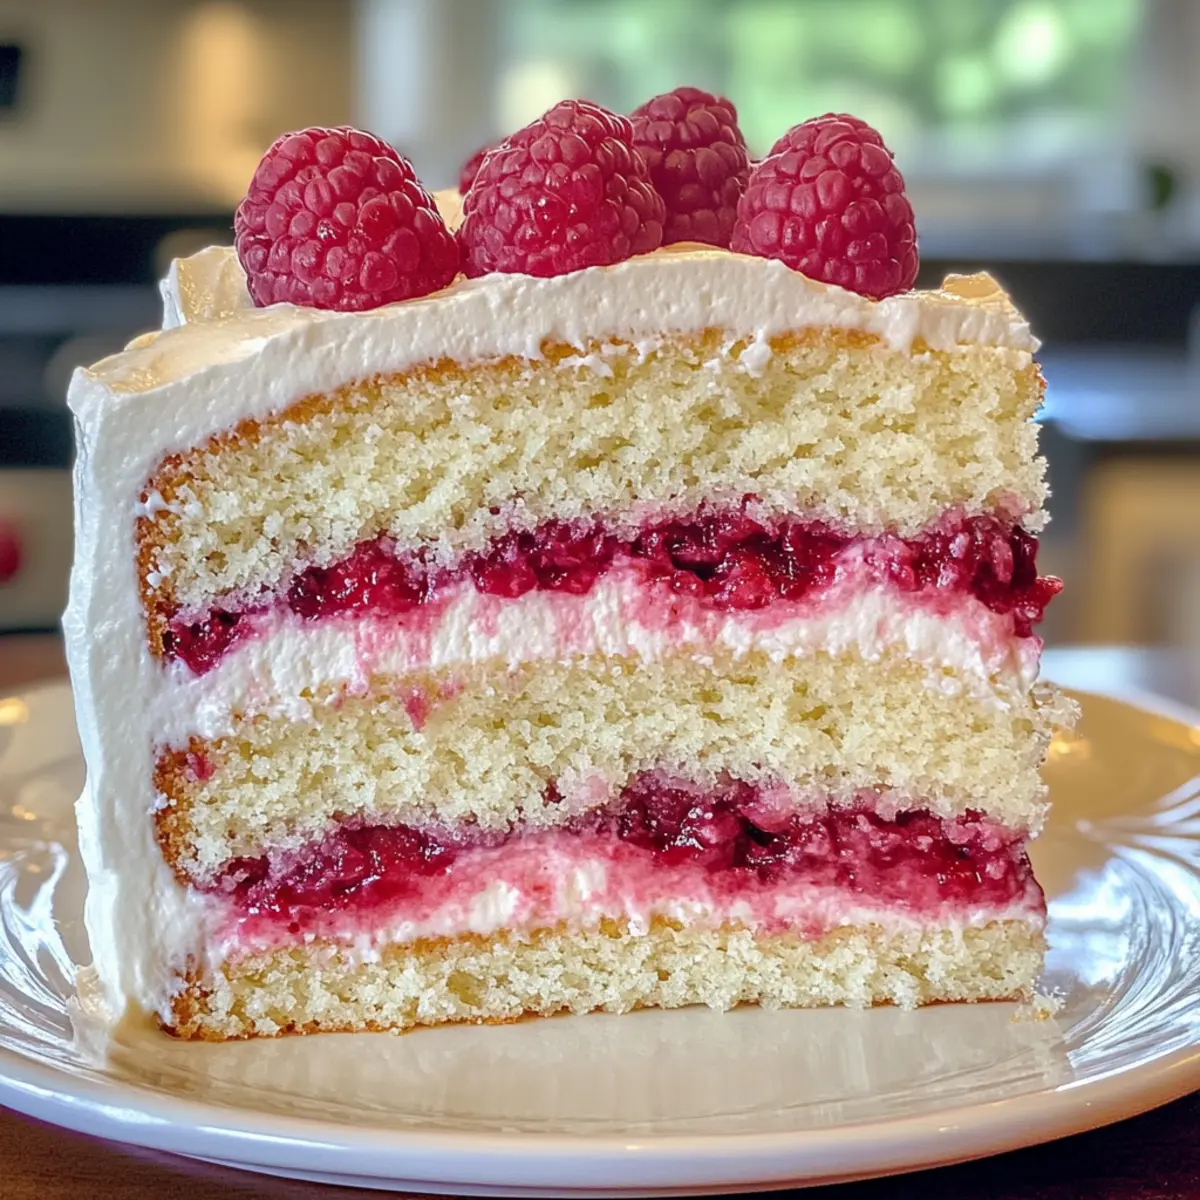
Visually Striking: This cake boasts beautiful layers that make it an eye-catching centerpiece for any celebration.
Quick Prep Time: You can whip this up with minimal fuss and peak enjoyment, perfect for both novice and experienced bakers.
Versatile Delight: Serve it chilled for an elegant dessert or at room temperature for a cozy gathering; it fits every occasion!
Imagine carving into that soft, buttery crumb and enjoying the explosion of flavor. Don’t forget to pair it with a scoop of ice cream for an extra special treat, similar to the delightful Peach Cobbler Cheesecake or the comforting Moist Chocolate Chip cake. You’re going to love making this White Chocolate Raspberry Dream Cake!
White Chocolate Raspberry Dream Cake Ingredients
For the Cake
• All-Purpose Flour – Essential for creating a sturdy base for your cake.
• Baking Powder – Ensures your cake rises beautifully, achieving that perfect fluffiness.
• Salt – Balances the sweetness and elevates the overall flavor of the cake.
• Unsalted Butter – Adds moisture and richness; make sure it’s at room temperature for easy mixing.
• Granulated Sugar – Sweetens the cake while helping to achieve a lovely texture.
• Eggs – Bind the ingredients together, contributing to the cake’s wonderful structure.
• Vanilla Extract – Enhances the cake’s flavor profile, bringing warmth and depth.
• White Chocolate Chips – Adds a sweet richness; opt for high-quality chocolate for a luxurious touch.
• Whole Milk – Keeps the cake tender and moist; buttermilk can be used for an exciting twist.
For the Raspberry Filling
• Fresh or Frozen Raspberries – Provides vibrant color and a sweet-tart contrast; can substitute with raspberry jam.
• Sugar (for filling) – Sweetness that balances the tartness of the raspberries.
• Lemon Juice – Adds brightness, elevating the flavor of the filling.
• Cornstarch – Thickens the raspberry filling for better spreadability and consistency.
For the Frosting
• Powdered Sugar – Creates a smooth and creamy frosting; adjust to your sweetness preference.
• Milk (for frosting) – Helps to reach the ideal frosting consistency; adjust as needed.
• Optional Garnish: Fresh raspberries, white chocolate curls, or mint leaves to enhance the presentation.
This delightful White Chocolate Raspberry Dream Cake is not just a dessert; it’s a showstopper that will leave your friends and family wanting more! Get ready to make some sweet memories!
Step‑by‑Step Instructions for White Chocolate Raspberry Dream Cake
Step 1: Prepare the Cake Layers
Start by preheating your oven to 350°F (175°C) and greasing three 8-inch round cake pans with butter, then dusting them with flour. In a mixing bowl, whisk together 2 cups of all-purpose flour, 1 tablespoon of baking powder, and ½ teaspoon of salt to ensure an even mix. This sets the foundation for your moist and fluffy White Chocolate Raspberry Dream Cake.
Step 2: Cream Butter and Sugar
In a large mixing bowl, beat ¾ cup of unsalted, room-temperature butter with 1 ½ cups of granulated sugar using an electric mixer on medium speed. Continue mixing until the mixture turns light and fluffy, approximately 3-5 minutes. This step incorporates air, creating a beautiful texture for your cake layers that will hold together the luscious raspberry filling.
Step 3: Add Eggs and Flavorings
Once your butter and sugar are perfectly creamed, add 3 large eggs, one at a time, beating well after each addition. This binding agent is perfect for achieving a tender crumb. After that, mix in 2 teaspoons of vanilla extract and 1 cup of melted white chocolate chips, ensuring everything is well combined. The melted chocolate adds richness that will elevate the cake’s flavor.
Step 4: Incorporate Dry and Wet Ingredients
Alternately add the dry flour mixture and 1 cup of whole milk to the wet ingredients, beginning and ending with the flour. Mix just until combined to prevent overmixing, which can make the cake dense. The batter should be creamy and smooth, indicating that your White Chocolate Raspberry Dream Cake layers are nearly ready for the oven.
Step 5: Bake
Divide the batter evenly among the prepared pans, smoothing the tops for even baking. Place them in the preheated oven and bake for 25-30 minutes. The cakes are done when they turn golden brown, and a toothpick inserted into the center comes out clean. Allow the cakes to cool in the pans for about 10 minutes before transferring them to a wire rack.
Step 6: Make Raspberry Filling
In a saucepan over medium heat, combine 2 cups of fresh or frozen raspberries, ½ cup of sugar, the juice of 1 lemon, and 1 tablespoon of cornstarch. Cook while gently stirring until the mixture thickens, roughly 5-7 minutes. Once it reaches a jam-like consistency, remove it from heat and let it cool completely before assembling, ensuring it won’t melt your frosting.
Step 7: Prepare Frosting
In a mixing bowl, beat ¾ cup of unsalted butter until creamy, then gradually add 3 cups of powdered sugar and a splash of milk. Continue beating until the mixture is smooth and fluffy, about 4-5 minutes. For an added richness, mix in ½ cup of melted white chocolate. This creamy frosting will perfectly complement the tart raspberry filling of your White Chocolate Raspberry Dream Cake.
Step 8: Assemble Cake
Once the cake layers are completely cool, carefully level them if necessary. Place one layer on a serving plate, spreading a generous layer of cooled raspberry filling on top. Repeat this with the second layer and finish with the third layer on top. Use the remaining frosting to cover the top and sides of the cake, creating a smooth, cohesive look.
Step 9: Decorate
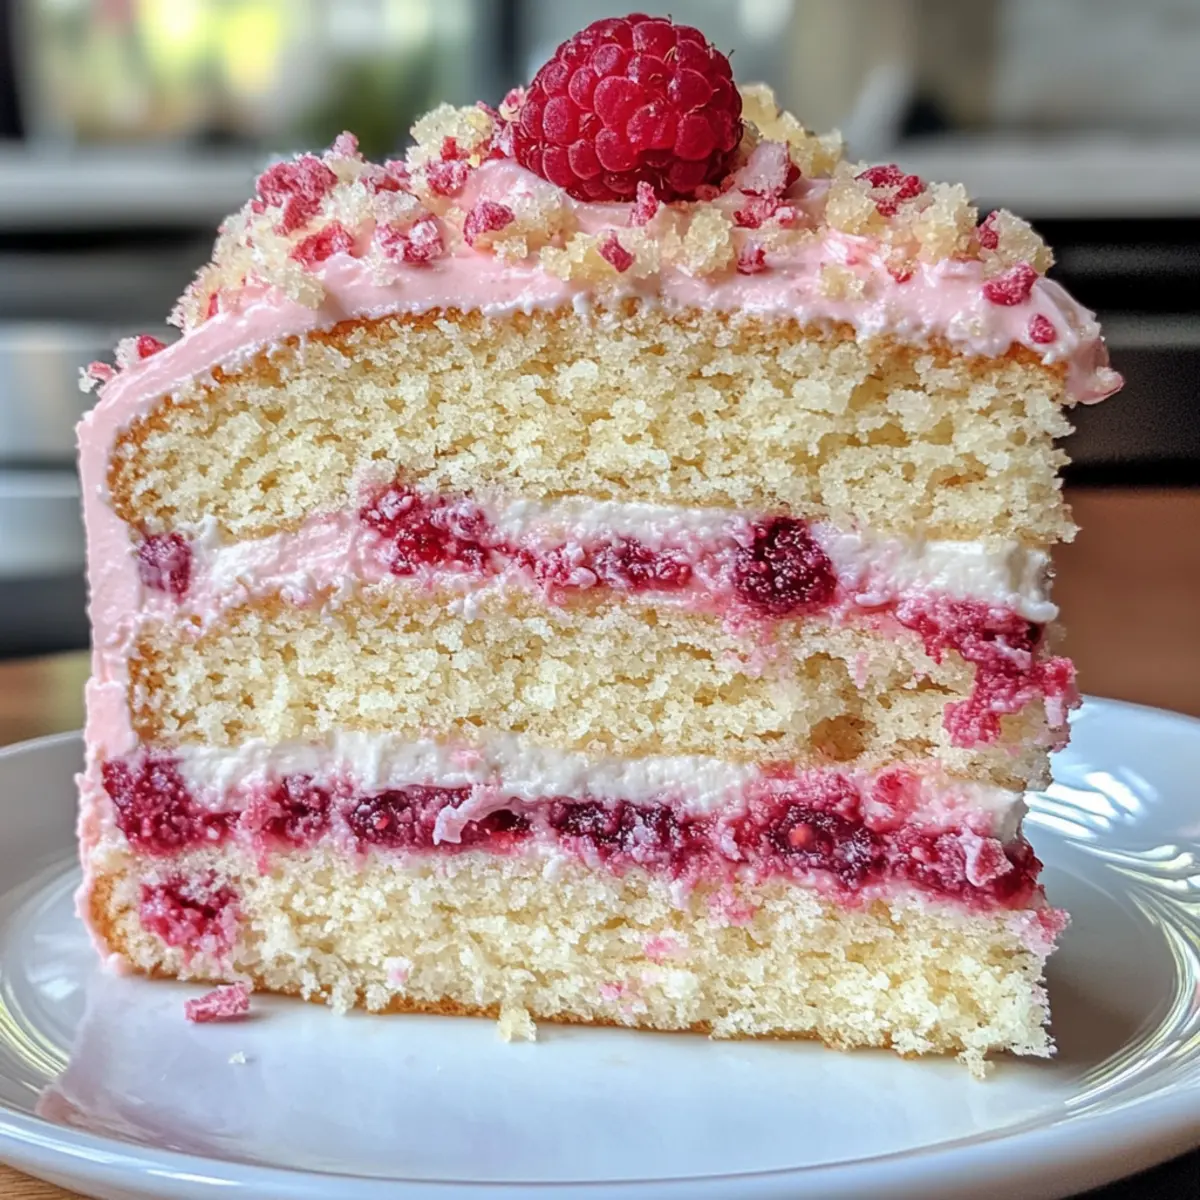
For a beautiful finishing touch, consider garnishing your White Chocolate Raspberry Dream Cake with fresh raspberries, delicate white chocolate curls, or a sprig of mint. These decorations not only enhance the cake’s appearance, but also hint at the delightful flavors within. Place the cake in the refrigerator for about 30 minutes to set the frosting before slicing and serving.
Make Ahead Options
These White Chocolate Raspberry Dream Cake layers are perfect for meal prep! You can bake and cool the cake layers up to 3 days in advance—simply wrap them tightly in plastic wrap and refrigerate to maintain their moisture. Likewise, the raspberry filling can be prepared up to 24 hours ahead of time and stored in an airtight container in the fridge, preventing it from becoming too runny. When you’re ready to serve, frost the cake with the buttery white chocolate frosting and let it set in the refrigerator for about 30 minutes. This way, you’ll have a stunning dessert that’s just as delicious but requires minimal effort on the day of your celebration!
How to Store and Freeze White Chocolate Raspberry Dream Cake
Fridge: Store in an airtight container for up to 4 days to keep the flavors fresh and the cake moist.
Freezer: Individually wrapped slices can be frozen for up to 2 months. Make sure to wrap them tightly to avoid freezer burn.
Thawing: Thaw slices in the fridge overnight or at room temperature for a couple of hours before enjoying your delicious White Chocolate Raspberry Dream Cake again.
Make-Ahead: Bake the cake layers in advance and freeze them. Assemble with the filling and frosting the day of serving for peak freshness.
White Chocolate Raspberry Dream Cake Variations
Make this delightful cake your own with a few simple swaps and creative twists that will invigorate the classic recipe!
-
Dairy-Free: Substitute unsalted butter with vegan butter and use almond or oat milk for the cake and frosting. This allows everyone to enjoy the same decadent flavors without any dairy!
-
Gluten-Free: Use a gluten-free all-purpose flour blend to make the cake suitable for those with gluten sensitivity. It’s a delicious way to include everyone in the celebration!
-
Chocolate Lover’s Version: Add cocoa powder to the cake batter for a chocolate twist. You could also layer in some chocolate ganache for extra indulgence. The combination of raspberry and chocolate is always a hit!
-
Enhanced Flavor: Infuse your frosting with a bit of almond extract for a warm and nutty flavor profile. This worlds beautifully with the raspberry and adds a delightful complexity to each bite.
-
Fruit Variations: Swap the raspberries for strawberries or blueberries, depending on what’s in season or your personal preference. Each fruit offers a different twist while keeping the cake fresh and exciting.
-
Mini Cakes: Bake the batter in mini cake pans or muffin tins for adorable, individual servings. Just adjust the baking time to about 15-20 minutes. Perfect for parties or lunchboxes!
-
Festive Decor: Drizzle the top with a simple raspberry coulis or melted white chocolate for an elegant finish. This not only makes it look fancy but adds a burst of extra flavor too.
Did you enjoy this cake? You might also want to try baking Chocolate Pumpkin Cupcakes for autumn gatherings or indulge in the comforting flavors of Oreo Stuffed Chocolate cookies. The possibilities are truly endless!
What to Serve with White Chocolate Raspberry Dream Cake
The decadent flavors of this cake invite an elegant spread that complements its sweetness perfectly.
- Fresh Berries: Juicy strawberries, blueberries, or raspberries enhance the cake’s flavor and add vibrant color, making every bite a burst of freshness.
- Vanilla Ice Cream: A scoop of rich, creamy vanilla ice cream melts beautifully over the cake, providing a delightful contrast in temperature and texture.
- Whipped Cream: Light and fluffy whipped cream, either sweetened or flavored, adds a touch of elegance and pairs wonderfully with the cake’s richness.
- Mint Sprigs: Bright green mint leaves not only add color but also a refreshing hint of flavor that complements the tartness of the raspberries beautifully.
- Sparkling Wine: A glass of bubbly sparkling wine brings a celebratory feel to your dessert, making it perfect for special occasions and enhancing the overall experience.
- Chocolate-Covered Strawberries: Dipping fresh strawberries in chocolate creates a sensory delight that pairs beautifully with the cake’s white chocolate notes.
- Fruit Compote: A warm raspberry or mixed berry compote can amplify the fruity flavors of the cake, making each slice unforgettable.
- Coffee or Espresso: Rich, aromatic coffee rounds out the meal, balancing the sweetness of the cake with its bitter notes, perfect for the dessert lover in your life.
Expert Tips for White Chocolate Raspberry Dream Cake
-
Use Room Temperature Ingredients: Ensure all your ingredients, especially butter and eggs, are at room temperature for a smoother batter and better texture in your White Chocolate Raspberry Dream Cake.
-
Don’t Overmix: After you add the flour mixture, mix until just combined. Overmixing can lead to a dense cake—no one wants that!
-
Cool Completely: Allow your cake layers to cool completely before assembling. This keeps the raspberry filling from melting your frosting and maintains a beautiful presentation.
-
Level Your Cakes: If your baked layers are domed, use a serrated knife to level them. This ensures even stacking and a stable structure for your beautiful cake.
-
Invest in Quality Ingredients: High-quality white chocolate and fresh raspberries significantly enhance flavor and texture. It’s worth it!
-
Chill Before Slicing: After assembling, chill your cake for about 30 minutes before cutting. This allows the frosting to set and makes for cleaner slices.

White Chocolate Raspberry Dream Cake Recipe FAQs
How do I choose the best raspberries for the filling?
When selecting raspberries, look for plump, vibrant berries with no dark spots or mold. If using frozen raspberries, choose high-quality brands that don’t contain added sugars. Fresh is ideal, but frozen works just as well and is often available year-round!
What’s the best way to store leftovers?
Absolutely! To keep your White Chocolate Raspberry Dream Cake fresh, store it covered in an airtight container in the refrigerator for up to 4 days. This will help maintain its moisture and flavor, ensuring every slice is as delightful as the first.
Can I freeze the cake for later enjoyment?
Yes, you can freeze individual slices for up to 2 months! Wrap each slice tightly in plastic wrap, then place it in an airtight container or a heavy-duty freezer bag. When you’re ready to indulge, simply thaw the slices in the refrigerator overnight or at room temperature for a couple of hours.
What should I do if my cake layers have domed tops?
If your cake layers turn out with domed tops, no worries! Use a serrated knife to gently level them off. This ensures even stacking and a nice, stable base for your filling and frosting.
Is this cake suitable for those with allergies?
If you or your guests have dietary restrictions, it’s crucial to consider them! This White Chocolate Raspberry Dream Cake contains common allergens like gluten (from flour), dairy (from butter and milk), and eggs. To make it more allergy-friendly, you could try using gluten-free flour, dairy-free butter alternatives, and egg substitutes like applesauce or flaxseed meal.
Can I prepare the cake layers in advance?
Absolutely! You can bake the cake layers a day or two ahead of time. Allow them to cool completely, wrap them tightly in plastic wrap, and store them in the fridge. When you’re ready, just assemble with the filling and frosting. This approach not only saves time but also ensures freshness for your special occasion.
Dreamy White Chocolate Raspberry Cake for Celebrations
Ingredients
Equipment
Method
- Preheat your oven to 350°F (175°C) and grease three 8-inch round cake pans with butter, then dust with flour.
- In a mixing bowl, whisk together 2 cups of all-purpose flour, 1 tablespoon of baking powder, and 0.5 teaspoon of salt.
- Beat 0.75 cup of unsalted butter with 1.5 cups of granulated sugar until light and fluffy.
- Add 3 large eggs one at a time, then mix in 2 teaspoons of vanilla extract and 1 cup of melted white chocolate chips.
- Alternately add the flour mixture and 1 cup of whole milk to the wet ingredients, mixing just until combined.
- Divide the batter among the prepared pans and bake for 25-30 minutes until golden brown.
- For the raspberry filling, combine 2 cups of raspberries, 0.5 cup of sugar, the juice of 1 lemon, and 1 tablespoon of cornstarch in a saucepan, cooking until thick.
- Beat 0.75 cup of unsalted butter until creamy, then gradually add 3 cups of powdered sugar and a splash of milk, mixing until smooth.
- Once the layers are cool, level them, placing one on a plate, spreading raspberry filling, and repeating with the second layer.
- Cover the cake with the remaining frosting and garnish as desired. Chill for 30 minutes before serving.
Leave a Reply