
There’s something magical about desserts that melt in your mouth, and my no-egg chocolate mousse is no exception. This indulgent treat comes together in just 10 minutes, and it’s so incredibly easy that even novice bakers will find success. The rich, velvety chocolate flavor and airy texture make this mousse a showstopper for any occasion, from dinner parties to simple weeknight cravings. With no eggs involved, it’s a quick solution for those who either can’t have eggs or simply want a hassle-free dessert. Plus, the elegance of this French delight will leave your guests impressed without the stress of complicated techniques. Ready to dive into silky bliss? Let’s whisk our way to a heavenly chocolate experience!
Why Is This Mousse So Irresistible?
Simplicity at Its Best: This no-egg chocolate mousse comes together in just 10 minutes, making it perfect for those who want a quick dessert.
Decadent Flavor: With rich semi-sweet chocolate and a touch of vanilla, each spoonful offers a luxurious taste that rivals any restaurant version.
Versatile Garnishing: It can be beautifully adorned with fresh berries or a drizzle of caramel, making it suitable for both casual and formal occasions.
Perfect For Everyone: Whether you’re avoiding eggs or simply in the mood for something easy yet impressive, this mousse suits all dietary preferences.
Make-Ahead Friendly: Prepare this delightful dessert in advance to reduce your kitchen stress on special occasions or gatherings.
Chocolate Mousse Ingredients
For the Mousse Mix
• Semi-Sweet Chocolate – Provides rich chocolate flavor and creamy texture; using baking chocolate yields the best results.
• Dutch-Processed Cocoa Powder – Enhances chocolate flavor with a smoother taste; natural cocoa can give a sharper profile.
• Boiling Water – Activates cocoa powder and intensifies the chocolate flavor; it’s crucial for the mousse texture.
• Vanilla Extract – Adds depth to the flavor; opt for pure vanilla for the most natural taste.
For the Whipped Cream
• Heavy Cream – Creates the fluffy texture of the mousse; make sure it’s cold for best whipping.
• Granulated Sugar – Sweetens the mousse to balance rich flavors; caster sugar is a great substitute if needed.
• Pinch of Table Salt – Enhances the overall flavor; just a pinch will do!
This delightful chocolate mousse is a quick, delicious treat that everyone will love, regardless of dietary choices.
Step‑by‑Step Instructions for Silky No-Egg Chocolate Mousse
Step 1: Melt the Chocolate
Begin by chopping the semi-sweet chocolate into small pieces for even melting. Place the chocolate in a microwave-safe bowl and microwave in 20-30 second intervals, stirring between each, until completely smooth. This process should take about 1 to 2 minutes. Once melted, set the chocolate aside to cool slightly before incorporating it into the mousse.
Step 2: Bloom the Cocoa Powder
While the chocolate cools, bring a cup of water to a rolling boil. In a separate bowl, whisk together the Dutch-processed cocoa powder and the boiling water until completely smooth, ensuring there are no lumps. This blooming process enhances the chocolate flavor and is crucial for the richness of your no-egg chocolate mousse.
Step 3: Combine the Chocolate Mixtures
With the cocoa mixture ready, add it to the melted chocolate, followed by the vanilla extract. Using a whisk, gently combine these two mixtures until fully incorporated and smooth in texture. This step is important for creating a unified chocolate base, rich in flavor, at the heart of your no-egg chocolate mousse.
Step 4: Whip the Cream
In a clean, cold mixing bowl, pour in the heavy cream. Add the granulated sugar and a pinch of salt, then use an electric mixer to whip the cream on medium speed. Continue whipping until soft peaks form, which should take about 3 to 5 minutes. Be careful not to over-whip; the cream should be light and fluffy, perfect for folding into the chocolate mixture.
Step 5: Incorporate the Whipped Cream
Gently fold one-quarter of the whipped cream into the chocolate mixture using a spatula. This step lightens the chocolate base, making it easier to incorporate the remaining cream. Once combined, carefully fold in the rest of the whipped cream in two additions, ensuring you maintain the airy texture vital for the no-egg chocolate mousse.
Step 6: Chill the Mousse
Once your mousse is fully combined and silky, divide it into serving cups or bowls. Cover each cup with plastic wrap or a lid, then refrigerate for at least 3 hours, or until set. Chilling not only firms up the mousse but also allows the flavors to meld beautifully, making each bite irresistibly creamy.
Step 7: Serve and Garnish
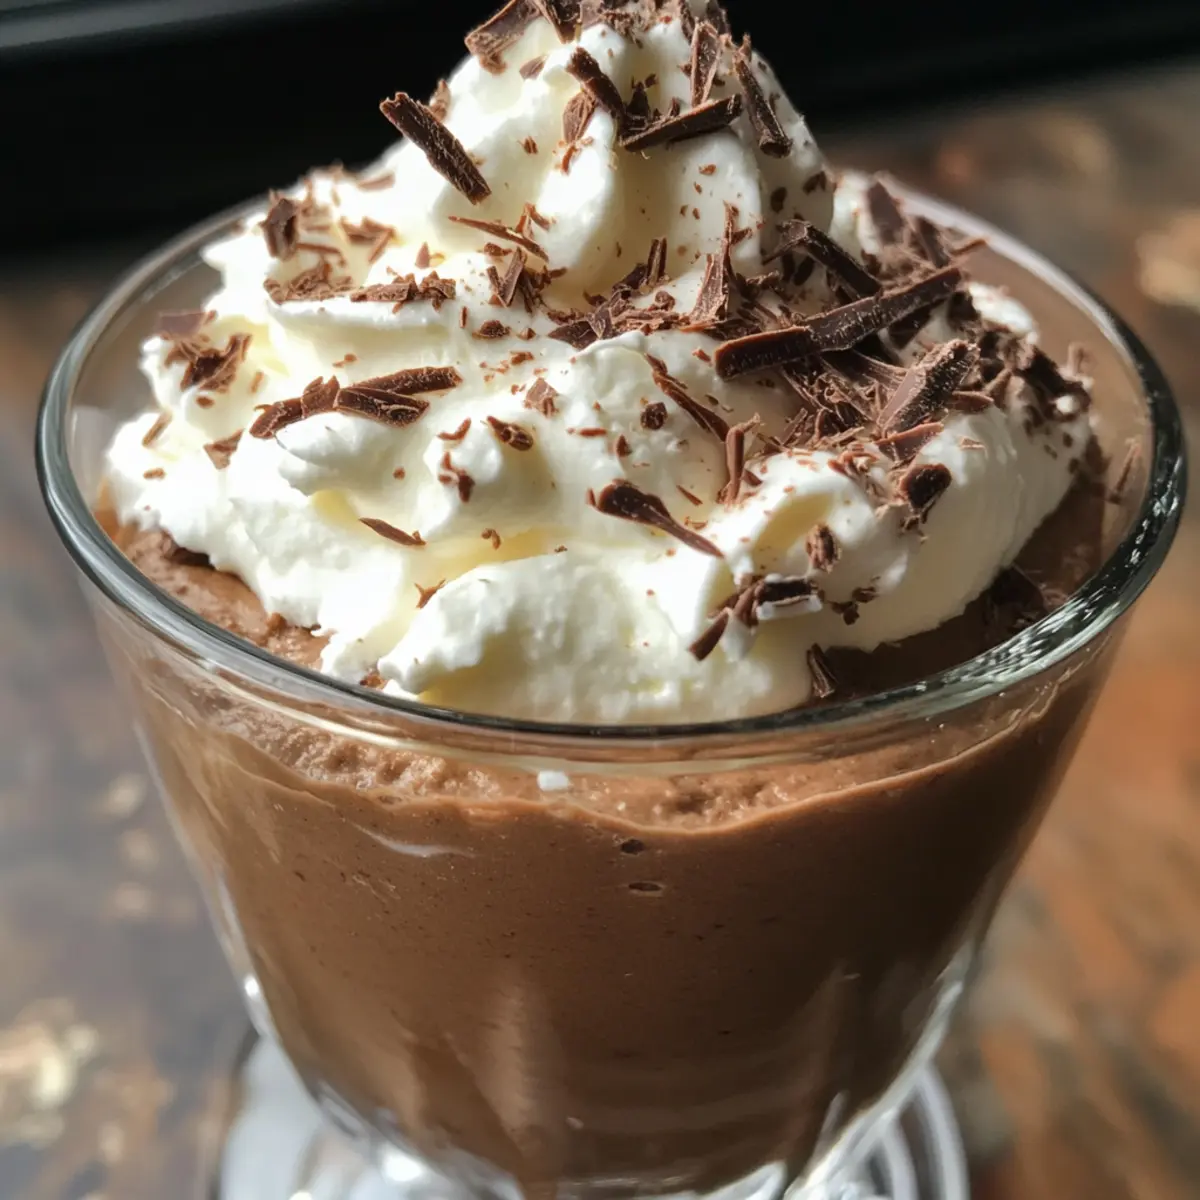
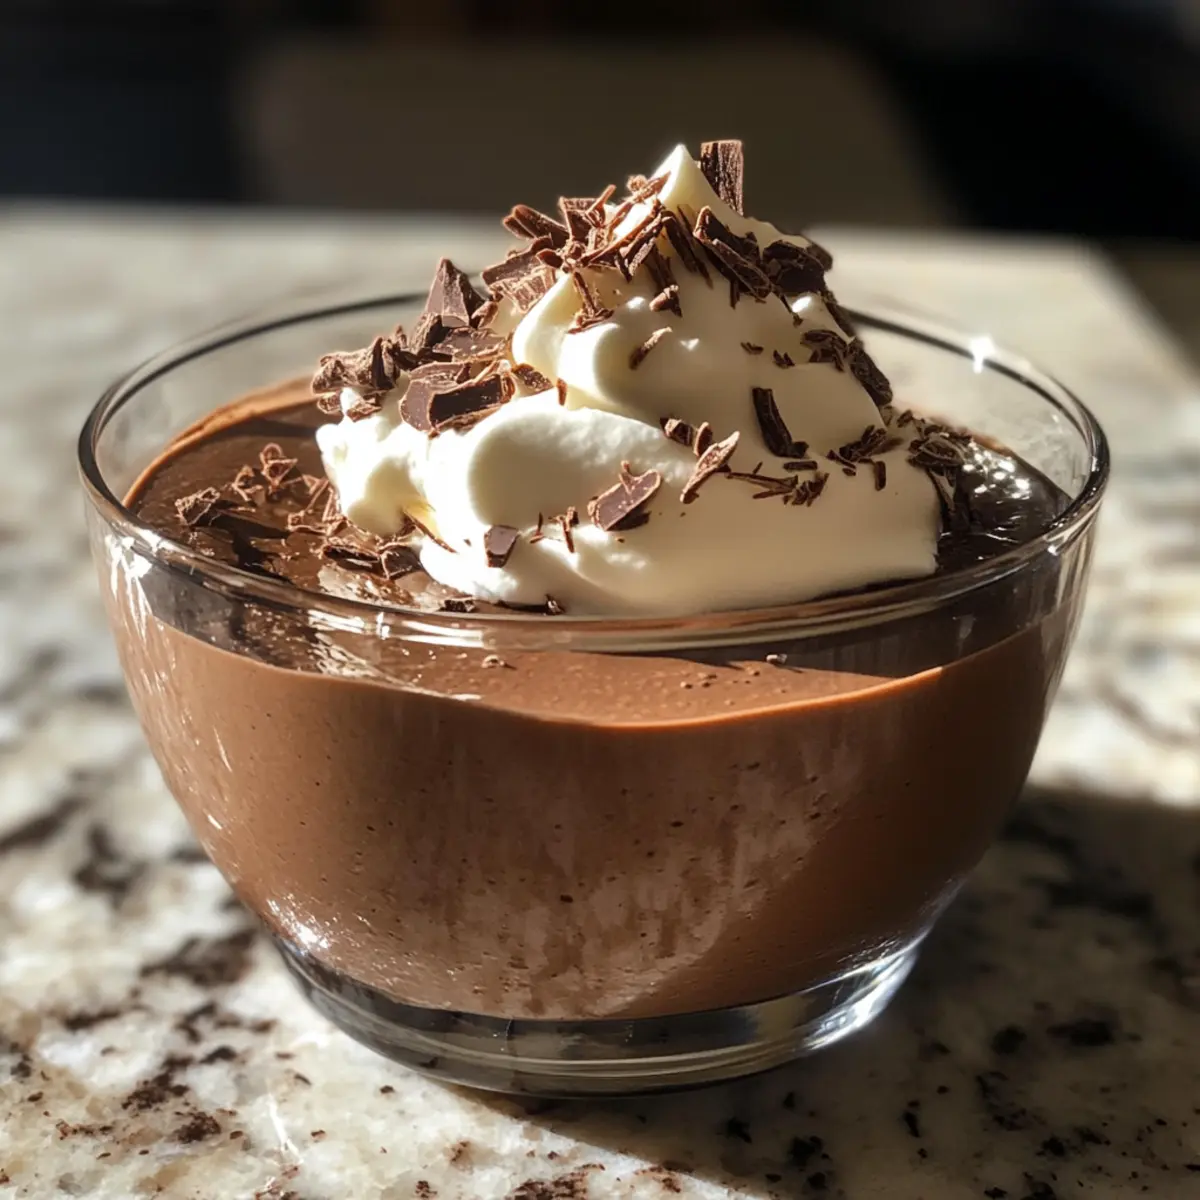
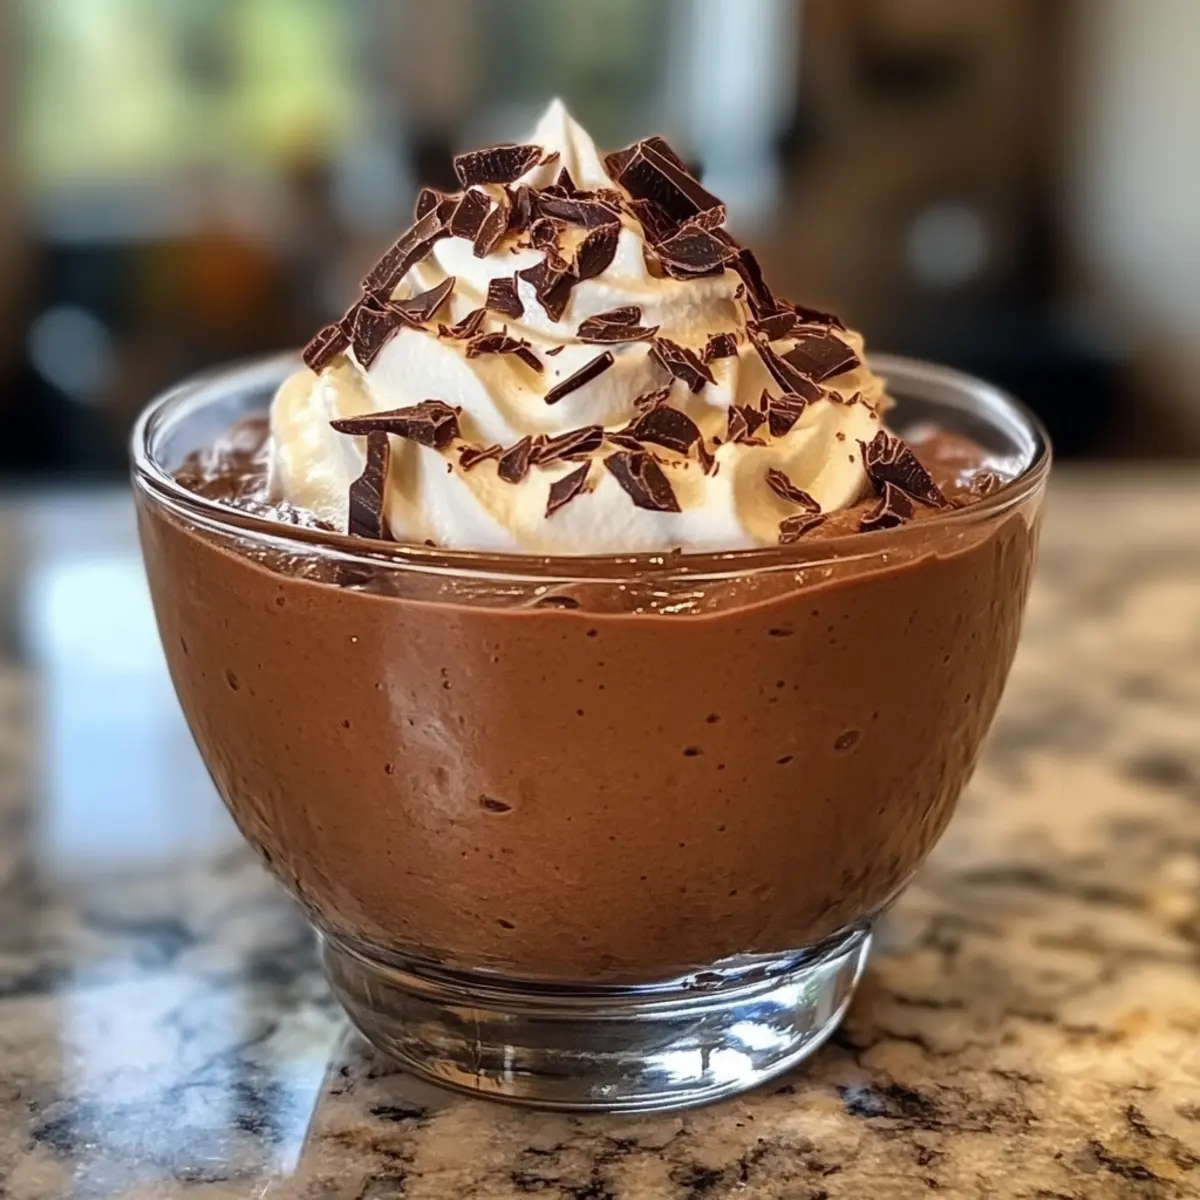
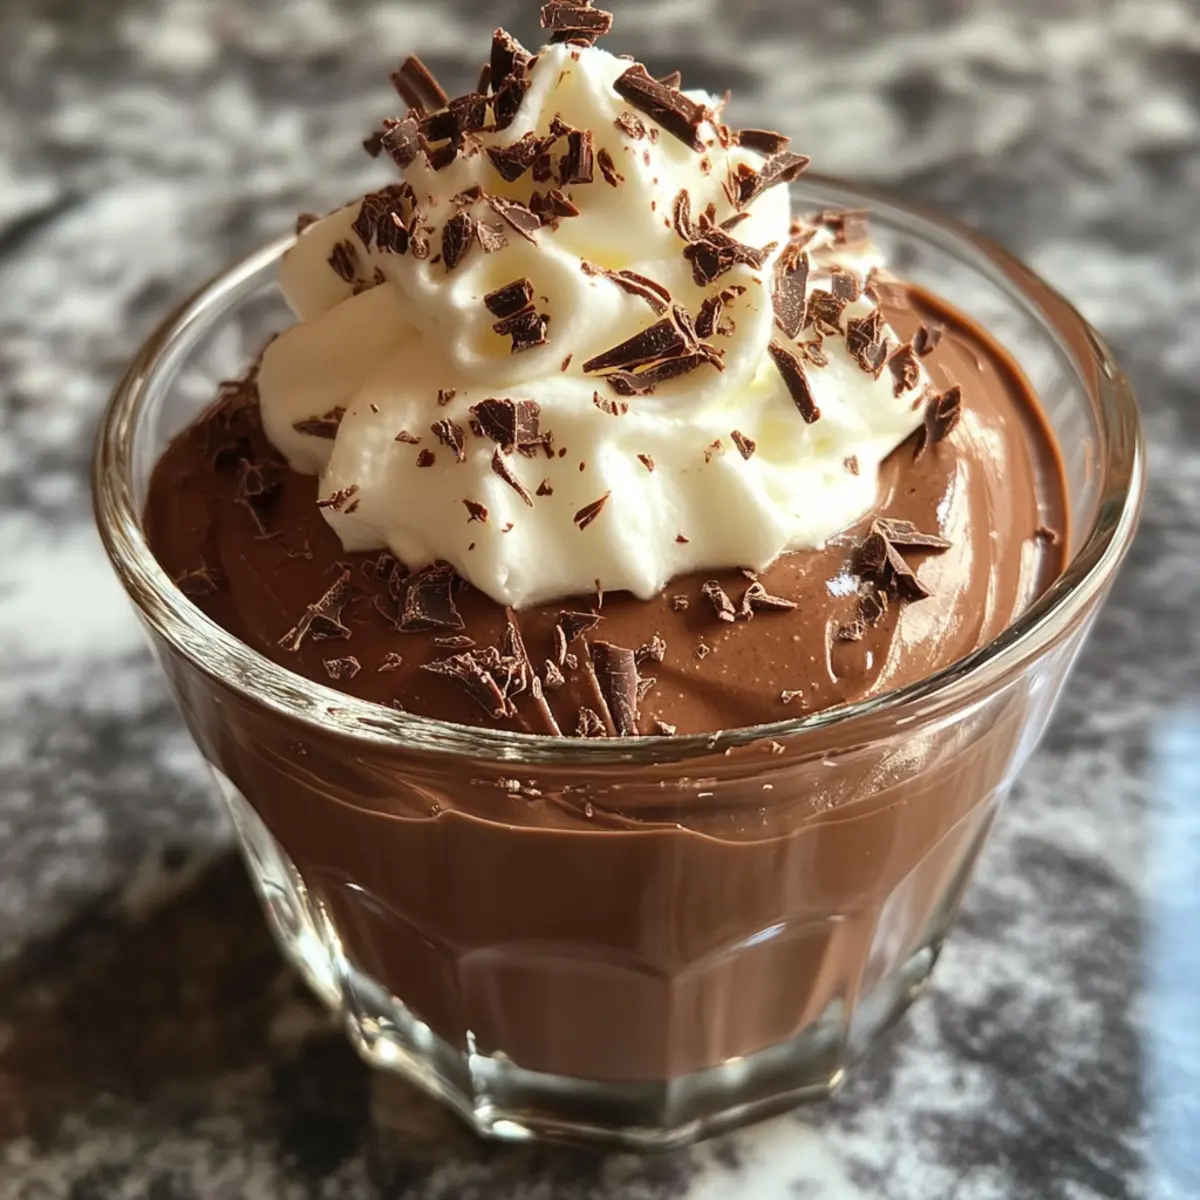
When ready to serve, remove the mousse from the refrigerator. Garnish each serving with a dollop of extra whipped cream and sprinkle chocolate shavings or fresh berries on top for an elegant presentation. Your decadent no-egg chocolate mousse is now ready to be enjoyed, showcasing its rich flavor and delightful texture.
Chocolate Mousse Variations & Substitutions
Feel free to play with flavors and textures, creating a personalized twist on this delightful dessert!
-
Dairy-Free: Substitute heavy cream with coconut cream for a tropical flavor and creamy texture.
-
Sugar-Free: Use a sugar substitute like erythritol or stevia to create a guilt-free version that still satisfies your sweet tooth.
-
Nutty Addition: Fold in a couple of tablespoons of almond or hazelnut butter for a rich, nutty flavor that complements the chocolate beautifully. This not only adds an intriguing taste but also enriches the mousse’s creamy texture.
-
Spiced Chocolate: Mix in a pinch of cinnamon or a dash of chili powder to kick up the flavor profile with a warm, spicy undertone. This unexpected twist will make your mousse stand out.
-
Fruit Fusion: Add a swirl of blended strawberries or raspberries to the mousse before setting it for a fruity flair. This not only adds color but also a fresh burst of flavor with each bite.
-
Decadent Toppings: Top your mousse with a drizzle of chocolate sauce, or cover with a layer of Corn White Chocolate for added sweetness and texture.
-
Gourmet Flavor: For a restaurant-quality experience, incorporate a few drops of peppermint extract or orange zest to elevate the classic chocolate flavor, giving your dessert an elegant finish.
-
Coffee Lovers: Mix in a teaspoon of brewed espresso or instant coffee granules for a mocha-infused experience. This simple addition enhances the chocolate’s richness and adds depth.
Embrace these variations to suit whatever taste mood you’re in, or try experimenting with combinations!
What to Serve with Decadent No-Egg Chocolate Mousse?
Elevate your no-egg chocolate mousse experience by pairing it with delightful side dishes and beverages that complement its lush flavors.
- Fresh Berries: The tartness of strawberries or raspberries cuts through the richness, offering a refreshing balance in every bite.
- Shortbread Cookies: Buttery and crisp, they add a wonderful texture contrast that perfectly complements the softness of the mousse.
- Whipped Cream: A classic accompaniment, a dollop of unsweetened whipped cream adds extra creaminess, enhancing the mousse’s indulgent nature.
- Caramel Sauce: Drizzle warm caramel over the mousse for an extra layer of flavor that provides a delightful sweet contrast to the chocolate.
- Espresso: A shot of espresso enhances the chocolate flavor and offers a rich, bold beverage option that pairs beautifully with dessert.
- Chocolate Shavings: Use extra chocolate shavings as a garnish for added texture and an elegant finish that makes your dessert stand out.
- Nutty Biscotti: The crunch of almond or hazelnut biscotti adds a delightful texture and nutty flavor that complements the smooth richness of the mousse.
- Mint Leaves: Fresh mint offers a burst of freshness, elevating the chocolate taste while providing a visually stunning decorative touch.
Combining these pairs will not only delight your taste buds but create a memorable experience for you and your guests!
Helpful Tricks for Chocolate Mousse
-
Melt Carefully: Ensure chocolate is melted slowly in the microwave, stirring frequently to prevent burning and achieve a smooth texture.
-
Whip Wisely: Use a cold bowl and cold cream for whipping; this helps achieve the perfect soft peaks essential for a light no-egg chocolate mousse.
-
Gentle Folding: When incorporating whipped cream, use a gentle folding technique to maintain the mousse’s airy texture. Avoid vigorous stirring to keep it fluffy.
-
Adapt Ingredients: If using chocolate chips, remember they can set more firmly. Baking chocolate results in a smoother, creamier mousse, so choose wisely.
-
Flavor Enhancer: For an added twist, a few drops of espresso powder can deepen the chocolate flavor, elevating your no-egg chocolate mousse experience!
Make Ahead Options
These delightful no-egg chocolate mousse cups are a fantastic option for meal prep! You can whip up the mousse up to 5 days in advance. Simply complete all the steps until chilling, then cover the cups with plastic wrap or lids and refrigerate. This method allows the flavors to deepen while ensuring the mousse maintains its smooth, airy texture. When you’re ready to serve, just garnish with fresh whipped cream and chocolate shavings for that perfect finish—making your dessert feel equally special and fresh, even days later. So, whether it’s for a gathering or a sweet weeknight treat, you’ll have an effortlessly impressive dessert ready to go!
Storage Tips for Chocolate Mousse
Fridge: Store uneaten mousse in the refrigerator for up to 7 days in airtight containers. Ensure they are covered to prevent any odors from affecting the rich chocolate flavor.
Freezer: Chocolate mousse can be frozen for up to 2 months. Spoon into freezer-safe containers, leaving space for expansion. Thaw in the fridge overnight for best texture.
Make-Ahead: This dessert can be prepared in advance, making it ideal for gatherings. Prepare the mousse and chill until ready to serve.
Reheating: There’s no need to reheat mousse; enjoy it chilled! Garnish with whipped cream or berries just before serving for maximum freshness.
Chocolate Mousse Recipe FAQs
What type of chocolate should I use for the mousse?
Absolutely, using semi-sweet baking chocolate is recommended for the best flavor and texture. Chocolate chips may work, but they often lead to a firmer mousse, whereas baking chocolate creates that luscious, creamy consistency we all crave.
How long can I store chocolate mousse in the refrigerator?
You can store your delicious mousse in the refrigerator for up to 7 days. Just make sure to cover it well in an airtight container to prevent any fridge odors from affecting its rich chocolate flavor.
Can I freeze chocolate mousse for later use?
Very much! You can freeze chocolate mousse in freezer-safe containers for up to 2 months. Just make sure to leave some space for expansion as it freezes. When you’re ready to enjoy it, thaw in the refrigerator overnight for the best texture.
Do I need to worry about dietary restrictions like eggs or allergies?
This no-egg chocolate mousse is perfect for those avoiding eggs. However, if there are additional allergen considerations, such as dairy or gluten (depending on your chocolate), please ensure to check ingredient labels carefully. You can also explore using dairy-free alternatives for heavy cream to accommodate different diets.
What can I do if my mousse doesn’t set properly?
If you find that your mousse hasn’t set well, it could be due to insufficient whipping of the cream or not incorporating enough air during the folding process. To salvage it, try gently re-whipping the mousse, adding a bit more chilled heavy cream if needed. Be sure to chill it longer, too—sometimes, a bit more time in the fridge will do the trick!
Silky No-Egg Chocolate Mousse: A Quick Indulgence
Ingredients
Equipment
Method
- Step 1: Melt the Chocolate - Chop the semi-sweet chocolate and microwave in 20-30 second intervals until smooth.
- Step 2: Bloom the Cocoa Powder - Mix Dutch-processed cocoa powder with boiling water until smooth.
- Step 3: Combine the Chocolate Mixtures - Add cocoa mixture to melted chocolate and whisk in vanilla extract until smooth.
- Step 4: Whip the Cream - In a cold mixing bowl, whip heavy cream with sugar and salt until soft peaks form.
- Step 5: Incorporate the Whipped Cream - Gently fold whipped cream into chocolate mixture in two additions.
- Step 6: Chill the Mousse - Divide into serving cups and refrigerate for at least 3 hours until set.
- Step 7: Serve and Garnish - Garnish with whipped cream and chocolate shavings or fresh berries before serving.
Leave a Reply