
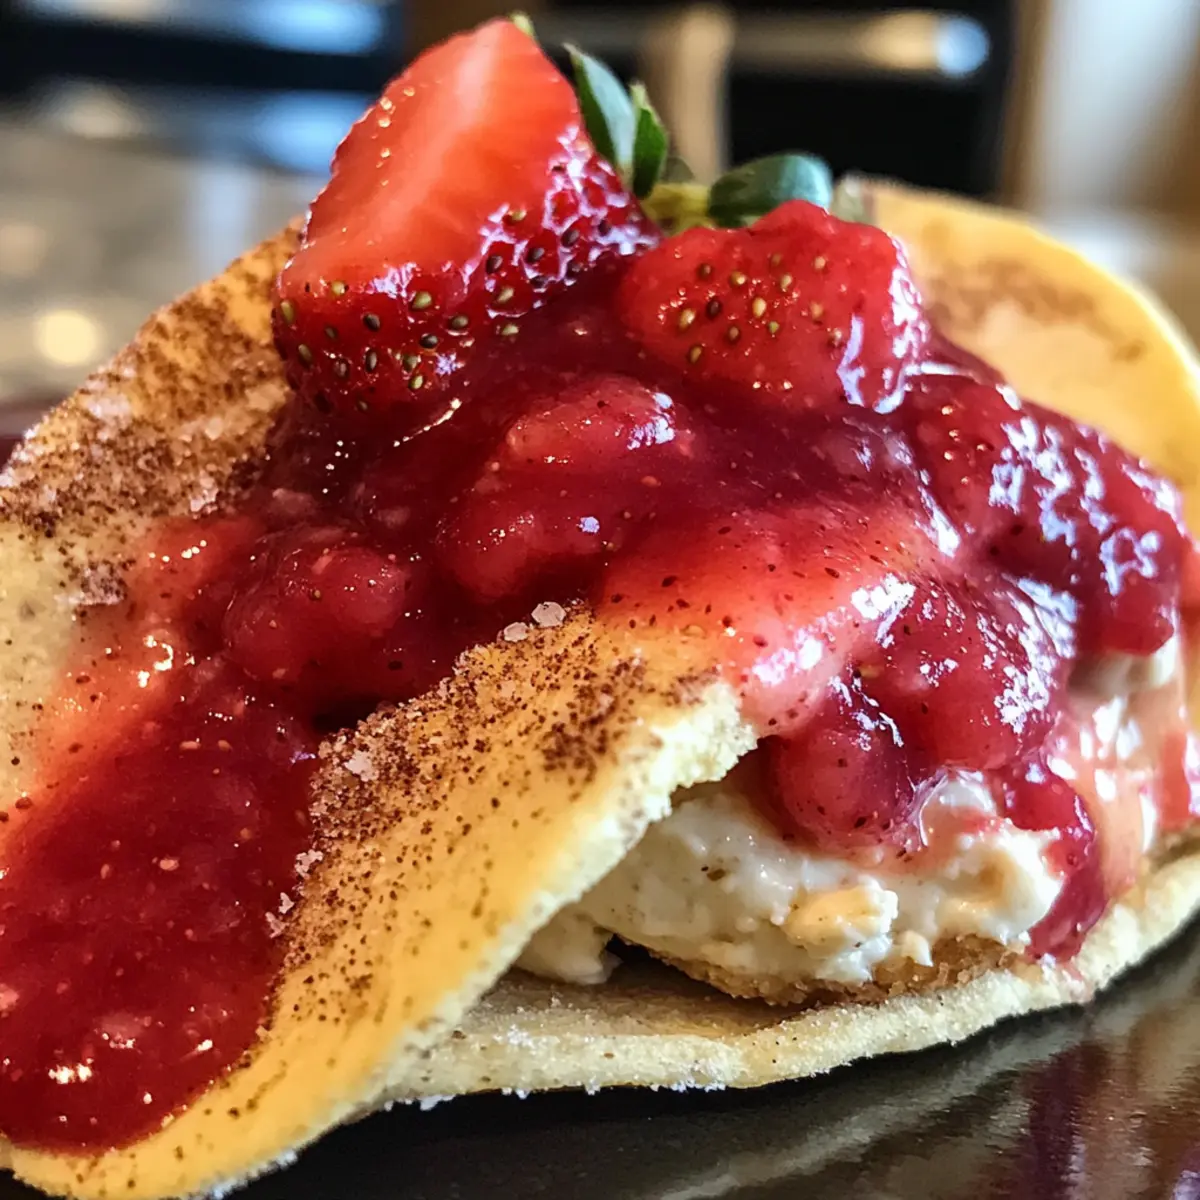
Springtime calls for vibrant flavors, and what better way to celebrate than with these Crunchy Strawberry Cheesecake Tacos? Picture this: a warm, cinnamon-sugar tortilla shell cradling a silky cheesecake filling, all topped off with a drizzle of homemade strawberry sauce. It’s a delightful treat that’s as beautiful as it is delicious. The best part? These cheesecake tacos are quick and easy to whip up, making them perfect for spontaneous gatherings or a sweet night in. Plus, they’re customizable—mix in your favorite fruits or add a dash of chocolate for a fun twist! Are you ready to impress your family and friends with this scrumptious dessert? Let’s dive in!
Why are Cheesecake Tacos a Must-Try?
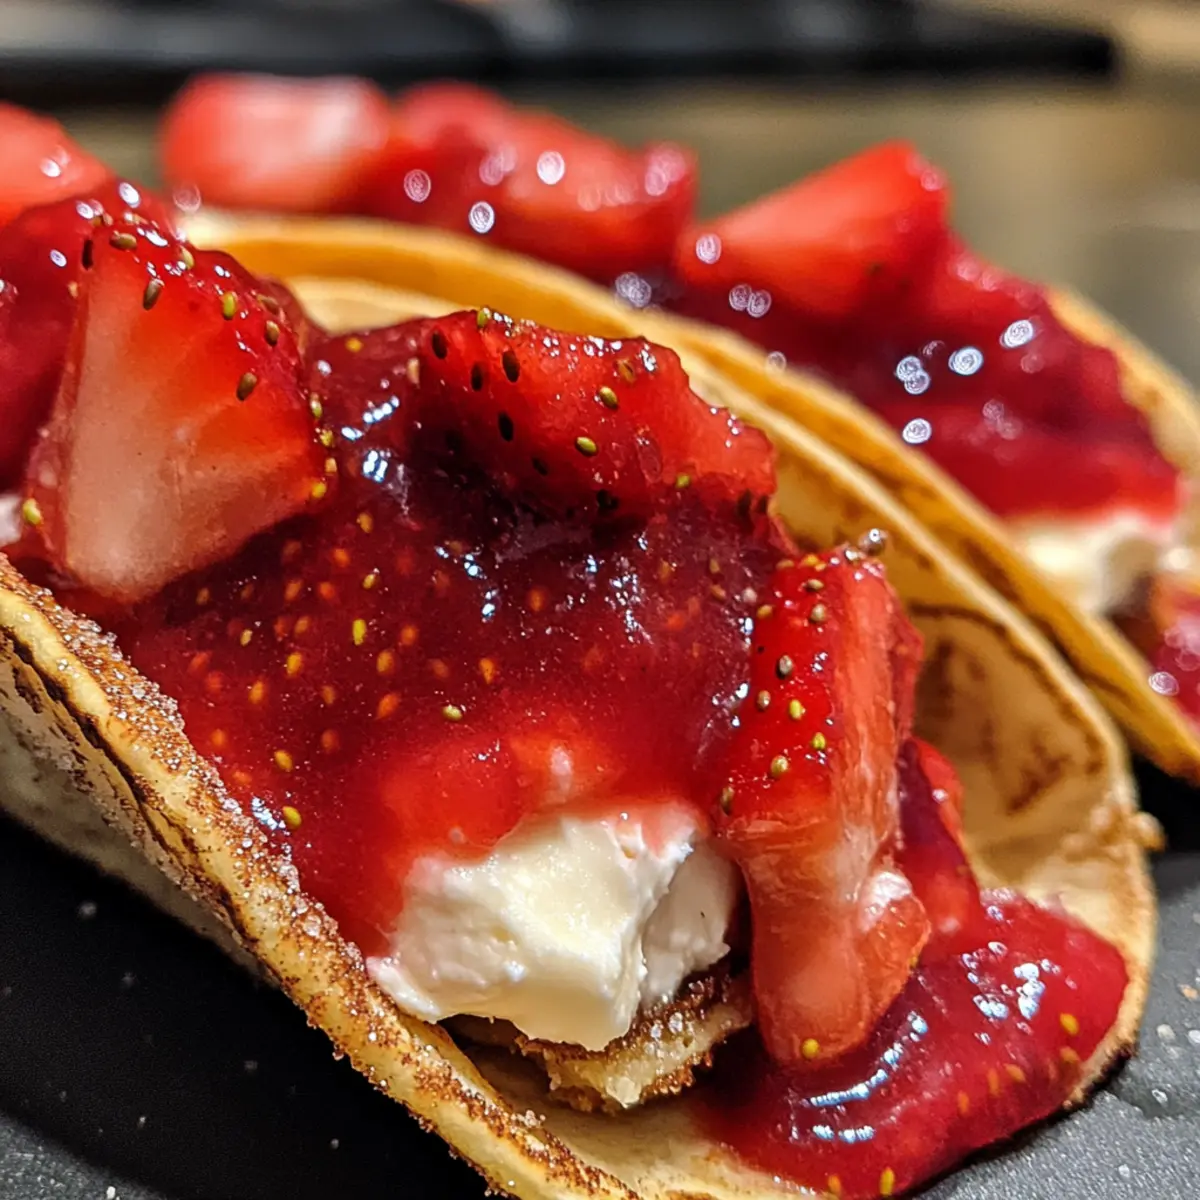
Irresistible Presentation: The vibrant colors and textures make these cheesecake tacos a showstopper at any gathering.
Quick & Easy: Made in just a few simple steps, this recipe is perfect for those last-minute dessert cravings or impromptu get-togethers.
Endless Customization: Feel free to swap strawberries for your favorite fruits or add a drizzle of chocolate sauce for a decadent twist.
Crowd-Pleasing Delight: Perfect for family nights or parties, these delicious tacos are sure to impress and satisfy everyone’s sweet tooth.
Unique Flavor Profile: Enjoy a delectable blend of crispy, creamy, and fruity flavors that will elevate your dessert experience!
If you’re searching for more tasty treats, check out these Pumpkin Cheesecake Muffins or Peach Cobbler Cheesecake for mouthwatering inspiration!
Cheesecake Tacos Ingredients
For the Tortilla Shells
- Tortillas – Form the crunchy base; you can use store-bought or homemade tortillas.
- Brown Sugar – Adds sweetness and helps create a caramelized crust when mixed with cinnamon; substitute with coconut sugar for a slight flavor change.
- Cinnamon – Enhances flavor with a warm spice; nutmeg can be used for a different spice profile.
- Oil – Used for frying tortillas to achieve a crispy texture; vegetable or canola oil works best, but coconut oil gives a tropical twist.
For the Strawberry Sauce
- Strawberries – The main flavor, providing sweet and tart notes; frozen strawberries are a great substitute when fresh ones aren’t available.
- Granulated Sugar – Sweetens the strawberry sauce; brown sugar can be used for a richer flavor.
- Lemon Juice – Adds acidity to brighten the strawberry sauce; lime juice can be a brighter alternative.
- Cornstarch – Thickens the sauce; tapioca starch can also provide the same effect.
For the Cheesecake Filling
- Heavy Whipping Cream – Creates the fluffy texture of the cheesecake filling; substitute with whipped coconut cream for a dairy-free option.
- Cream Cheese – Key for creaminess in the filling; mascarpone cheese can be used for a richer flavor.
- Powdered Sugar – Sweetens and smooths the cheesecake filling; granulated sugar can be used but will result in a grainier texture.
- Vanilla Extract – Infuses the filling with a warm, aromatic flavor; almond extract can be a delightful alternative for a different nuance.
These cheesecake tacos are sure to delight everyone with their unique blend of flavors and textures. Enjoy making them!
Step‑by‑Step Instructions for Cheesecake Tacos
Step 1: Make Tortilla Shells
In a mixing bowl, combine brown sugar and cinnamon. Cut tortillas into 3.5-4 inch circles using a cookie cutter or a sharp knife. Heat oil in a skillet over medium heat (about 350°F) and fry the tortilla circles until golden and crispy, about 1-2 minutes per side. As soon as they’re removed from the oil, shape them into taco shells and coat evenly with the sugar-cinnamon mix.
Step 2: Prepare Strawberry Sauce
Wash and dice fresh strawberries, then add them to a saucepan over medium heat. Sprinkle in granulated sugar and lemon juice, cooking for about 5-7 minutes until the strawberries soften and release their juices. Mix cornstarch with a bit of water, then stir the mixture into the pan. Cook for an additional 2-3 minutes, stirring until the sauce thickens and achieves a glossy finish. Remove from heat and let it cool.
Step 3: Make Cheesecake Filling
In a large mixing bowl, beat heavy whipping cream with an electric mixer until stiff peaks form, about 3-5 minutes. In another bowl, blend cream cheese, powdered sugar, and vanilla extract until smooth and creamy. Gently fold the whipped cream into the cream cheese mixture until fully incorporated. The result should be light and fluffy, perfect for filling your cheesecake tacos.
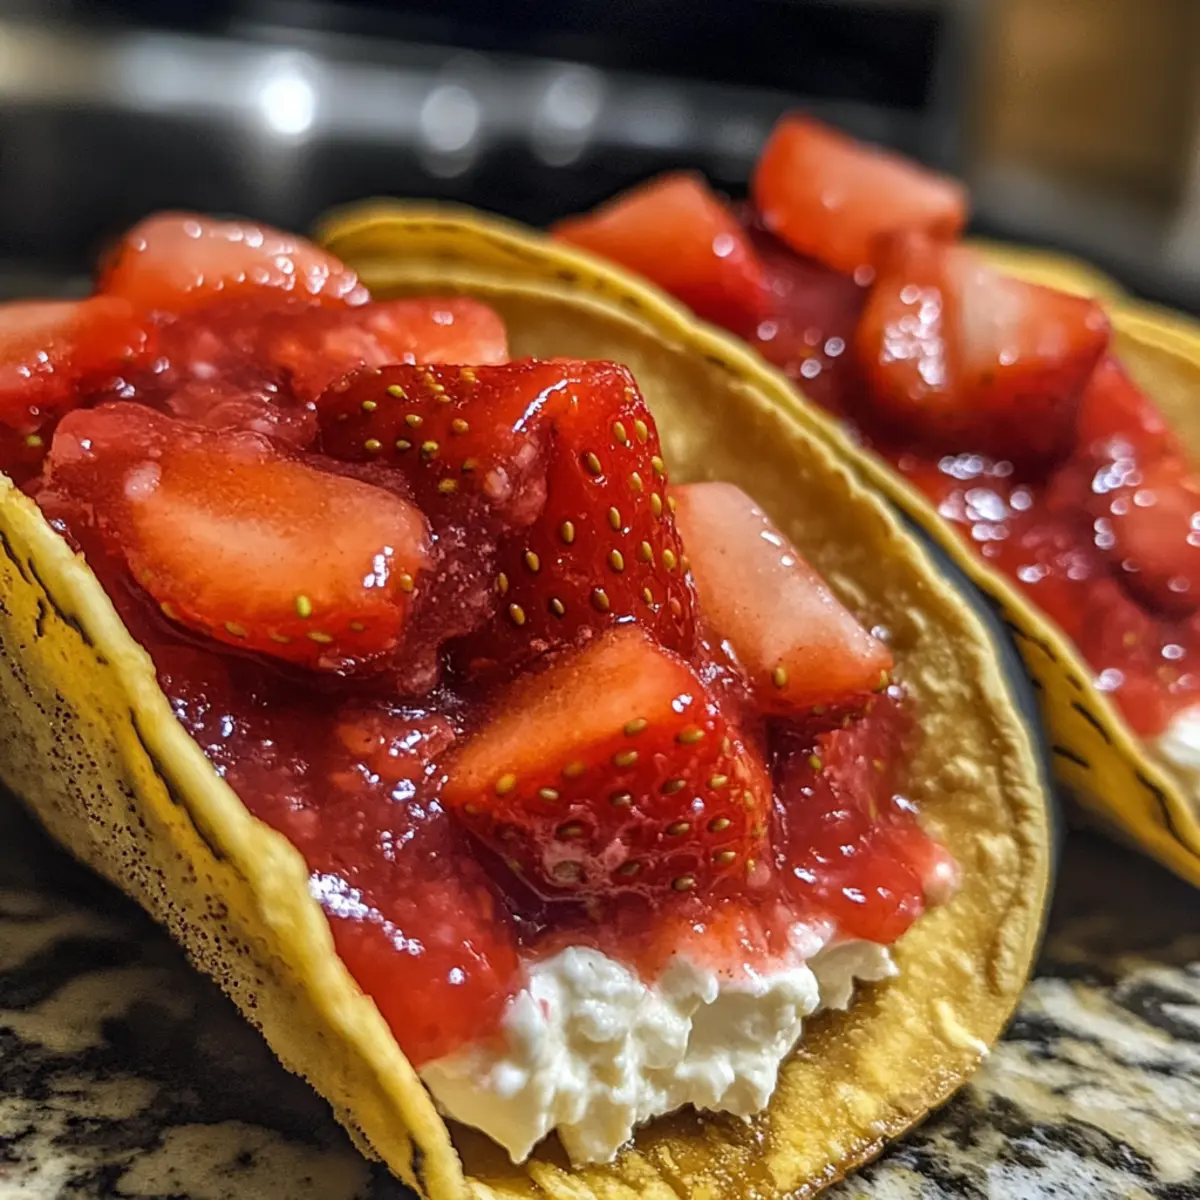
Step 4: Assemble Tacos
Once the tortilla shells have cooled, use a piping bag or a spoon to fill each shell generously with the creamy cheesecake filling. Take your time to ensure they are well-filled but not overflowing. Drizzle cooled strawberry sauce over the cheesecake filling in each taco. For the best texture and taste, refrigerate the assembled tacos for about 30 minutes before serving, allowing the flavors to meld beautifully.
Storage Tips for Cheesecake Tacos
Room Temperature: Do not leave filled cheesecake tacos out for more than 2 hours, as they contain cream cheese and whipped cream, which require refrigeration.
Fridge: Store unfilled tortilla shells in an airtight container for up to 3 days to maintain crispness; keep filled tacos in the refrigerator and consume within 3 days.
Freezer: For longer storage, freeze unfilled tortilla shells in a single layer, then transfer to a freezer bag for up to 2 months; fill them when ready to serve for best texture.
Reheating: If freezing, allow the shells to thaw in the fridge overnight before using; for crispness, rewarm them in a 350°F oven for a few minutes before filling.
Expert Tips for Cheesecake Tacos
• Tortilla Perfection: Ensure the oil is hot enough before frying; this helps achieve a crispy shell without becoming greasy.
• Timing Matters: Fill the tacos just before serving to retain the crispness of the tortilla shells for the best cheesecake tacos experience.
• Cool Down: Allow the strawberry sauce to cool completely before adding it to your filled tacos to prevent the shells from becoming soggy.
• Get Creative: Don’t hesitate to mix up the cheesecake filling; consider adding a hint of lemon zest for brightness or swapping the strawberries for other berries.
• Storage Secrets: If there are leftovers, keep filled tacos in the refrigerator for up to 3 days, but prepare the tortilla shells in advance for the best texture.
Make Ahead Options
These Strawberry Cheesecake Tacos are perfect for busy home cooks looking to save time! You can prepare the tortilla shells up to 24 hours in advance—just make sure to store them in an airtight container to keep them crispy. The strawberry sauce can also be cooked ahead of time and refrigerated for up to 3 days; simply reheat it gently before drizzling over the tacos. For the cheesecake filling, it can be made and stored in the refrigerator up to 2 days but fill the tortilla shells just before serving to maintain their delightful crunch. This way, you can enjoy these delectable cheesecake tacos without the rush, ensuring each bite is just as delicious!
Cheesecake Tacos Variations
Feel free to explore these delicious twists and substitutions to make your cheesecake tacos uniquely yours!
-
Berry Blast: Swap strawberries for blueberries or raspberries for a different fruity experience. The tartness of berries adds a refreshing kick to every bite.
-
Peachy Keen: Using diced peaches instead of strawberries creates a wonderful summer vibe. Just imagine the sweetness of ripe peaches blending with creamy cheesecake—pure bliss!
-
Tropical Twist: Replace the cheesecake filling with whipped coconut cream for a dairy-free delight. This lends a light, tropical flavor that will transport you to sandy shores.
-
Nutty Indulgence: Add crushed nuts, such as pecans or almonds, into your cheesecake filling for added crunch and depth of flavor. They provide a satisfying surprise in each taco.
-
Chocolate Drizzle: For a decadent touch, drizzle melted chocolate or caramel sauce over the tacos before serving. It’s an irresistible finishing touch that everyone will love.
-
Spiced Up: Mix a dash of chili powder or cayenne pepper with the cinnamon sugar for a surprising kick. It’s a fantastic way to elevate the flavor profile and keep everyone guessing.
-
Gourmet Cheesecake: Swap cream cheese for mascarpone for a richer, creamier texture. The result will be an indulgent, restaurant-quality cheesecake filling in every taco.
If you’re in the mood for more creative desserts, why not give these delightful Pumpkin Cheesecake Cookies a try or indulge in some luscious Peach Cobbler Cheesecake? The culinary adventure awaits!
What to Serve with Crunchy Strawberry Cheesecake Tacos
When it comes to creating a perfect finish for your delightful dessert, let’s explore some delicious companions that will take your cheesecake taco experience to the next level.
-
Refreshing Mint Tea: This light herbal drink enhances the sweetness of the cheesecake tacos while offering a refreshing palate cleanser after each bite.
-
Creamy Vanilla Ice Cream: A classic pairing, the smooth and rich ice cream balances the crispiness of the taco for a luxurious dessert experience.
-
Zesty Lemon Sorbet: The bright citrus notes of lemon sorbet cut through the sweetness, providing a delightful contrast while cleansing the palate.
-
Chocolate Drizzle: A rich chocolate sauce adds an indulgent twist; drizzle it over your tacos for an extra layer of flavor and elegance.
-
Fresh Fruit Salad: A mix of seasonal fruits adds a refreshing and vibrant touch, complementing the strawberries in your tacos and providing a colorful display.
-
Champagne or Sparkling Wine: This bubbly beverage elevates the experience, making it a special treat perfect for celebrations or romantic dinners.
Each of these pairings offers a unique twist that harmonizes beautifully with the decadent flavors of your cheesecake tacos, ensuring every bite is a celebration.
Cheesecake Tacos Recipe FAQs
How do I choose the best strawberries for the sauce?
Absolutely! When selecting strawberries, look for ones that are bright red, firm, and have a shiny exterior. Avoid strawberries with dark spots or signs of mold, as these could indicate over-ripeness. If fresh strawberries aren’t available, frozen ones work wonderfully; just be sure to thaw and drain any excess liquid before using.
What’s the best way to store leftover cheesecake tacos?
I recommend refrigerating filled cheesecake tacos in an airtight container for up to 3 days. However, for the best texture, it’s better to store the unfilled tortilla shells in an airtight container for 3 days and fill them just before serving. This will keep the shells crunchy and delightful!
Can I freeze the taco shells? If so, how?
Yes, you can! To freeze unfilled tortillas, lay them in a single layer on a baking sheet to ensure they’re not stuck together, then freeze for about 2 hours. Once frozen, transfer them to a freezer bag and seal tightly; they can last for up to 2 months. When you’re ready to enjoy, allow them to thaw overnight in the fridge before frying them again for a crispy texture.
What if my cheesecake filling is too runny?
Very! If your cheesecake filling is too runny, it may be due to not whipping the cream enough or over-mixing it after adding to the cream cheese. In the future, be sure to whip the cream until stiff peaks form, and fold gently to ensure the mixture remains light and fluffy. If it does end up runny, try chilling it for an hour to see if it firms up before filling the shells.
Are these cheesecake tacos safe for pets or those with allergies?
It’s best to keep these cheesecake tacos away from pets, particularly because of the cream cheese and sugar, which aren’t healthy for them. As for allergies, note that the recipe contains dairy and gluten (from the tortillas). If you’re serving guests with dietary restrictions, consider using gluten-free tortillas and substituting the cream cheese with dairy-free options to accommodate them.
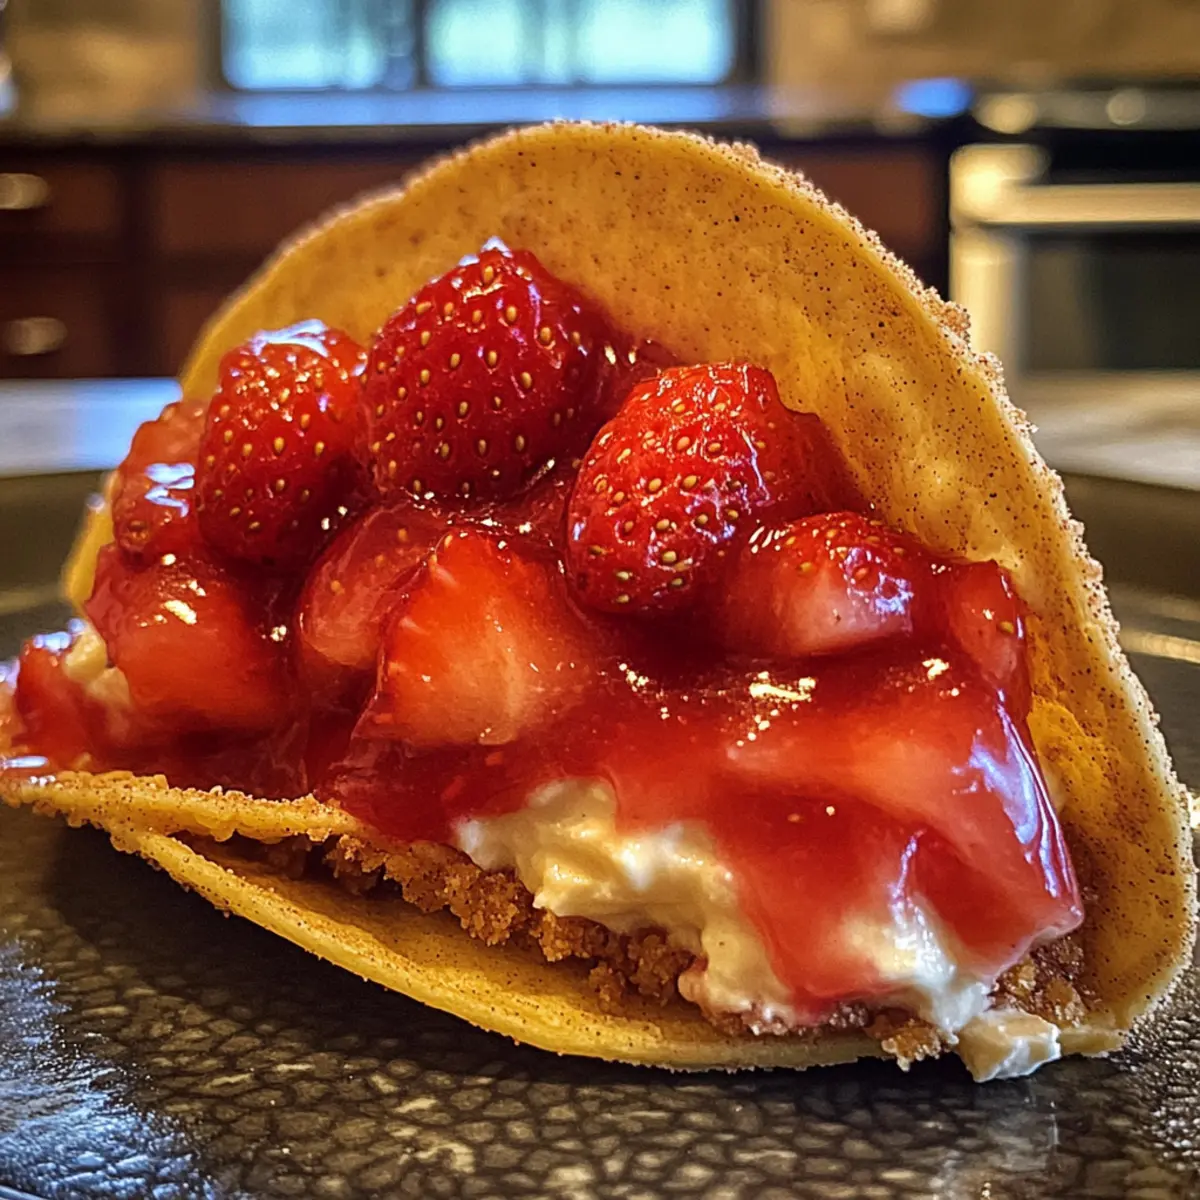
Sweet and Crunchy Cheesecake Tacos for Dessert Lovers
Ingredients
Equipment
Method
- In a mixing bowl, combine brown sugar and cinnamon. Cut tortillas into 3.5-4 inch circles using a cookie cutter or a sharp knife. Heat oil in a skillet over medium heat (about 350°F) and fry the tortilla circles until golden and crispy, about 1-2 minutes per side. As soon as they’re removed from the oil, shape them into taco shells and coat evenly with the sugar-cinnamon mix.
- Wash and dice fresh strawberries, then add them to a saucepan over medium heat. Sprinkle in granulated sugar and lemon juice, cooking for about 5-7 minutes until the strawberries soften and release their juices. Mix cornstarch with a bit of water, then stir the mixture into the pan. Cook for an additional 2-3 minutes, stirring until the sauce thickens and achieves a glossy finish. Remove from heat and let it cool.
- In a large mixing bowl, beat heavy whipping cream with an electric mixer until stiff peaks form, about 3-5 minutes. In another bowl, blend cream cheese, powdered sugar, and vanilla extract until smooth and creamy. Gently fold the whipped cream into the cream cheese mixture until fully incorporated.
- Once the tortilla shells have cooled, use a piping bag or a spoon to fill each shell generously with the creamy cheesecake filling. Drizzle cooled strawberry sauce over the cheesecake filling in each taco. Refrigerate the assembled tacos for about 30 minutes before serving.
Leave a Reply