
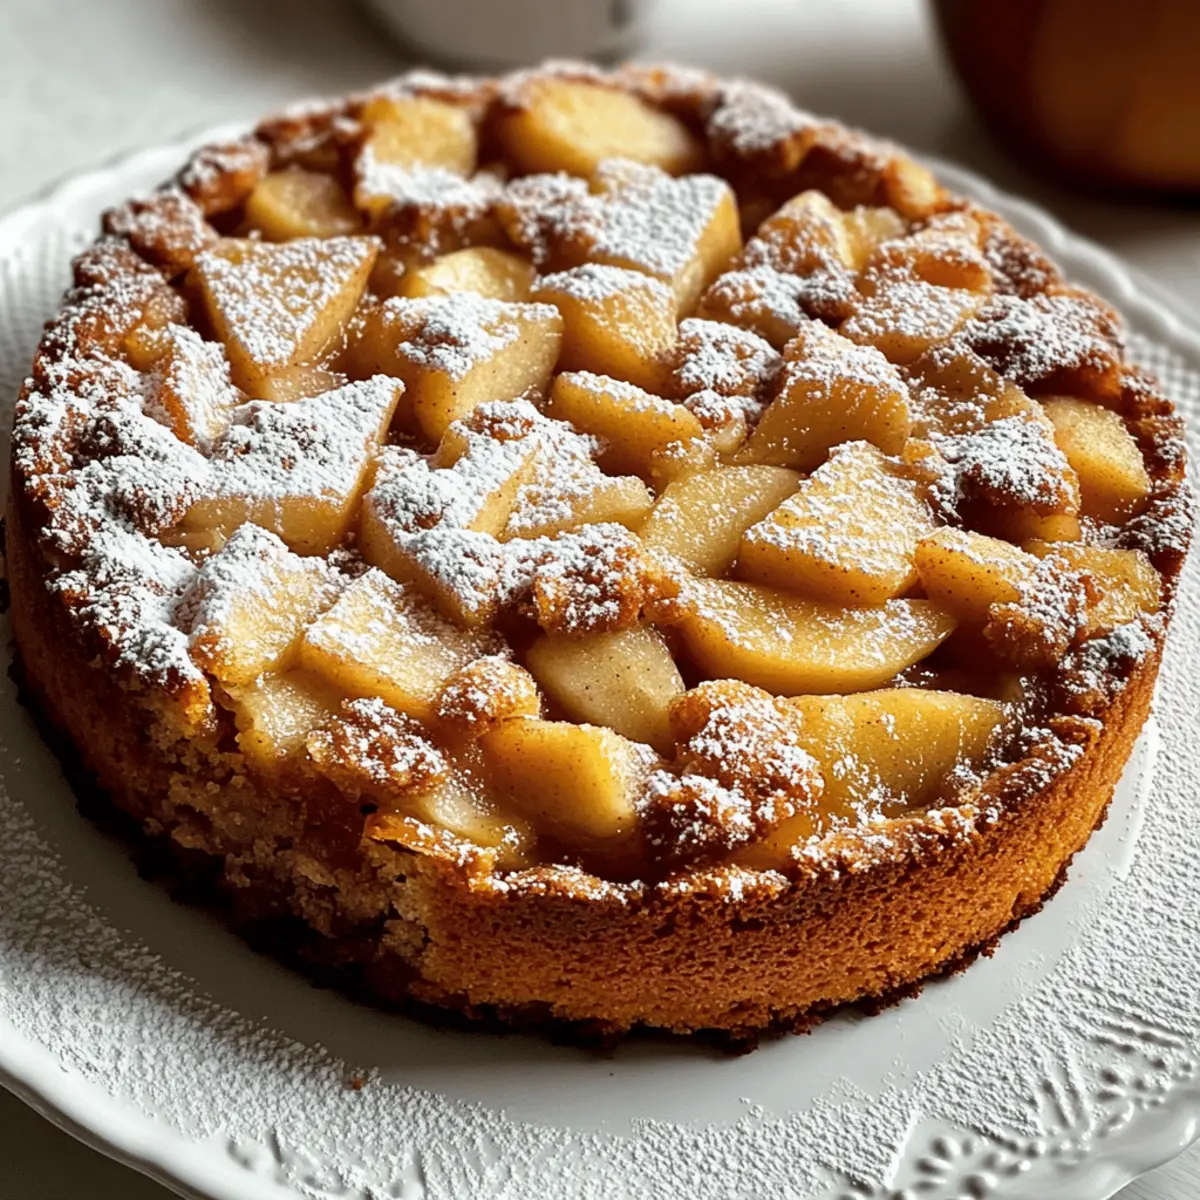
As the leaves begin to change and the air turns crisp, there’s something inherently magical about the aroma of freshly baked goods wafting through your home. I always look forward to this time of year, when I can dive into making my favorite fall dessert: Apple Pie Cake. This delightful treat is a warm embrace of tender cake blended with juicy spiced apples, creating a cozy vibe that draws everyone into the kitchen. Not only is this recipe a breeze to whip up, but it’s also a guaranteed crowd-pleaser, perfect for family gatherings or a simple afternoon snack. Trust me, the combination of brown sugar and warm spices elevates the flavors so beautifully that you’ll want to make it again and again. Ready to fill your kitchen with the sweet scent of fall? Let’s get started!
Why Will You Love Apple Pie Cake?
Comforting, Cozy Flavors: With each slice, you’ll experience the heartwarming essence of fall, featuring tender cake and spiced apples that evoke nostalgia and warmth.
Effortless Preparation: This Apple Pie Cake is quick to make, requiring minimal ingredients and basic baking skills, perfect for any home cook eager for delicious results.
Satisfyingly Sweet: The blend of brown and granulated sugars not only sweetens the cake but also enhances its moist texture, making every bite truly delightful.
Nutty Crunch (optional): For those who love a little extra texture, feel free to add walnuts or pecans, creating a perfect contrast to the soft cake.
Versatile Treat: Enjoy it plain, or elevate your experience with a drizzle of caramel sauce or a scoop of vanilla ice cream, perfect for any occasion.
For more delightful apple-inspired desserts, check out my Apple Cinnamon Cookies and Apple Zucchini Bread.
Apple Pie Cake Ingredients
• Create a cozy masterpiece at home!
For the Cake
- All-purpose flour – Provides the foundational structure for the cake.
- Granulated sugar – Contributes straightforward sweetness and helps retain moisture; essential for a light and airy texture.
- Brown sugar – Adds a deeper, caramel-like flavor and extra moisture due to its molasses content.
- Baking powder – Acts as a leavening agent for lift and fluffiness; ensures even rise.
- Salt – Balances sweetness and enhances overall flavors.
- Ground cinnamon – Infuses classic fall spice notes that beautifully complement apples.
- Ground nutmeg – Adds a hint of nutty, earthy spice that rounds out the sweetness.
- Unsalted butter – Provides richness and a tender, melt-in-your-mouth texture.
- Vegetable oil – Helps keep the cake moist and fresh.
- Eggs – Bind the ingredients together, contributing to a tender crumb.
- Vanilla extract – Enhances flavor with a sweet and floral aroma.
For the Filling
- Chopped apples – The star ingredient, yielding juicy pockets of flavor.
- Chopped walnuts or pecans (optional) – Adds a crunchy texture that contrasts nicely with the soft cake.
For the Finish (Optional)
- Powdered sugar – Used for a decorative, sweet finish.
This recipe for Apple Pie Cake is sure to become a cherished favorite, wrapping you in the comforting flavors of fall!
Step‑by‑Step Instructions for Apple Pie Cake
Step 1: Preheat and Prepare
Begin by preheating your oven to 350°F (175°C). While the oven is warming up, grab a 9×13-inch baking pan and grease it generously with butter or non-stick spray, then dust it lightly with flour. This will ensure your Apple Pie Cake releases easily once baked, setting the stage for a perfect dessert.
Step 2: Mix Dry Ingredients
In a large mixing bowl, combine the all-purpose flour, granulated sugar, brown sugar, baking powder, salt, ground cinnamon, and ground nutmeg. Use a whisk to blend these ingredients together thoroughly until they are well incorporated, which will ensure that every bite of your Apple Pie Cake is evenly flavored and delightful.
Step 3: Combine Wet Ingredients
In another bowl, thoroughly whisk together the melted unsalted butter, vegetable oil, eggs, and vanilla extract until the mixture is smooth and creamy. This wet mixture is key to keeping your cake moist, so take your time to ensure everything is well blended before proceeding to the next step.
Step 4: Mix Wet and Dry Ingredients
Carefully pour the wet ingredients into the bowl of dry ingredients. Gently stir the mixture together using a spatula, taking care not to overmix. You want to combine the ingredients just until no dry flour is visible. This step is crucial for a light and tender Apple Pie Cake, so patience is essential!
Step 5: Fold in Apples and Nuts
Once the batter is mixed, gently fold in the chopped apples and optional walnuts or pecans using a spatula. Ensure that the fruit and nuts are evenly distributed throughout the batter, which will create those delicious pockets of flavor in your final Apple Pie Cake.
Step 6: Transfer to Baking Pan
Spoon the cake batter into your prepared 9×13-inch baking pan, spreading it evenly across the surface. Give the pan a gentle shake to help the batter settle, ensuring even baking. This will help your cake rise uniformly, allowing the Apple Pie Cake to achieve that perfect golden-brown color.
Step 7: Bake the Cake
Place the pan in the preheated oven and let the Apple Pie Cake bake for 45 to 50 minutes. Keep an eye on it, and perform the toothpick test: insert a toothpick into the center; it should come out clean or with a few moist crumbs. The top should be golden and slightly springy to the touch.
Step 8: Cool in the Pan
Once baked, remove the pan from the oven and allow your Apple Pie Cake to cool in the pan on a wire rack for about 10 minutes. This cooling period is important for setting the cake, making it easier to cut and serve later while releasing those delightful autumn aromas throughout your kitchen.
Step 9: Dust and Serve
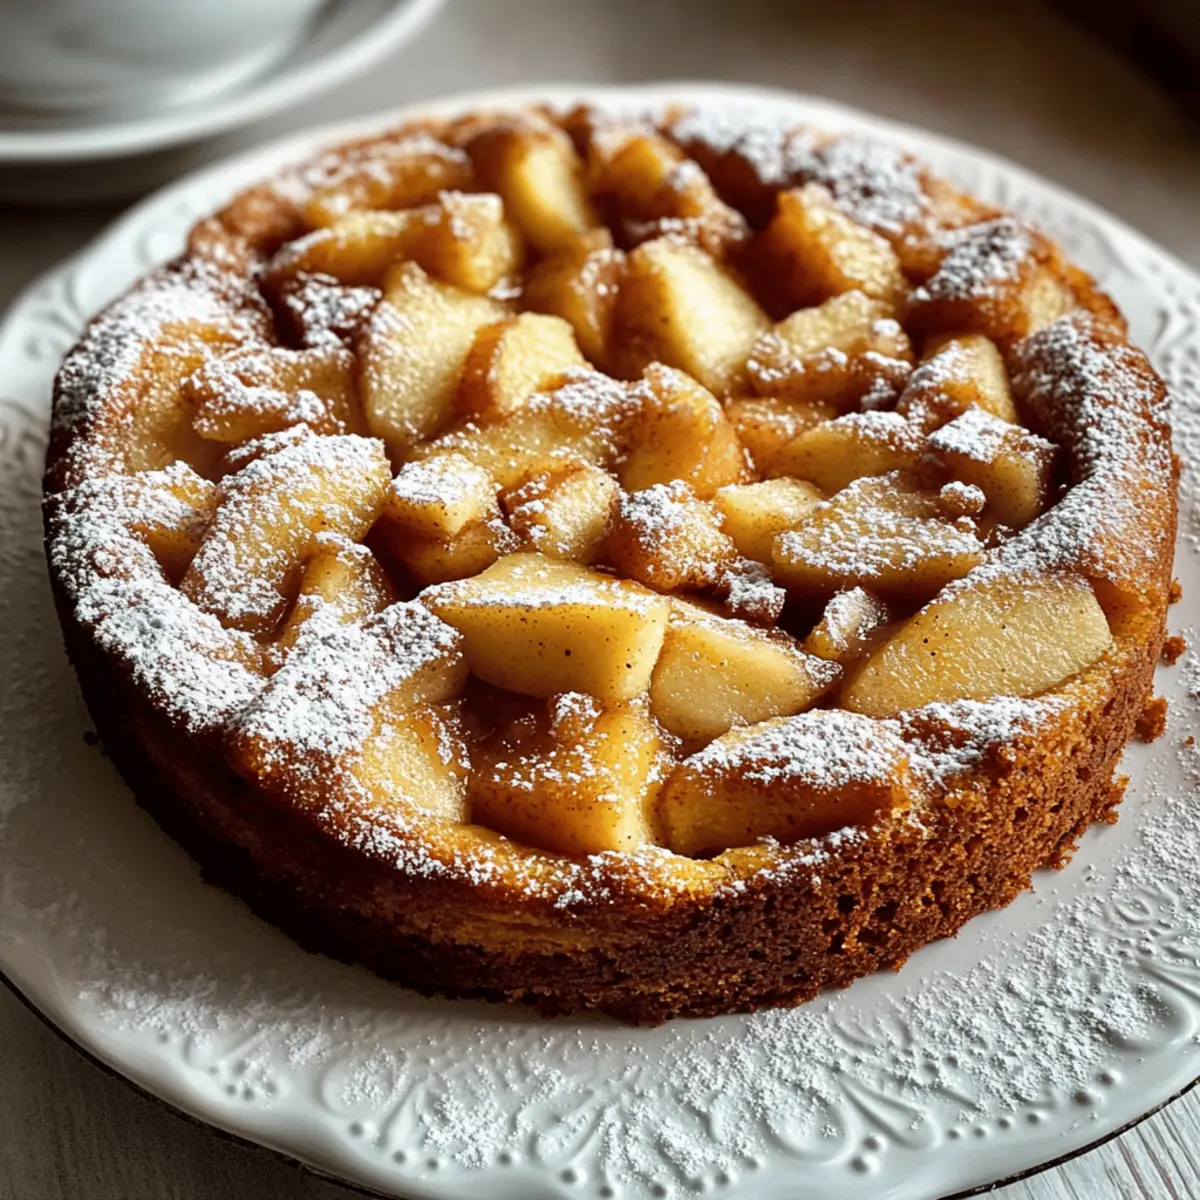
If desired, dust the top of the cooled Apple Pie Cake with powdered sugar for a sweet, decorative finish. This light touch of sweetness will enhance the cozy feel of your dessert, making it even more inviting for serving.
Step 10: Slice and Enjoy
Cut the Apple Pie Cake into squares and plate them for serving. This dessert is perfect for sharing, offering a wonderful taste of homey comfort with each bite. Pair it with vanilla ice cream or a drizzle of caramel if you’re feeling indulgent!

Make Ahead Options
These scrumptious Apple Pie Cakes are perfect for busy weeknights! You can prepare the batter up to 24 hours in advance by mixing together the dry ingredients and the wet mixture separately, then storing them in the refrigerator. The chopped apples can also be prepped and mixed with a bit of lemon juice to prevent browning, then refrigerated until you’re ready to bake. When it’s time to serve, simply combine the wet and dry ingredients, fold in the apples, and bake as directed. This way, you’ll have a warm and comforting dessert ready with minimal effort, just like a homemade hug for your loved ones!
Expert Tips for Apple Pie Cake
-
Don’t Overmix: Mix until just combined to avoid a dense cake. Overmixing can lead to tough texture instead of a light and fluffy Apple Pie Cake.
-
Choose the Right Apples: Select a mix of sweet and tart apples for a well-rounded flavor. Granny Smith and Fuji can create a delightful balance.
-
Check for Doneness: Use the toothpick test to ensure your cake is fully baked. A toothpick should come out clean or with a few moist crumbs.
-
Cool Properly: Allow your cake to cool in the pan before removing it. This helps it set and makes slicing easier, ensuring a beautiful presentation.
-
Optional Add-ins: Consider adding a sprinkle of nutmeg or a bit of lemon zest to brighten the flavors of your Apple Pie Cake.
-
Storage Tip: To retain freshness, store any leftovers in an airtight container at room temperature for up to three days.
What to Serve with Cozy Apple Pie Cake
Elevate your dining experience with delightful accompaniments that enhance the sweetness and warmth of this comforting dessert.
-
Vanilla Ice Cream: The creamy texture of vanilla ice cream perfectly complements the warm apple cake, adding a delightful contrast that everyone loves.
-
Caramel Sauce Drizzle: A rich caramel sauce drizzled over the cake adds a touch of decadence and enhances the flavors with its sweet, buttery notes.
-
Whipped Cream: Light and airy whipped cream provides a lovely contrast to the moist cake, making each bite feel even more indulgent and festive.
-
Chai Tea: The spiced notes of a warm cup of chai pair beautifully with the fall flavors of the cake, creating a cozy atmosphere that brings comfort.
-
Pumpkin Spice Latte: Embrace the season with a soothing pumpkin spice latte, whose warm spices echo the flavors in the Apple Pie Cake.
-
Cinnamon Sugar Dusting: A simple sprinkle of cinnamon sugar on top adds a sweet crunch and reinforces the cozy flavors of fall, making every bite memorable.
-
Maple Glaze: For a sweet twist, a light maple glaze can enhance the natural caramelization of the apples, bringing an extra layer of sweetness.
-
Nutty Granola: Serve slices with a sprinkle of nutty granola for added crunch and texture, creating a delightful contrast to the tender cake.
-
Mulled Cider: Pairing with a glass of mulled cider carries the essence of autumn, perfectly complementing your Apple Pie Cake while warming the soul.
How to Store and Freeze Apple Pie Cake
Room Temperature: Store the Apple Pie Cake in an airtight container at room temperature for up to 3 days to maintain its moist texture and flavor.
Fridge: If you prefer a cooler option, you can keep the cake in the refrigerator for up to 5 days. Just remember to cover it tightly to prevent drying out.
Freezer: To freeze, wrap individual slices tightly in plastic wrap, then place them in a freezer-safe bag or container. This way, you can enjoy your Apple Pie Cake for up to 3 months!
Reheating: When ready to enjoy, simply thaw in the fridge overnight, then reheat in the microwave or oven at 350°F (175°C) until warmed through.
Apple Pie Cake Variations & Substitutions
Feel free to get creative with this delightful Apple Pie Cake recipe and make it your own!
-
Different Apples: Use a mix of apples like Granny Smith for tartness or Fuji for added sweetness. The choice can significantly change the cake’s flavor profile, making each bite an adventure.
-
Nut-Free Option: Simply omit the chopped walnuts or pecans. This makes the cake perfect for those with nut allergies, without sacrificing on flavor or texture.
-
Whole Wheat Flour: Substitute half of the all-purpose flour with whole wheat flour for a healthier twist. It gives a lovely nutty flavor while adding extra fiber to your dessert.
-
Maple Syrup Sweetener: Replace granulated sugar with maple syrup. It infuses a rich, earthy sweetness while making the cake a bit more decadent.
-
Add Spices: Enhance with a pinch of ginger or allspice for greater depth. This little addition can elevate the fall flavors even more, wrapping you in warmth.
-
Caramel Drizzle: Drizzle the cooled cake with warm caramel sauce for a decadent finishing touch. It adds a delightful sweetness and a beautiful presentation.
-
Serve with Ice Cream: Enjoy slices with a scoop of vanilla ice cream for an indulgent experience. The cold ice cream contrasts beautifully with the warm cake.
-
Dairy-Free Option: Substitute dairy elements with almond or coconut milk and use margarine instead of butter. This makes the cake accessible for lactose-sensitive friends and family.
For more tempting apple recipes to explore, don’t miss my delightful Apple Cinnamon Cookies and comforting Apple Crisp Warm. Enjoy the season of baking!
Apple Pie Cake Recipe FAQs
What type of apples should I use for the best flavor?
Absolutely! For the best Apple Pie Cake, I recommend using a mix of sweet and tart apples. Granny Smith apples offer a nice tartness that contrasts well with the sweetness of the cake, while Fuji or Honeycrisp apples provide that juicy, sweet flavor. Combining different varieties will enhance the overall taste and texture.
How should I store my Apple Pie Cake?
To keep your Apple Pie Cake fresh, store it in an airtight container at room temperature for up to 3 days. If you’re looking to extend its life a bit longer, you can refrigerate it for up to 5 days, just make sure to cover it tightly to fight off any dryness.
Can I freeze Apple Pie Cake?
Certainly! To freeze your Apple Pie Cake, wrap individual slices tightly in plastic wrap. Place them in a freezer-safe bag or container, making sure to label it with the date. Your cake can stay delicious in the freezer for up to 3 months! When you’re ready to enjoy it, simply thaw it in the fridge overnight and reheat in the microwave or oven at 350°F (175°C) until warmed through.
What should I do if my cake comes out dense?
Very! If your Apple Pie Cake ends up denser than you expected, it might be due to overmixing the batter. To avoid this in the future, mix the wet and dry ingredients until just combined, without any visible dry flour. Another tip is to ensure your baking powder is fresh, as expired leavening agents can inhibit the cake’s rise.
Is this Apple Pie Cake suitable for people with nut allergies?
Of course! If you’re making this cake for someone with nut allergies, you can easily skip the walnuts or pecans without compromising the flavor. The cake remains moist and delicious without the added crunch, so everyone can enjoy this warm, comforting treat!
Can I use sugar substitutes in this recipe?
Absolutely! For a healthier twist, you can use sugar substitutes such as Stevia or monk fruit sweetener, adjusting the quantity based on their sweetness levels compared to regular granulated sugar. Just keep in mind that using substitutes may alter the texture slightly, but the comforting flavors will still shine through!
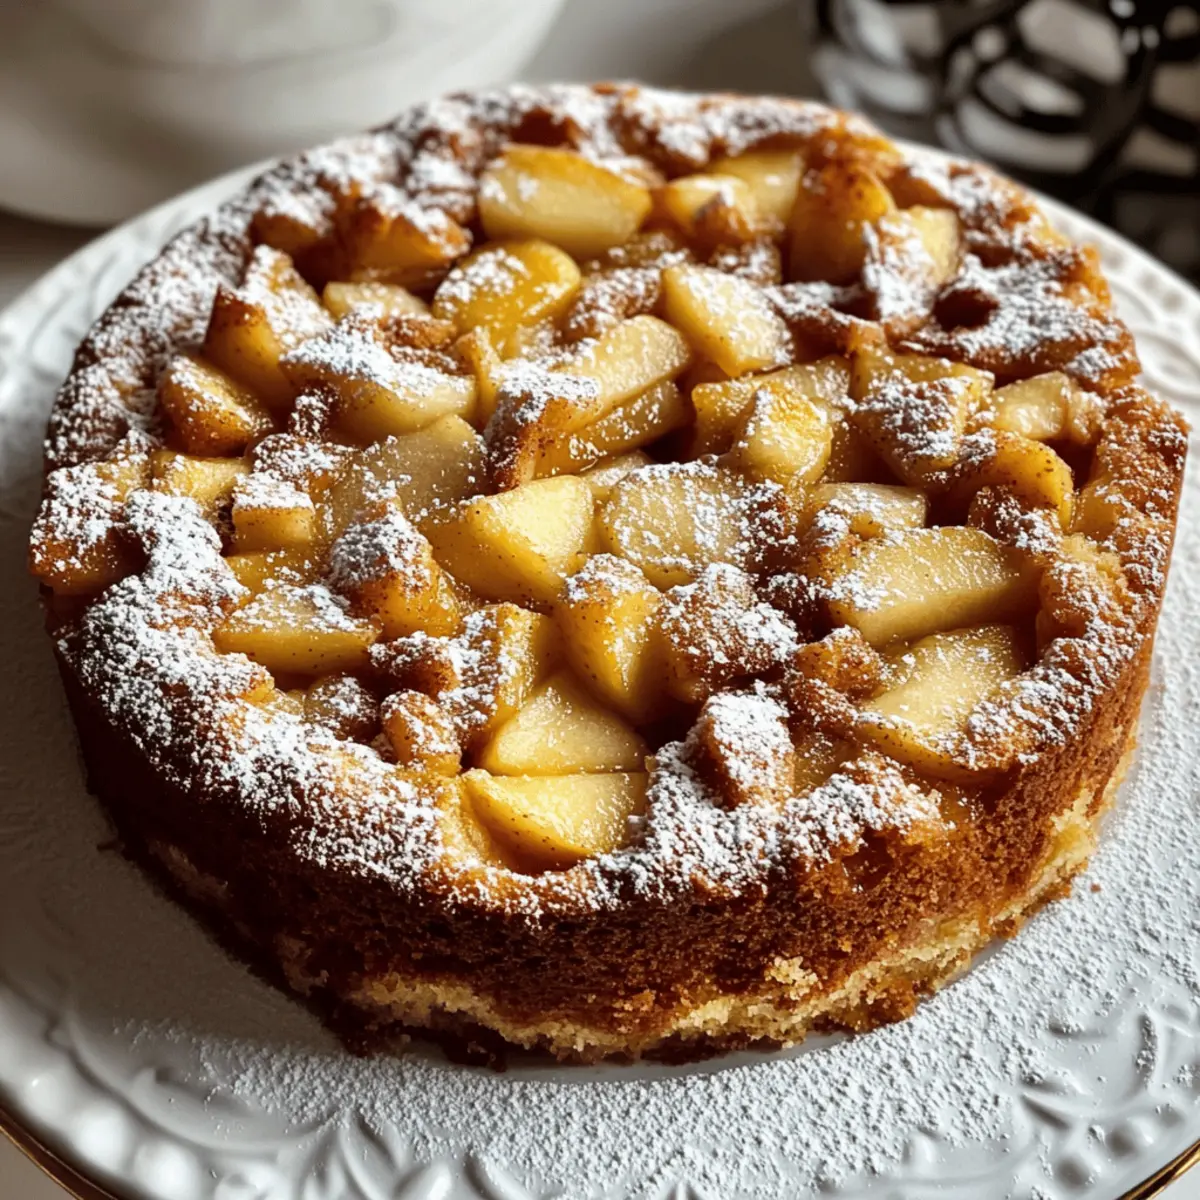
Delicious Apple Pie Cake That Feels Like a Warm Hug
Ingredients
Equipment
Method
- Preheat the oven to 350°F (175°C) and prepare a 9x13-inch baking pan by greasing it with butter and dusting with flour.
- In a large mixing bowl, combine the all-purpose flour, granulated sugar, brown sugar, baking powder, salt, ground cinnamon, and ground nutmeg.
- In another bowl, whisk together the melted unsalted butter, vegetable oil, eggs, and vanilla extract until smooth.
- Add the wet ingredients to the dry ingredients and gently stir until just combined.
- Fold in the chopped apples and optional nuts until evenly distributed.
- Spoon the batter into the prepared baking pan and spread evenly.
- Bake for 45 to 50 minutes, or until a toothpick comes out clean.
- Cool in the pan on a wire rack for about 10 minutes.
- Dust with powdered sugar if desired, slice into squares, and serve.
Leave a Reply