
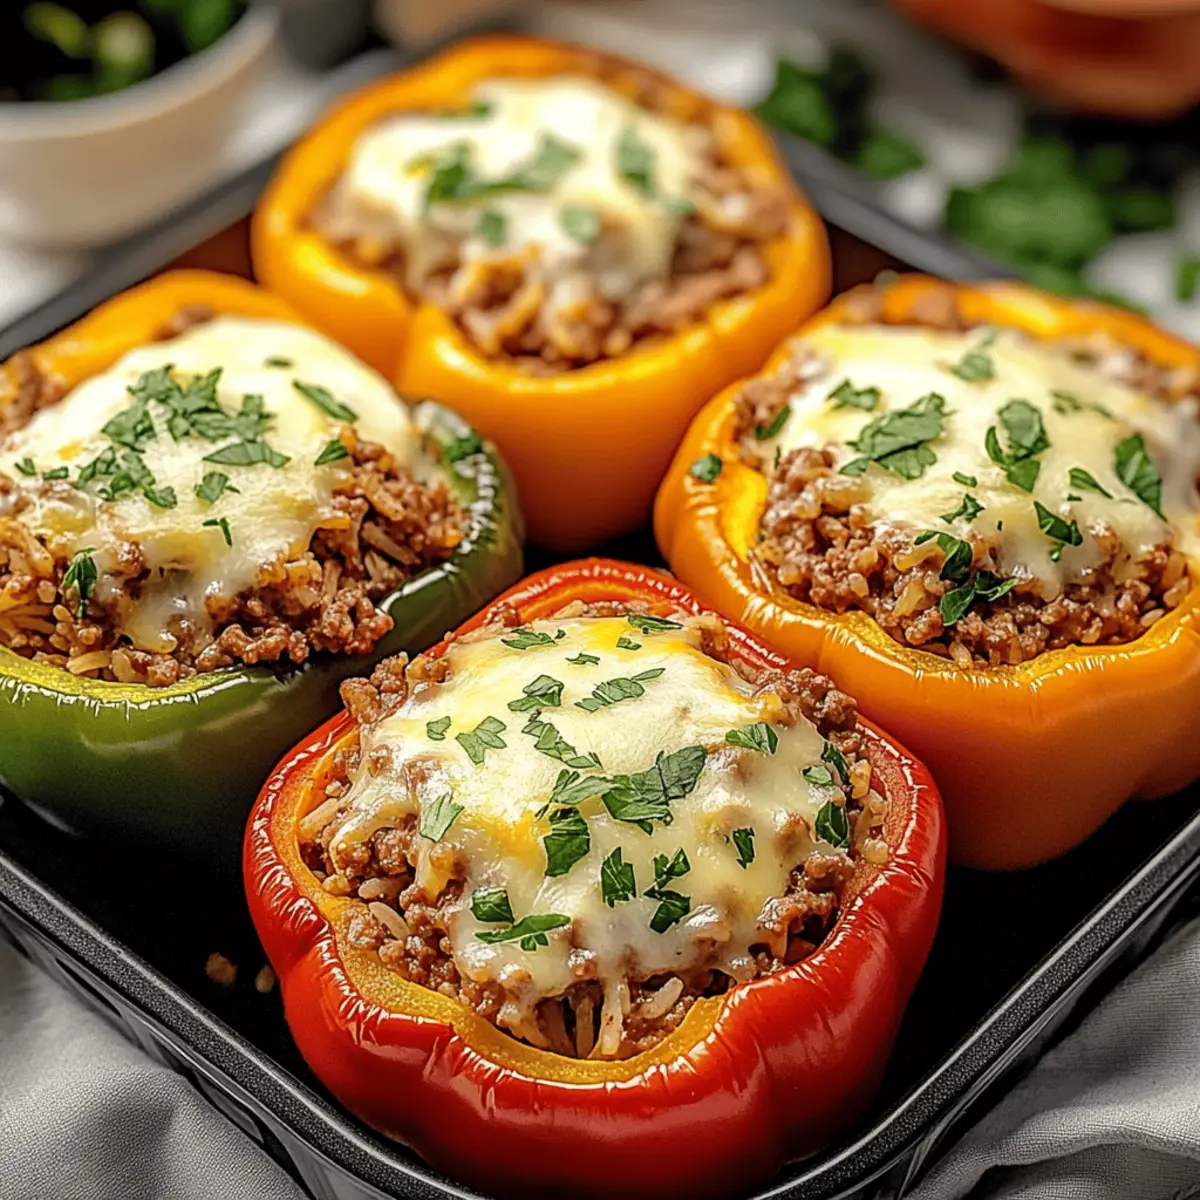
“Did you hear about the classic stuffed peppers that turned a routine weeknight dinner into a family celebration?” I can’t tell you how often these cheerful, colorful parcels have brightened my kitchen, offering a warm hug of comfort on busy evenings. Classic Stuffed Peppers are a fantastic way to incorporate wholesome ingredients like ground beef, rice, and gooey cheese into a dish that brings loved ones together. Not only are they quick to whip up in just 20 minutes, but their meal prep-friendly nature makes them a lifesaver for those weeknights when you need an easy yet satisfying option. Trust me, these vibrant delights will have everyone asking for seconds! Are you ready to dive into the delicious possibilities of this comforting dish?
Why are Stuffed Peppers so Popular?
Quick Preparation: These Classic Stuffed Peppers can be made in just 20 minutes, offering a speedy solution for busy evenings.
Healthful Ingredients: Packed with nutritious components like lean ground beef and colorful bell peppers, you can feel good about serving them to your family.
Versatile Flavors: With options like ground turkey or vegetarian fillings, you can easily customize these peppers to suit any dietary preference.
Crowd-Pleaser: The gooey cheese melted on top adds comfort that everyone loves—perfect for gatherings or cozy family dinners.
If you enjoy vibrant, wholesome meals, you might also love Ricotta Stuffed Peppers or consider a sweet finish with Apple Crisp Warm after your savory feast!
Classic Stuffed Peppers Ingredients
• Dive into the hearty goodness of these satisfying peppers!
For the Peppers
- Bell Peppers – Serve as the vessel for stuffing; try poblanos or hollowed zucchini for a twist.
For the Filling
- Ground Beef – Provides richness and protein; substitute with ground turkey or plant-based versions for a lighter option.
- Cooked Rice – Acts as a filler and texture; use white, brown, or cauliflower rice for variety.
- Onion – Adds aroma and natural sweetness; finely chop for even cooking.
- Garlic – Enhances flavor; minced fresh garlic yields the best results.
- Tomato Sauce – Adds moisture and flavor; consider using crushed tomatoes for an alternative.
- Diced Tomatoes – Contributes acidity and texture; drain excess liquid to prevent sogginess.
- Italian Seasoning – Infuses herby notes; individual herbs like oregano and basil can be swapped in.
- Salt & Black Pepper – Essential for seasoning; adjust to taste for perfect flavor.
For the Topping
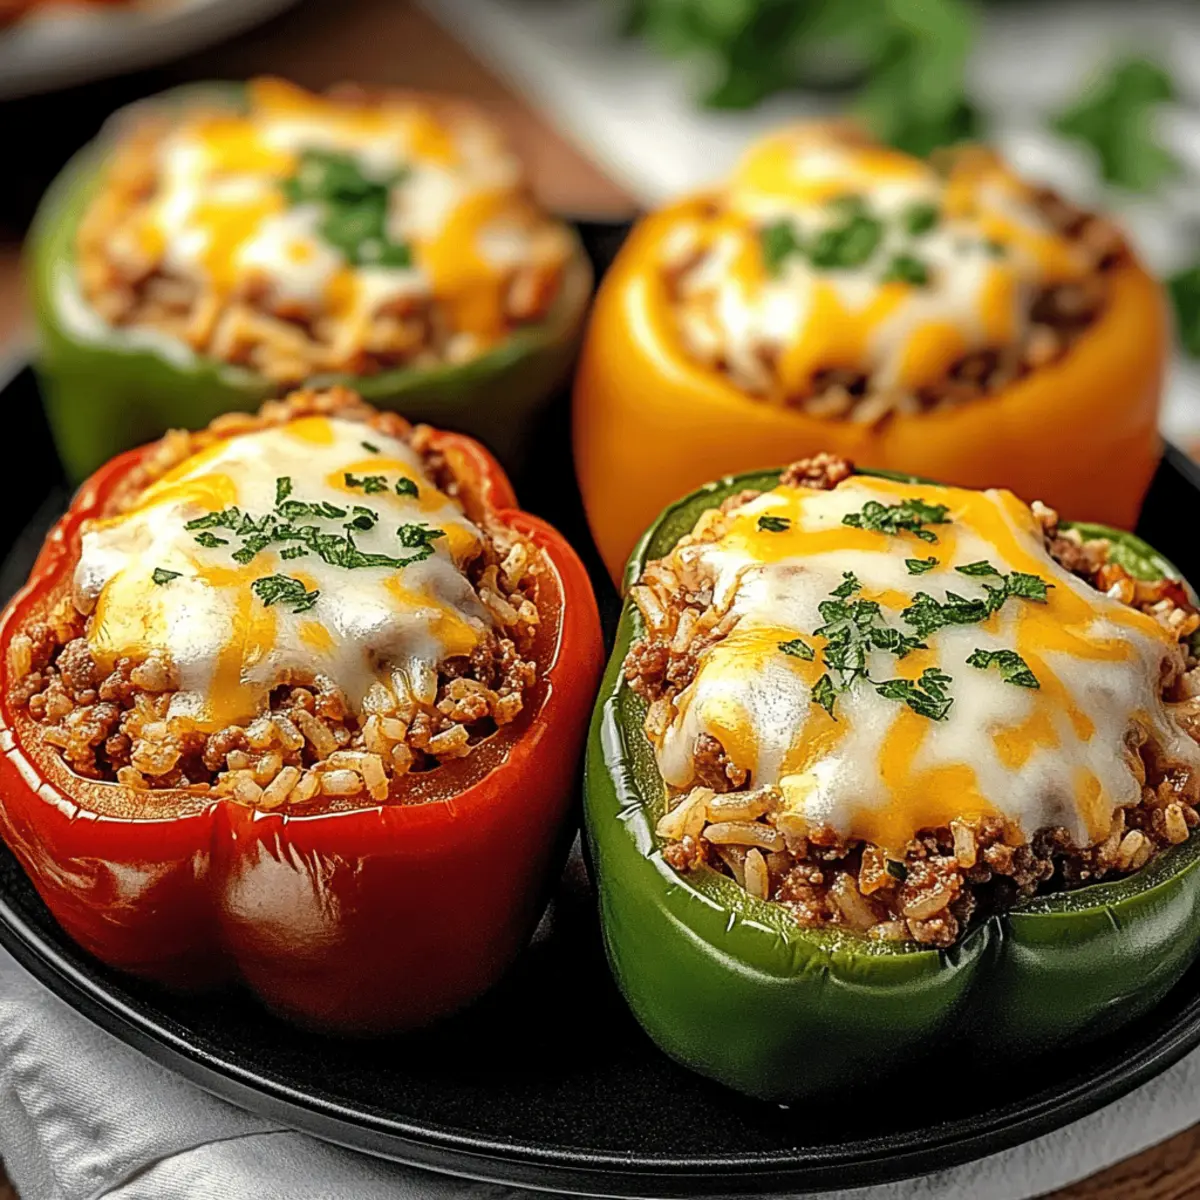
- Mozzarella Cheese – Melts beautifully for a tasty topping; cheddar or gouda offers a delightful twist.
- Parmesan Cheese – Adds salty depth; optional but recommended for extra richness.
For Cooking
- Olive Oil – Used for sautéing; vegetable or canola oil can also do the trick.
- Fresh Parsley – For garnishing; fresh parsley not only adds color but freshness too.
Step‑by‑Step Instructions for Classic Stuffed Peppers
Step 1: Preheat the Oven
Begin by preheating your oven to 375°F (190°C). This will ensure that when you are ready to bake your Classic Stuffed Peppers, they have a hot environment to cook in, resulting in tender peppers and a beautifully melted cheese topping.
Step 2: Prepare the Bell Peppers
While the oven is warming, take four bell peppers and slice off the tops, gently removing the seeds and membranes inside. Rinse them under cold water to ensure they’re clean, then place the peppers upright in a baking dish that can accommodate them snugly.
Step 3: Sauté Aromatics
Heat about one tablespoon of olive oil in a large skillet over medium heat. Add one finely chopped onion and two cloves of minced garlic, sautéing for 3-4 minutes until the onion is translucent and fragrant, infusing the dish with a delicious base for your filling.
Step 4: Brown the Ground Beef
Increase the heat slightly and add one pound of ground beef to the skillet, breaking it apart with a spatula as it browns. Cook for about 5-7 minutes until the meat is no longer pink and begins to caramelize, which will deepen the flavor of your Classic Stuffed Peppers.
Step 5: Mix in the Filling Ingredients
Stir in 1 cup of cooked rice, 1 cup of tomato sauce, one can of drained diced tomatoes, and a teaspoon of Italian seasoning to the beef mixture. Season generously with salt and black pepper, letting everything simmer for approximately 5 minutes until heated through and well combined.
Step 6: Stuff the Peppers
With your filling ready, carefully spoon the mixture into each bell pepper, packing it gently but firmly to avoid overflow. Ensure every pepper is filled to the brim, creating generous portions that will melt together beautifully during baking.
Step 7: Position the Peppers for Baking
Arrange the stuffed peppers upright in the baking dish. To help them stay stable, adjust the bottoms as needed. This positioning allows them to cook evenly and absorb the flavors of the filling as they bake.
Step 8: Add Moisture for Steaming
Pour about 1/4 inch of water into the bottom of the baking dish. This will create steam while the peppers bake, keeping them moist and preventing the filling from drying out, resulting in perfectly tender Classic Stuffed Peppers.
Step 9: Cover and Bake
Cover the baking dish with aluminum foil to trap the steam, and place it in your preheated oven. Bake the peppers for 35 minutes, allowing the flavors to meld and the peppers to reach that desired tenderness.
Step 10: Add Cheese and Uncover
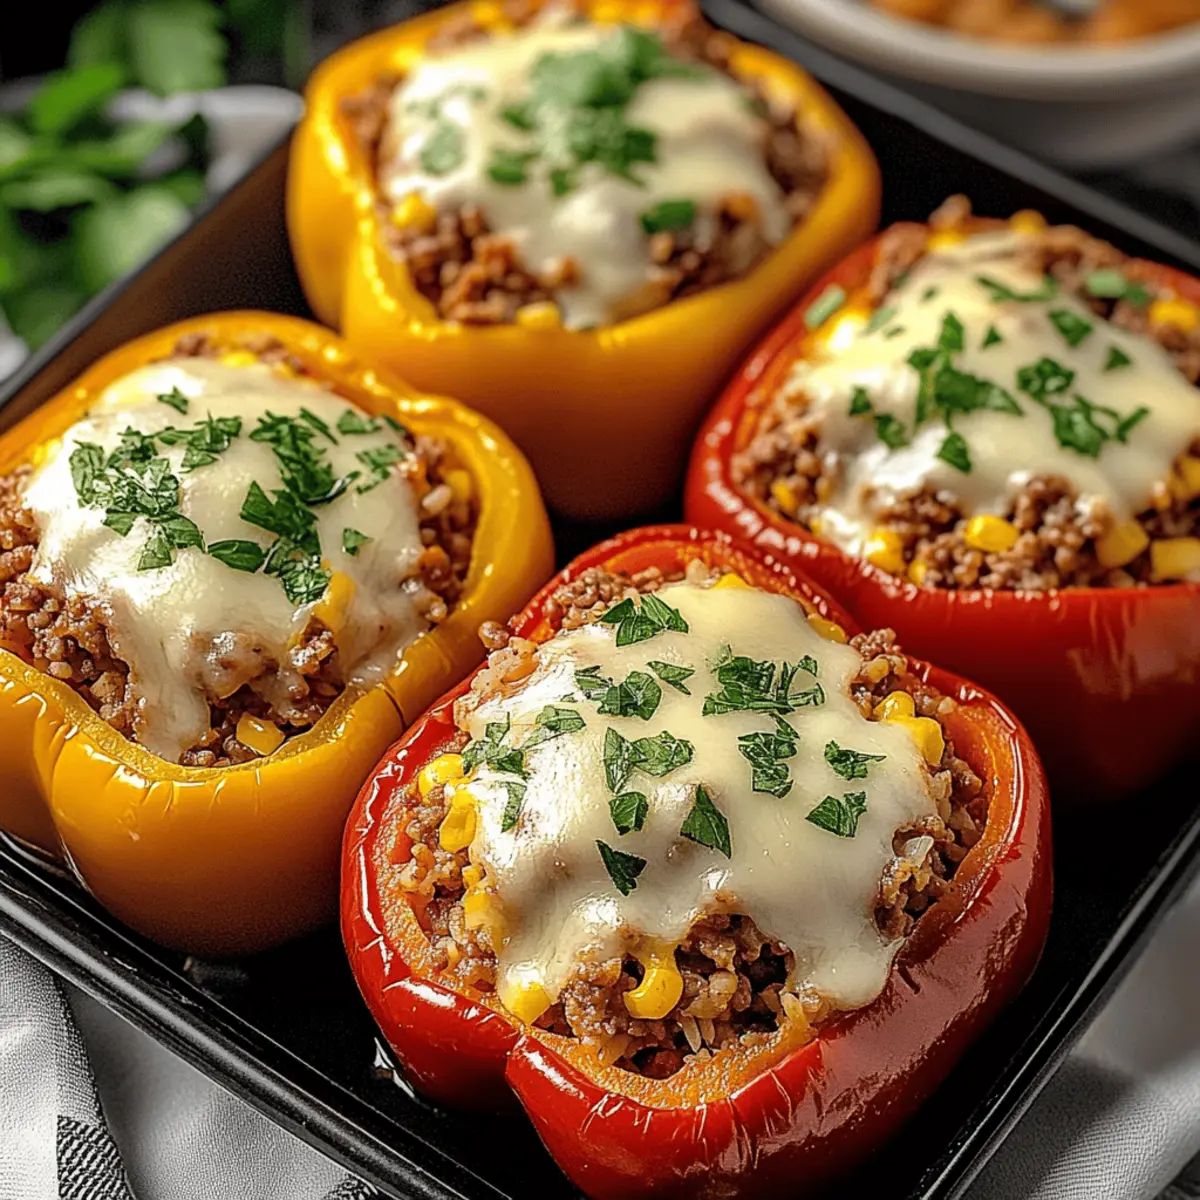
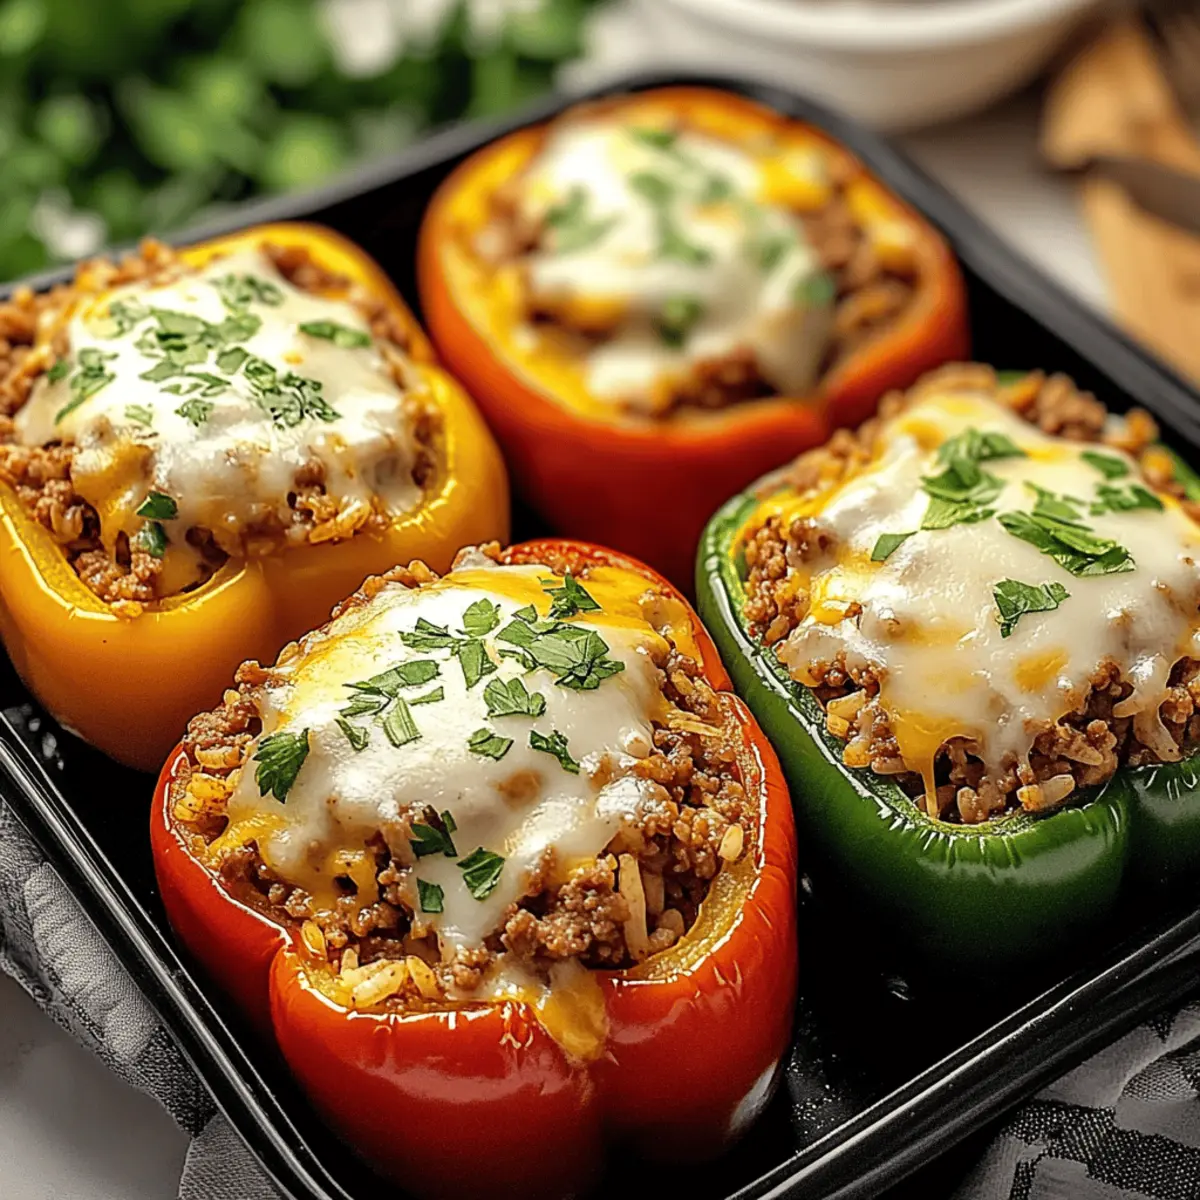
After 35 minutes, carefully remove the foil and sprinkle a generous amount of mozzarella cheese on top of each pepper. Return the dish to the oven for an additional 10-15 minutes, or until the cheese is bubbly and golden, adding a delightful richness to your Classic Stuffed Peppers.
Step 11: Cool and Garnish
Once cooked, take the stuffed peppers out of the oven and let them cool for a few minutes. Just before serving, sprinkle chopped fresh parsley on top for a burst of color and freshness, enhancing the visual appeal and flavor of your hearty dish.
Expert Tips for Classic Stuffed Peppers
-
Pepper Size Matters: Ensure your peppers are uniform in size for even cooking. This way, no one has to wait longer for their delicious stuffed pepper!
-
Avoid Soggy Filling: Drain diced tomatoes well before adding them to your mixture. This prevents excess moisture that can lead to a watery filling.
-
Prepping Ahead: If you plan to prepare these Classic Stuffed Peppers in advance, assemble everything except the cheese. Bake just before serving for the freshest taste!
-
Checking for Doneness: Use a fork to poke the peppers after baking. They should be tender but not falling apart, ensuring a delightful bite every time.
-
Cooling Down: Allow your stuffed peppers to cool for a few minutes before serving. This not only enhances flavors but also makes handling easier for everyone at the table!
Classic Stuffed Peppers Variations
Feel free to get creative with these stuffed peppers and make them uniquely yours!
- Ground Turkey: Swap out beef for ground turkey for a leaner, equally delicious option that keeps all the flavors intact. Your family won’t even notice the difference!
- Vegetarian Delight: For a meatless meal, fill peppers with a mixture of quinoa, black beans, and colorful veggies, offering a nutrient-packed option that’s still hearty and satisfying.
- Cheese Upgrade: Try using gouda or pepper jack cheese instead of mozzarella to give these peppers a delightful twist, adding creaminess and a hint of spice.
- Spicy Kick: If you enjoy a little heat, mix in jalapeños or sprinkle red pepper flakes into the filling for a spicy surprise in each bite.
- Rice Alternatives: Consider using cauliflower rice for a low-carb variation or wild rice for a nutty flavor and hearty texture that changes up the classic recipe.
- Herb Infusion: Elevate the flavor by incorporating fresh herbs like basil or cilantro into the filling. It adds a burst of freshness and aroma that pairs wonderfully with the peppers.
If you find yourself craving more delicious stuffed options, you might also enjoy these colorful Ricotta Stuffed Peppers or go for a sweet note with Apple Crisp Warm to end the meal on a high!
How to Store and Freeze Classic Stuffed Peppers
Fridge: Store cooked Classic Stuffed Peppers in an airtight container for up to 3 days. Let them cool completely before sealing to maintain freshness.
Freezer: You can freeze stuffed peppers for up to 2 months! Wrap each pepper tightly in plastic wrap, then place them in a freezer-safe bag for optimal preservation.
Reheating: To reheat, thaw overnight in the fridge, then pop them in a preheated oven at 350°F (175°C) for about 20-25 minutes until heated through and cheese is bubbly.
Make-Ahead: Prepare the stuffed peppers a day in advance, store them uncooked in the fridge, and bake when you’re ready for a fresh family dinner.
Make Ahead Options
These Classic Stuffed Peppers are a fantastic option for meal prep enthusiasts! You can stuff the bell peppers up to 24 hours in advance, keeping them in the refrigerator for optimal freshness. Prepare your filling with the ground beef, rice, and seasonings, and stuff each pepper carefully, ensuring they are packed snugly. It’s best to wait to add the cheese until just before baking to maintain its meltiness. When you’re ready to enjoy, simply cover the dish with foil and bake at 375°F (190°C) for about 35 minutes, then uncover and sprinkle on that gooey mozzarella, baking for an additional 10-15 minutes for a deliciously warm family meal that feels freshly made!
What to Serve with Classic Stuffed Peppers
Elevate your meal and create a balanced dining experience that warms the heart and satisfies the tummy.
-
Crisp Green Salad: The fresh, crunchy greens provide a refreshing contrast to the hearty peppers, brightening your plate and palate. Toss with a light vinaigrette to enhance the flavors.
-
Garlic Bread: A favorite side that adds a comforting touch, garlic bread’s warm, buttery goodness perfectly complements the savory stuffed peppers. It’s perfect for sopping up any leftover sauce!
-
Roasted Vegetables: Serve a medley of seasonal vegetables roasted to perfection, adding caramelized sweetness and a variety of textures to your meal. The vibrant colors also make your dinner table pop.
-
Quinoa Salad: For a nutritious twist, pair your stuffed peppers with a zesty quinoa salad. The nutty texture and lemony flavor blend wonderfully, making each bite a delightful experience.
-
Steamed Broccoli: Bright, green, and packed with nutrients, steamed broccoli adds a fresh element that rounds out the meal nicely. A sprinkle of lemon juice brightens its flavor!
-
Red Wine: Enhance the dining experience with a glass of red wine like Merlot or Zinfandel. Its rich, fruity notes elevate the savory profile of the peppers, creating a comforting harmony.
-
Tiramisu: Keep the meal delightful with a light, creamy dessert like tiramisu. This coffee-flavored treat rounds out your meal perfectly, leaving everyone with a sweet finish to savor.
Classic Stuffed Peppers Recipe FAQs
How do I choose the right bell peppers?
Absolutely! When selecting bell peppers, look for ones that are firm and vibrant with no dark spots or blemishes. Choose peppers that feel heavy for their size and have a rich color, as these indicators signify ripeness and flavor.
What is the best way to store leftover stuffed peppers?
Very easy! Store your cooked Classic Stuffed Peppers in an airtight container in the fridge for up to 3 days. Allow them to cool completely before sealing the container to retain their moisture and freshness.
Can I freeze stuffed peppers?
Absolutely! You can freeze stuffed peppers for up to 2 months. To do this, wrap each stuffed pepper tightly in plastic wrap and then place them in a freezer-safe bag. For best results, thaw them overnight in the fridge before reheating.
What can I do if my filling is too watery?
If your filling ends up too watery, do not worry! Simply drain any excess liquid or continue cooking the mixture in the skillet over medium heat until it thickens—this should take about 5-10 minutes. You want it to have a nice consistency for stuffing without being too runny.
Are stuffed peppers safe for pets?
It’s generally safe for dogs to have small amounts of cooked peppers, but ensure you remove the seeds and stems. However, always consult with your veterinarian before introducing new foods to your pet’s diet, because some pets may have specific dietary restrictions or allergies.
How can I make the filling healthier?
You can easily substitute with healthier options! For a lighter version of the Classic Stuffed Peppers, try using ground turkey or chicken instead of beef, or go for a vegetarian option by filling them with quinoa and black beans. This adds both protein and fiber, making for a heartier meal without compromising flavor.
Comforting Classic Stuffed Peppers for a Cozy Family Meal
Ingredients
Equipment
Method
- Preheat your oven to 375°F (190°C).
- Slice off the tops of four bell peppers, removing seeds and membranes.
- Heat 1 tablespoon of olive oil in a large skillet over medium heat. Sauté 1 finely chopped onion and 2 cloves of minced garlic for 3-4 minutes until onion is translucent.
- Increase heat and add 1 pound of ground beef, breaking apart as it browns. Cook for about 5-7 minutes until no longer pink.
- Stir in 1 cup cooked rice, 1 cup tomato sauce, 1 can drained diced tomatoes, and 1 teaspoon Italian seasoning. Season with salt and pepper, simmer for 5 minutes.
- Carefully spoon the filling mixture into each bell pepper, packing it gently.
- Arrange stuffed peppers upright in the baking dish.
- Pour about 1/4 inch of water into the bottom of the baking dish.
- Cover the baking dish with aluminum foil and bake for 35 minutes.
- Remove foil, sprinkle mozzarella cheese on top, and return to oven for an additional 10-15 minutes until cheese is bubbly and golden.
- Let peppers cool for a few minutes, then garnish with fresh parsley before serving.
Leave a Reply