
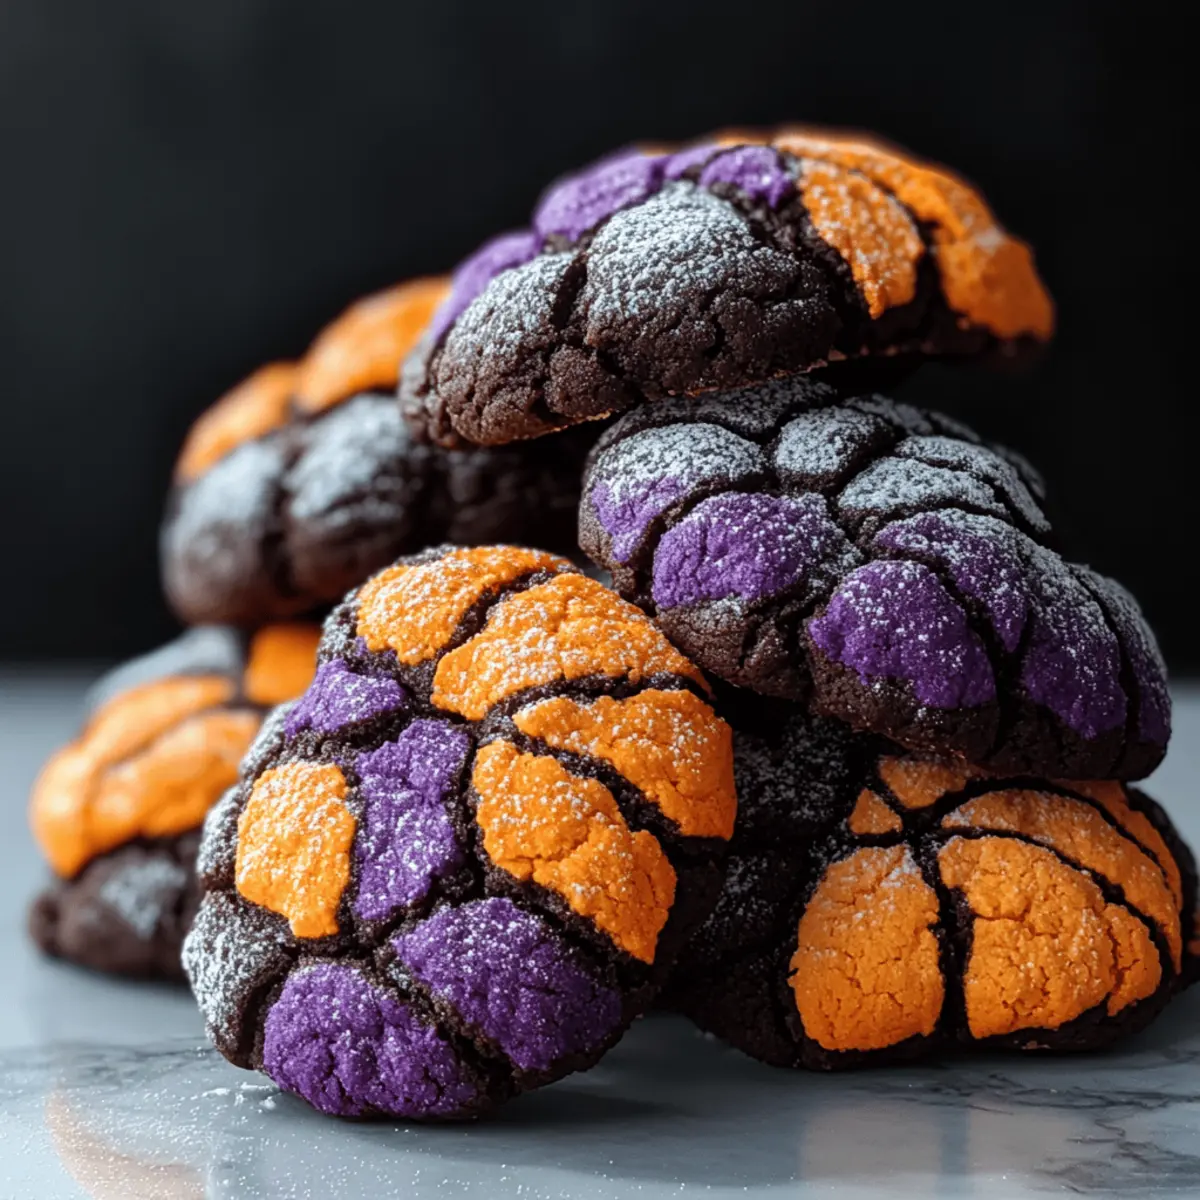
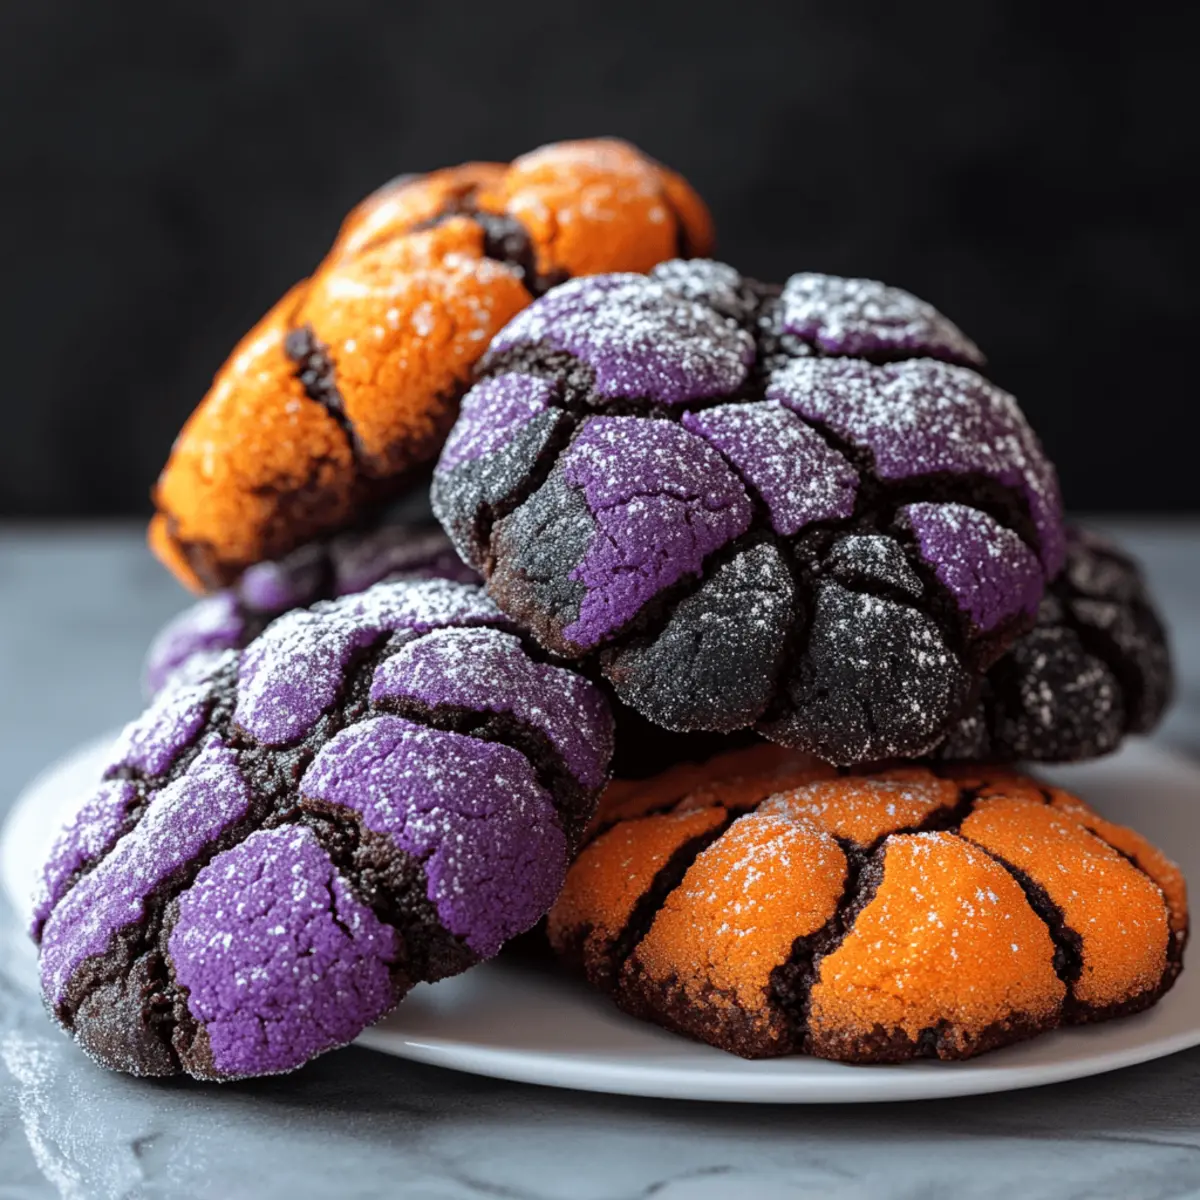
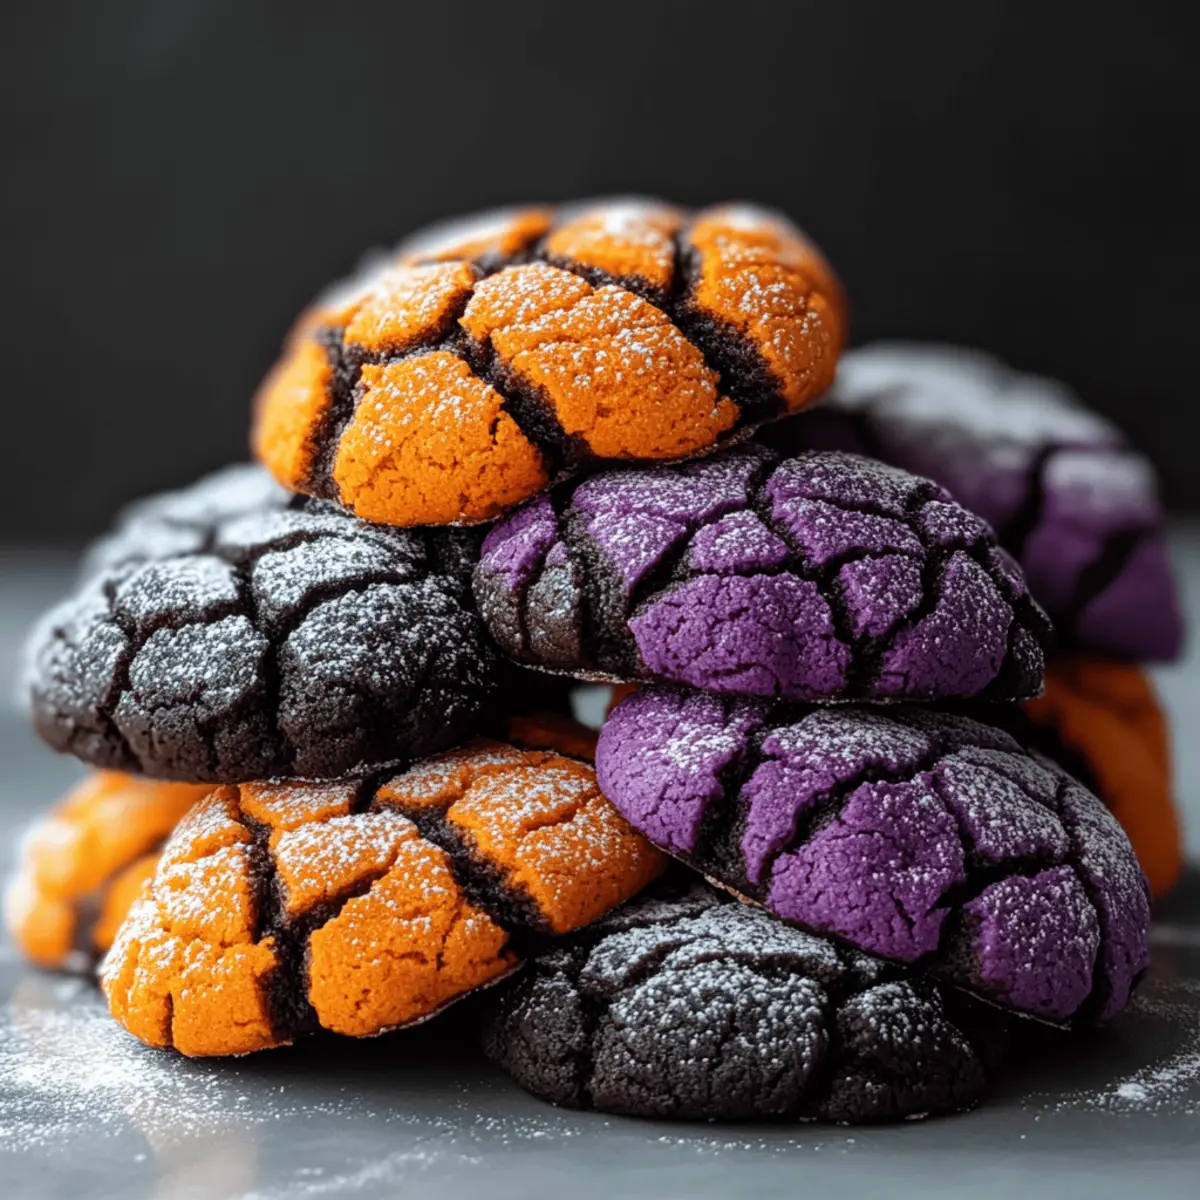
As the leaves begin to turn and a chill fills the air, there’s something undeniably magical about the arrival of autumn. That’s when I’ll find myself in the kitchen, whipping up a batch of these delightful Halloween Crinkle Cookies. With their fudgy texture and vibrant colors, these spooky treats are a playful way to celebrate the season. Not only are they incredibly easy for beginners to make, but they also make a memorable centerpiece for any Halloween gathering. Picture a plate adorned with orange, purple, and black cookies, crackled with a ghostly layer of powdered sugar – it’s impossible to resist! Will you join me in bringing a bit of sweet fright to your festive celebrations?
Why are Halloween Crinkle Cookies a must-try?
Easy to Make: The straightforward instructions mean anyone can whip these up, even if baking isn’t your forte.
Vibrant Colors: Create a visually stunning platter by using gel food coloring to achieve festive orange, purple, and black hues that steal the show.
Irresistible Texture: With a soft, fudgy center and a delicate powdered sugar crust, these cookies deliver a satisfying bite, perfect for kids and adults alike.
Crowd-Pleasing Treat: Serve these at your Halloween party and watch guests rave about them—perfect alongside glasses of icy milk or hot cocoa, just like my Pumpkin Spice Latte!
Make-Ahead Convenience: You can prepare the dough in advance, storing it in the refrigerator for up to two days, making party prep a breeze.
Halloween Crinkle Cookies Ingredients
For the Batter
- All-purpose flour – Provides structure and bulk; you can substitute with a 1:1 gluten-free flour blend for a gluten-free version.
- Cocoa powder – Adds rich chocolate flavor and color; try Dutch-processed cocoa for a deeper taste or carob powder as a caffeine-free alternative.
- Baking powder – Acts as a leavening agent to help the cookies rise; ensure it’s fresh for optimal results.
- Salt – Enhances sweetness and balances flavor; consider reducing to 1/8 tsp for a lower-sodium option.
- Granulated sugar – Sweetens the dough and aids in cookie structure; swap with coconut sugar for a lower glycemic choice.
- Vegetable oil – Provides moisture and tenderness; melt coconut oil for added flavor.
- Eggs – Adds moisture and richness, binding the ingredients together; use flax eggs as a vegan substitute (1 tbsp ground flaxseed + 2.5 tbsp water per egg).
- Vanilla extract – Contributes depth of flavor; feel free to substitute with almond extract for a twist.
For the Color
- Gel food coloring – Used for vibrant hues in the dough; avoid liquid colors as they can alter the dough’s consistency.
For the Coating
- Powdered sugar – Coats the cookies before baking, giving them a ghostly appearance; erythritol-based powdered sugar can be used for a lower-calorie alternative.
Step‑by‑Step Instructions for HALLOWEEN CRINKLE COOKIES
Step 1: Mix Dry Ingredients
In a medium bowl, whisk together 1 cup of all-purpose flour, 1/3 cup of cocoa powder, 1 teaspoon of baking powder, and a pinch of salt until well combined. This step helps to ensure even distribution of the dry ingredients, which is crucial for the final texture of your Halloween Crinkle Cookies. Set the bowl aside as we move to the next steps.
Step 2: Combine Wet Ingredients
In a larger mixing bowl, beat together 1 cup of granulated sugar, 1/3 cup of vegetable oil, 2 eggs, and 1 teaspoon of vanilla extract until the mixture is smooth and slightly pale, about 2-3 minutes. Gradually add 1 teaspoon of gel food coloring to achieve your desired spooky hue, stirring gently to incorporate the color into the mixture evenly.
Step 3: Combine Mixtures
Now, gradually fold the dry ingredients into the wet mixture using a spatula or wooden spoon. Mix until just combined, being careful not to overmix, as this can impact the tenderness of the cookies. Once you see no dry flour remaining, your dough is ready for chilling, which is essential for achieving the perfect texture.
Step 4: Chill Dough
Cover the dough with plastic wrap and refrigerate for at least 1 hour, or place it in the freezer for 30 minutes if you’re short on time. Chilling helps firm up the dough, preventing it from spreading too much while baking, which ensures your Halloween Crinkle Cookies keep their plump shape and enticing crackled top.
Step 5: Preheat Oven
While your dough chills, preheat your oven to 350°F (175°C). Line your baking sheets with parchment paper to prevent sticking and make cleanup a breeze. Preparing your oven and baking sheets in advance sets the stage for perfect cookies that will emerge from the oven with delightful cracks and a soft center.
Step 6: Shape Cookies
Once chilled, scoop tablespoon-sized balls of dough and roll them between your hands to shape them. Roll each ball generously in powdered sugar until fully coated; this gives the cookies their signature ghostly appearance. Place the coated dough balls on the prepared baking sheets, leaving about 2 inches of space between each ball to allow for spreading as they bake.
Step 7: Bake
Bake the cookies in the preheated oven for 10-12 minutes, keeping a close eye on them. You’ll know they are done when the tops have cracked and the centers still look soft. It’s important not to overbake, as this will keep your Halloween Crinkle Cookies delightfully fudgy and chewy.
Step 8: Cool
Remove the sheets from the oven and let the cookies cool on the baking sheet for about 5 minutes. This allows them to set slightly before transferring them to a wire rack to cool completely. Watching the cookies cool is like witnessing the final reveal of your spooky, sweet masterpieces!

HALLOWEEN CRINKLE COOKIES Variations & Substitutions
Feel free to get creative with these delightful Halloween Crinkle Cookies! The lovely texture and vibrant colors offer a fantastic canvas for your culinary imagination.
- Gluten-Free: Substitute all-purpose flour with a 1:1 gluten-free blend, allowing those with gluten sensitivities to enjoy.
- Vegan Option: Use flax eggs instead of regular eggs (1 tbsp ground flaxseed + 2.5 tbsp water per egg) for a lovely plant-based twist.
- Nutty Delight: Stir in some chopped walnuts or pecans for an inviting crunch that complements the fudgy texture beautifully.
- Choco-Chip Surprise: Add a handful of chocolate chips for extra gooey sweetness in every bite; they pair wonderfully with the cookie’s tender crumb.
- Flavor Infusion: Swirl in your favorite flavored extracts like peppermint or almond to create a unique taste experience, tapping into your inner flavor artisan.
- Colorful Cookies: Experiment with various gel food colorings for a rainbow of spooky hues that will brighten up your dessert table.
- Chewy Brownie Version: Increase the cocoa powder to ½ cup for a more brownie-like texture, making each bite rich and decadent.
- Lower Sugar: For a less sweet treat, consider using coconut sugar instead of regular granulated sugar; it adds a lovely caramel note without sacrificing flavor.
Don’t forget, these cookies would pair perfectly with a glass of icy milk or a warm cup of Pumpkin Spice Latte. Enjoy your festive baking!
Make Ahead Options
These Halloween Crinkle Cookies are perfect for busy home cooks looking to save time without sacrificing flavor! You can prepare the dough up to 24 hours in advance by chilling it in the refrigerator, ensuring it stays fresh and maintains its shape while baking. Alternatively, shape the cookie balls, roll them in powdered sugar, and freeze for up to one month. When you’re ready to bake, simply place the frozen cookie balls on a baking sheet and adjust the baking time by adding a couple of minutes, baking them straight from the freezer for delicious results. This approach ensures you’ll enjoy sweet, spooky treats with minimal effort, making your Halloween festivities wonderfully effortless!
How to Store and Freeze Halloween Crinkle Cookies
Fridge: Store the baked Halloween Crinkle Cookies in an airtight container at room temperature for up to 3 days to maintain their soft texture.
Freezer: For longer storage, freeze the cookies in a single layer on a baking sheet until solid, then transfer to a zip-top bag for up to 1 month. You can bake them directly from the freezer!
Dough Storage: Shape the remaining dough into balls and freeze. Once frozen, place in a zip-lock bag for convenient baking whenever the craving strikes—just adjust the baking time slightly.
Reheating: To refresh the cookies, pop them in the microwave for about 10-15 seconds for that fresh-from-the-oven warmth.
Expert Tips for Halloween Crinkle Cookies
-
Chill Time is Key: Always chill the dough to prevent excessive spreading during baking, ensuring your Halloween Crinkle Cookies maintain a perfect shape.
-
Double the Sugar Coat: For more pronounced cracks, roll the cookies in powdered sugar a second time right before baking for an extra ghostly effect.
-
Watch Your Bake: Keep an eye on the baking time; slightly underbaking the cookies will yield a chewier texture while overbaking can dry them out.
-
Stick with Gel Colors: Avoid using liquid food coloring; stick to gel to maintain the integrity of the dough and achieve vibrant hues.
-
Experiment with Flavors: Don’t be afraid to add chocolate chips or different flavored extracts to mix up the flavor profile of your spooky cookies!
What to Serve with Halloween Crinkle Cookies
These delightful treats are the perfect starting point for a spooky feast, inviting you to explore a range of delicious accompaniments.
-
Cold Milk: A classic pairing, a glass of cold milk enhances the sweetness and fudgy texture of the cookies, offering a comforting contrast.
-
Hot Cocoa: Serve these cookies alongside rich hot cocoa, creating a warm and cozy atmosphere – perfect for those chilly autumn evenings.
-
Pumpkin Spice Latte: The flavors of fall come to life with a pumpkin spice latte, providing a festive and spirited complement to your Halloween spread.
-
Chocolate Mousse: Indulge in luxurious chocolate mousse for an elegant treat that harmonizes perfectly with the cookies’ fudgy richness.
-
Fruit Platter: Add a fresh touch with a colorful fruit platter featuring apples and berries, balancing the sweetness with tartness that kids love.
-
Caramel Dipping Sauce: Elevate your cookie experience with a warm caramel sauce for dipping; its rich and buttery flavor will have everyone reaching for more.
-
Spooky Punch: Consider a vibrant Halloween punch made with fruit juices and soda – the fizz and fruity taste pair brilliantly with the cookies and create a festive vibe.
-
Ghostly Marshmallows: Whip up some fun by serving ghost-shaped marshmallows on the side; they make a whimsical addition that kids will adore.
-
Vanilla Ice Cream: For a decadent treat, serve alongside vanilla ice cream, allowing the warm cookies to melt into the creamy scoop – pure bliss.
-
Spiced Almonds: Add a savory touch with spiced almonds, providing a crunchy contrast to the soft cookies and a complementary nutty flavor.
Halloween Crinkle Cookies Recipe FAQs
How do I choose the right cocoa powder for Halloween Crinkle Cookies?
Absolutely! For these spooky cookies, I recommend using Dutch-processed cocoa powder for a deeper chocolate flavor and richer color. If you want a caffeine-free option, carob powder can be a wonderful substitute. Always check the packaging to ensure you’re getting the best quality.
What is the best way to store Halloween Crinkle Cookies?
To keep your cookies soft and delicious, store them in an airtight container at room temperature for up to 3 days. For longer storage, you can freeze the baked cookies; just place them in a zip-top bag and they’ll stay fresh for up to 1 month. A little hint: if you microwave them for 10-15 seconds after thawing, they’ll taste like they’re fresh from the oven!
Can I freeze the dough for Halloween Crinkle Cookies?
Absolutely! Shape the dough into tablespoon-sized balls, and freeze them on a baking sheet until solid. Once they’re frozen, transfer the balls to a zip-top bag for up to 1 month. When you’re ready to bake, take them straight from the freezer, add a couple of minutes to the baking time, and enjoy the whimsical treat!
What if my cookies are overbaking?
If you notice that your cookies are browning too quickly or becoming dry, remove them just as the tops start to crack and the centers still look soft. This will help you achieve that delightful fudgy texture. Remember to keep a close eye on your cookies during the last few minutes in the oven—it’s better to underbake slightly than to overshoot!
Are there any dietary alternatives I can use?
Very! To accommodate various dietary needs, consider using a 1:1 gluten-free baking blend instead of all-purpose flour for gluten-sensitive friends. Flax eggs (1 tbsp ground flaxseed + 2.5 tbsp water per egg) can replace regular eggs for vegan options. You can also substitute granulated sugar with coconut sugar for a lower glycemic index or use erythritol-based powdered sugar if you’re looking for lower-calorie options.
Can I make these cookies nut-free?
Yes, definitely! Ensure that the vegetable oil you use is free from potential allergens, but generally, the other ingredients like flour and cocoa are nut-free. If you’re serving guests with nut allergies, always check labels to ensure no cross-contamination has occurred. Enjoy baking these spooky delights without worry!
Spooktacular Halloween Crinkle Cookies for Festive Fun
Ingredients
Equipment
Method
- In a medium bowl, whisk together flour, cocoa powder, baking powder, and salt until well combined.
- In a larger bowl, beat together sugar, vegetable oil, eggs, and vanilla extract until smooth.
- Gradually fold the dry ingredients into the wet mixture until just combined.
- Cover dough with plastic wrap and refrigerate for at least 1 hour.
- Preheat oven to 350°F (175°C) and line baking sheets with parchment paper.
- Scoop tablespoon-sized balls of dough, roll in powdered sugar, and place on baking sheets.
- Bake for 10-12 minutes, until tops have cracked and centers look soft.
- Let cookies cool on the baking sheet for about 5 minutes before transferring to a wire rack.
Leave a Reply