
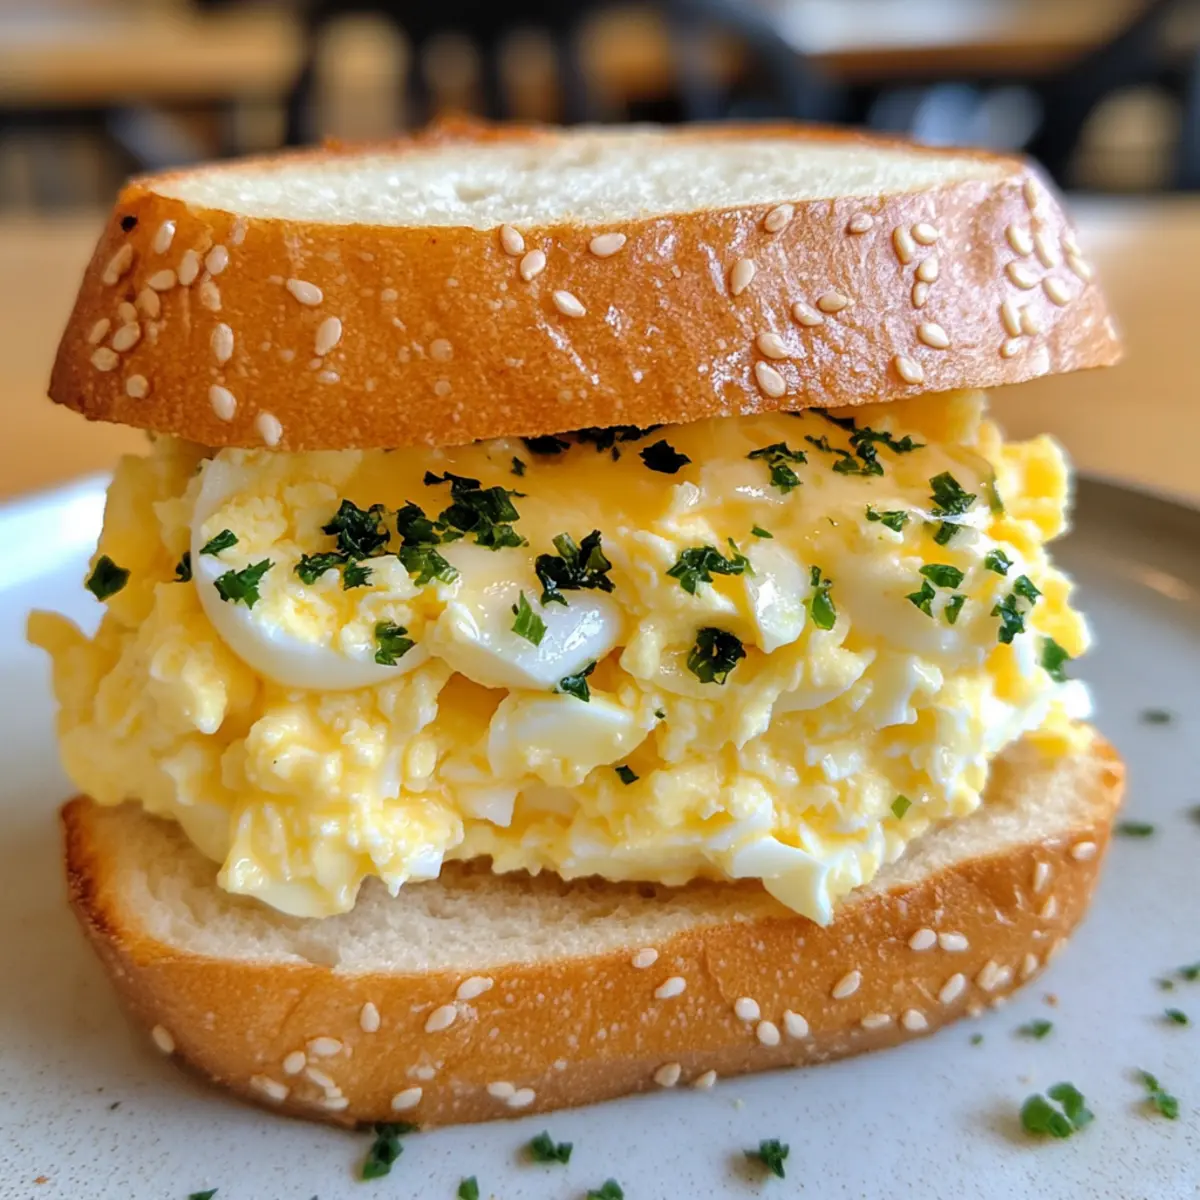
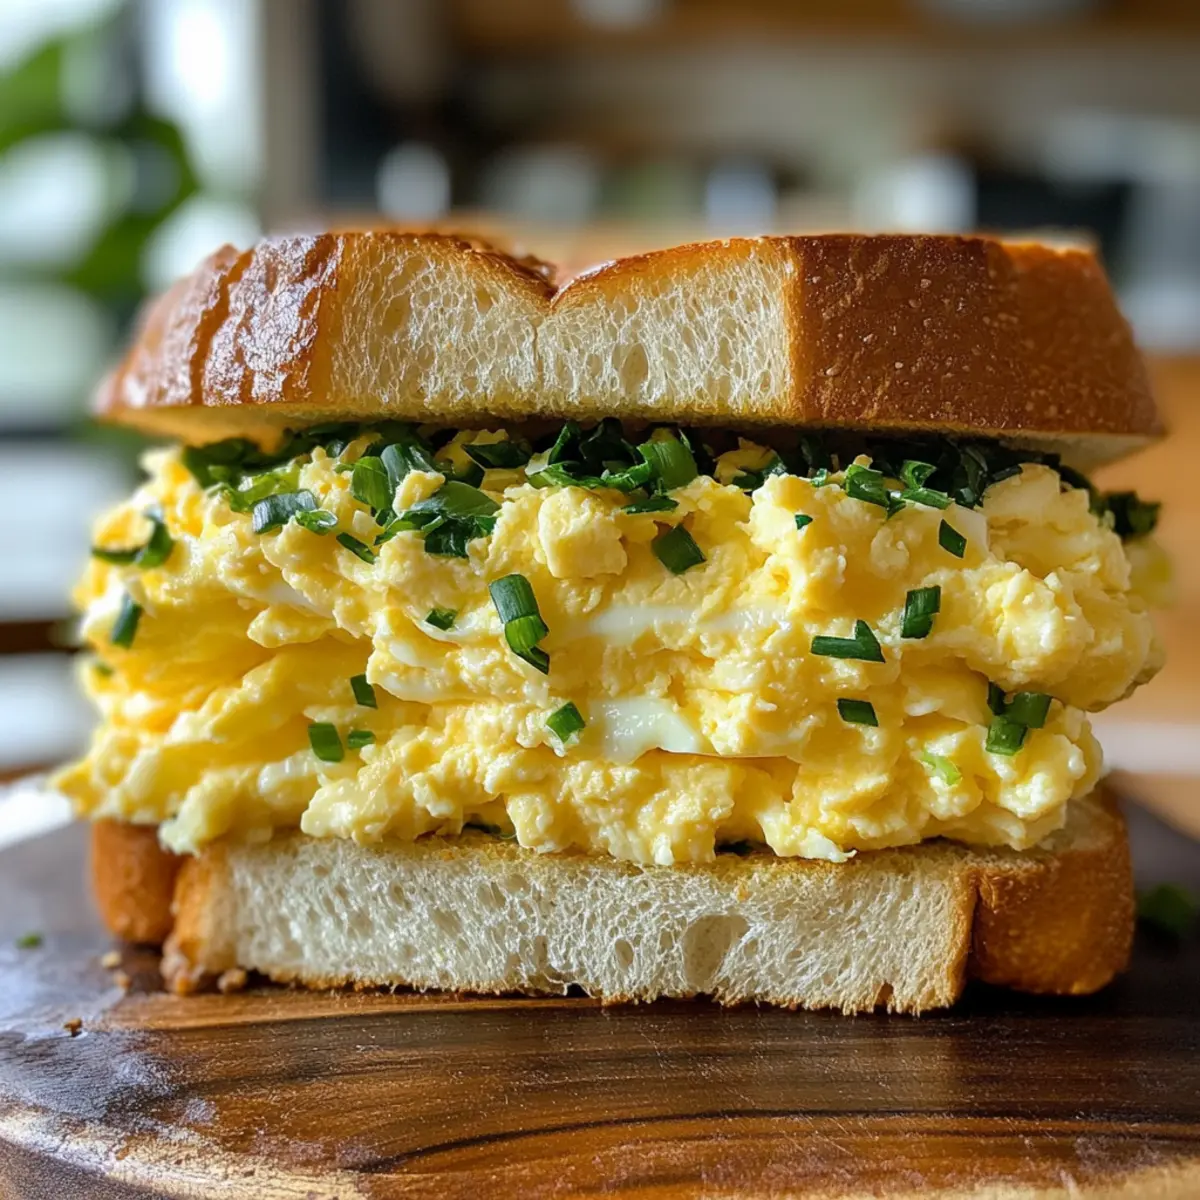
As I stood in my kitchen, the rich aroma of freshly boiled eggs began to fill the air, whisking me away to my favorite Japanese café. There, nestled between two slices of soft, fluffy bread, lies the beloved Japanese Egg Sandwich, or tamago sando. This heavenly creation features a creamy egg salad that’s sure to win over both kids and grown-ups alike. Not only is this recipe a quick and effortless delight, perfect for busy mornings or light lunch breaks, but it also offers a taste of nostalgia that reminds me of exploring Japan’s bustling convenience stores. Trust me, once you try this easy twist on a classic, you’ll find it hard to resist making it a regular staple! What other delicious surprises can we whip up together today?
Why is Tamago Sando So Special?
Creamy Flavor Explosion: The rich and creamy egg salad provides a delightful bite that is hard to forget.
Kid-Friendly: This makes for an ideal lunch option for kids, ensuring they’ll enjoy something nutritious and tasty!
Quick & Easy: With minimal prep and cooking time, you can whip up this sandwich in just minutes, perfect for busy mornings or spontaneous lunches.
Versatile Options: Experiment with different breads, and consider adding sliced cucumbers for extra crunch—there’s no wrong way to enjoy it!
Nostalgic Taste: Experience a beloved aspect of Japanese culture right from your home, reminiscent of those enjoyable convenience store snacks while traveling.
Pair it with a refreshing side salad or perhaps some Roasted Chickpeas Veggie for a complete meal. This tamago sando is sure to keep you coming back for more!
Japanese Egg Sandwich Ingredients
• Here’s everything you need to create this delicious, creamy Japanese egg sandwich!
For the Egg Salad
- Large Pete and Gerry’s Organic Eggs – Use fresh, high-quality eggs for the best flavor and creaminess.
- Sugar (1/4 tsp) – Adds a subtle sweetness to the egg salad that enhances the overall taste.
- Salt (1/4 tsp) – Enhances flavor; feel free to adjust according to your taste preferences.
- Ground Black Pepper (1/4 tsp) – Adds warmth and can be tweaked or omitted based on personal preference.
- Milk or Plant Milk (1-2 tsp, optional) – Incorporates extra creaminess, especially beneficial for hard-boiled egg variations.
- Japanese Mayonnaise (4 tbsp) – Offers a richer flavor and creamier texture compared to regular mayonnaise; substituting may alter the taste.
For the Sandwich
- Japanese Milk Bread (4 slices) – Essential for that soft, fluffy texture; if unavailable, opt for a similar spongy white bread.
- Unsalted Butter (2 tbsp, softened) – Adds richness and helps bind the sandwich; can be omitted for a lighter option.
- Chives (for garnish, optional) – Adds a fresh touch and visual appeal to your finished sandwich.
Step‑by‑Step Instructions for Japanese Egg Sandwich
Step 1: Prepare Ice Bath
Begin by filling a large mixing bowl with ice water. This ice bath is essential for quickly cooling the eggs after cooking, helping them stop the cooking process and making peeling easier later on. Place it next to your stove, so it’s ready for the eggs as soon as they are done boiling.
Step 2: Boil Eggs
In a medium saucepan, bring enough water to a rolling boil over high heat. Gently lower in your Pete and Gerry’s Organic Eggs using a slotted spoon. For medium soft-boiled eggs, cook for 7 minutes, and for a firmer texture, allow them to boil for 10 minutes. You’ll know they’re ready when the water is bubbling vigorously.
Step 3: Chill Eggs
Once the eggs are boiled, carefully transfer them into the ice bath using the slotted spoon. Allow them to sit in the cold water for about 2 minutes to halt the cooking. The contrast of cold will help create a tender yolk, and peeling them while still lukewarm makes the shell come off easier!
Step 4: Make Egg Salad
Peel the cooled eggs and place them in a bowl. With a fork, mash the eggs gently until broken into small pieces. Add the sugar, salt, black pepper, and Japanese mayonnaise (plus milk if using) to the bowl. Mix everything thoroughly until creamy and well combined, creating the flavorful filling for your Japanese egg sandwich.
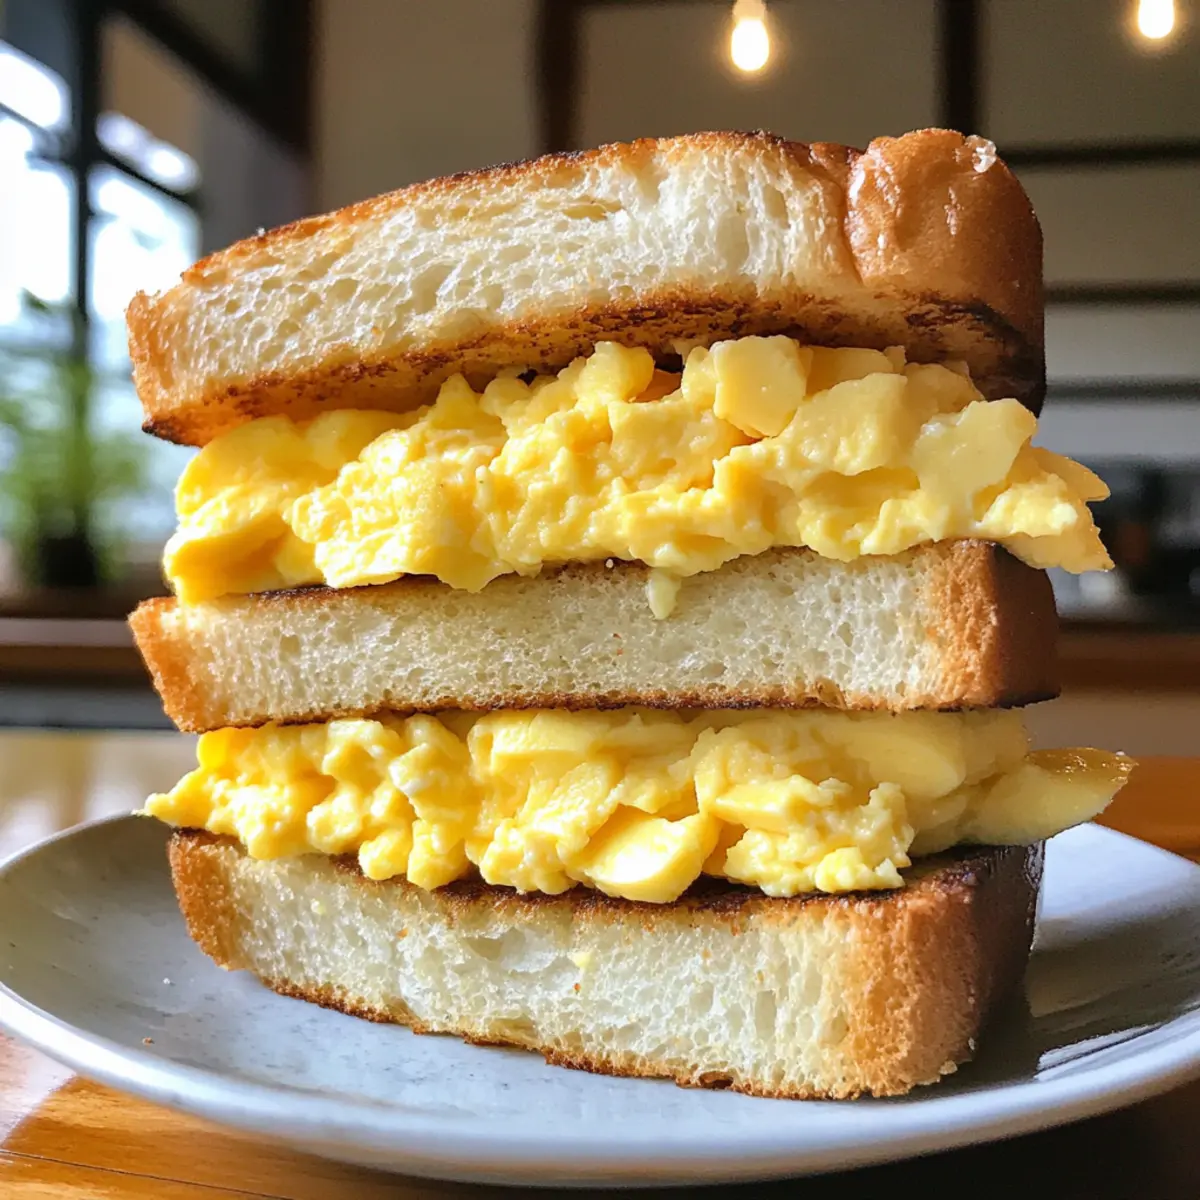
Step 5: Assemble Sandwich
Start by spreading softened butter on both slices of Japanese milk bread. Next, scoop a generous portion of the creamy egg salad mixture onto one slice, distributing it evenly. Top with the other slice of bread and, if desired, trim the crusts for a neat presentation, turning this simple sandwich into a delightful treat.
Step 6: Serve or Store
Slice the Japanese egg sandwich in half diagonally for a beautiful presentation. Serve it immediately while the bread is fresh and buttery, or if you prefer to enjoy it later, wrap it tightly in plastic wrap. Store in the fridge for up to 2 days, keeping your delicious tamago sando fresh and ready to enjoy!

Japanese Egg Sandwich Variations
Feel free to get creative and customize this recipe to your heart’s content, transforming each bite into something uniquely yours!
- Hard-Boiled Replacement: Use hard-boiled eggs for a firmer texture that suits traditional preferences.
- Bread Swap: Any high-quality bread works wonders; try sourdough or whole grain for a different flavor twist!
- Creamy Avocado: Add mashed avocado to the egg salad for a silky finish and a lovely green hue.
- Veggie Boost: Toss in finely chopped cucumbers or shredded carrots to add crunch and freshness.
- Spicy Kick: Stir in a dash of sriracha or chili paste for those who crave a spicy flavor adventure.
- Herbed Delight: Mix in fresh herbs like dill or parsley to elevate the egg salad’s flavor profile.
- Additional Fillings: Layer sliced tomatoes or juicy radishes in the sandwich for extra flavor and a burst of freshness.
- Dairy-Free Option: Substitute Japanese mayonnaise with a dairy-free alternative for a lighter, vegan twist.
This delightful tamago sando pairs perfectly with a refreshing side salad or may even inspire you to try a hearty Chicken Caesar Sandwich for your next meal. Enjoy the journey of flavors!
Expert Tips for Japanese Egg Sandwich
• Egg Quality Matters: Use high-quality organic eggs to enhance the creaminess and flavor of your egg salad; fresher eggs will yield better results.
• Chill Quickly: An ice bath is crucial! Rapidly cool the boiled eggs to achieve the perfect yolk consistency and simplify peeling, ensuring a smooth filling for your Japanese egg sandwich.
• Season to Taste: After mixing the mayonnaise into the egg salad, taste before adding more salt or pepper—mayonnaise can amplify saltiness, so adjust as needed.
• Choose the Right Bread: Authentic Japanese milk bread provides the ideal texture, but if unavailable, opt for a soft, spongy white bread to maintain the sandwich’s lightness.
• Storage Wisdom: Wrap assembled sandwiches in plastic wrap tightly to keep fresh in the fridge for up to 2 days, preventing the bread from drying out.
What to Serve with Japanese Egg Sandwich
As you savor each creamy bite of your tamago sando, why not elevate your meal with delightful sides and beverages?
- Crisp Side Salad: A light, mixed green salad with a tangy vinaigrette offers a refreshing contrast to the creamy sandwich.
- Sliced Cucumbers: Their cool crunch complements the sandwich perfectly, adding a lovely texture and freshness.
- Fruit Skewers: Colorful fruit skewers with seasonal berries or melons provide a sweet, juicy finish to your meal.
- Miso Soup: A warm miso soup can add an authentic Japanese touch, enhancing the meal with umami flavors and comfort.
- Matcha Green Tea: This earthy, slightly sweet beverage not only refreshes the palate but also brings a beautiful hue to your meal.
- Potato Chips: For a fun crunch, a small bowl of lightly salted potato chips provides a delectable contrast to the softness of the sandwich.
- Yuzu Sorbet: For dessert, this fruity sorbet is light and refreshing, leaving you with a zesty finish after your creamy meal.
Pair your Japanese egg sandwich with these enticing options for a complete and delightful dining experience!
Make Ahead Options
These delicious Japanese Egg Sandwiches (tamago sando) are perfect for meal prep enthusiasts looking to save time during busy weekdays! You can prepare the creamy egg salad up to 3 days in advance; just store it in an airtight container in the refrigerator to maintain its freshness. Boil and chill your eggs, then mash and mix them with mayonnaise, sugar, salt, and pepper, creating that rich filling. Additionally, you can spread butter on the bread slices up to 24 hours before assembly. When you’re ready to enjoy, simply assemble the sandwich and either serve it fresh or wrap it tightly to retain its deliciousness. These make-ahead tips ensure that your culinary creation is just as delightful on day two!
How to Store and Freeze Japanese Egg Sandwich
Fridge: Wrap the assembled Japanese egg sandwich tightly in plastic wrap to keep it fresh; it stays good for up to 2 days.
Freezer: For longer storage, you can freeze the egg salad separately in an airtight container for up to 1 month. Thaw in the fridge before assembling.
Reheating: If desired, you can enjoy the sandwich cold, but you may also warm the bread in a toaster for a few minutes or use a skillet on low heat to freshly toast each side for added texture.
Eat Fresh: This delightful tamago sando is best enjoyed fresh to appreciate its creamy filling and soft bread, so plan accordingly!
Japanese Egg Sandwich (Tamago Sando) Recipe FAQs
How do I select the best eggs for my Japanese egg sandwich?
Absolutely! For the best flavor and creaminess, opt for fresh, high-quality large organic eggs, like Pete and Gerry’s. When choosing eggs, look for ones with no cracks and a clean appearance. Avoid eggs with dark spots or any signs of damage, as these can affect the quality of your egg salad.
What’s the best way to store my Japanese egg sandwich?
Very! Wrap your assembled Japanese egg sandwich tightly in plastic wrap or place it in an airtight container to keep it fresh. It will stay good in the fridge for up to 2 days. To prevent the bread from becoming soggy, only add the egg salad to the bread just before you plan to eat it.
Can I freeze the egg salad for my Japanese egg sandwich?
Absolutely! You can freeze the egg salad separately in an airtight container for up to 1 month. Just ensure it’s completely cooled before transferring it to the freezer. When you’re ready to enjoy, thaw it in the fridge overnight. After thawing, mix the salad well before assembling the sandwich.
What should I do if my eggs are hard to peel?
If you find yourself struggling with peeling, remember this: eggs that are overly fresh tend to stick more to the shell. To make peeling easier, use eggs that are a week or so old. Alternatively, try peeling them under running water, which can help loosen any pesky fragments, giving you a smoother, creamier filling.
Are there any dietary considerations for the Japanese egg sandwich?
Very! If you or someone you’re serving has allergies, be cautious with ingredients. The sandwich contains eggs and mayonnaise, which can be allergens. Moreover, if you’re preparing it for kids or adults with specific dietary needs, you can use plant-based mayonnaise as a substitute for a dairy-free version. Always check the labels to ensure they meet dietary restrictions.
Irresistibly Creamy Japanese Egg Sandwich to Brighten Your Day
Ingredients
Equipment
Method
- Prepare an ice bath by filling a large mixing bowl with ice water.
- Boil enough water in a medium saucepan, then gently lower in the eggs using a slotted spoon. Cook for 7-10 minutes depending on your soft or firm preference.
- Transfer the boiled eggs into the ice bath to cool for about 2 minutes.
- Peel the cooled eggs and mash them gently in a bowl, then mix in sugar, salt, black pepper, and Japanese mayonnaise until creamy.
- Spread softened butter on both slices of Japanese milk bread and scoop the egg salad onto one slice before topping with the other slice.
- Slice the sandwich in half and serve immediately or wrap in plastic for storage.
Leave a Reply