
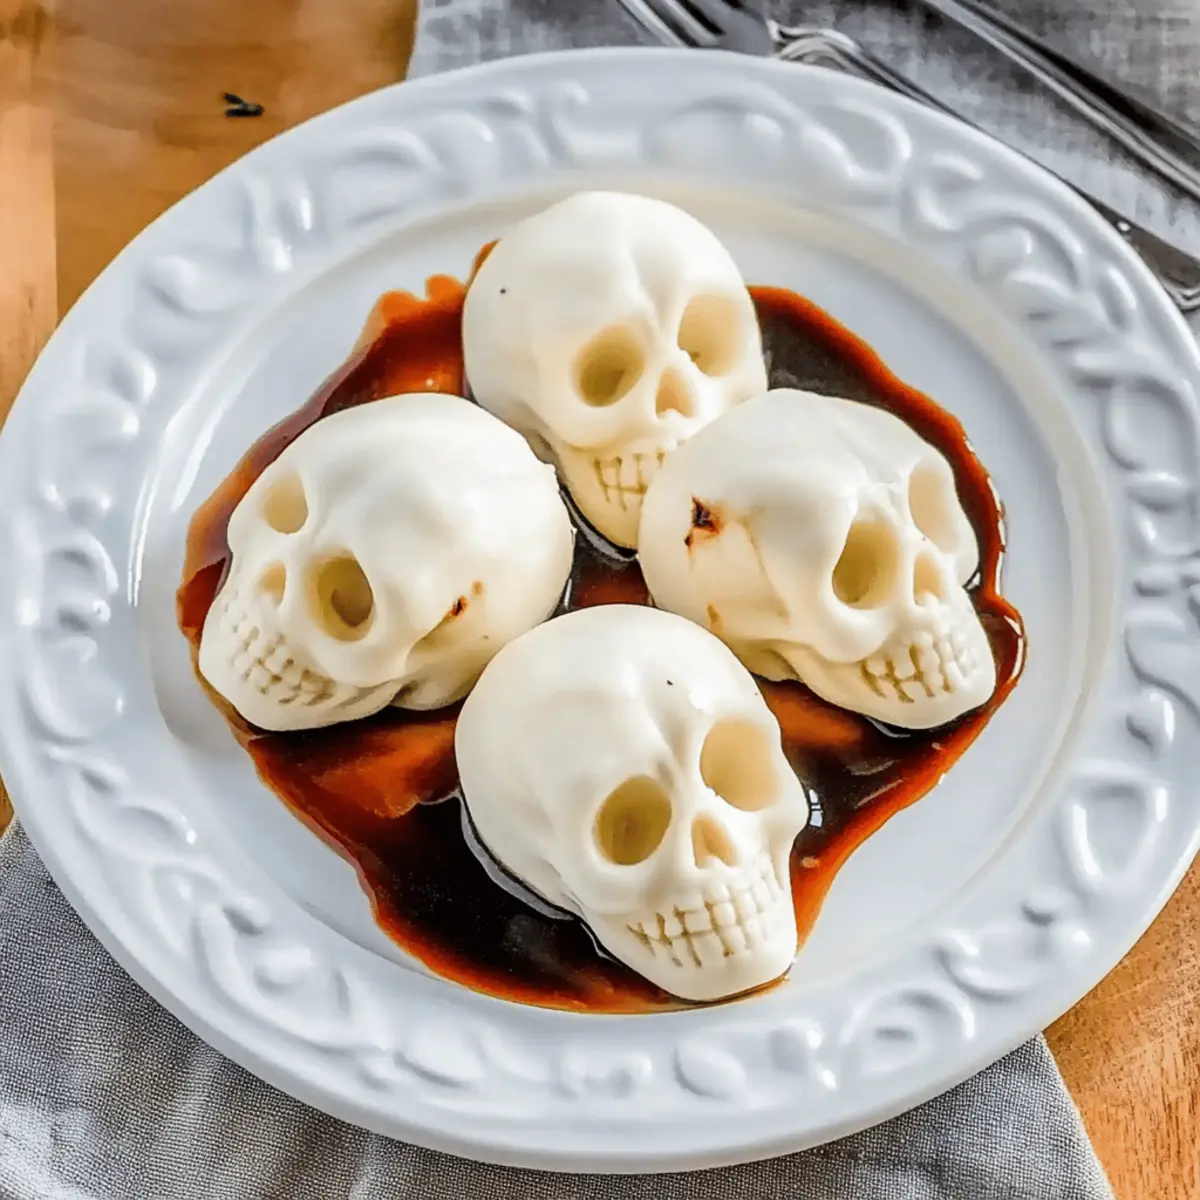
As the sun sets and shadows creep in, it’s time to bring out the cheer in the spookiest of seasons! These Mozzarella Cheese Skulls are the perfect way to treat friends and family to something utterly delightful this Halloween. With their creamy, stretchy goodness, they’re not just eye-catching; they’re ideal for quick preparation so you can immerse yourself in the festivities, not just the food. Plus, their crowd-pleasing charm means they’ll be a hit at any gathering, making them a must-have appetizer. Curious about how to create these whimsical treats that will steal the spotlight? Let’s dive into the recipe together!
Why Make Mozzarella Cheese Skulls?
Unforgettable Presentation: Shaped like spooky skulls, these cheese bites are not just snacks—they’re conversation starters!
Quick and Easy: Perfect for busy schedules, you can whip them up in no time and still impress your guests.
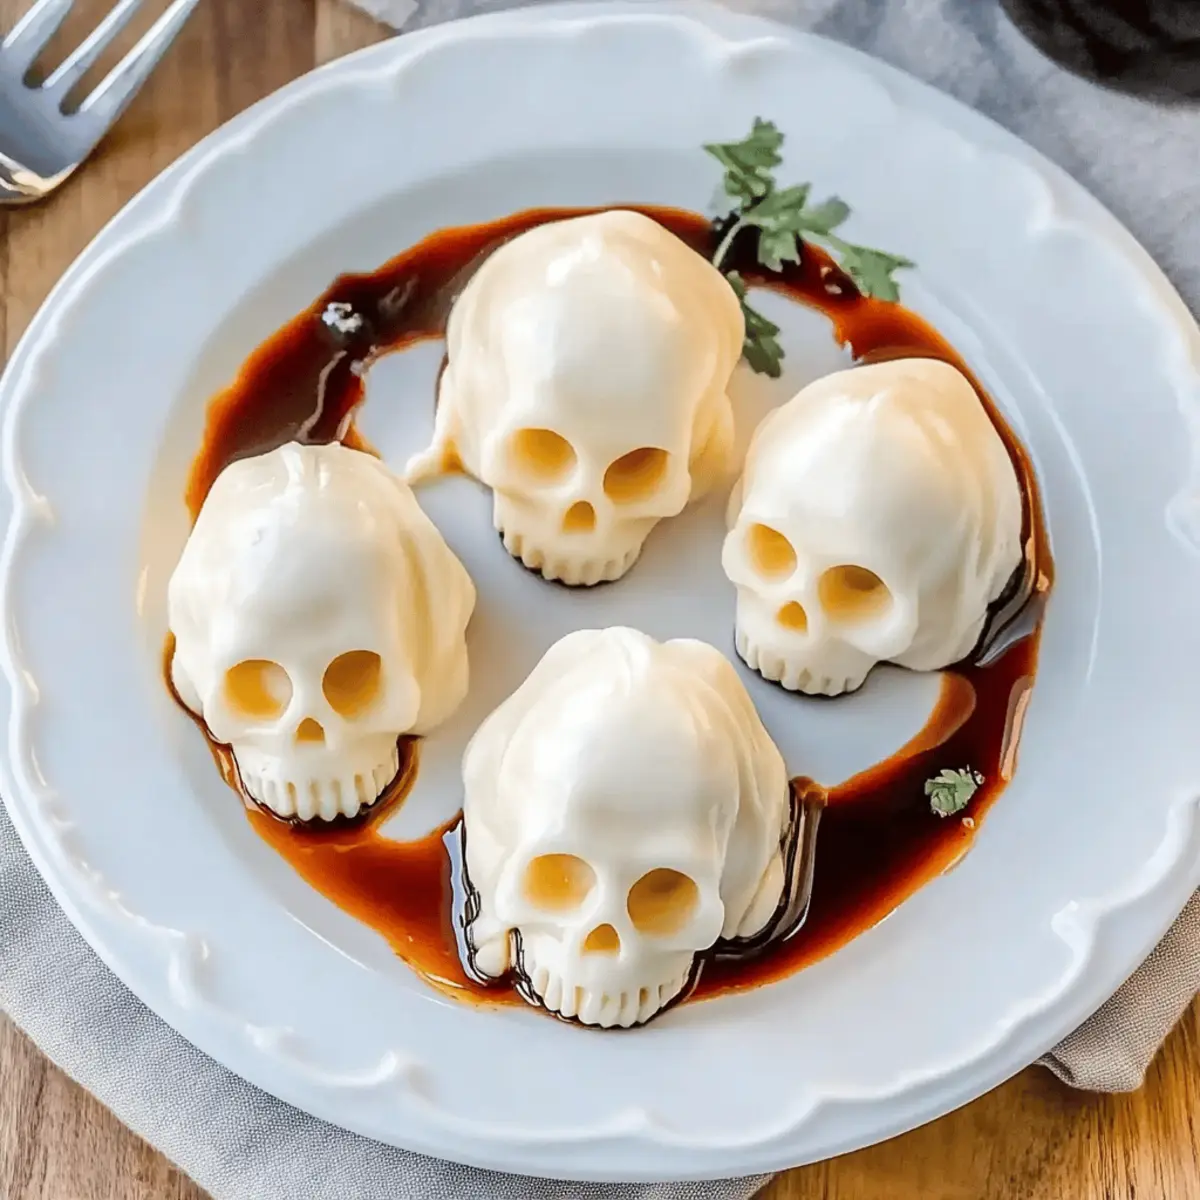
Versatile Toppings: Get creative with optional garnishes like fresh herbs or balsamic glaze to elevate flavors and presentation.
Make-Ahead Magic: Prepare them a day in advance or freeze for later, making Halloween planning a breeze.
Crowd-Pleasing Flavor: With their creamy, stretchy goodness, these are guaranteed to be a hit, much like my Pumpkin Goat Cheese and Cucumber Mozzarella Salad.
Mozzarella Cheese Skulls Ingredients
For the Cheese Skulls
• Mini Mozzarella Balls – These are the stars of the show, offering a rich and creamy texture ideal for shaping into skulls.
• Silicone Skull Mold – Essential for achieving that spooky skull shape; opt for a heat-safe mold for best results.
For Optional Toppings
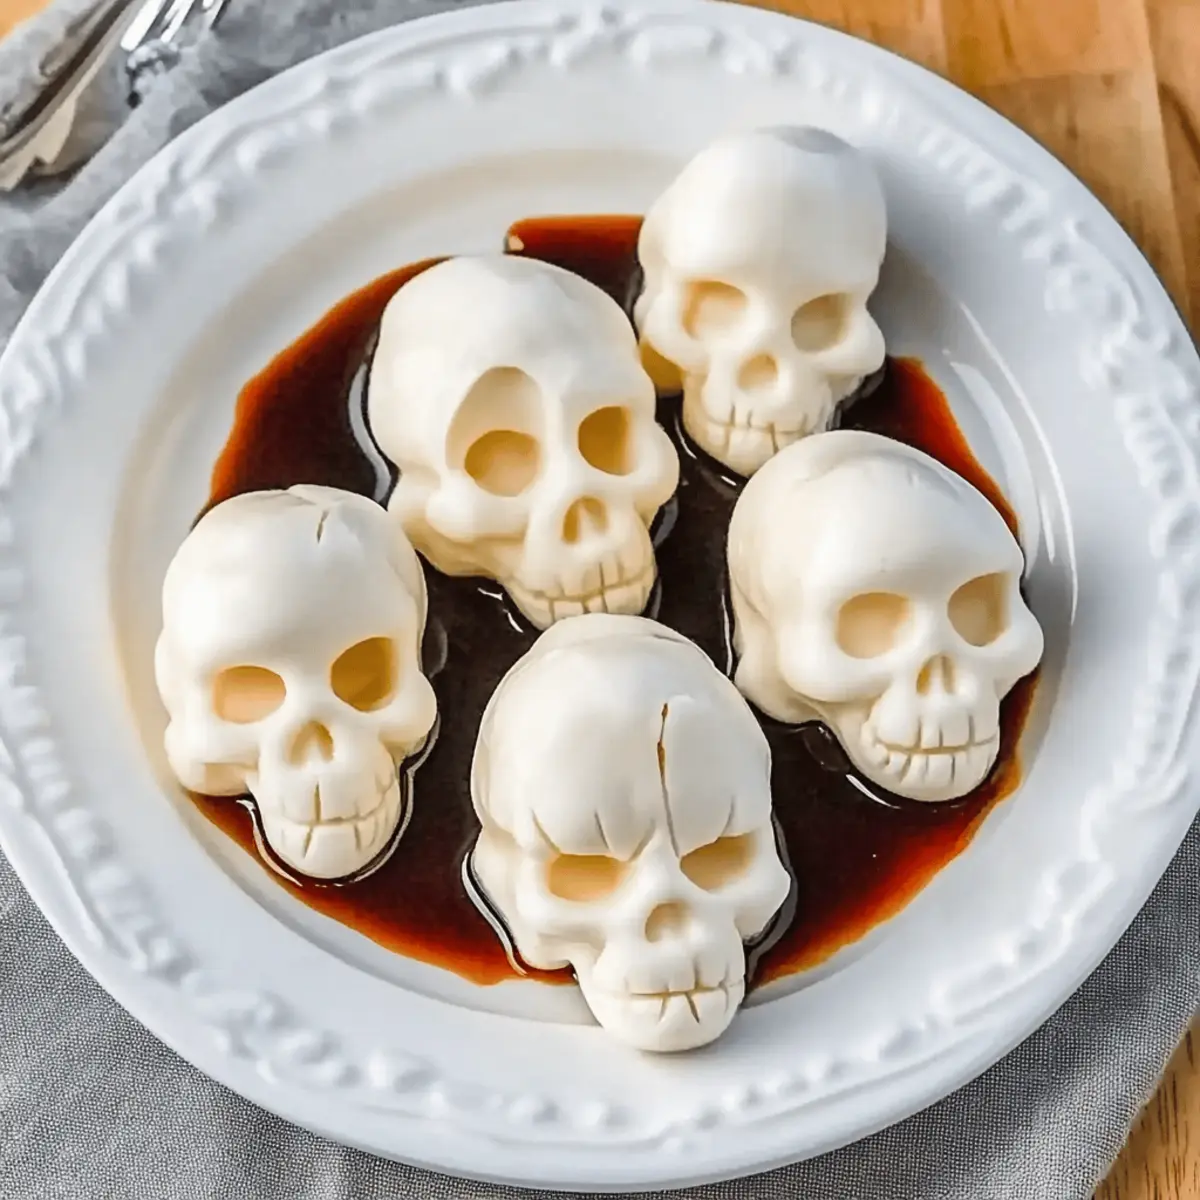
• Balsamic Glaze – Add a drizzle for a gourmet touch that complements the cheesy goodness.
• Fresh Herbs – Consider basil or parsley for a pop of color and fresh flavor on your cheese creations.
• Seasoned Breadcrumbs – Sprinkle these on top before baking for a delightful crunch that contrasts the creamy cheese.
Enjoy creating these delightful Mozzarella Cheese Skulls that are fun and flavorful, destined to brighten your Halloween festivities!
Step‑by‑Step Instructions for Mozzarella Cheese Skulls
Step 1: Preheat the Oven
Begin by preheating your oven to 350°F (175°C). This temperature is ideal for melting your mini mozzarella balls to achieve that perfect creamy texture. While the oven is warming up, gather your ingredients, and make sure your silicone skull mold is clean and ready for use.
Step 2: Prepare the Mozzarella Balls
Pat the mini mozzarella balls dry using paper towels. This step is crucial to remove excess moisture, which will help the cheese retain its shape during baking. As you work, admire the fresh, glossy mozzarella; it sets the stage for your delightful mozzarella cheese skulls.
Step 3: Mold the Cheese
Place the dried mozzarella balls snugly into the silicone skull mold. Make sure each cavity is filled adequately to create that spooky skull shape. Gently press down on the balls to ensure they fit tightly, leaving no gaps, so your mozzarella cheese skulls will have beautifully defined features when baked.
Step 4: Bake the Mold
Transfer the filled silicone mold to your preheated oven and bake for 8-10 minutes. Keep an eye on the mozzarella as it melts; you want the balls to be soft but still hold their shape. They should soften just enough to allow for molding while retaining their distinctive skull silhouettes.
Step 5: Shape the Skulls
Once out of the oven, let the mozzarella cool for a moment before gently pressing down on each skull to enhance the details. The warmth makes this easier and helps shape the cheese into the intricacies of the skulls. Be careful not to press too hard; you want to maintain the unique skull characteristics.
Step 6: Chill to Set
Place the mold in the refrigerator for about 10 minutes to allow the mozzarella cheese skulls to set. This chilling step will help them firm up, ensuring they keep their spooky shape when you unmold them later. Use this time to prepare any optional toppings or dips you plan to serve.
Step 7: Unmold the Cheese Skulls
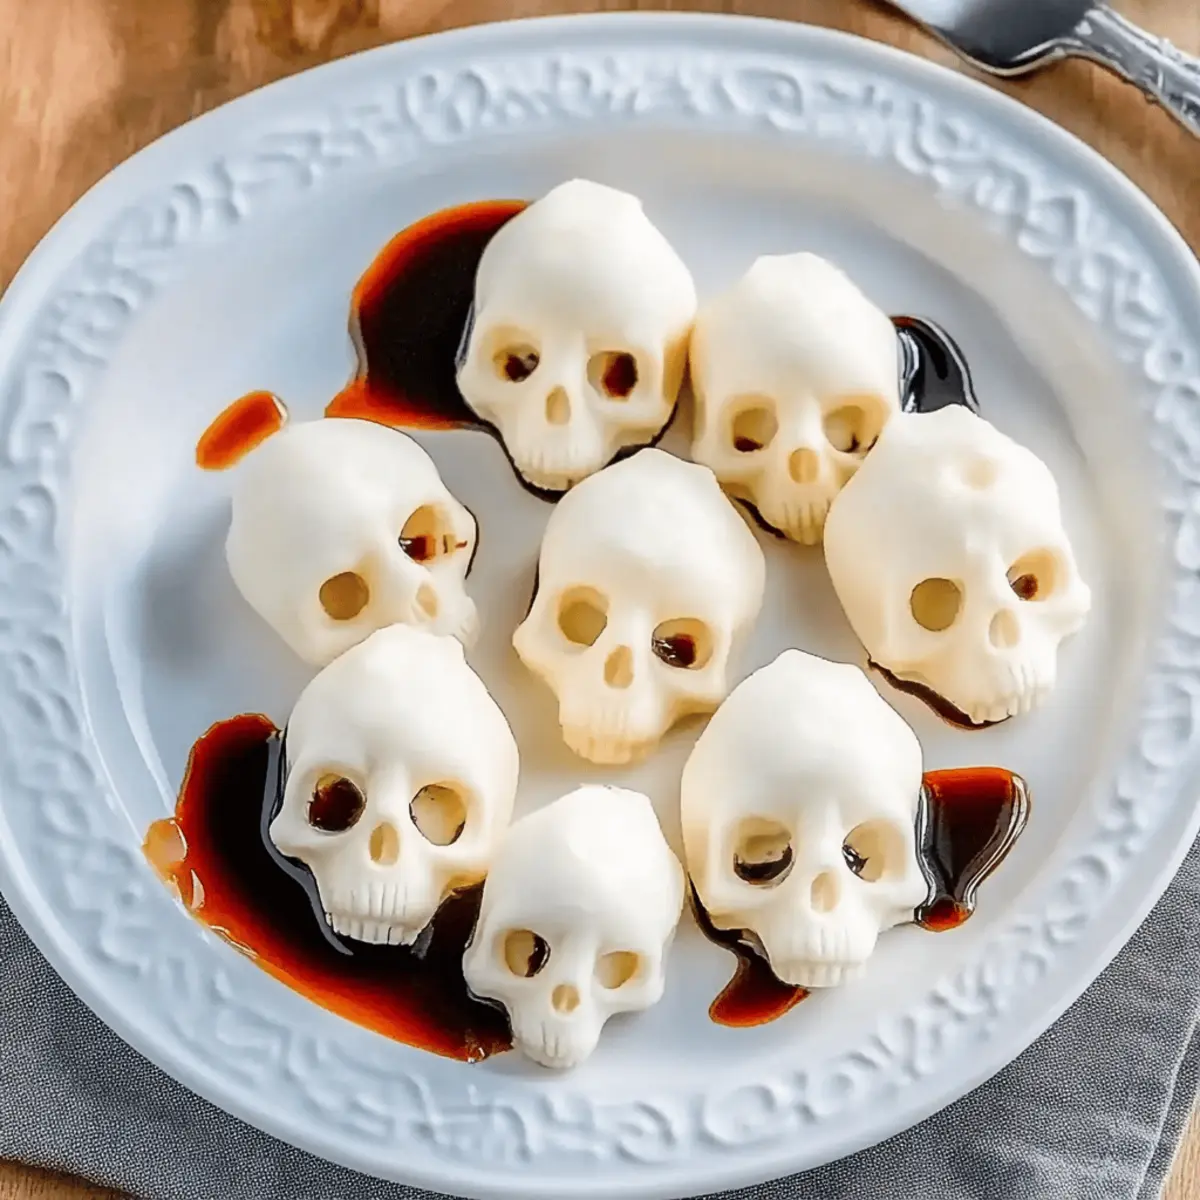
After chilling, carefully remove the mozzarella cheese skulls from the silicone mold. Gently squeeze the mold if necessary to help release the skulls without damaging their shape. Feel free to admire your handiwork; these adorable mozzarella cheese skulls are ready to be garnished and served!
Make Ahead Options
These delightful Mozzarella Cheese Skulls are perfect for meal prep, allowing you to enjoy the spooky fun without last-minute stress! You can prepare the cheese skulls up to 24 hours in advance; simply mold and bake them as directed, then refrigerate in an airtight container once they’re cool. When you’re ready to serve, just pop them in the oven at 350°F (175°C) for about 5-7 minutes until heated through. For longer storage, freeze the unbaked mozzarella skulls for up to 3 months. When you’re ready to bake, just add a few extra minutes to the baking time for perfectly spooky treats. This prep-ahead method ensures your Mozzarella Cheese Skulls taste just as delicious and helps you manage your time wisely during Halloween festivities.
Expert Tips for Mozzarella Cheese Skulls
-
Drying is Key: Thoroughly dry the mozzarella balls before molding to prevent melting issues during baking. Moisture can lead to a soggy texture that ruins your skulls.
-
Watch the Bake Time: Keep an eye on the cheese as it bakes. Remove the mold when the cheese is soft enough to shape but still holds its skull form to preserve detail.
-
Experiment with Molds: Consider using different silicone molds to create a variety of spooky shapes, like pumpkins or ghosts, adding a festive flair to your Halloween spread.
-
Dairy Alternatives: For a vegan option, use plant-based cheese that melts well. This ensures everyone can enjoy the deliciousness of mozzarella cheese skulls.
-
Topping Variety: Don’t hesitate to get creative with toppings! Adding fresh herbs or drizzling balsamic glaze can elevate both the flavor and presentation of these spooky treats.
How to Store and Freeze Mozzarella Cheese Skulls
-
Fridge: Store your mozzarella cheese skulls in an airtight container for up to 3 days. This will keep them fresh and ready to surprise your guests at a moment’s notice.
-
Freezer: For longer storage, freeze unbaked mozzarella cheese skulls for up to 3 months. Just pop them in the oven directly from the freezer, adding a few extra minutes to the baking time for the best results.
-
Reheating: If you’ve already baked the cheese skulls, gently reheat them in the oven at 350°F (175°C) for about 5-7 minutes. This method restores their deliciously gooey texture without compromising their charming shapes.
-
Make-Ahead: Prepare mozzarella cheese skulls a day in advance and keep them in the fridge. This allows for easy entertaining on Halloween night, letting you focus on fun rather than food prep!
What to Serve with Lush Mozzarella Cheese Skulls
Elevate your Halloween feast with delightful pairings that complement the cheesy, whimsical charm of your mozzarella creations.
-
Crispy Garlic Bread: The buttery crunch of garlic bread provides a satisfying contrast to the creamy skulls, perfect for scooping and nibbling.
-
Pumpkin Soup Shooters: These warm, spiced sips enhance the spooky spirit of your gathering, offering comforting flavors that blend beautifully with cheese.
-
Fresh Arugula Salad: The peppery bite of arugula adds a refreshing balance, cutting through the richness of the mozzarella, while vibrant colors brighten up your plate.
-
Savory Stuffed Mini Peppers: These colorful bites packed with cheese or meat add both sweetness and crunch, making for a well-rounded appetizer spread.
-
Balsamic Glaze Garnish: Drizzle this over your mozzarella skulls for a delightful sweetness that complements the creamy texture—it’s a gourmet touch that elevates the dish!
-
Chilled White Wine: Pairing with a crisp Sauvignon Blanc or Pinot Grigio makes for a refreshing contrast, enhancing the flavors of the appetizers beautifully.
-
Spicy Jalapeño Poppers: Introduce some heat with these zesty bites that add a fiery kick and textural variation alongside the mellow mozzarella.
-
Pumpkin-Spiced Desserts: Finish your feast on a sweet note, with treats like mini pumpkin pies or spiced cookies, perfectly fitting for the season!
Mozzarella Cheese Skulls Variations
Feel free to get creative with these delightful cheese skulls, adding a personal twist to elevate their flavors and fun appeal!
- Dairy-Free: Swap mini mozzarella for plant-based cheese that melts well, ensuring everyone can enjoy these spooky treats.
- Spicy Kick: Add chopped jalapeños or minced chili flakes to the mozzarella mix for a bold, spicy variation that brings the heat!
- Herb-Infused: Use herb-infused mozzarella for a burst of flavor that ties in perfectly with a touch of fresh basil or parsley.
- Sweet & Savory: Drizzle a touch of honey over your finished skulls for a delightful contrast that balances the richness of the cheese.
- Crunchy Texture: Top with seasoned breadcrumbs before baking to create a crispy layer that pairs wonderfully with the gooey cheese.
- Different Shapes: Experiment with other silicone molds to create festive figures like pumpkins or ghosts, making each bite a surprise!
- Seasoned Cheese: Try mixing in garlic powder, onion powder, or Italian seasoning with the mozzarella for added flavor depth.
- Unique Dips: Serve with various dips like pesto or a spicy marinara to provide tasty options for dunking your skulls while entertaining.
These variations will surely make your Halloween gathering even more memorable, similar to how my Apple Cinnamon Blondies with Maple Cream Cheese Frosting or Pumpkin Cheesecake Muffins add dessert magic! Enjoy exploring different flavors and combinations—your friends and family will thank you!
Mozzarella Cheese Skulls Recipe FAQs
How do I choose the best mini mozzarella balls?
Absolutely! When selecting mini mozzarella balls, look for those packed in water, as they tend to be fresher and creamier. Avoid any that appear very firm or have a dry surface; they should feel plump and weep a little moisture.
What is the best way to store leftover mozzarella cheese skulls?
The more the merrier! Store your mozzarella cheese skulls in an airtight container in the refrigerator for up to 3 days. This keeps them fresh and ready for a quick snack or to impress unexpected guests!
Can I freeze mozzarella cheese skulls, and how?
Yes, you can easily freeze mozzarella cheese skulls! Simply place them unbaked in a single layer on a baking sheet until frozen solid, then transfer them to a freezer-safe container or bag. They will last up to 3 months! Bake them directly from the freezer, adding a few extra minutes to the bake time.
What if my cheese skulls melt too much during baking?
Don’t worry; it happens to the best of us! If your mozzarella cheese skulls melt too much, ensure they are dried thoroughly before molding, and keep a close watch during the baking process. You want them soft but still holding their shape.
Are mozzarella cheese skulls safe for my kids and pets?
Definitely! These mozzarella cheese skulls are safe for kids, as they are simply cheese made into fun shapes. However, if you’re concerned about dairy allergies, consider using plant-based cheese alternatives. Always supervise pets around food to avoid any choking hazards or digestive issues.
Can I make mozzarella cheese skulls in advance?
Yes, you can! Prepare them a day in advance and store them in the refrigerator, or freeze them unbaked. Just remember to allow them time to set after baking, so they maintain their delightful shapes for your Halloween feast!
Cheesy Mozzarella Cheese Skulls for a Spooky Snack Fest
Ingredients
Equipment
Method
- Preheat your oven to 350°F (175°C).
- Pat the mini mozzarella balls dry using paper towels.
- Place the dried mozzarella balls snugly into the silicone skull mold.
- Transfer the filled silicone mold to your preheated oven and bake for 8-10 minutes.
- Once out of the oven, let the mozzarella cool before gently pressing down on each skull to enhance the details.
- Place the mold in the refrigerator for about 10 minutes to allow the mozzarella cheese skulls to set.
- Carefully remove the mozzarella cheese skulls from the silicone mold.
Leave a Reply