
As I pulled the golden-brown crust from the oven, a delightful aroma filled my kitchen, instantly transporting me to sun-kissed fields blooming with wildflowers. Today, I’m excited to share my recipe for Salted Honey Pie, a dessert that combines the warmth of homemade goodness with a touch of sophistication. This pie features a flaky crust cradling a creamy honey custard, perfectly balanced with a sprinkle of flaky salt—an effortless crowd-pleaser that’s sure to impress at any gathering. Not only is it quick to whip up, but it’s also a charming way to showcase the rich flavors of fresh honey for the upcoming festivities. What’s your favorite way to embrace homemade desserts? Let’s dive into this delicious adventure together!

Why is Salted Honey Pie a Must-Try?
Irresistible flavor: The combination of honey and a sprinkle of flaky salt creates a unique taste experience that will leave your taste buds dancing.
Easy to make: With simple ingredients and straightforward steps, this pie is perfect for both novice and experienced bakers. The straightforward technique also reminds me of another favorite, like Sweet Harmony Honey!
Crowd-pleasing dessert: Whether for a family dinner or a festive gathering, this pie will impress everyone at the table.
Versatile options: Customize the recipe with flavored extracts or even switch honey for maple syrup for a delicious twist.
Make-ahead convenience: Prepare the pie in advance and store it in the fridge, saving you time on busy days. Enjoy the delicate balance of flavors that makes this dessert so special!
Salted Honey Pie Ingredients
For the Crust
- All-Purpose Flour – Provides structure for the crust; feel free to use a gluten-free flour blend for a gluten-free option.
- Granulated Sugar – Adds sweetness to both the crust and filling; no direct substitutes are recommended.
- Kosher Salt – Enhances flavor in both crust and filling; sea salt can be a suitable substitute.
- Unsalted Butter – Essential for creating a rich, flaky crust; use margarine for a dairy-free alternative.
- Ice Water – Keeps the dough cool, ensuring the perfect crust texture; make sure it’s very cold.
For the Filling
- Vanilla Extract – Adds depth of flavor to the filling; for a different profile, try almond extract.
- Honey – This is the star ingredient, lending floral notes to the custard; opt for fresh, high-quality honey for the best taste.
- Large Eggs – Provide structure and stability to the custard filling; use a flaxseed meal and water mix for a vegan version.
- Full-Fat Sour Cream – Contributes creaminess; heavy cream or crème fraîche can serve as substitutes.
- Apple Cider Vinegar – Balances sweetness and enhances tenderness; lemon juice can work in its place.
For Serving
- Flaky Salt – A finishing touch that adds an extra burst of flavor before slicing your Salted Honey Pie.
Step‑by‑Step Instructions for Salted Honey Pie
Step 1: Prepare the Crust
In a mixing bowl, combine all-purpose flour, granulated sugar, and kosher salt. Using a pastry cutter or your fingers, cut the unsalted butter into the mixture until it resembles coarse crumbs. Gradually add ice water, mixing until the dough just holds together. Shape the dough into a disk, wrap it in plastic, and refrigerate for at least 1 hour to firm up.
Step 2: Roll the Dough
On a lightly floured surface, roll the chilled dough into a 14-inch round, making sure it’s about 1/8 inch thick. Carefully transfer the dough to a 9-inch pie plate, gently pressing it into the bottom and sides. Trim the excess dough, leaving a small overhang, then crimp the edges for an elegant finish. Place the crust in the fridge while preheating your oven.
Step 3: Blind Bake the Crust
Preheat your oven to 375ºF. Once ready, remove the crust from the fridge and line it with parchment paper. Fill with pie weights or dry beans to prevent puffing. Bake for 20 minutes, then carefully remove the weights and parchment. Continue baking for an additional 10 minutes or until the edges are a light golden brown. Let the crust cool on a wire rack.
Step 4: Make the Filling
In a large bowl, whisk together melted butter, granulated sugar, flour, kosher salt, vanilla extract, and honey until smooth. Add the large eggs, full-fat sour cream, and apple cider vinegar, mixing thoroughly until the filling is homogenous and creamy. The Salted Honey Pie filling should look smooth and glossy.
Step 5: Fill and Bake
Pour the prepared filling into the pre-baked crust, smoothing the top with a spatula. Place the pie in the oven and bake at 350ºF for 45-50 minutes. The edges should be golden and the center should jiggle slightly; this indicates it’s set but still creamy. Once baked, remove from the oven and allow the pie to cool completely.
Step 6: Add the Finishing Touch
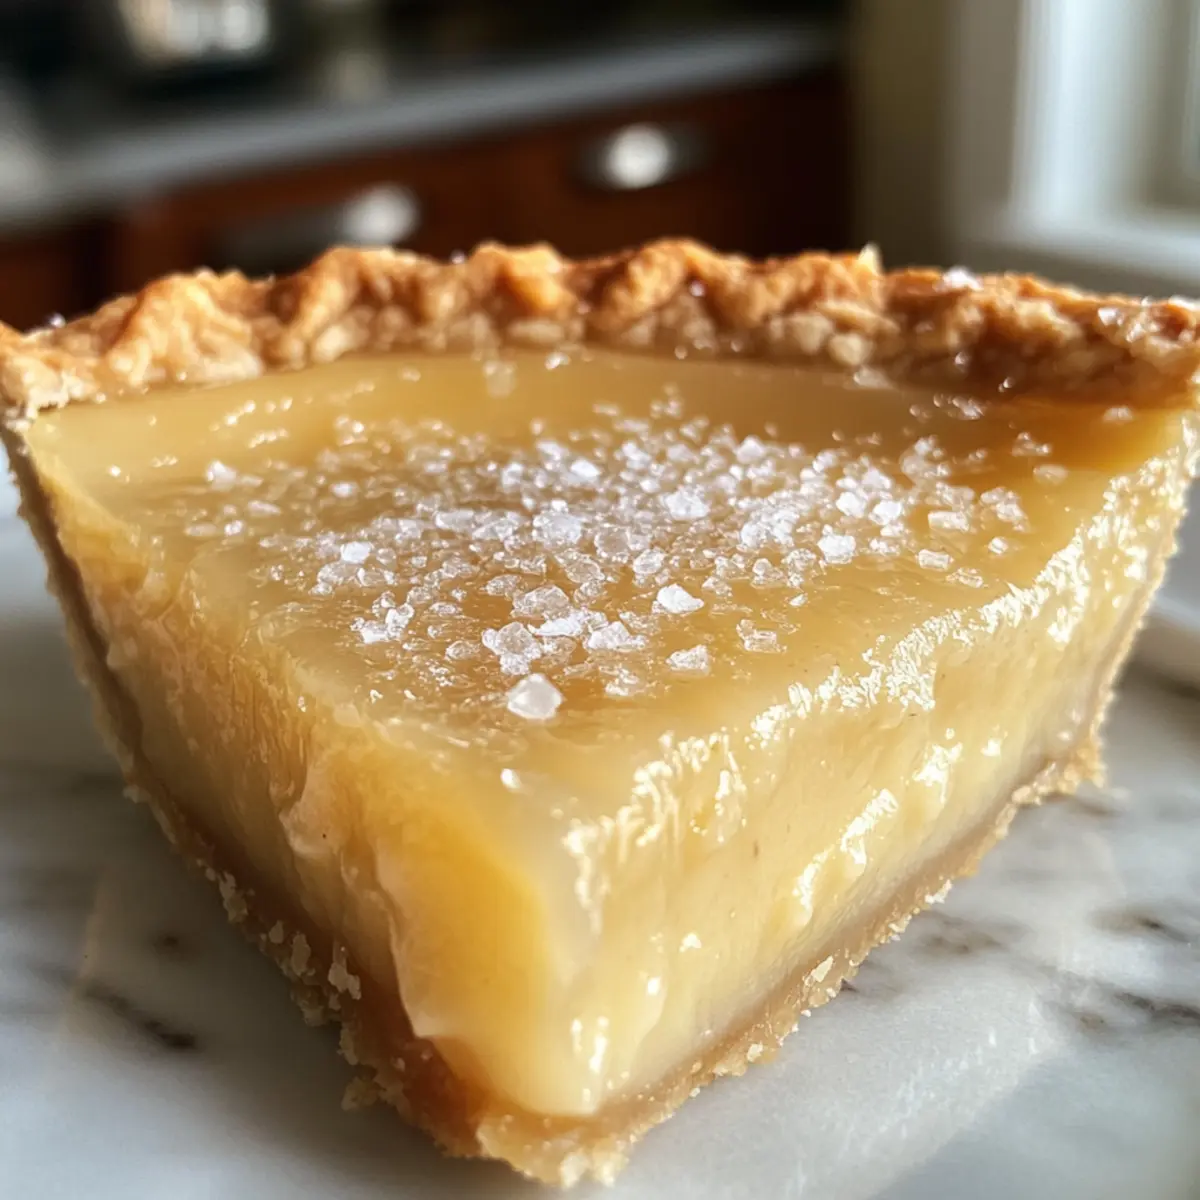
After your Salted Honey Pie has cooled, sprinkle a gentle layer of flaky salt over the top to enhance the sweet, rich flavors of the filling. This will provide a delightful contrast to the creamy custard. Let it sit at room temperature for a bit before slicing to allow the flavors to meld beautifully.
What to Serve with Salted Honey Pie
Complement your dessert experience with delicious pairings that enhance the flavors of your Salted Honey Pie.
-
Whipped Cream: A dollop of freshly whipped cream adds lightness and richness that contrasts beautifully with the pie’s creamy filling.
-
Vanilla Ice Cream: Serve a scoop alongside for a classic pairing; the cold creaminess balances the warm, sweet flavors perfectly.
-
Fresh Berries: Light, vibrant berries like raspberries or blueberries provide a tart contrast that elevates the sweetness of the honey custard.
-
Coffee or Espresso: The bold flavors of coffee complement the pie’s sweetness, making for a comforting, delightful experience.
Indulge in the luxurious combination of textures and flavors here. A velvety espresso can awaken taste buds, enhancing the pie’s gentle sweetness—a pairing that invites conversation and connection at the table.
-
Chocolate Drizzle: A light drizzle of rich chocolate sauce adds a sophisticated touch that provides a luscious complement to the pie’s creamy texture.
-
Fizzy Lemonade: Refreshing lemonade offers a zesty twist that cuts through the richness, making each bite feel balanced and fresh.
Enjoy these delightful accompaniments that bring warmth and joy to your homemade dessert experience!
How to Store and Freeze Salted Honey Pie
Fridge: Store your Salted Honey Pie in an airtight container for up to 5 days. It’s best enjoyed at room temperature, allowing the flavors to develop beautifully.
Freezer: If you’d like to keep it longer, wrap the pie tightly in plastic wrap and then in aluminum foil. It can be frozen for up to 2 months. Thaw in the fridge before serving.
Reheating: To reheat a chilled pie, place it in a preheated oven at 350ºF for about 10-15 minutes until warm. This will help restore its creamy texture.
Salted Honey Pie Variations & Substitutions
Feel free to get creative with your Salted Honey Pie and make it uniquely yours!
-
Maple Syrup: Substitute honey with pure maple syrup for a distinct flavor twist that brings warmth and depth.
-
Flavored Extracts: Try swapping vanilla for almond or lemon extract to introduce a different aromatic profile. The choice is yours!
-
Spiced Twist: Enhance your filling by adding a dash of cinnamon or nutmeg for a cozy spice kick. This is perfect for autumn gatherings!
-
Nutty Flavor: Fold in a few tablespoons of finely chopped pecans or walnuts into the filling for added texture and nutty richness.
-
Dairy-Free Delight: Replace full-fat sour cream with coconut cream to create a creamy, dairy-free version that’s still incredibly delicious.
-
Fruity Addition: Incorporate pureed fresh fruit like peaches or berries into the custard for a burst of fruity goodness.
-
Choco-Lover’s Dream: For chocolate fans, a marble of melted dark chocolate swirled into the custard can transform the pie into a decadent dessert.
-
Heat It Up: For a hint of spice, add a pinch of cayenne pepper to the filling; this subtle heat beautifully contrasts the sweet flavors.
With all of these variations, one thing remains the same: your Salted Honey Pie will always be a delightful centerpiece. If you’re looking for more ideas to elevate your dishes, don’t miss out on trying the uniquely flavored Salted Caramel Apple or perhaps the sweet and satisfying Pumpkin Pie Protein.
Whatever your choice, celebrate the joy of baking!
Make Ahead Options
These Salted Honey Pies are perfect for meal prep enthusiasts looking to save time! You can prepare the crust up to 3 days in advance—simply follow the crust instructions and store it tightly wrapped in plastic in the refrigerator. The filling can also be made up to 24 hours ahead; refrigerate it in an airtight container to keep it fresh and prevent the eggs from cooking prematurely. When you’re ready to serve, pour the filling into the pre-baked crust and bake it as directed. This way, you’ll have a delightful dessert at your fingertips, ready to impress your guests with minimal effort!
Expert Tips for Salted Honey Pie
- Chill the Crust: Always refrigerate the dough for at least an hour; this ensures a flaky, tender crust that won’t shrink during baking.
- Blind Baking Importance: Skipping blind baking can lead to a soggy bottom. Use pie weights or dry beans to keep it flat while cooking.
- Perfect Bake: Keep an eye on the edges of your pie; if they brown too fast, cover them with foil to prevent burning while the center sets.
- Cool Before Serving: Allow the Salted Honey Pie to cool completely before slicing, as this helps the flavors blend and the custard to firm up a bit.
- Taste Testing: Always do a taste test on your filling before pouring it into the crust. Adjust sweetness or flavorings to suit your palate!

Salted Honey Pie Recipe FAQs
How do I select the best honey for my Salted Honey Pie?
Absolutely! Look for raw, unfiltered honey with a rich, floral aroma. The taste will significantly impact your pie, so choose high-quality honey for the best results. Avoid honey with added flavors or overly processed options for an authentic touch.
What’s the best way to store Salted Honey Pie to keep it fresh?
The pie can be refrigerated in an airtight container for up to 5 days. I recommend letting it sit at room temperature before serving; this allows the flavors to meld and the custard to become even creamier!
Can I freeze Salted Honey Pie, and if so, how?
Yes, you can! To freeze your pie, wrap it tightly in plastic wrap followed by aluminum foil. It can be stored in the freezer for up to 2 months. When you’re ready to enjoy it, thaw it in the fridge overnight and then let it come to room temperature before serving for the best flavor and texture.
What should I do if my crust is too soft or soggy?
Very good question! If you notice a soggy crust, ensure that you’re blind baking long enough—bake until the edges are light golden and fully firm. If it happens while baking, consider using pie weights or dry beans to keep the crust from puffing up. Next time, check your oven temperature with an oven thermometer for accuracy!
Can I make this pie dairy-free or vegan?
You certainly can! For a dairy-free version, use margarine instead of butter and substitute full-fat sour cream with coconut cream or almond yogurt. For a vegan option, replace large eggs with a mixture of 1 tablespoon of flaxseed meal and 2.5 tablespoons of water for each egg. This does a wonderful job of mimicking the texture!
How do I know when my pie is properly cooked?
Watch for a golden brown edge and a filling that jiggles slightly in the center. A perfectly cooked Salted Honey Pie should have firm edges with a creamy custard that isn’t overly set. A little jiggle indicates it’s wonderfully creamy!

Irresistible Salted Honey Pie with Creamy Custard Delight
Ingredients
Equipment
Method
- In a mixing bowl, combine all-purpose flour, granulated sugar, and kosher salt. Cut in the unsalted butter until resembling coarse crumbs. Gradually add ice water until the dough holds together. Shape into a disk, wrap in plastic, and refrigerate for at least 1 hour.
- On a lightly floured surface, roll the chilled dough into a 14-inch round, about 1/8 inch thick. Transfer to a 9-inch pie plate, pressing into the bottom and sides. Trim excess, leaving an overhang, then crimp edges. Place the crust in the fridge while preheating your oven.
- Preheat your oven to 375ºF. Remove the crust from the fridge, line with parchment, and fill with pie weights. Bake for 20 minutes, remove weights and parchment, then bake for another 10 minutes or until the edges are golden brown. Let cool.
- In a large bowl, whisk together melted butter, granulated sugar, flour, kosher salt, vanilla extract, and honey until smooth. Add eggs, sour cream, and vinegar, mixing until creamy and homogenous.
- Pour the filling into the pre-baked crust, smoothing the top with a spatula. Bake at 350ºF for 45-50 minutes until the edges are golden and the center jiggles slightly. Let cool completely after removing from the oven.
- Sprinkle flaky salt over the cooled pie to enhance the sweet flavors. Let it sit at room temperature before slicing.
Leave a Reply