
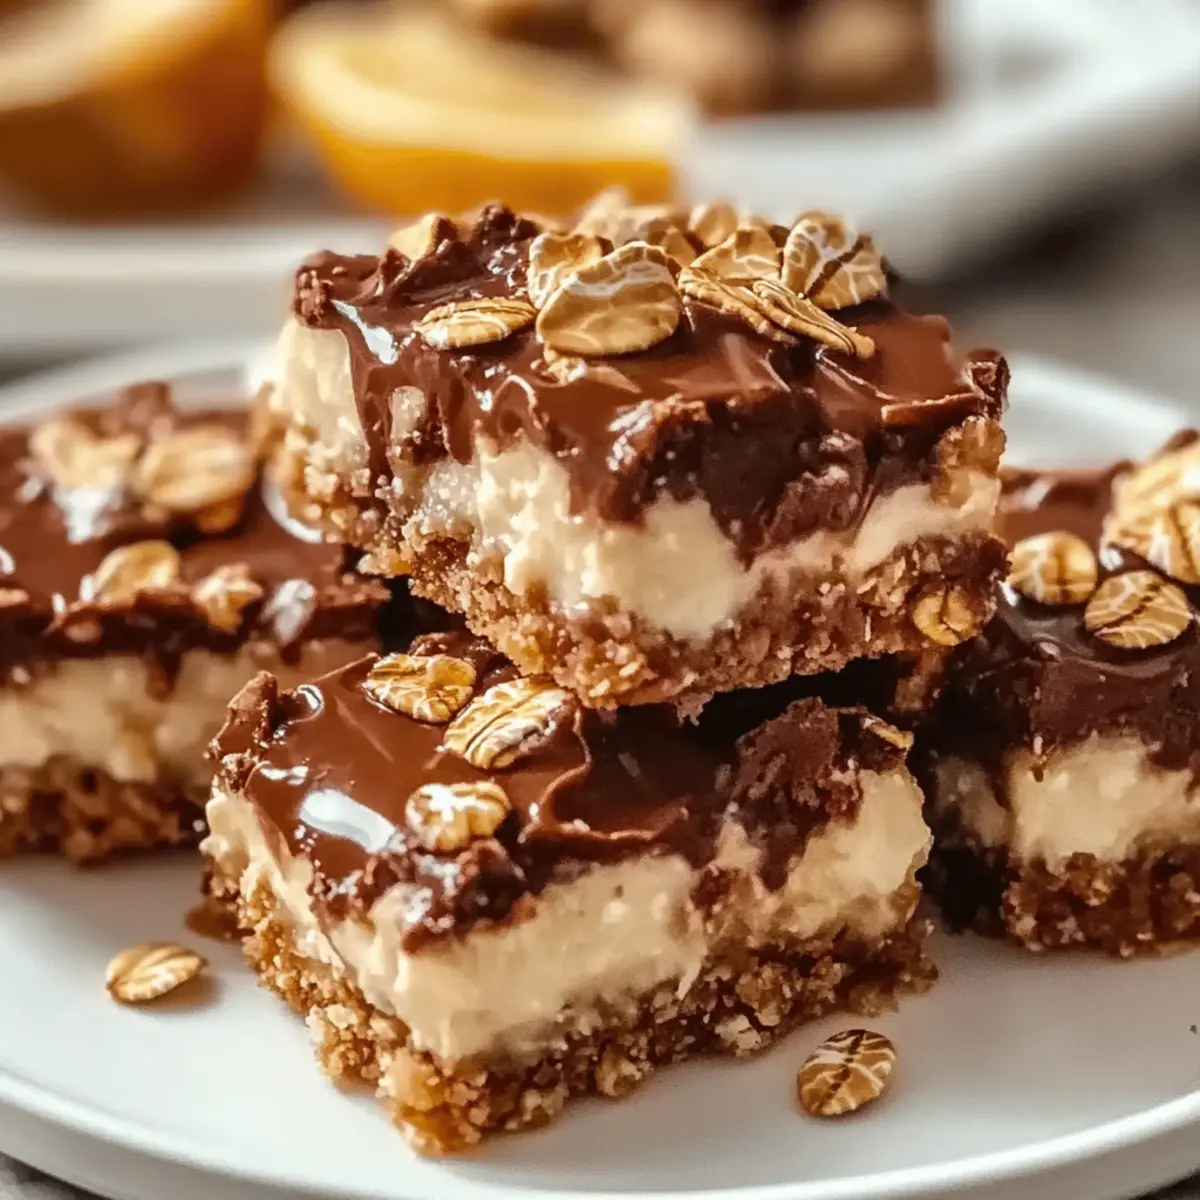
As I stood in my kitchen, the warm scent of roasted oats wafting through the air, I couldn’t help but feel a sense of accomplishment. Today, I’m thrilled to share my 3-Ingredient No-Bake Chocolate Oat Cookies that transform simple pantry staples into a delightful treat. With just three ingredients, this recipe is the epitome of quick and easy cooking—perfect for those busy days when you crave something sweet without the fuss. Plus, these gluten-free gems offer a satisfying chew and indulge your loved ones without the guilt. Whether you’re whipping them up as an after-school snack or a last-minute dessert for unexpected guests, your kitchen will soon become the heart of indulgence. Curious about the magic behind these cookies? Let’s dive in!
Why are these cookies a must-try?
Quick and Easy: With just three ingredients, you can whip up these delicious no-bake cookies in a matter of minutes, making them perfect for busy schedules.
Gluten-Free Delight: Using gluten-free oats, everyone can enjoy these chewy treats, catering to different dietary preferences without sacrificing flavor.
Versatile Variations: Swap out the nut butter or add in dark chocolate chips to create a personalized version that suits your taste. The possibilities are endless!
Chewy Texture: These cookies combine the satisfying chew of oats with the creaminess of nut butter, creating a delightful cross between a cookie and a granola bar.
Crowd-Pleaser: Whether it’s an after-school snack or last-minute dessert for guests, these cookies will surely impress anyone who gets a taste. Enjoy them while sipping a warm cup of coffee or with a glass of milk for the perfect pairing!
Chocolate Oat Cookie Ingredients
Get ready to create a delightful treat!
For the Cookies
- Oats – Provide structure and heartiness; opt for gluten-free oats if you’re keeping it gluten-free.
- Nut Butter – Acts as a binder and adds creaminess; feel free to substitute with any nut or seed butter based on dietary preferences.
- Sweetener (e.g., honey or maple syrup) – Enhances sweetness and moisture; use agave syrup for a vegan-friendly option.
For Variations
- Dark Chocolate Chips – Add these for a rich, chocolatey punch that complements the oats.
- Dried Fruits – Mix in for added texture and flavor; consider raisins or cranberries for a chewy burst!
Let the deliciousness begin with these simple ingredients!
Step‑by‑Step Instructions for 3-Ingredient No-Bake Chocolate Oat Cookies
Step 1: Prepare the Base
In a medium mixing bowl, combine 1 cup of gluten-free oats with 1 cup of your favorite nut butter. Stir together until the oats are fully coated and the mixture becomes thick and sticky. This should take about 2-3 minutes, and you’ll know it’s ready when it forms a cohesive dough-like texture that holds its shape.
Step 2: Add Sweetness
Next, pour in 1/3 cup of your chosen sweetener, such as honey or maple syrup, into the oat and nut butter mixture. Mix thoroughly for another 2-3 minutes until everything is well combined, ensuring that there are no dry clumps left. The final concoction should be a rich, sweet blend that invites a taste test!
Step 3: Shape the Cookies
Using a tablespoon or cookie scoop, portion out the mixture onto a lined baking sheet, shaping it into round cookie-like mounds. Continue until all the mixture is used up, spacing the cookies about an inch apart. This step should take about 5-10 minutes and the mounds will flatten a bit as you shape them.
Step 4: Set in the Fridge
Transfer the baking sheet with the shaped cookies into the refrigerator. Allow them to chill for at least 30 minutes to an hour, or until they become firm to the touch. This crucial step enables the 3-Ingredient No-Bake Chocolate Oat Cookies to hold their shape and intensifies their flavors.
Step 5: Store for Freshness
Once set, carefully transfer the cookies into an airtight container. Store them in a cool, dry place or in the fridge where they can last up to a week. This recipe not only guarantees delightful snacking but also makes it easy to keep your treats fresh for those sweet cravings later on!
Customizing Your Chocolate Oat Cookies
Let’s get creative and take your cookies to the next level!
- Nut Variety: Swap peanut butter with almond, cashew, or sunflower seed butter for different flavors and textures. Each nut offers a unique profile that can elevate this treat!
- Sweetener Switch: Use coconut nectar or brown rice syrup as alternative sweeteners to adjust flavor and cater to dietary needs. Both can add a delightful twist!
- Chocolate Lovers: Fold in dark or white chocolate chips for an extra burst of sweetness and decadence. Your cookie will have delightful pockets of melted chocolate!
- Fruity Flair: Toss in dried fruits like cranberries, apricots, or even raisins to introduce a chewy, fruity goodness that contrasts beautifully with the chocolate.
- Flavor Boost: A dash of vanilla extract or a sprinkle of cinnamon can add a warm depth of flavor. These enhancements are simple but make a world of difference!
- Spicy Kick: For those who like it hot, add a pinch of cayenne pepper or a dash of chili powder to the mix for a surprising spicy finish!
- Coconut Twist: Incorporate flaked coconut for a chewy texture and tropical flair. It pairs perfectly with the chocolate for a delightful treat!
And if you’re looking for more delicious options, why not pair these cookies with a slice of irresistible Salted Caramel Apple or some scrumptious Apple Cinnamon Blondies? The sky’s the limit when it comes to creativity!
Storage Tips for Chocolate Oat Cookies
Room Temperature: Keep cookies in an airtight container at room temperature for up to 3 days, ensuring they remain fresh and ready to enjoy.
Fridge: For extended freshness, refrigerate the cookies in an airtight container, where they will stay delicious for up to a week.
Freezer: Store the cookies in a freezer-safe bag or container for up to 3 months; just remember to separate layers with parchment paper to prevent sticking.
Reheating: Enjoy straight from the fridge or let them sit at room temperature for 10 minutes before serving for the best chewy texture.
Expert Tips for No-Bake Chocolate Oat Cookies
• Smooth Nut Butter: Ensure the nut butter is smooth for the best mixing experience; chunky varieties may lead to uneven textures.
• Chill Time Matters: Don’t skip the refrigeration step! It’s vital for these cookies to firm up properly, ensuring you get that chewy goodness.
• Sweetener Balance: Be mindful of your sweetener choice; too much can make your cookies overly sticky. Start with less, and adjust to taste!
• Storage Savvy: For maximum freshness, store these cookies in an airtight container in the fridge, where they’ll stay tasty for up to a week.
• Explore Variations: Don’t hesitate to experiment! Swapping out nut butter or adding dark chocolate chips can elevate your no-bake chocolate oat cookies into a custom delight!
Make Ahead Options
These 3-Ingredient No-Bake Chocolate Oat Cookies are a fantastic choice for meal prep, allowing you to enjoy a sweet treat with minimal fuss. You can mix the oat, nut butter, and sweetener combination up to 24 hours in advance; simply store it in the refrigerator until you’re ready to shape the cookies. For the best texture, prepare the cookies and refrigerate them for at least 30 minutes before serving. Remember to store them in an airtight container, where they will stay fresh for up to 7 days. Simply take them out when cravings strike, and you’ll have a delicious, homemade snack ready to go without compromising on quality!
What to Serve with 3-Ingredient No-Bake Chocolate Oat Cookies
Elevate your cookie experience with these delightful pairings that perfectly complement the chewy, chocolatey goodness of your treat.
- Fresh Fruit Salad: A burst of colorful fruits adds brightness and balance, cleansing the palate with each bite.
- Ice Cold Milk: Nothing beats the classic combo of cookies with a glass of cold milk, enhancing the richness of the chocolate.
- Creamy Yogurt Dip: Pair with a tangy yogurt dip for a delightful contrast that adds a creamy texture to every bite.
- Espresso or Coffee: The bold flavors of coffee bring out the sweetness of the cookies, creating a cozy, indulgent moment.
Imagine curling up on the couch with your favorite mug of coffee, taking a bite of a cookie, and feeling that comforting sweetness wash over you. It’s the ultimate treat combo!
- Chocolate Drizzle: Drizzling melted chocolate on top enhances the chocolatey flavor while adding a touch of elegance to your cookies.
- Nutty Granola: Adding a side of crunchy homemade granola introduces delightful texture and a tasty crunch that balances the softness of the cookies.
- Ice Cream Sundae: Create a quick sundae by scooping your favorite ice cream and topping it with cookie bits for a decadent dessert.
Chocolate Oat Cookies Recipe FAQs
How do I choose the best oats for this recipe?
Absolutely! When selecting oats for your cookies, opt for certified gluten-free oats if you’re catering to a gluten-sensitive or celiac audience. Look for oats that are whole and free of dark spots, indicating freshness. Rolled oats work best as they provide the right texture, while instant oats may lead to a mushier cookie.
How should I store leftover cookies?
Very! To keep your cookies fresh, store them in an airtight container at room temperature for up to 3 days. For longer storage, move them to the refrigerator, where they’ll remain tasty for up to a week. If you’re saving for later, I often recommend placing them in the freezer, which keeps them good for up to 3 months.
Can I freeze these cookies?
Absolutely! To freeze, first, allow the cookies to set in the fridge for at least 30 minutes. Then, transfer them to a freezer-safe bag or container, ensuring you separate layers with parchment paper to avoid sticking. They can be kept in the freezer for up to 3 months. When you’re ready to enjoy, simply let them thaw in the fridge or at room temperature for about 10-15 minutes.
What should I do if my cookies are too sticky?
No worries! If you find your cookies are overly sticky, it could be due to too much sweetener or nut butter. To remedy this, you can add an additional tablespoon of oats or even a bit more nut butter to help balance out the flavors. If your mixture is too wet, you can also consider adding in some finely chopped nuts for added texture and bulk.
Are these cookies safe for pet consumption?
I recommend against it. While oats are safe for dogs, nut butter (especially if containing xylitol) can be harmful. If you plan on sharing treats with your furry friends, please ensure you use pet-safe ingredients and always consult with your vet first to avoid any allergies or issues.
Can these cookies be made vegan?
Yes, indeed! To make your 3-Ingredient No-Bake Chocolate Oat Cookies vegan, simply choose maple syrup or agave syrup as your sweetener, and use any plant-based nut or seed butter. This way, everyone can enjoy these delightful treats, and they’ll still pack that delicious flavor you crave!
Irresistible Caramel Apple Cheesecake Bars to Savor Every Bite
Ingredients
Equipment
Method
- In a medium mixing bowl, combine 1 cup of gluten-free oats with 1 cup of nut butter.
- Pour in 1/3 cup of your chosen sweetener and mix thoroughly.
- Portion out the mixture onto a lined baking sheet, shaping it into round cookie-like mounds.
- Transfer the baking sheet into the refrigerator and chill for at least 30 minutes.
- Store cookies in an airtight container for up to a week.
Leave a Reply