
There’s something magical about creating a treat that effortlessly combines simplicity with satisfaction. These 4-Ingredient Crispy Chocolate Oat Cookies not only deliver a delightful crunch but are also a gluten-free option that truly everyone can enjoy. With just four wholesome ingredients, this recipe offers a quick and easy way to satisfy your sweet cravings without resorting to the usual store-bought snacks. Plus, the no-bake nature means less fuss in the kitchen—perfect for those busy days. Imagine reaching for a cookie that has a deliciously chewy center, bursting with rich chocolate goodness, while still being healthy enough to enjoy guilt-free. Who wouldn’t want that? Ready to indulge your taste buds and whip up a batch? Let’s dive in!

What Makes These Cookies So Irresistible?
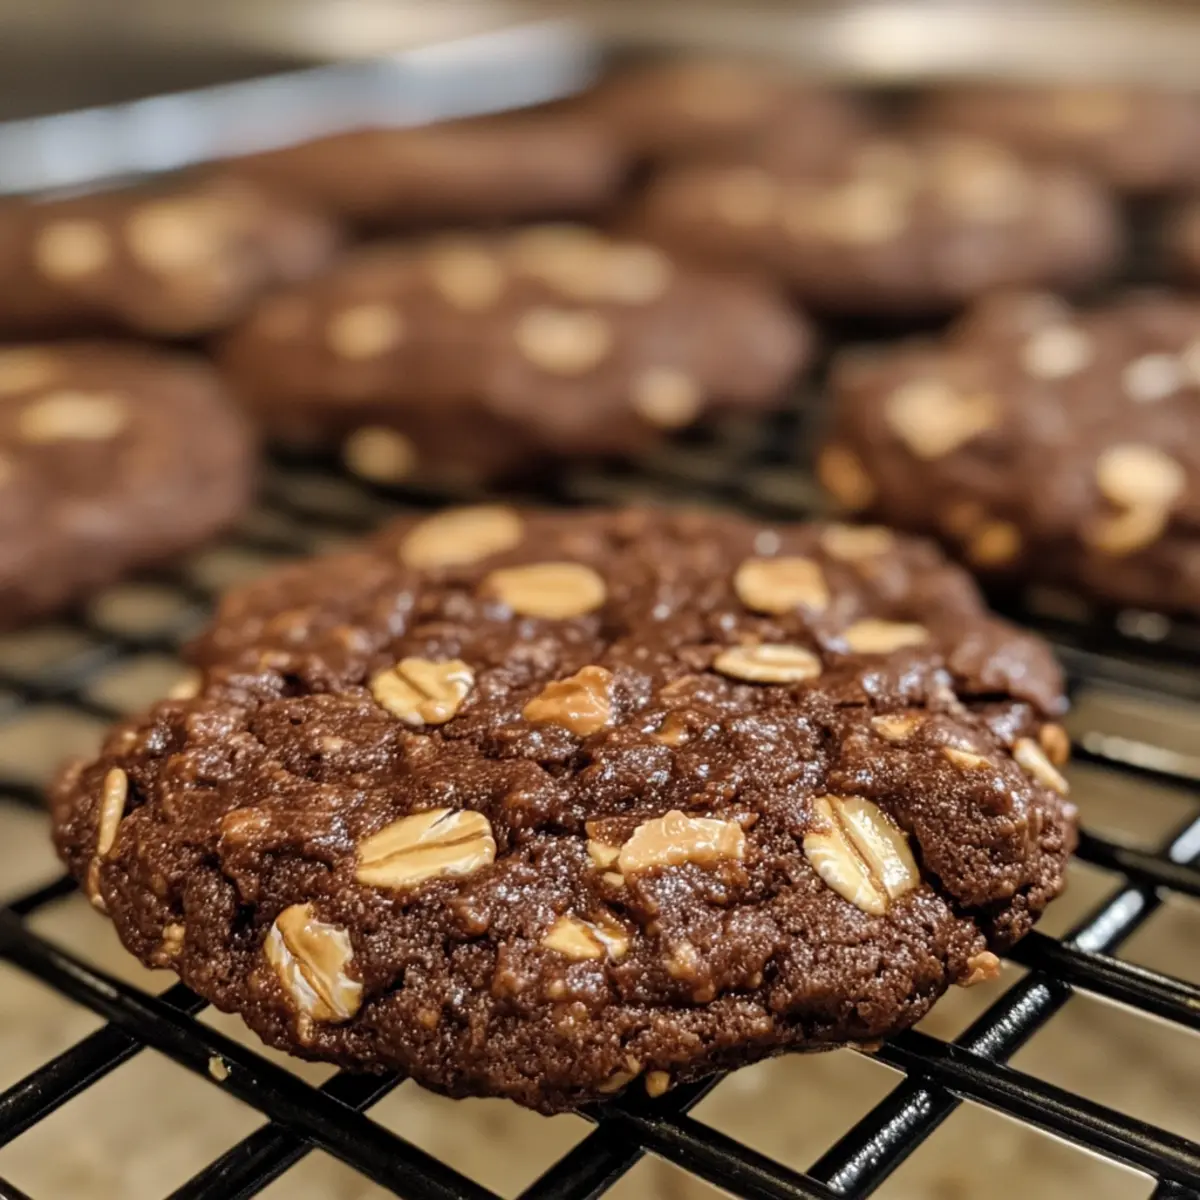
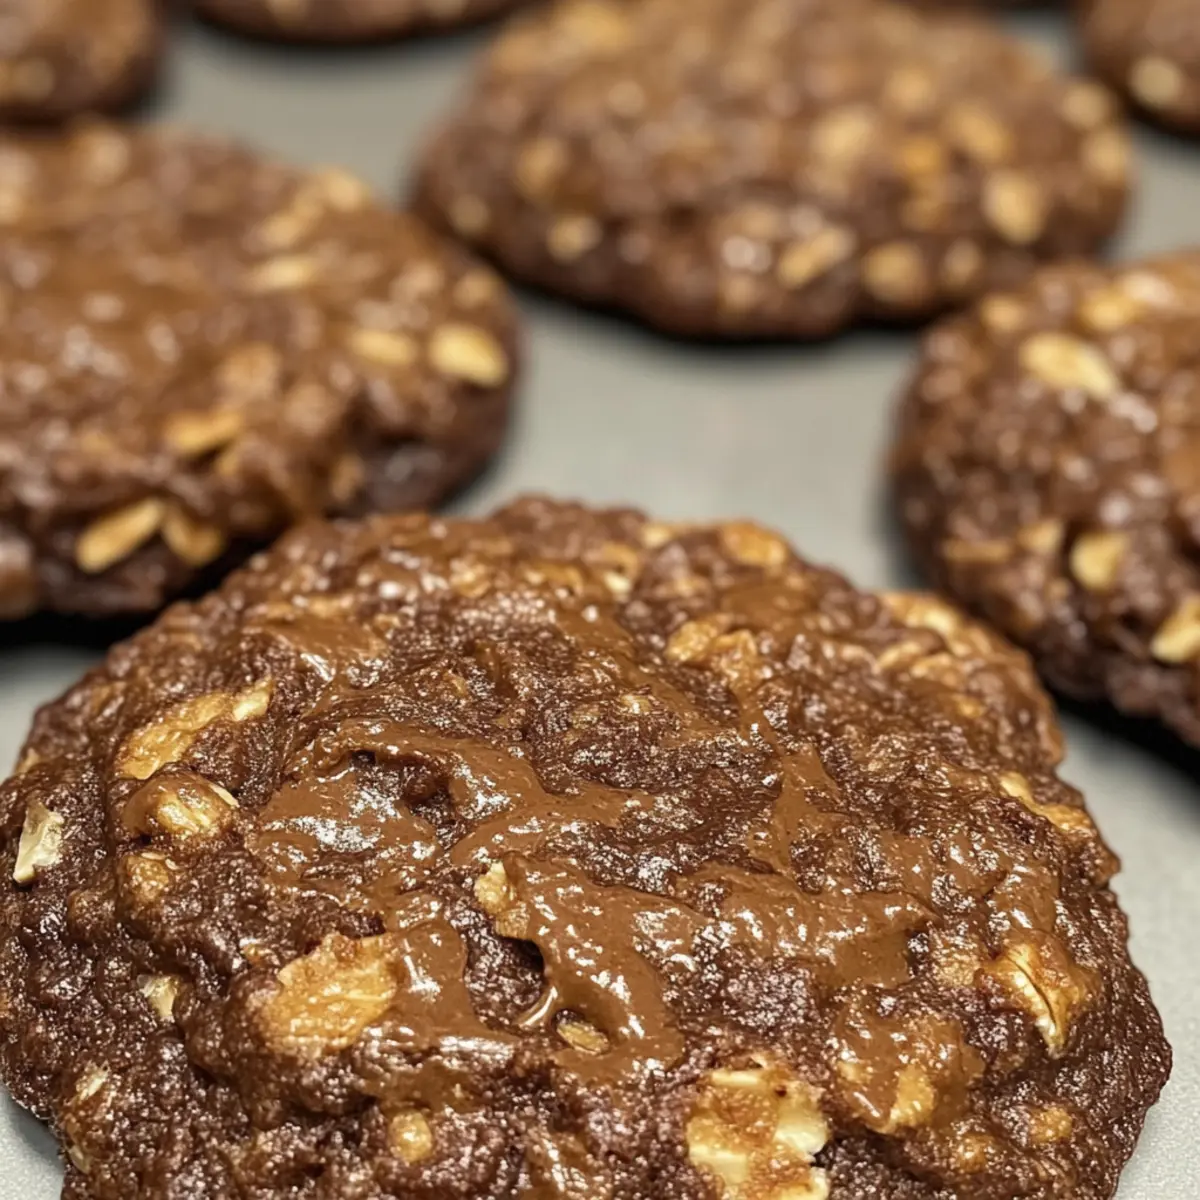
Crunchy, Chewy Delight: These cookies are a perfect blend of crispy oats and a chewy center, making every bite a textural delight that will satisfy your snack cravings.
Easy Prep: With just four simple ingredients, you can whip up these cookies in no time, leaving you more moments to enjoy.
Gluten-Free and Nut-Free Adaptable: This recipe is designed with flexibility in mind. Want a nut-free version? Just swap out peanut butter for almond butter!
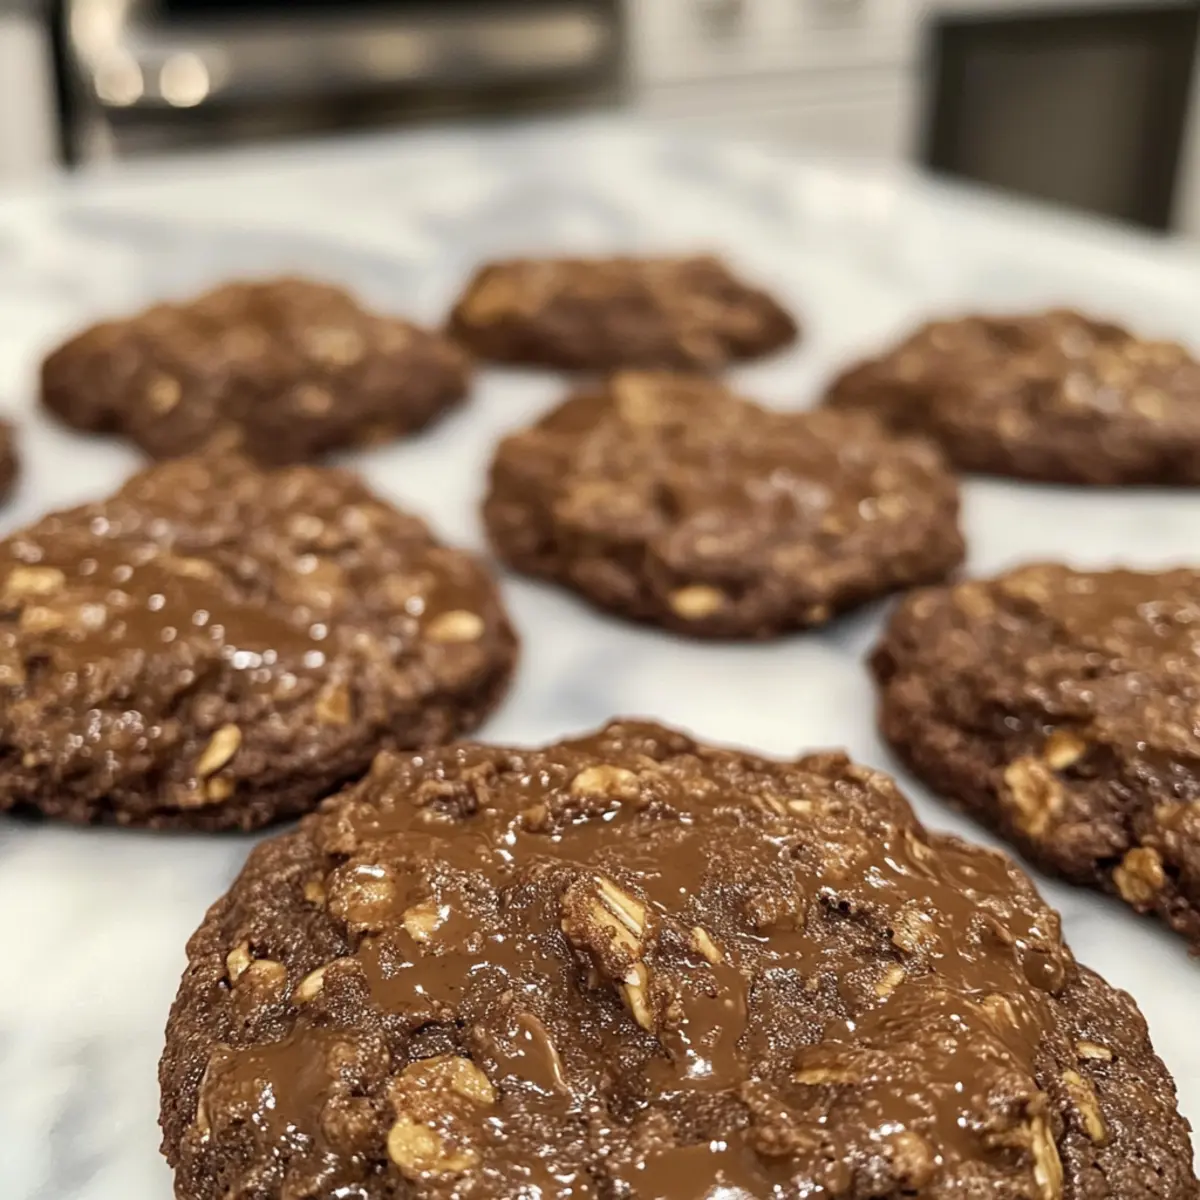
Crowd-Pleasing Treat: Whether for a family gathering or a quiet night with a cup of tea, these cookies are sure to please everyone. Try pairing them with a glass of milk or a warming cup of tea, just like with that tasty Sweet Harmony Casserole.
Guilt-Free Indulgence: Each cookie is packed with fiber from oats, making this homemade treat a healthier choice compared to traditional cookies!
Customization Galore: Add your favorite mix-ins, like dried fruits or dark chocolate chips, for a personalized touch that elevates these simple cookies to star status!
Crispy Chocolate Oat Cookies Ingredients
• Get ready to gather these simple essentials for your delicious 4-ingredient cookies!
For the Cookies
- Oats – Provide structure and texture; use rolled oats for a delightful chewiness.
- Cocoa Powder – Adds a deep, rich chocolate flavor; unsweetened is best for a balanced taste.
- Peanut Butter – Serves as a binding agent while lending a nutty richness; substitute with almond butter for a nut-free option.
- Honey or Maple Syrup – Acts as a natural sweetener to elevate flavor; agave syrup is a great vegan alternative.
Optional Mix-Ins
- Dark Chocolate Chips – Fold in for an extra indulgent experience that enhances the chocolatey goodness.
- Dried Fruits – Incorporate cranberries or raisins for a chewy contrast and a hint of tartness.
Embrace the magic of simplicity in your baking with these essential ingredients, and get ready to enjoy your mouthwatering crispy chocolate oat cookies!
Step‑by‑Step Instructions for 4-Ingredient Crispy Chocolate Oat Cookies
Step 1: Preheat and Prepare
Begin by preheating your oven to 350°F (175°C). While it’s warming up, line a baking sheet with parchment paper to ensure your cookies don’t stick. This step is essential for achieving that perfect crispy exterior. The parchment also helps with cleanup, making your cookie-making experience even sweeter!
Step 2: Mix Dry Ingredients
In a large mixing bowl, combine the rolled oats and unsweetened cocoa powder. Use a whisk or a spatula to blend them together thoroughly. This is your dry mixture, which will lay the foundation for your 4-Ingredient Crispy Chocolate Oat Cookies, infusing them with rich chocolate flavor and delightful texture.
Step 3: Add Peanut Butter
Now, add in the creamy peanut butter to the dry mixture, using a spatula to mix until everything is well incorporated. The peanut butter acts as a binding agent, creating a cohesive dough that will hold your cookies together. Look for a thick, uniform consistency as you bring the ingredients together.
Step 4: Sweeten the Dough
Next, pour in honey or maple syrup, whichever natural sweetener you prefer. Stir the mixture until all ingredients are thoroughly combined and the dough feels firm yet slightly tacky. This crucial step ensures your cookies have that delicious balance of sweetness and depth—an essential element of the 4-Ingredient Crispy Chocolate Oat Cookies!
Step 5: Scoop and Shape
Using a tablespoon or a cookie scoop, scoop rounded portions of the dough onto the prepared baking sheet. Make sure to space them about two inches apart to allow for spreading as they bake. This way, each cookie can achieve a lovely crispiness while maintaining its chewy center.
Step 6: Bake to Perfection
Place the baking sheet in the preheated oven and bake the cookies for 10-12 minutes. Keep an eye on them—you’re looking for golden edges that indicate they’re done. The center will look set but may appear slightly soft; this will firm up as they cool, creating your delightful 4-Ingredient Crispy Chocolate Oat Cookies.
Step 7: Cooling Time
After baking, remove the cookies from the oven and allow them to cool on the baking sheet for about 5 minutes. This cooling period is key; it not only helps them firm up but also enhances their texture. Afterward, transfer the cookies to a wire rack to cool completely and ensure they finish setting perfectly!
Make Ahead Options
These 4-Ingredient Crispy Chocolate Oat Cookies are a fantastic choice for meal prep, allowing you to satisfy sweet cravings without the last-minute rush. You can mix the dry ingredients (oats and cocoa powder) and store them in an airtight container for up to 3 days. Additionally, you can prepare the complete dough and refrigerate it for up to 24 hours. When you’re ready to bake, simply scoop and shape the dough, place it on a baking sheet, and pop it in the oven. This method ensures you’ll have fresh, delicious cookies on hand, saving you time for the moments that matter most!
What to Serve with 4-Ingredient Crispy Chocolate Oat Cookies
Imagine curling up with a warm cup of tea or coffee, accompanied by a plate of irresistibly crunchy cookies that are not only a treat for your taste buds but also easy to prepare!
- Chilled Milk: The classic pairing that enhances the chocolatey goodness of these cookies while balancing their sweetness.
- Creamy Yogurt Parfait: Layer yogurt with fresh fruits and these crispy cookies for a delightful breakfast or dessert that packs a nutritious punch.
- Fresh Berries: Juicy strawberries or raspberries provide a vibrant contrast that brightens each cookie bite with freshness and tartness.
- Homemade Whipped Cream: Light and airy, whipped cream adds a luscious topping for those who want an indulgent experience with their cookies.
- Nutty Granola: Sprinkle some crunchy granola on top of yogurt or eat alongside your cookies for a delightful texture contrast and added flavor.
- Warm Cup of Tea: Pair with a soothing herbal tea like chamomile or mint to create a calming snack moment after a busy day.
- Decadent Hot Chocolate: Dipping your cookies into a rich, creamy hot chocolate is a heavenly treat that amplifies the ultimate cozy experience.
Expert Tips for Crispy Chocolate Oat Cookies
-
Baking Sheet Prep: Line your baking sheet with parchment paper to prevent sticking and ensure even baking for your crispy chocolate oat cookies.
-
Dough Consistency: If the mixture feels too dry, add a little more peanut butter or syrup. This helps achieve the right texture that’s easy to scoop.
-
Even Spacing: Make sure to space the cookie dough scoops about two inches apart. This allows airflow, helping the cookies bake evenly and achieve that desired crunch.
-
Watch the Bake Time: Keep an eye on the cookies as they bake. The edges should turn golden while the center remains soft; they will firm up as they cool.
-
Cooling is Essential: Allowing the cookies to cool on the baking sheet for 5 minutes is vital. Skipping this step may lead to a crumbly texture instead of the chewy center you’re aiming for!
Storage Tips for Crispy Chocolate Oat Cookies
Room Temperature: Store your cookies in an airtight container at room temperature for up to 1 week, ensuring they remain fresh and delicious!
Freezer: For longer storage, freeze the cookies in a single layer, then transfer to a zip-top bag for up to 3 months. Thaw at room temperature before enjoying.
Reheating: If you prefer your cookies warm, reheat them in the microwave for about 10-15 seconds. This will restore their delightful chewiness and enhance the chocolate flavor.
Serving Note: These crispy chocolate oat cookies are perfect for sharing. Consider offering them at gatherings, knowing they will stay fresh with proper storage!
Variations & Substitutions for Crispy Chocolate Oat Cookies
Feel free to unleash your creativity and add a personal twist to these scrumptious cookies!
- Gluten-Free: Use certified gluten-free oats to keep these cookies, safe and delicious for those with gluten sensitivities.
- Nut-Free: Substitute peanut butter with sun butter or tahini to create a nut-free version that is equally tasty.
- Add Chocolate Chips: Fold in dark chocolate chips for a decadent boost of chocolate richness that will delight any chocolate lover.
- Fruit Infusion: Stir in dried fruits like cranberries or raisins for a chewy surprise that adds a hint of natural sweetness.
- Spice It Up: Sprinkle in a pinch of cinnamon or vanilla extract to elevate the flavor profile with warm, comforting notes.
- Vegan Option: Swap honey or maple syrup with agave syrup for a completely vegan-friendly cookie that tastes as good as it looks.
- Coconut Crunch: Add unsweetened shredded coconut to the mix for a tropical twist and extra texture that brings a delightful crunch.
- Savory Surprise: Consider adding a touch of sea salt on top before baking to enhance the sweet-salty flavor combination, reminiscent of those scrumptious Cowboy Mushrooms Savory dishes!
These variations allow you to create a cookie that’s not only enjoyable but uniquely yours!
Crispy Chocolate Oat Cookies Recipe FAQs
What type of oats should I use for these cookies?
For the best texture in your Crispy Chocolate Oat Cookies, I recommend using rolled oats. They provide the ideal chewiness and structure, enhancing the overall bite. Avoid quick oats as they can become too mushy when baked.
How should I store my cookies, and how long will they last?
Store your cookies in an airtight container at room temperature for up to 1 week. To maintain their freshness and deliciousness, keep them sealed tightly. If you want to prolong their shelf life, consider freezing them!
Can I freeze these cookies? If so, how?
Absolutely! To freeze your Crispy Chocolate Oat Cookies, place them in a single layer on a baking sheet and freeze until solid. Then transfer them to a zip-top freezer bag, removing as much air as possible. They can be stored in the freezer for up to 3 months. To enjoy, thaw at room temperature or microwave for about 10-15 seconds for a warm treat!
What if my cookie dough is too dry?
If your dough feels too dry and crumbly, don’t worry! You can easily fix it by adding a little more peanut butter or maple syrup—start with a tablespoon and mix until you achieve a more cohesive, slightly tacky texture. This will help the cookies hold together beautifully!
Are these cookies suitable for people with nut allergies?
Yes, they can be! If you need a nut-free variation, simply swap out the peanut butter for sunflower seed butter or another nut-free alternative, like tahini. It’s a simple change that keeps the texture right while accommodating dietary needs!
Can I add additional ingredients to the recipe?
Of course! Get creative with your Crispy Chocolate Oat Cookies by adding mix-ins like dark chocolate chips, nuts, or dried fruits such as cranberries or raisins. Just make sure that, in total, the additions don’t exceed the balance of the base recipe to preserve texture and flavor.
Slow Cooker Cowboy Casserole: Hearty Comfort in Every Bite
Ingredients
Equipment
Method
- Preheat your oven to 350°F (175°C) and line a baking sheet with parchment paper.
- Mix rolled oats and unsweetened cocoa powder in a large bowl.
- Add peanut butter to the dry mixture and mix until well incorporated.
- Pour in honey or maple syrup and mix until dough feels firm yet slightly tacky.
- Scoop portions of dough onto the baking sheet, spacing them about two inches apart.
- Bake for 10-12 minutes until edges are golden and center looks set.
- Cool on baking sheet for about 5 minutes before transferring to a wire rack.
Leave a Reply