
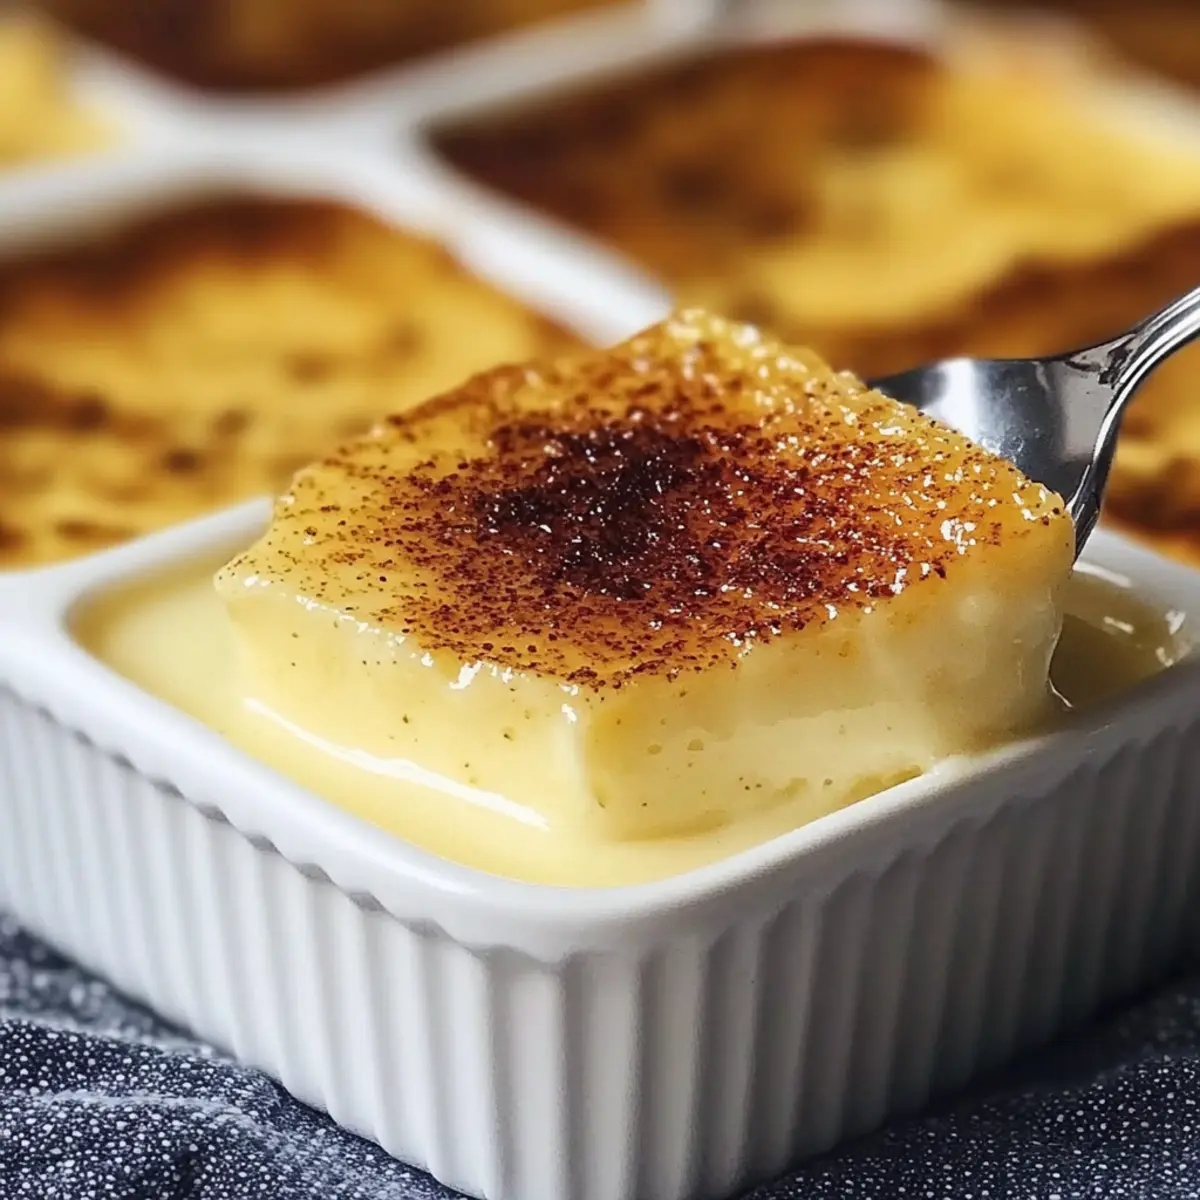
As I stirred the velvety mixture, the captivating aroma of warm milk and vanilla wafted through my kitchen, instantly transporting me to a simpler time. This Easy and Creamy Fail-Proof Egg Custard is more than just a dessert; it’s a hug in a bowl, promising comfort and indulgence with every spoonful. Crafted from basic ingredients like eggs and sugar, this recipe makes the luxurious experience of custard surprisingly accessible for everyone. With minimal prep time, it’s the perfect solution for busy weeknights or a last-minute gathering. Plus, it offers the exciting flexibility of dairy-free options, ensuring that everyone can enjoy this creamy delight. Are you ready to bring a bit of nostalgia into your kitchen?
Why Will You Love This Custard Recipe?
Unparalleled Comfort: This creamy custard is a true delight for anyone seeking a warm, comforting dessert that wraps you in nostalgia.
Simple Ingredients: Crafted from only five pantry staples, it’s easy to whip up at a moment’s notice, making it perfect for unexpected guests or a cozy night in.
Flavor Versatility: Whether you stick with the classic vanilla or explore fun variations like citrus zest or almond extract, you can personalize the flavor to match your mood!
Dairy-Free Friendly: Need a dairy-friendly option? Just switch to almond or coconut milk; this custard eagerly embraces a variety of dietary preferences.
Effortless Indulgence: With minimal prep and no complicated techniques, this fail-proof recipe ensures a decadent dessert that’s sure to impress. Consider pairing it with a delightful dish like Creamy Crack Chicken Gnocchi for a full meal experience!
Enjoy a little slice of heaven today!
Creamy Fail-Proof Egg Custard Ingredients
For the Custard Base
• Eggs – Fresh large eggs provide the necessary richness and flavor for a delightful custard.
• Milk – Whole milk creates the creamy texture; feel free to switch to almond, coconut, or soy milk for a dairy-free version.
• Sugar – Granulated sugar sweetens the custard; brown sugar offers a deeper flavor profile, while sugar substitutes like stevia are great for reducing calories.
• Vanilla Extract – Pure vanilla extract is essential for that classic custard flavor, although essence can work in a pinch.
• Salt – A pinch amplifies all the lovely flavors within the custard.
Prepare to indulge in the lusciousness of this creamy fail-proof egg custard and bring warmth to your kitchen today!
Step‑by‑Step Instructions for Creamy Fail-Proof Egg Custard
Step 1: Preheat Your Oven
Begin by preheating your oven to 325°F (165°C). This is a crucial step for ensuring that your creamy fail-proof egg custard bakes evenly. While the oven heats, gather your mixing bowls, a whisk, a fine sieve, and your ramekins so that you’re all set for the following steps.
Step 2: Whisk the Eggs
In a medium mixing bowl, gently whisk the fresh large eggs until they are just combined—aim for a smooth, uniform mixture without incorporating too much air. This will help create that decadent texture you crave in your creamy fail-proof egg custard. Set this bowl aside for the next important step.
Step 3: Heat the Milk
Over medium heat, pour your whole milk into a saucepan and warm it until small bubbles form around the edges—avoid boiling. This should take around 5–7 minutes. Stirring occasionally allows the marvelous aromas to begin filling your kitchen, signaling that you’re on the right path to a delicious custard!
Step 4: Combine Milk and Eggs
Carefully whisk the warm milk into the egg mixture gradually. It’s important to do this slowly and continuously to prevent any scramble from forming. This seamless blend is essential for achieving the silky consistency of your creamy fail-proof egg custard. Take your time—the warmth will slowly bring the eggs to life!
Step 5: Add Sweetness and Flavor
Stir in the granulated sugar, pure vanilla extract, and a pinch of salt until fully dissolved. The sugar will add sweetness, while the salt enhances the overall flavor, making each spoonful of your creamy custard even more irresistible. Mix it until you have a beautifully combined liquid.
Step 6: Strain for Silkiness
To guarantee that your custard turns out flawlessly smooth, strain the mixture through a fine sieve into a large measuring cup. This step removes any small clumps or bubbles, resulting in that luscious custard texture perfect for your creamy fail-proof egg custard creation.
Step 7: Pour into Ramekins
Carefully pour the strained custard mixture into your ramekins, filling each about three-quarters full. The custard needs room to rise and set during baking. Place the filled ramekins on a baking sheet for easy transport to the oven, making the next steps a breeze.
Step 8: Prepare the Water Bath
Create a water bath by placing the baking sheet (with the ramekins) into a deep baking dish. Pour hot water into the dish until it reaches halfway up the sides of the ramekins. This technique aids in even cooking and prevents the custard from drying out, ensuring it’s as creamy as promised!
Step 9: Bake to Perfection
Carefully transfer the baking sheet to your preheated oven and bake for 35–40 minutes. You’ll know the custard is ready when it is set with a slight jiggle in the center. The aroma wafting from the oven will make you even more excited for your creamy fail-proof egg custard!
Step 10: Cool and Chill
Once baked, allow the custards to cool to room temperature for about 15 minutes. Then, transfer them to the refrigerator and chill for at least 2 hours. This extra cooling time enhances the flavors and textures, making your delicious egg custard even more delightful as it firms up.
Step 11: Serve and Garnish
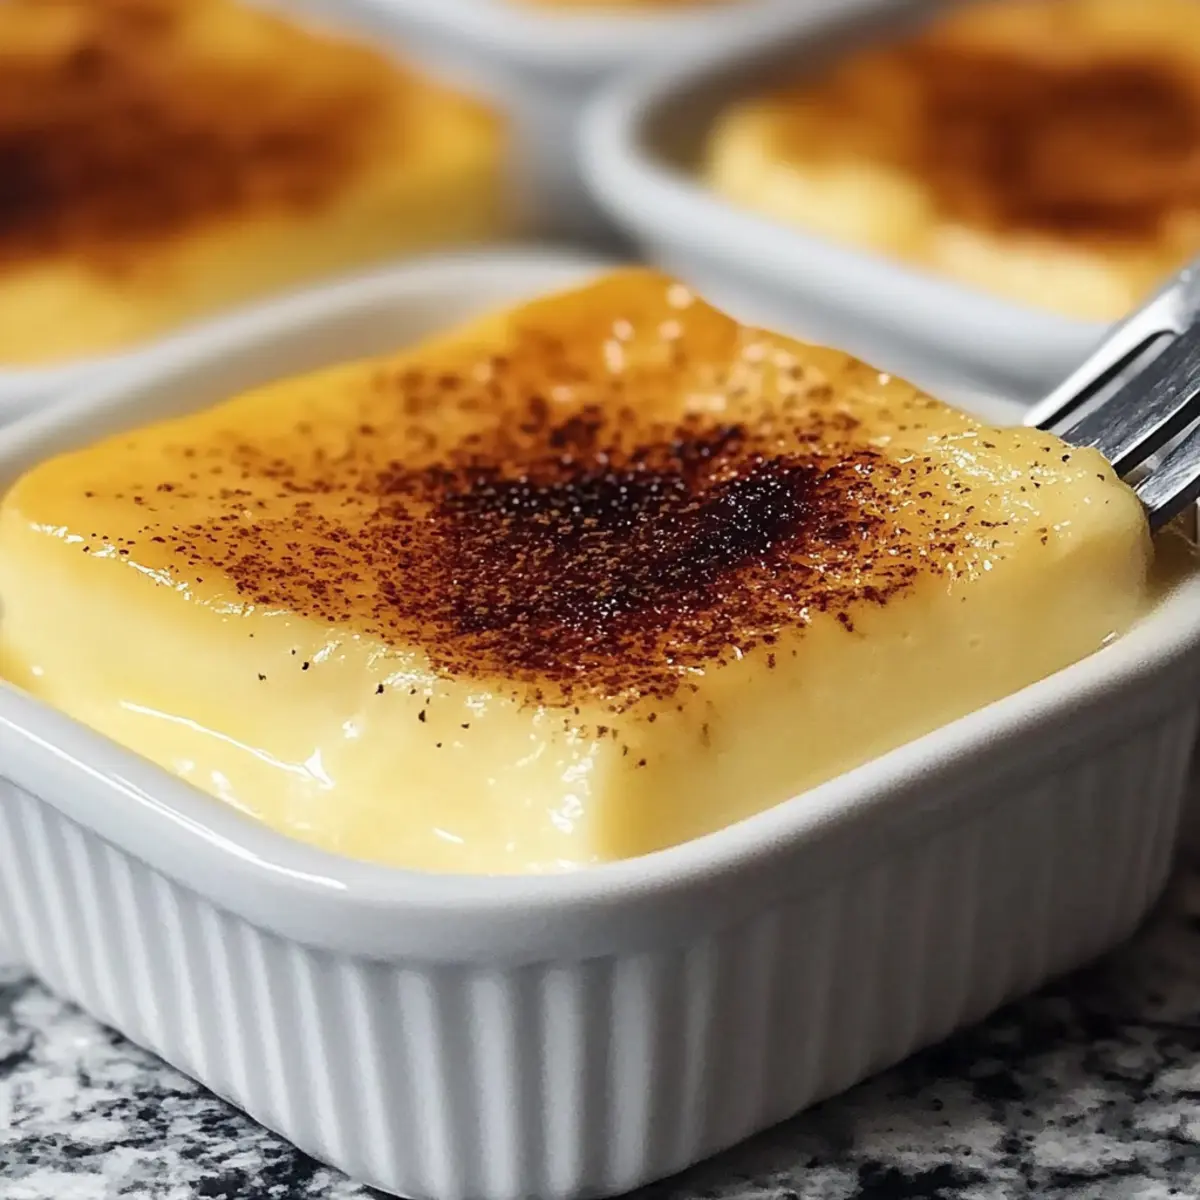
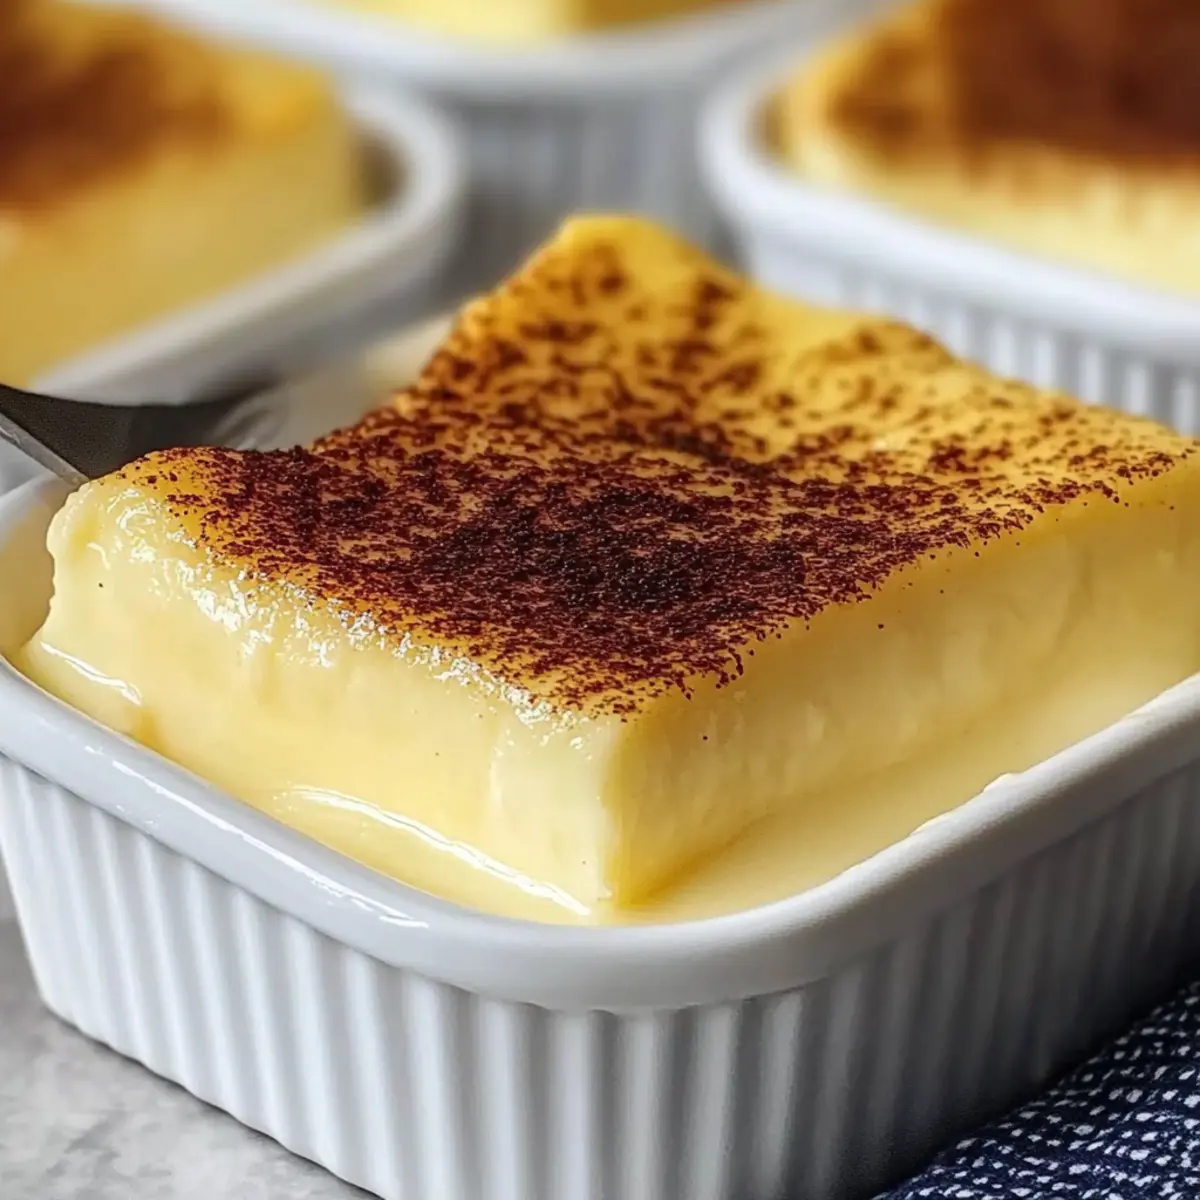
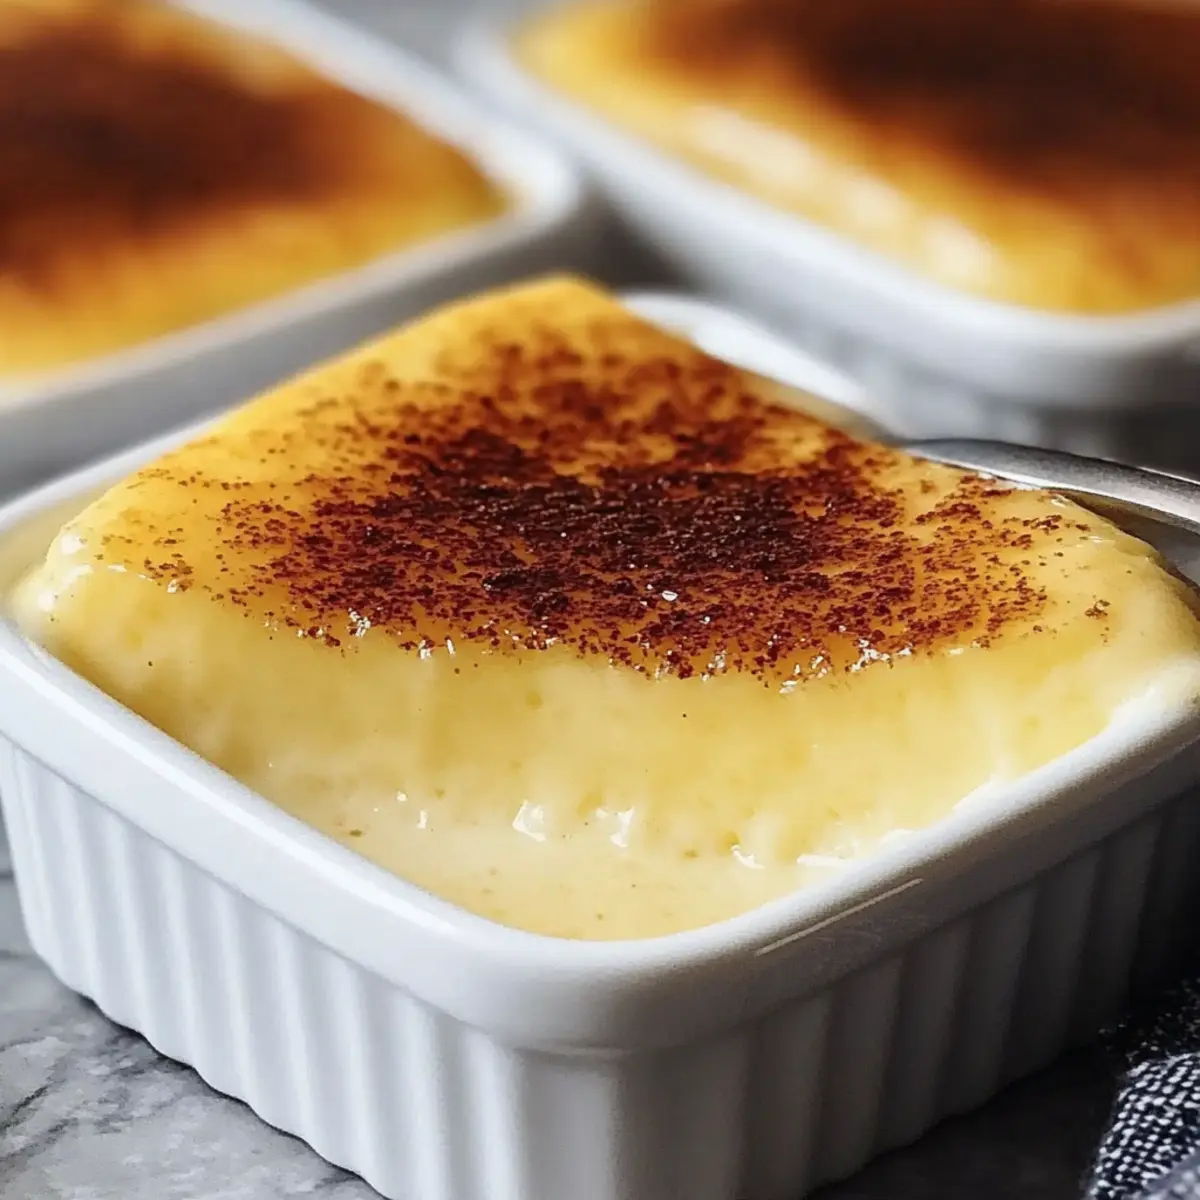
When you’re ready to serve your creamy fail-proof egg custard, sprinkle a little nutmeg or your favorite garnish on top. This final touch adds a beautiful visual cue and elevates the taste. Now, take a moment to appreciate the hard work you put into creating this luxurious treat!
Make Ahead Options
These Creamy Fail-Proof Egg Custards are perfect for meal prep enthusiasts! You can prepare the custard mixture up to 24 hours in advance by whisking together the eggs, warm milk, sugar, vanilla extract, and salt, then straining it and transferring it to your ramekins. Cover them tightly with plastic wrap and refrigerate until you’re ready to bake! When ready to serve, simply create the water bath and bake the custards according to the instructions. Remember, if stored properly, the baked custards will keep well in the refrigerator for up to 3 days, allowing you to enjoy a delightful dessert on busy weeknights without the last-minute fuss!
Expert Tips for Creamy Fail-Proof Egg Custard
Don’t Overwhisk: Avoid incorporating too much air into the eggs during whisking; a gentle approach will ensure a rich, silky custard.
Watch the Temperature: Always heat the milk until warm, not boiling. High temperatures can scald the milk, affecting the delicate flavor of your creamy fail-proof egg custard.
Strain for Smoothness: Remember to strain the mixture through a fine sieve to remove lumps and bubbles. A smooth mixture is key to achieving that luscious texture!
Perfect Baking Time: Keep an eye on the baking time to prevent graininess. The custard is done when it has a soft jiggle in the center—trust that slight wobble!
Experiment with Flavors: Feel free to infuse your custard with various flavors; just be mindful of the amount used. Too much can overpower the creamy balance of your custard!
What to Serve with Easy and Creamy Fail-Proof Egg Custard
Dive into a delightful pairing adventure that perfectly complements the luxury of this creamy custard!
-
Fresh Berries: Bursting with flavor, fresh berries add a juicy contrast that brightens the rich custard, creating a refreshing balance.
-
Shortbread Cookies: The buttery crunch of shortbread cookies provides a delightful texture alongside the silky custard, making each bite a satisfying experience.
-
Chocolate Sauce: A drizzle of warm chocolate sauce brings a decadent note to the custard, enhancing its creaminess while adding a touch of indulgence.
-
Whipped Cream: Light and airy whipped cream serves as the perfect topping, adding a fluffy texture that elevates the custard’s smoothness.
-
Mint Tea: This fragrant herbal tea offers a soothing aftertaste, cleanse the palate, and beautifully complements the custard’s sweet flavors.
-
Citrus Sorbet: A scoop of tart citrus sorbet provides a bright, zesty contrast that cuts through the richness, making every spoonful feel refreshing.
-
Almond Biscotti: Crunchy and nutty, almond biscotti adds a delightful texture to the meal, and it’s perfect for dipping into the custard!
Pairing these delightful options with your creamy fail-proof egg custard will create a memorable and satisfying dessert experience that everyone will love!
How to Store and Freeze Creamy Fail-Proof Egg Custard
Refrigerator: Store your creamy fail-proof egg custard in an airtight container for up to 3 days. This keeps it fresh and ready for a delightful treat.
Freezer: For longer storage, freeze the custard in individual portions or airtight containers for up to 2 months. Thaw in the refrigerator overnight before serving.
Reheating: Allow the custard to sit at room temperature for about 30 minutes before reheating gently in the microwave or oven at a low temperature to preserve its creamy texture.
Flavor Preservation: If freezing, consider adding flavorings like vanilla after thawing to enhance the taste; this ensures your custard remains delicious!
Creamy Fail-Proof Egg Custard Variations
Feel free to get creative with this custard recipe to match your personal taste and dietary needs!
-
Dairy-Free: Switch whole milk for almond, coconut, or soy milk for a creamy custard that anyone can enjoy. Each alternative adds its unique flavor, so let your taste buds guide you!
-
Sugar Substitutes: Use brown sugar for a deeper, caramel-like flavor, or try stevia or monk fruit for a lower-calorie option. Sweetness is a personal journey—find what suits you best!
-
Flavor Infusions: Experiment with flavored extracts like almond or hazelnut instead of vanilla. The delightful twist can elevate your custard experience to new heights—enjoy exploring!
-
Citrus Zest: Grate some lemon or orange zest into the mixture for a refreshing burst, brightening the custard’s creamy richness. This sunny addition invites uplifting vibes to your dessert!
-
Chocolate Twist: Stir in some cocoa powder or melted chocolate for an indulgent chocolate version. Who can resist a chocolate custard? It’s a delightful chocolate lover’s dream come true!
-
Fruit Toppings: Serve your custard with fresh berries, sliced bananas, or a drizzle of caramel for a lovely texture contrast. The vibrant colors and flavors will turn each spoonful into a masterpiece!
-
Nutty Crunch: Top with chopped nuts like almonds or hazelnuts for an exciting crunch that pairs perfectly with the smooth custard. It adds a delightful texture that makes every bite satisfying!
-
Spicy Variation: Consider a pinch of cinnamon or nutmeg mixed into the custard base; it brings warmth and depth that will cozy up your dessert. The added spice can conjure comforting memories!
Whichever variation you choose, this custard is destined to wow your family and friends! Ready to take your custard to the next level? You might also find delicious inspiration in Easy Creamy Tortellini with Chicken and Broccoli for a fabulous pairing!
Creamy Fail-Proof Egg Custard Recipe FAQs
How do I choose the right eggs for this custard?
Absolutely! Fresh large eggs are essential for the richness and flavor of your creamy fail-proof egg custard. Look for eggs that have a clean, uncracked shell and are within their sell-by date for the best results. If you’re vegan or avoiding eggs, consider using a commercial egg replacer, but be aware that the texture may differ slightly.
What is the best way to store leftover custard?
To keep your creamy fail-proof egg custard fresh, store it in an airtight container in the refrigerator for up to 3 days. Make sure to let it cool completely before sealing to prevent condensation, which can affect texture. Always serve chilled for the best flavor!
Can I freeze egg custard?
Yes, you can! For longer storage, freeze your creamy fail-proof egg custard in individual portions or airtight containers for up to 2 months. To freeze, first, allow the custard to cool completely, then place it in suitable containers, leaving a little space for expansion. When ready to enjoy, thaw it overnight in the refrigerator.
What should I do if my custard turns grainy?
Very! If your custard turns out grainy, it could be due to overcooking or whisking too vigorously. To prevent this, ensure the oven temperature is accurate and avoid cooking past the point where it’s slightly jiggly in the center. If you’ve already baked it, try blending the custard gently with a hand mixer or food processor to restore some creaminess, depending on how much graininess has developed.
Are there any dietary considerations for this recipe?
Indeed! This creamy fail-proof egg custard recipe is flexible. For a dairy-free version, you can substitute whole milk with almond, coconut, or soy milk, though the flavor will differ slightly. Always check ingredient labels if you’re concerned about allergies, especially with extracts or flavorings, to ensure they are safe for everyone’s diet!
How can I tell when my custard is done baking?
I often rely on a gentle jiggle for the perfect texture! Your custard should be set but still have a slight jiggle in the center when you remove it from the oven. Baking it too long will result in a firmer custard that can become grainy and less enjoyable. The ideal timing is around 35-40 minutes, depending on your oven’s performance.
Creamy Fail-Proof Egg Custard for Effortless Indulgence
Ingredients
Equipment
Method
- Preheat your oven to 325°F (165°C).
- Gently whisk the eggs until just combined.
- Warm the milk in a saucepan over medium heat until small bubbles form.
- Gradually whisk the warm milk into the egg mixture.
- Stir in the sugar, vanilla extract, and salt until dissolved.
- Strain the mixture through a fine sieve into a measuring cup.
- Pour the strained custard into ramekins about three-quarters full.
- Create a water bath by placing the ramekins in a baking dish and adding hot water.
- Bake for 35–40 minutes until set with a slight jiggle.
- Allow to cool to room temperature, then refrigerate for at least 2 hours.
- Serve chilled with a sprinkle of nutmeg or your favorite garnish.
Leave a Reply