
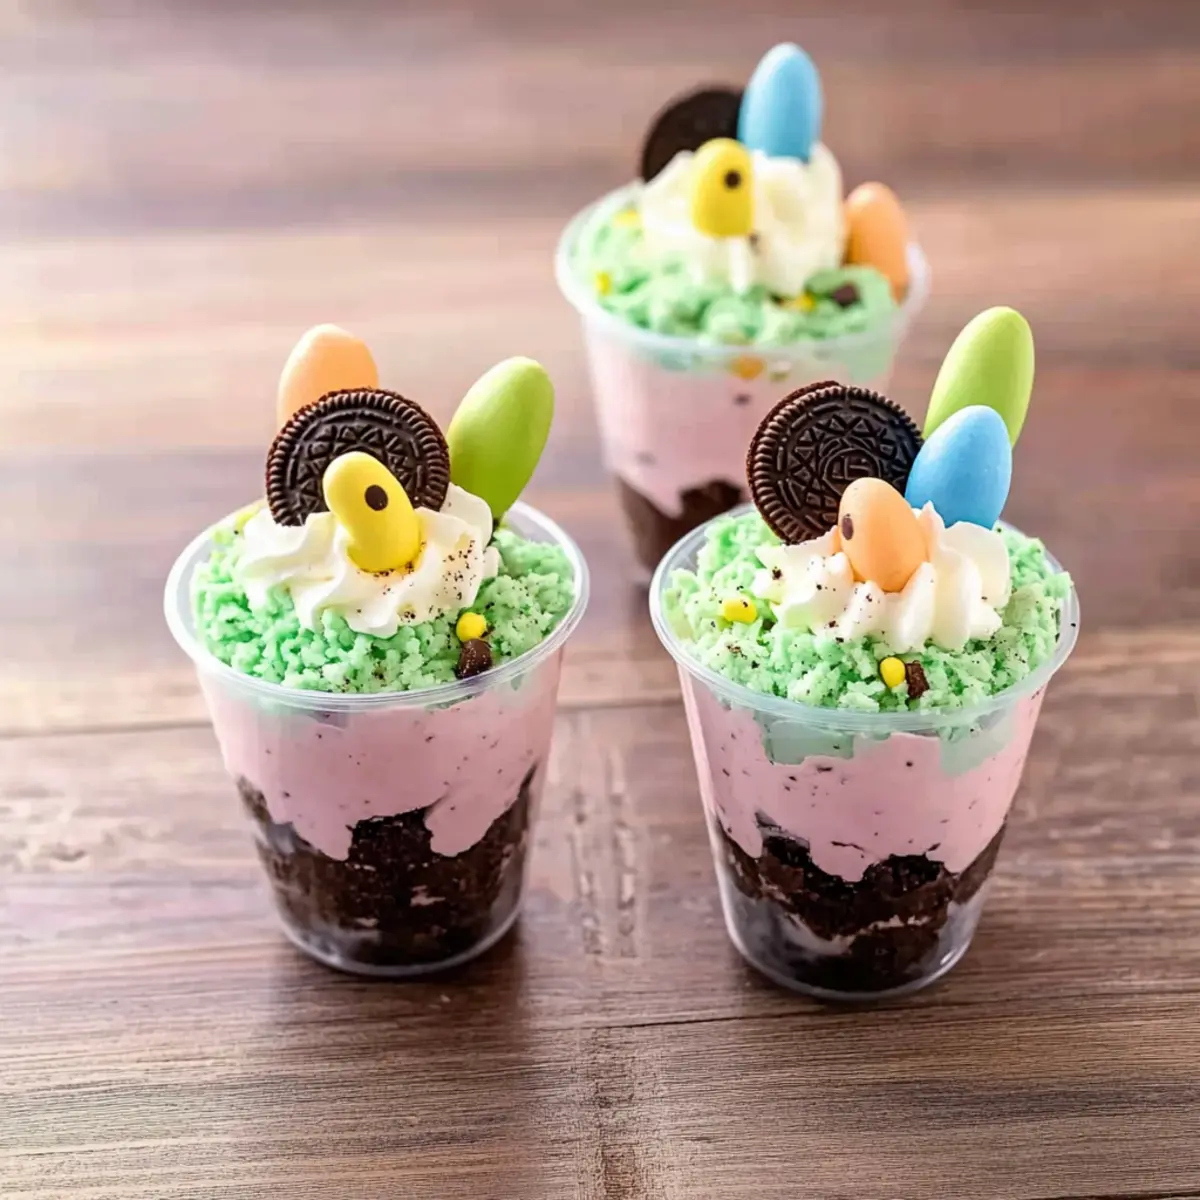
As I stood in my kitchen, the vibrance of spring outside nudged me to create something fun and delightful. Enter the no-bake Easter Dirt Cups, a treat that’s as playful as it is delicious! This recipe marries layers of silky, pastel-colored pudding with the satisfying crunch of crushed Oreo cookies—a perfect way to get the kids involved in the kitchen, while letting their creativity run wild. Not only are these cups a visual feast, but they’re also a breeze to whip up, making them ideal for last-minute preparations or a cozy afternoon activity. With an irresistible charm that brings a smile to everyone’s face, who wouldn’t want to dig into these charming treats? Ready to make some Easter memories? Let’s get started!
Why Are Easter Dirt Cups So Fun?
Kid-Friendly Fun: These no-bake Easter Dirt Cups are not only delicious but also an engaging activity for the whole family. Easy to Assemble: Layers of colorful pudding and crushed Oreos make it simple for kids to get creative in the kitchen. Visual Appeal: The festive colors and toppings create a stunning dessert that will wow your guests. Quick Prep Time: Whip them up in just a short time, perfect for busy schedules or last-minute gatherings. Versatile Decorations: Customize with various candies and toppings to suit any theme. Dive into making these delightful treats and enjoy a taste of spring! For more fun dessert ideas, check out our No-Bake Dessert Recipes.
Easter Dirt Cups Ingredients
• Create your festive masterpiece with ease!
For the Pudding Layers
- Vanilla Instant Pudding Mix – Offers a creamy texture and sweet flavor, but feel free to swap for chocolate or cheesecake pudding for variety.
- Cold Milk – Essential for hydrating your pudding mix; whole milk adds richness, while non-dairy alternatives work too.
- Food Coloring – Brightens up your pudding with cheerful pastels; use natural dyes for a healthier twist!
- Cool Whip (or Whipped Topping) – Delivers fluffiness and lightness; homemade whipped cream is a tasty alternative, though it may not hold shape well.
For the Crunchy Base
- Oreo Cookies – Imparts a delightful chocolatey crunch; chocolate wafer cookies or graham crackers can be used instead.
For the Decorative Touch
- Shredded Coconut – Serves as the “grass” for decoration; you can omit it or dye it green for an extra festive flair.
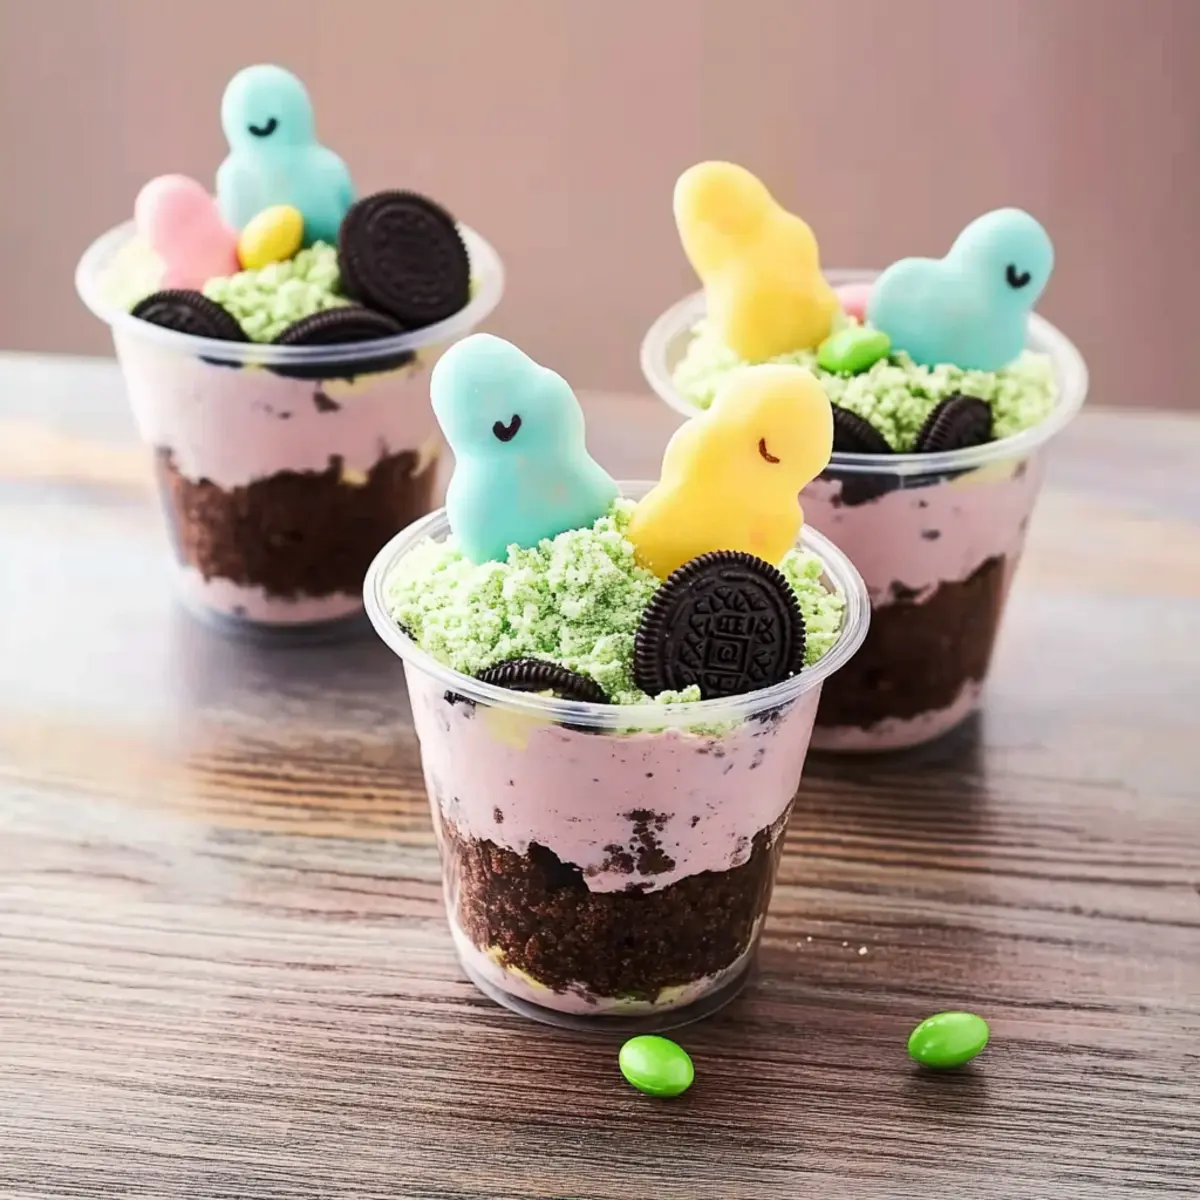
- Festive Easter Candies (e.g., mini eggs, Peeps) – Add a pop of color and sweetness to your dessert; choose any small candies that capture the spirit of Easter!
Gather these ingredients and let the fun begin with your Easter Dirt Cups!
Step‑by‑Step Instructions for Easter Dirt Cups
Step 1: Prepare the Pudding
In a medium bowl, whisk together the vanilla instant pudding mix and 2 cups of cold milk for about 2 minutes. You’ll notice the mixture thickening. Let the pudding set for 5 minutes, allowing it to reach a creamy consistency that’s perfect for layering in your Easter Dirt Cups.
Step 2: Color the Pudding
Once the pudding is set, divide it evenly into separate bowls based on how many colors you’d like to create. Add a few drops of food coloring into each bowl, mixing well until the colors are vibrant and pastel. This step will give each layer of your Easter Dirt Cups a delightful pop of color!
Step 3: Fold in Cool Whip
Take your colored pudding mixtures and gently fold in 1 cup of Cool Whip into each bowl. Use a spatula to combine, ensuring you preserve that light and fluffy texture. This is what will create the perfect creamy layers in your Easter Dirt Cups, bringing sweetness and airiness to each bite.
Step 4: Crush Oreos
Next, take 16 Oreo cookies and separate the cookie halves from the fillings. Place the cookie halves in a food processor or a zip-top bag, then crush them into fine crumbs. You want the texture to resemble sand, which will serve as the crunchy “dirt” base that adds contrast to the smooth pudding in your Easter Dirt Cups.
Step 5: Assemble Dirt Cups
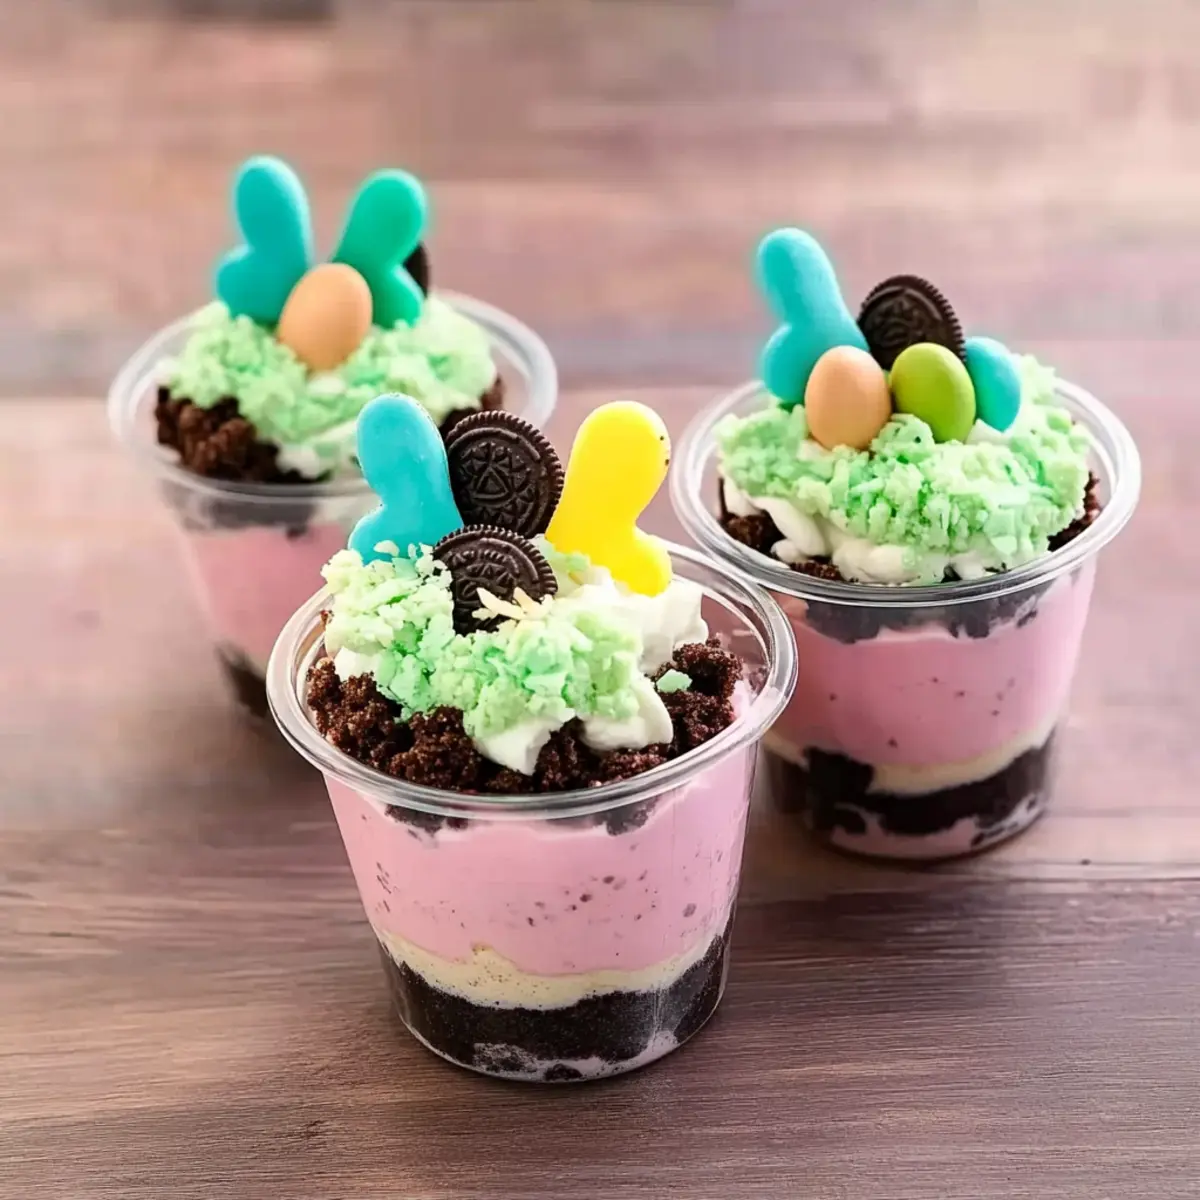
Grab your serving cups or jars and start layering! First, add a generous layer of the crushed Oreos as the base. Follow with a layer of one of the colored pudding mixtures, then another layer of Oreos, and continue this process until the cups are filled. Top it off with a final sprinkle of crushed Oreos for that perfect dirt layer.
Step 6: Chill
Once assembled, cover the cups with plastic wrap and refrigerate them for at least 1 hour. Chilling allows the flavors to meld together and gives the pudding time to set further, ensuring that your Easter Dirt Cups have a delightful, firm texture when it’s time to dig in.
Step 7: Color Coconut
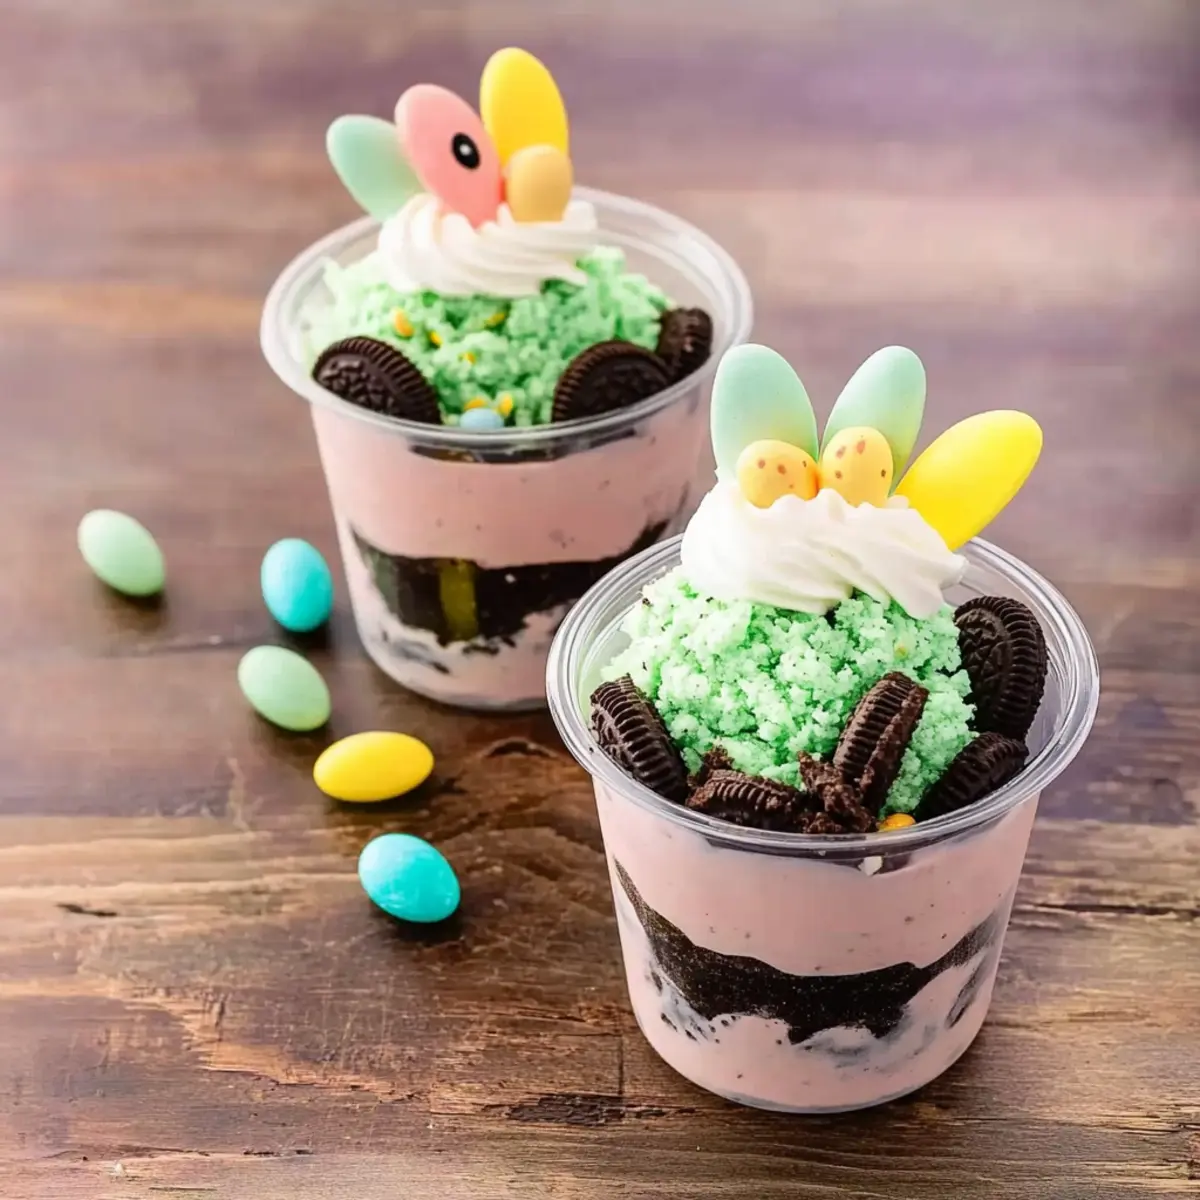
While the cups chill, take about 1 cup of shredded coconut and place it in a bowl. Add a few drops of green food coloring and mix well. This colored coconut will mimic grass and add a beautiful finishing touch to your Easter Dirt Cups, making them even more festive!
Step 8: Decorate and Serve
Finally, just before serving, remove the cups from the fridge and top with the green coconut to create a whimsical grassy effect. Add your favorite festive Easter candies, like mini eggs or Peeps, on top to complete the look. Now your delightful Easter Dirt Cups are ready to be enjoyed!
Make Ahead Options
These Easter Dirt Cups are perfect for busy home cooks looking to save time! You can prepare the pudding layers up to 24 hours in advance by whisking the pudding mix with milk and dividing it into bowls with food coloring. After folding in the Cool Whip, cover the bowls tightly and refrigerate. Additionally, crush the Oreo cookies ahead of time and store them in an airtight container at room temperature to keep them crunchy. When you’re ready to serve, simply layer the pudding and Oreos in your cups, add the colored coconut for decoration, and top off with festive candies. This way, your Easter Dirt Cups will be just as delicious and delightful with minimal last-minute effort!
What to Serve with Easter Dirt Cups
As you gather around the table for a delightful celebration, let the joy of Easter continue with these perfect pairings.
- Fresh Fruit Salad: A vibrant mix of seasonal fruits adds a refreshing touch to balance the sweetness of your Dirt Cups.
- Chocolate-Covered Strawberries: These decadent bites are a delightful contrast to the creamy dessert, making for a sweet symphony of flavors.
- Mini Carrot Cakes: Their moist texture and subtle spice harmonize beautifully with the rich sweetness of the Easter Dirt Cups.
- Chewy Sugar Cookies: Buttery and soft, these cookies serve as the perfect handheld treat to complement your festive dessert.
- Minted Lemonade: A cool, refreshing drink with a hint of mint will cleanse the palate, making every bite feel light and invigorating.
- Vanilla Ice Cream: A classic pairing, the creamy vanilla provides a dreamy contrast to the textures of the Dirt Cups.
- Spring Vegetable Platter: Crunchy veggies offer a savory counterpoint, and a zesty dip adds zest to your Easter spread.
- Pineapple Upside-Down Cake: This nostalgic dessert with caramelized fruit will charm your guests while complementing the playful spirit of Easter.
- Sparkling Water: A bubbly sip refreshes and elevates any gathering, making every moment feel more festive and fun.
How to Store and Freeze Easter Dirt Cups
-
Fridge: Keep assembled Easter Dirt Cups covered in the fridge for up to 2 days. This will maintain the freshness of the pudding and cookies.
-
Freezer: If you’ve made the pudding mixture ahead of time, it can be stored in an airtight container in the freezer for up to 2 months. Thaw overnight in the fridge before assembling.
-
Reheating: These cupcakes are served chilled and do not require reheating. Simply decorate with toppings just before serving to maintain visual appeal.
-
Make-Ahead: Feel free to prepare the cups a day in advance for convenience, but remember to add the toppings, like coconut and candies, right before serving for the best texture and presentation.
Expert Tips for Easter Dirt Cups
-
Pudding Consistency: Use instant pudding mix only; cook-and-serve won’t achieve the desired texture. Cold milk is essential for a creamy result.
-
Layering Technique: For an authentic “dirt” look, ensure crushed Oreos are the top layer. This creates an appealing finish for your Easter Dirt Cups.
-
Teamwork in the Kitchen: Involve kids in both layering and decorating to enhance family bonding time while making delightful memories in the kitchen.
-
Storage Savvy: Assemble your Easter Dirt Cups a day in advance (without toppings) for stress-free serving. Just add toppings right before enjoying!
-
Fun with Variations: Feel free to switch up pudding flavors or use fresh fruits between layers. Get creative for an exciting twist on the classic Easter Dirt Cups!
Easter Dirt Cups Variations & Substitutions
Customize your Easter Dirt Cups for a unique and delightful twist that sparks creativity and joy!
-
Chocolate Pudding: Swap vanilla for chocolate pudding to intensify the dessert’s rich flavor and appeal.
-
Nut-Free: Replace Cool Whip with coconut whipped cream for a light, nut-safe alternative that everyone can enjoy.
-
Fruit Layers: Add fresh berries or sliced bananas between layers for a refreshing touch that brightens every bite. Creating layers of color and texture enhances not only taste but also the visual appeal.
-
Gummy Worms: Include gummy worms in the “dirt” for a playful, nostalgic touch that kids adore. These little surprises make it even more fun to enjoy.
-
Bite-sized Treats: Instead of cups, serve your dirt mix in smaller containers or shot glasses for a fun party-ready option. This could make them perfect for celebrations or gatherings.
-
Dairy-Free Option: Use almond or soy milk in place of regular milk and a dairy-free pudding mix to cater to lactose-intolerant guests. These adaptations ensure everyone can join in the fun.
-
Trifle Dish Presentation: Assemble your Easter Dirt Cups in a large trifle dish instead of individual cups for a stunning centerpiece. The beautiful layers will be the talk of the table!
-
Savory Twist: For a daring change, consider making a savory version using spinach dip layers and filling cupcakes for an unexpected twist. Mixing things up can bring fun and excitement to the table.
For more ways to enjoy spring treats, explore our delightful collection of Kid-Friendly Recipes.
Easter Dirt Cups Recipe FAQs
How do I choose the right ingredients for my Easter Dirt Cups?
Absolutely! For the vanilla pudding, I recommend using instant pudding mix to ensure you get that creamy texture. As for milk, using cold whole milk adds richness, but you can definitely swap in a non-dairy alternative if needed. For the food coloring, opt for natural dyes for a healthier option. Make sure the Oreos are fresh—look for cookies without dark spots, as these can indicate staleness.
How should I store my Easter Dirt Cups?
To keep your Easter Dirt Cups at their best, store them covered in the refrigerator for up to 2 days. This helps preserve the freshness of the pudding and the crunchiness of the cookies. If you’ve made layers ahead of time, be sure to keep them separate until you’re ready to assemble—just remember to add the toppings just before serving!
Can I freeze my Easter Dirt Cups?
Yes! If your pudding mixture is prepared ahead of time, you can store it in an airtight container in the freezer for up to 2 months. When you’re ready to whip up your cups, thaw the mixture overnight in the refrigerator. Assemble with crushed Oreos and toppings after thawing for the best texture.
What if my pudding doesn’t set properly?
No worries! If your pudding isn’t thickening, ensure you’re using instant pudding mix, as cook-and-serve varieties require cooking and won’t work for this recipe. Always use cold milk and whisk for a full 2 minutes. If it’s still too runny after setting, refrigerate it a bit longer or add a bit more dry pudding mix to help thicken.
Are there any dietary considerations for Easter Dirt Cups?
Very! If you’re considering dietary restrictions, you can easily make these cups gluten-free by using gluten-free Oreo cookies or other alternatives. For dairy-free options, swap regular milk for a plant-based alternative like almond or coconut milk, and ensure that your Cool Whip is a non-dairy variety to keep it allergy-friendly.
Can I prepare Easter Dirt Cups a day in advance?
Of course! I often make these delightful cups ahead of time for convenience. You can assemble them a full day in advance without the toppings. Just be sure to refrigerate them covered to maintain freshness. Add your colorful coconut and festive candies right before serving to keep that vibrant look!
Easter Dirt Cups That Kids Will Love: A No-Bake Delight
Ingredients
Equipment
Method
- Prepare the Pudding: In a medium bowl, whisk together the vanilla instant pudding mix and cold milk for about 2 minutes. Let the pudding set for 5 minutes.
- Color the Pudding: Divide the pudding into bowls based on how many colors you'd like, then add food coloring and mix until vibrant.
- Fold in Cool Whip: Gently fold in Cool Whip into each bowl of colored pudding, preserving the light and fluffy texture.
- Crush Oreos: Separate the cookie halves, crush them into fine crumbs to create the 'dirt' base.
- Assemble Dirt Cups: Layer crushed Oreos and colored pudding mixtures in serving cups, finishing with a sprinkle of crushed Oreos.
- Chill: Cover the cups and refrigerate for at least 1 hour to meld flavors and set the pudding further.
- Color Coconut: Mix shredded coconut with green food coloring to mimic grass for decoration.
- Decorate and Serve: Top the chilled cups with colored coconut and festive candies before serving.
Leave a Reply