
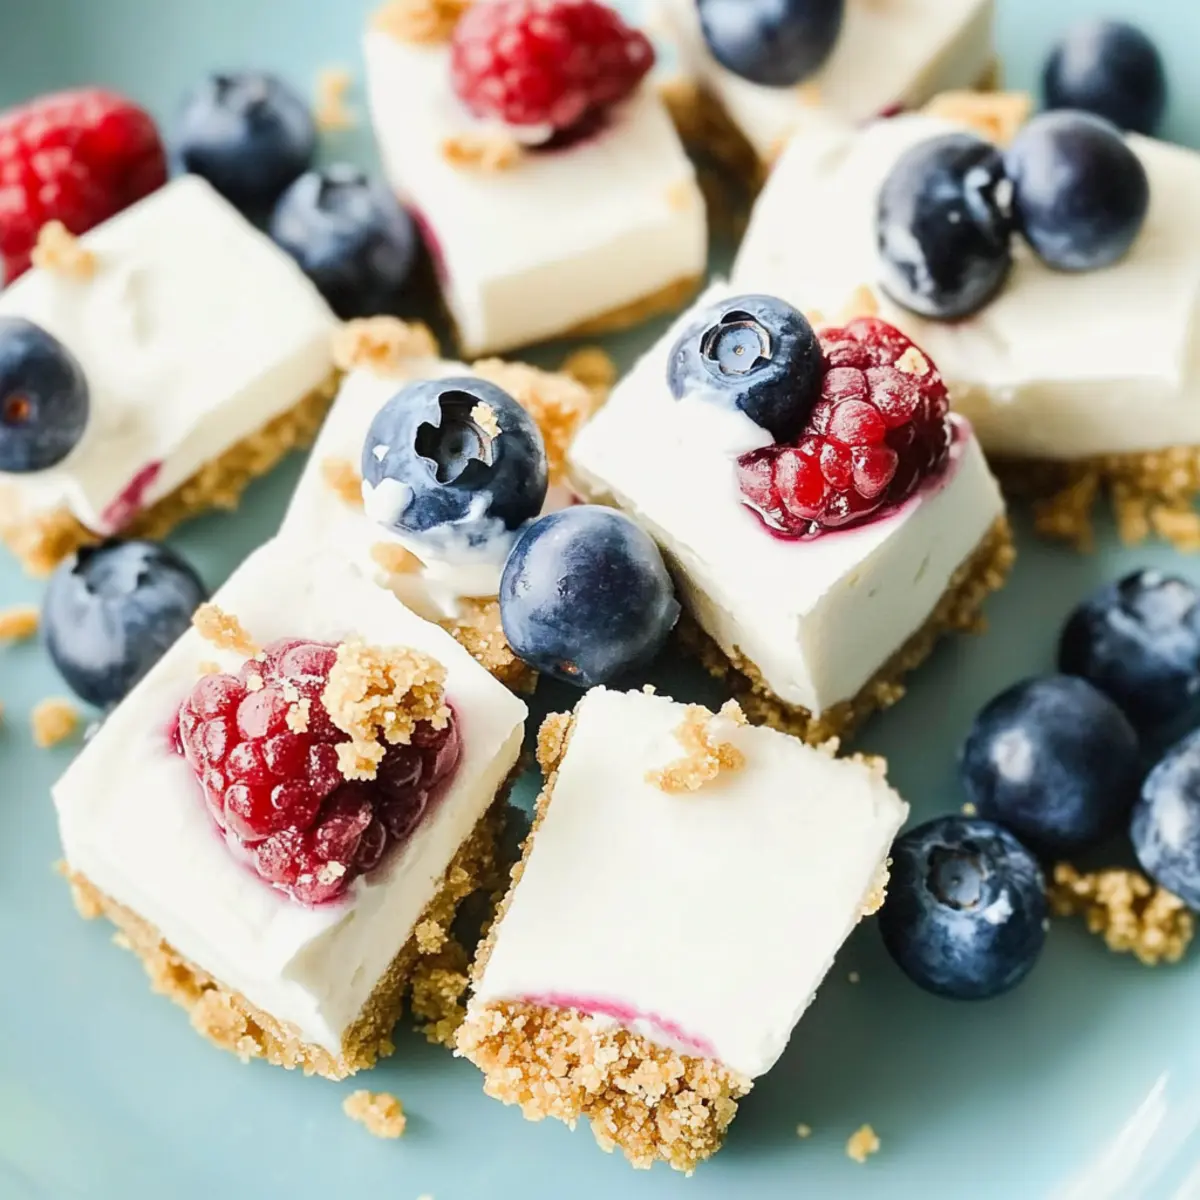
On a sweltering summer day, there’s nothing quite like a refreshing dessert to lift your spirits. That’s why I’m excited to share my recipe for No-Bake Honey-Sweetened Ice Cube Tray Cheesecake Bites! These delightful frozen cheesecake bites are not only rich and creamy, but they also promise to be a healthier option made with low-fat cream cheese and tangy Greek yogurt. Sweetened naturally with honey, they’re a guilt-free indulgence perfect for those warmer months. What’s more, these bite-sized treats are quick to prepare, and you can easily stash them in your freezer for immediate access whenever cravings strike. Are you ready to embrace a dessert that’s as satisfying as it is simple? Let’s dive into this delicious recipe!
Why You’ll Love Frozen Cheesecake Bites
Guilt-Free Indulgence: Enjoy a creamy dessert without the heavy calories! Each bite is around 43 calories, making it a smart choice for your sweet tooth.
No-Bake Convenience: These cheesecake bites require no baking, allowing you to whip them up effortlessly. Perfect for busy days when you want something special like Pumpkin Cheesecake Muffins!
Endless Customizations: From swapping honey for maple syrup to using your favorite fruits like blueberries or strawberries, this recipe is versatile. You can even create your own flavor combinations—try adding some lemon zest for a zesty twist.
Make Ahead & Store: Freeze them for later indulgence! These delightful bites are easy to prepare and are ready to satisfy your cravings whenever needed. Store in an airtight container for a refreshing treat that will last!
Family-Friendly Fun: The bite-sized format makes these treats ideal for sharing with friends and family. Plus, you can get the kids involved in choosing their favorite toppings—what’s not to love?
Frozen Cheesecake Bites Ingredients
• Get ready to make your guilt-free sweet escape!
For the Cheesecake Filling
- Low-Fat Cream Cheese – Provides a delightfully creamy texture; soften it fully for a lump-free filling.
- Plain Greek Yogurt – Adds a tangy creaminess; for a twist, try flavored yogurt varieties!
- Vanilla Extract – Enhances the overall flavor; opt for pure extract for the best taste.
- Fresh Lemon Juice – Balances sweetness with acidity; freshly squeezed gives the best flavor.
- Honey – Sweetens naturally; for a vegan option, use maple syrup instead.
For the Crust
- Graham Crackers – Create a crunchy bottom layer; can substitute with gluten-free options for a gluten-free dessert.
- Unsalted Butter – Binds the crust together; melted coconut oil works as a dairy-free alternative.
For Topping
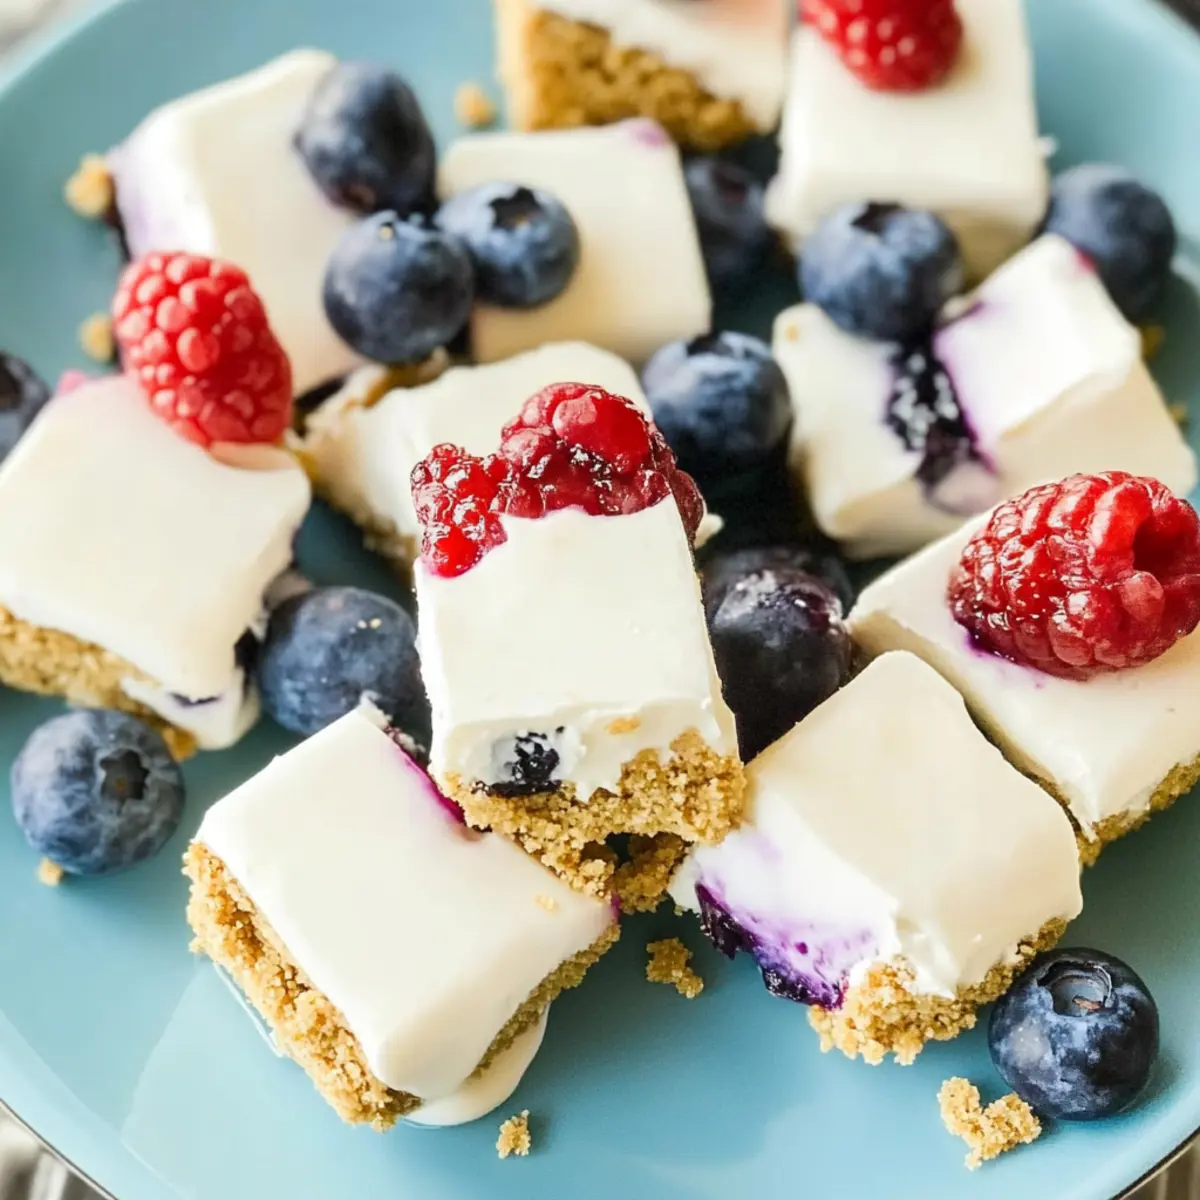
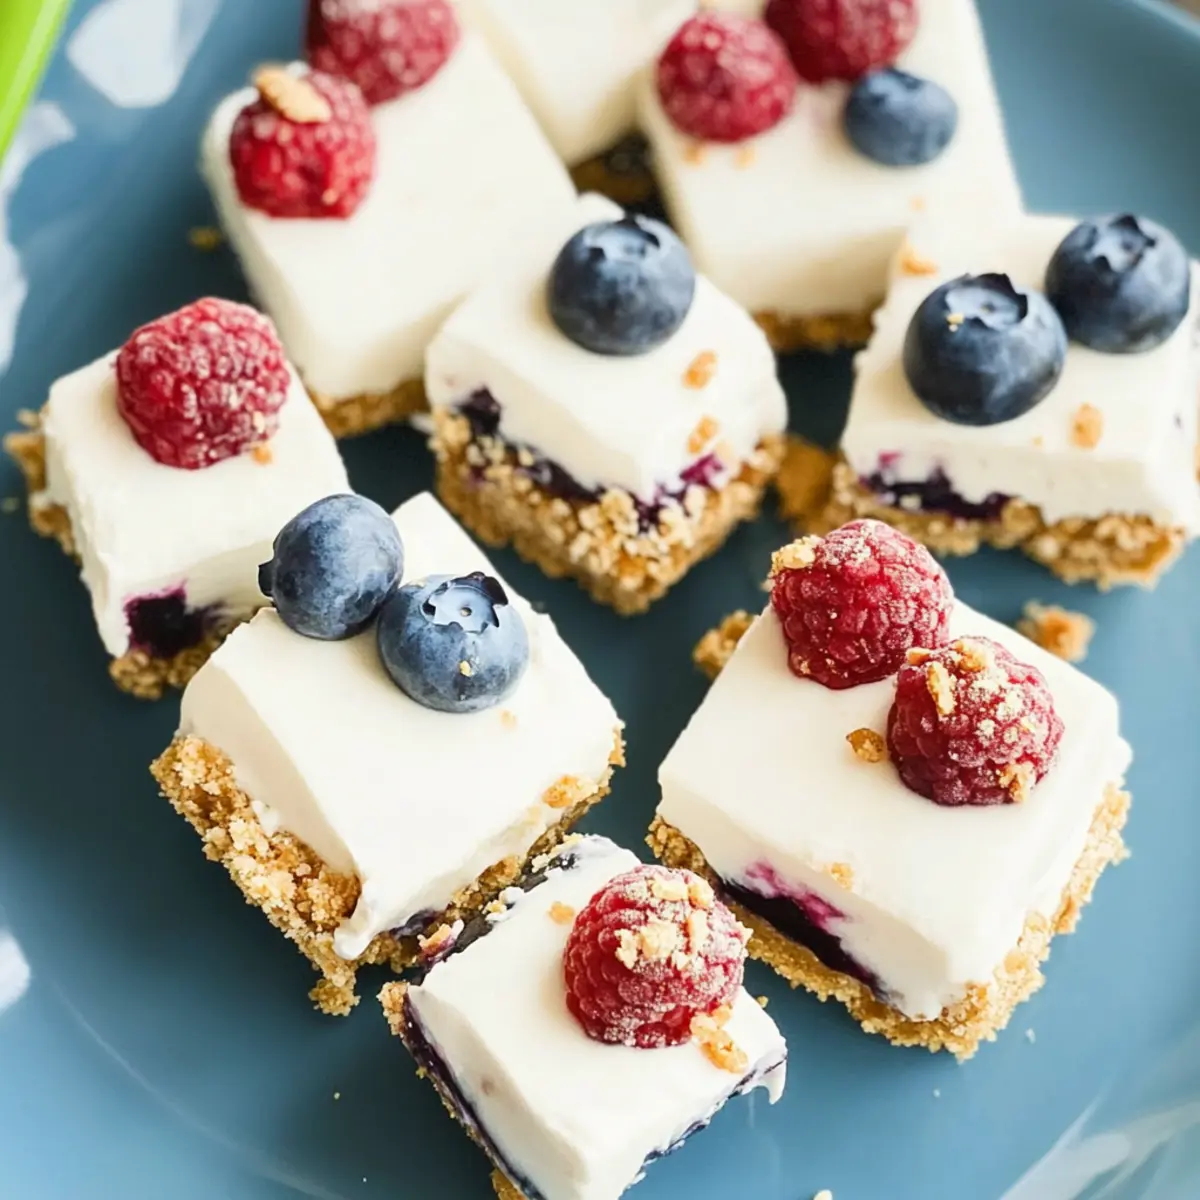
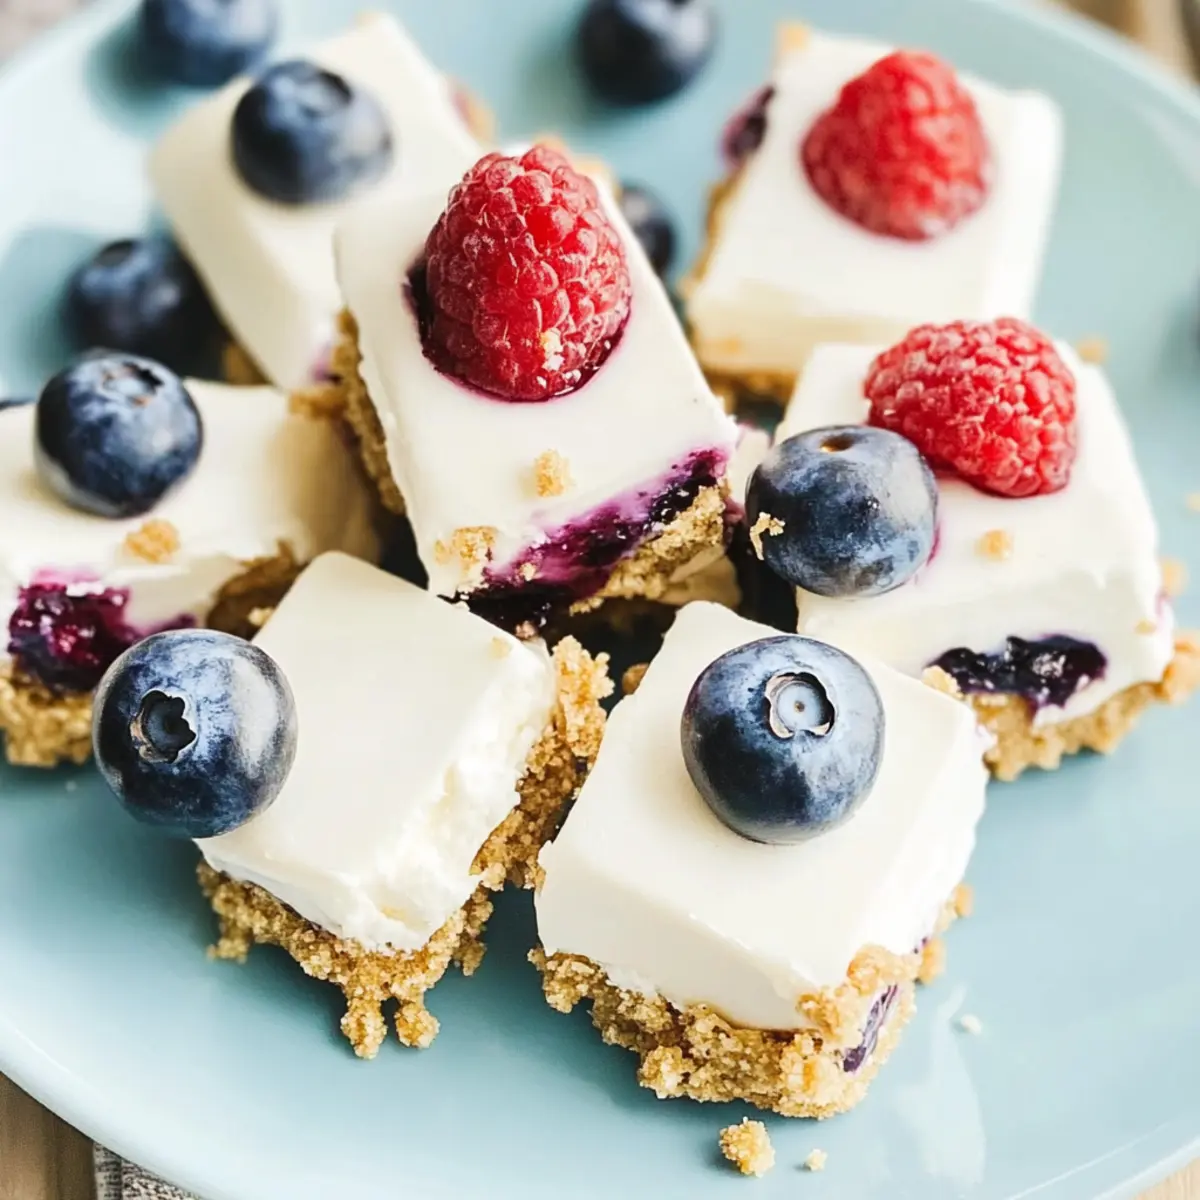
- Blueberries – Brighten up each bite with this fresh addition; feel free to swap in other berries like strawberries or raspberries!
Enjoy these Frozen Cheesecake Bites that promise flavor and fun in every bite!
Step‑by‑Step Instructions for Frozen Cheesecake Bites
Step 1: Soften the Cream Cheese
Begin by placing your low-fat cream cheese at room temperature for about 30 minutes until it softens completely. Using an electric mixer, beat the cream cheese in a large mixing bowl on high speed for 2-3 minutes until it becomes creamy and smooth. This is crucial for avoiding lumps in your Frozen Cheesecake Bites, ensuring a delightful texture.
Step 2: Combine the Filling Ingredients
Next, add in the plain Greek yogurt, vanilla extract, freshly squeezed lemon juice, and honey to the beaten cream cheese. Mix everything together at medium speed until you achieve a smooth and fully combined filling, approximately 2 minutes. The mixture should be thick yet spreadable, perfect for the exciting Frozen Cheesecake Bites.
Step 3: Prepare the Graham Cracker Crust
While your filling is blending, take about six graham crackers and crush them into fine crumbs using a food processor or a zip-top bag and a rolling pin. Melt 2 tablespoons of unsalted butter in the microwave, then combine it with the crushed graham crackers in a mixing bowl. Mix until the crumbs are evenly moistened, creating a crumbly crust that will hold together beautifully.
Step 4: Assemble the Graham Cracker Base
Take an ice cube tray and evenly distribute the graham cracker mixture into each well, pressing down firmly with your fingers or the back of a spoon. Aim for a compact layer, about a quarter of an inch thick. You want the crust to hold the cheesecakes nicely once they are frozen and popped out, giving those Frozen Cheesecake Bites a satisfying crunch.
Step 5: Fill with Cheesecake Mixture
Now, spoon the cream cheese filling into each well of the ice cube tray, filling them to the top and smoothing the surface with a small spatula or the back of a spoon. Ensure that each well is filled evenly for uniformity. This mix will create the delightful creaminess of your Frozen Cheesecake Bites, rounding off the delightful contrast with the crust.
Step 6: Add Toppings
Take fresh blueberries and gently place one or two on top of each cheesecake filled well. Press them lightly into the mixture to ensure they stick, adding vibrant color and burst of flavor to each bite. If you wish, you can also insert wooden popsicle sticks into the center of each compartment for easy handling later on with your Frozen Cheesecake Bites.
Step 7: Freeze the Cheesecake Bites
Place the filled ice cube tray in the freezer and let your Frozen Cheesecake Bites set for at least 2 hours, or preferably overnight for best results. The bites should be fully firm to the touch and hold their shape well once frozen. This waiting period is key to achieving a refreshing dessert that’s perfect for your warm days.
Step 8: Release the Cheesecake Bites
Once fully frozen, carefully remove the tray from the freezer. Use a thin knife to gently loosen the edges of each cheesecake bite. Then, flip the tray upside down while applying light pressure to the bottom; the bites should pop out with ease. Enjoy your beautifully crafted Frozen Cheesecake Bites now or store them for later indulgence!
How to Store and Freeze Frozen Cheesecake Bites
-
Fridge: Store leftover cheesecake bites in an airtight container for up to 3 days. While they’ll maintain flavor, freezing is the best option for longer shelf life.
-
Freezer: Keep the bites in a freezer-safe container or a zip-top bag for up to 2 weeks. Layer parchment paper between layers to prevent sticking, ensuring they remain easy to access.
-
Thawing: To enjoy, take a few bites out of the freezer, and allow them to sit at room temperature for about 10 minutes for ideal texture, or savor them straight from the freezer!
-
Reheating: These Frozen Cheesecake Bites are best served frozen. Avoid microwaving as this may alter their delightful texture. Enjoy them chilled as refreshing treats!
What to Serve with No-Bake Honey-Sweetened Ice Cube Tray Cheesecake Bites
Indulging in creamy, honey-sweetened cheesecake bites opens the door to delightful pairings that elevate your dessert experience.
- Fresh Fruit Salad: A vibrant mix of seasonal fruits adds a burst of freshness that beautifully balances the richness of the cheesecake bites.
- Minted Lemonade: The zesty sparkle of this refreshing drink complements the creamy sweetness, perfect for cooling down on a hot day.
- Chocolate Drizzle: A simple drizzle of melted dark chocolate adds a decadent touch, enhancing those sweet flavors with a slight bitterness.
For a more indulgent experience, consider serving alongside spiced chai tea. The warm spices in chai contrast beautifully with the cool, creamy cheesecake bites to create a delightful flavor dance.
- Crushed Nuts: Sprinkling finely chopped walnuts or almonds introduces a satisfying crunch, as well as an additional layer of texture that pairs harmoniously.
- Coconut Whipped Topping: This light, fluffy topping adds a tropical flair, bringing a hint of coconut sweetness that melds well with the cheesecake bites.
- Coffee Affogato: Pouring a shot of hot espresso over a scoop of vanilla ice cream is a deliciously unexpected pairing, as the heat of the coffee melts into the cool bites, creating a delightful fusion of flavors.
With each pairing, you can craft a balanced and inviting dessert platter that captures the essence of summer while satisfying your sweet cravings!
Make Ahead Options
These Frozen Cheesecake Bites are fantastic for meal prep enthusiasts! You can prepare the graham cracker crust and the cheesecake filling up to 24 hours in advance. To do this, mix the crust and fill the ice cube tray just as instructed, then cover it with plastic wrap and refrigerate until you’re ready to finish. If you prefer, you can freeze the mixture for up to 3 days before filling the tray, just be sure to let it thaw in the fridge overnight to maintain a smooth texture. When you’re ready to enjoy them, simply spoon the filling into the prepped crust, top with blueberries, and freeze until set. You’ll have delicious frozen cheesecake bites at your fingertips with minimal effort!
Frozen Cheesecake Bites: Flavorful Variations
Feel free to let your creativity shine as you customize these delightful bites with various twists and substitutions!
-
Fruit Swaps: Choose from strawberries, raspberries, or juicy mango chunks for a refreshing topping twist. Each fruit offers a unique flavor and elevates the dessert experience!
-
Dairy-Free Delight: Use coconut cream instead of low-fat cream cheese for a rich, vegan-friendly option. This will create an indulgent treat that even non-dairy eaters will love!
-
Sweetener Options: Switch from honey to maple syrup for a delightful vegan twist. This change can add a deep caramel-like flavor, making every bite truly unforgettable.
-
Greek Yogurt Variations: Experiment with flavored Greek yogurt, like vanilla or strawberry, instead of plain. This simple swap adds depth and personality to your cheesecake bites, taking them to the next level!
-
Crunchy Toppings: Add toasted nuts such as pecans or almonds for a crunchy texture contrast. This will add an exciting layer of flavor and crunch, perfect for those who enjoy a bit of nuttiness in their desserts.
-
Spiced Up: Mix in a pinch of cinnamon or nutmeg to the cheesecake filling for a cozy kick. These warm spices give the dessert a comforting aroma that’s perfect for chilly evenings!
-
Zesty Twist: Incorporate lemon or orange zest into the filling for a zesty citrusy flavor that brightens up each bite! This is a fantastic way to freshen the bites, especially on warmer days.
-
Chocolate Lovers: Drizzle melted dark chocolate over the top for a decadent finish. This rich addition elevates your Frozen Cheesecake Bites to a whole new level of indulgence!
These variations will keep your dessert creations exciting and allow you to enjoy new flavors with each bite. Pair your cheesecake bites with something special like a slice of Peach Cobbler Cheesecake for a mouthwatering combination!
Expert Tips for Frozen Cheesecake Bites
-
Soften Cream Cheese: Ensure it’s at room temperature before mixing; this helps avoid lumps in your filling for the perfect creamy texture.
-
Measure Ingredients Precisely: Accurate measurements yield consistent results; too much or too little honey can alter sweetness, so use a kitchen scale if needed.
-
Even Crust Layer: Press the graham cracker mixture firmly into the ice cube tray wells; a compact crust prevents crumbling when you pop out your Frozen Cheesecake Bites.
-
Don’t Rush Freezing: Allow plenty of time for the bites to freeze thoroughly, preferably overnight; this guarantees they hold their shape when removed.
-
Customize with Toppings: Feel free to add a mix of berries or nuts for added texture; experiment to find your favorite topping combination for the Frozen Cheesecake Bites!
Frozen Cheesecake Bites Recipe FAQs
What should I consider when selecting cream cheese?
Absolutely! When choosing cream cheese for your Frozen Cheesecake Bites, opt for low-fat varieties to keep the dessert lighter. Make sure to check the expiration date and select one that’s fresh without dark spots or discoloration.
How should I store the cheesecake bites for freshness?
For optimal freshness, store leftover Frozen Cheesecake Bites in an airtight container in your fridge for up to 3 days. If you want to keep them longer, pop them into a freezer-safe container, where they can last up to 2 weeks. Remember to layer parchment paper between the bites to prevent them from sticking together!
Can I freeze the cheesecake bites?
Absolutely! Freezing is the best way to preserve your Frozen Cheesecake Bites. Once fully prepared, place them in a freezer-safe container or a zip-top bag for up to 2 weeks. When you’re ready to enjoy them, just take out what you need and let them sit at room temperature for about 10 minutes for the perfect texture.
What if my cheesecake bites are too hard after freezing?
If your Frozen Cheesecake Bites become too hard, simply keep an eye on the freezing time next round. The average freezer temperature can vary, so try adjusting the freezing time to about 1.5 to 2 hours for initial freezing and test for desired firmness. You’ll want them firm yet still soft enough to enjoy without hassle!
Are there any dietary considerations I should know about?
Very! If you’re serving these Frozen Cheesecake Bites to guests or family members with dietary restrictions, consider potential allergies. The bites contain dairy (cream cheese and yogurt), so for those who are lactose intolerant, substitute with vegan cream cheese and coconut yogurt. Also, use gluten-free graham crackers for a gluten-free option!
Frozen Cheesecake Bites: Your Guilt-Free Sweet Escape
Ingredients
Equipment
Method
- Soften the cream cheese by placing it at room temperature for about 30 minutes. Beat in a large mixing bowl for 2-3 minutes until creamy and smooth.
- Add Greek yogurt, vanilla extract, lemon juice, and honey to the cream cheese. Mix on medium speed for about 2 minutes until fully combined.
- Crush graham crackers into fine crumbs and mix with melted unsalted butter until moistened.
- Press graham cracker mixture into the ice cube tray wells to form a compact layer.
- Fill each well with the cheesecake mixture and smooth the surface.
- Add blueberries on top of each cheesecake filling, pressing them lightly to stick.
- Freeze the tray for at least 2 hours or overnight.
- Carefully remove the bites from the tray using a knife to loosen edges and applying pressure to pop them out.
Leave a Reply