
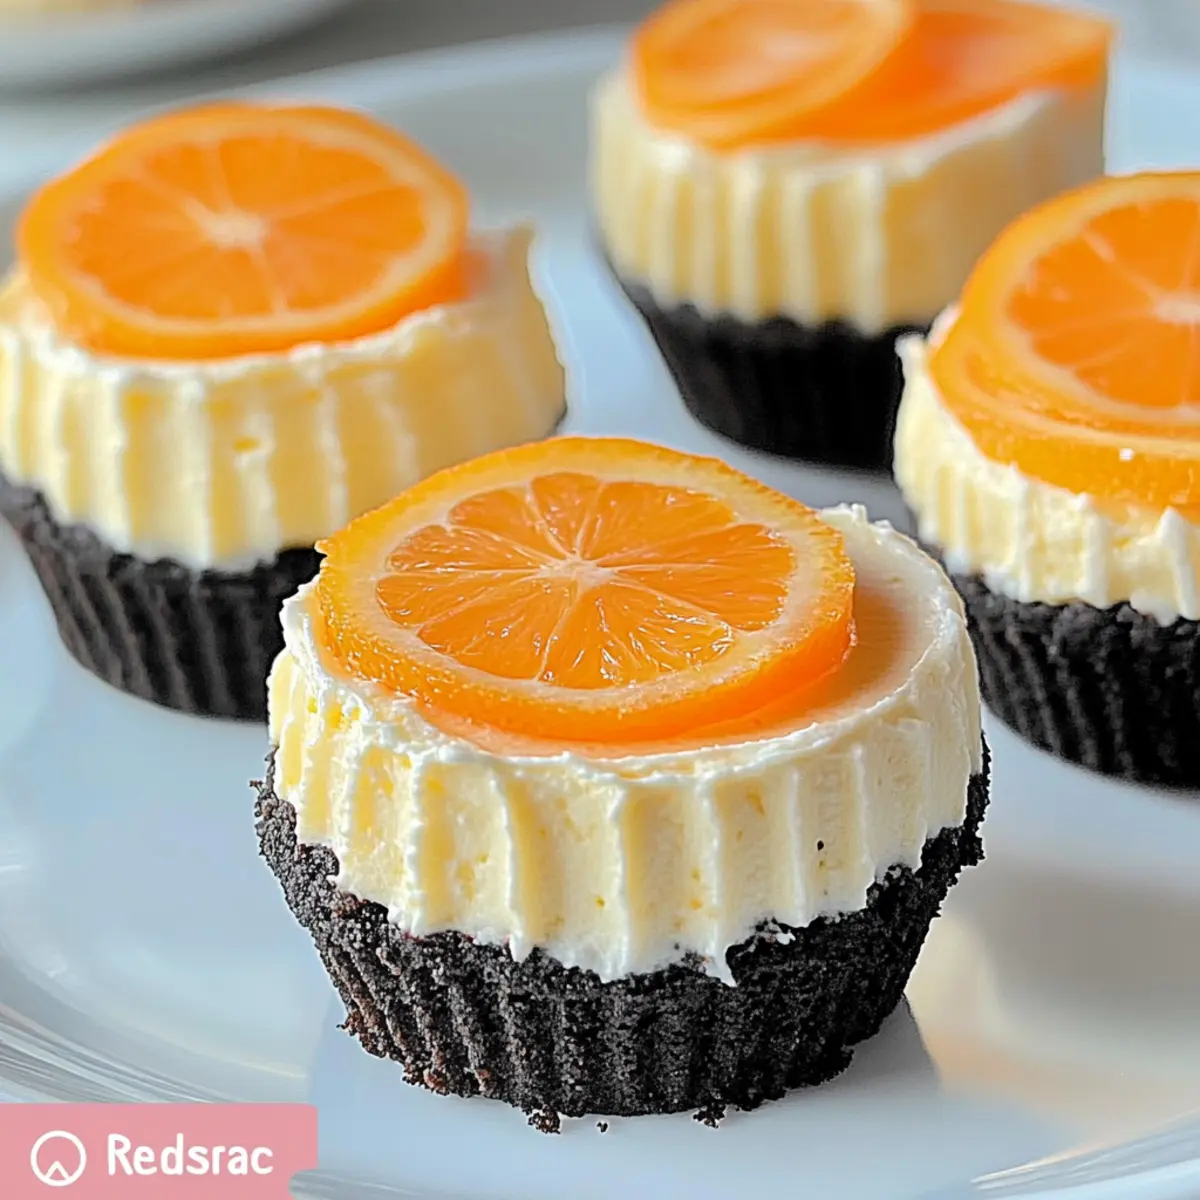
As I stood in my kitchen, a wave of nostalgia washed over me, transporting me back to sun-soaked summer days and the sweet taste of childhood. If you’re looking for a quick and delightful way to capture that bliss, my No-Bake Orange Creamsicle Mini Cheesecakes promise just that—a perfect blend of nostalgia and simplicity. These treats combine a delicious Oreo crust with a fluffy, vibrant orange cheesecake filling, making them not just an easy dessert but also a crowd-pleaser perfect for hot weather gatherings. Plus, they’re conveniently portioned for sharing or saving in the freezer for later indulgence. Aren’t they just the sweetest way to beat the heat? Let’s dive into creating these delightful mini cheesecake wonders together!
Why are these cheesecakes a must-try?
Refreshing flavors come together in these No-Bake Orange Creamsicle Mini Cheesecakes that evoke cherished summer memories. Convenience is key; they require no baking and chill to perfection, freeing you from the kitchen heat. Customizable with various citrus flavors, they invite experimentation. Appeal to everyone with their vibrant color and creamy texture—perfect for summer celebrations. Looking for more delicious ideas? Check out my Mini Turkey Meatloaf for a savory twist!
Orange Creamsicle Mini Cheesecakes Ingredients
Here’s everything you need to whip up these delightful treats!
For the Crust
- Oreo Cookies – the perfect base for that rich crunch; chocolate graham crackers work well for a twist.
For the Cheesecake Filling
- Cream Cheese (16 oz, room temperature) – creates a creamy texture; make sure it’s softened for easy mixing.
- Powdered Sugar (½ cup) – adds that sweet touch; granulated sugar can be a substitute, but with a slightly grainier result.
- Vanilla Extract (1 tsp) – boosts the flavor; opt for pure vanilla for the best taste.
- Heavy Whipping Cream (1 cup) – essential for a light, fluffy filling; coconut cream is a great dairy-free option.
- Fresh Orange Zest (from 1 orange) – infuses that vibrant citrus flavor; lemon zest can also be used for a citrusy variation.
- Orange Extract (½ tsp) – intensifies the orange flavor in your cheesecakes; you can swap in more zest if you’re out of extract.
- Orange Gel Food Coloring (2-3 drops) – for that bright, appealing color; feel free to omit for a more natural look.
- Whipped Cream (for garnish, optional) – adds a decorative and creamy topping; perfect for presentation.
These Orange Creamsicle Mini Cheesecakes are sure to bring a sunny vibe to any summer gathering!
Step‑by‑Step Instructions for Orange Creamsicle Mini Cheesecakes
Step 1: Prepare the Cupcake Liners
Begin by placing 12 cupcake liners in a muffin tin. For a delicious crust, place one Oreo cookie at the bottom of each liner, ensuring that it lays flat. This sets a solid base for your No-Bake Orange Creamsicle Mini Cheesecakes.
Step 2: Make Cream Cheese Mixture
In a medium mixing bowl, add the room temperature cream cheese and powdered sugar. Using an electric mixer, beat the mixture on medium speed until it becomes smooth and creamy, about 2-3 minutes. This step is essential for achieving that rich texture we love in these cheesecakes, so ensure there are no lumps.
Step 3: Whip Heavy Cream
In a separate large bowl, pour in the heavy whipping cream. Using a hand mixer, whip the cream on medium-high speed until soft peaks begin to form, which usually takes about 3-4 minutes. Once you see those peaks, gently fold in the orange extract until you achieve stiff peaks, ensuring a light and fluffy filling for your Orange Creamsicle Mini Cheesecakes.
Step 4: Combine Mixtures
Carefully fold the smooth cream cheese mixture into the whipped cream bowl. Use a spatula and mix on low speed until combined, taking care not to deflate the whipped cream. This gentle combination is crucial for a light and airy cheesecake filling, perfect for your summery treat.
Step 5: Layer Cheesecake Mixture
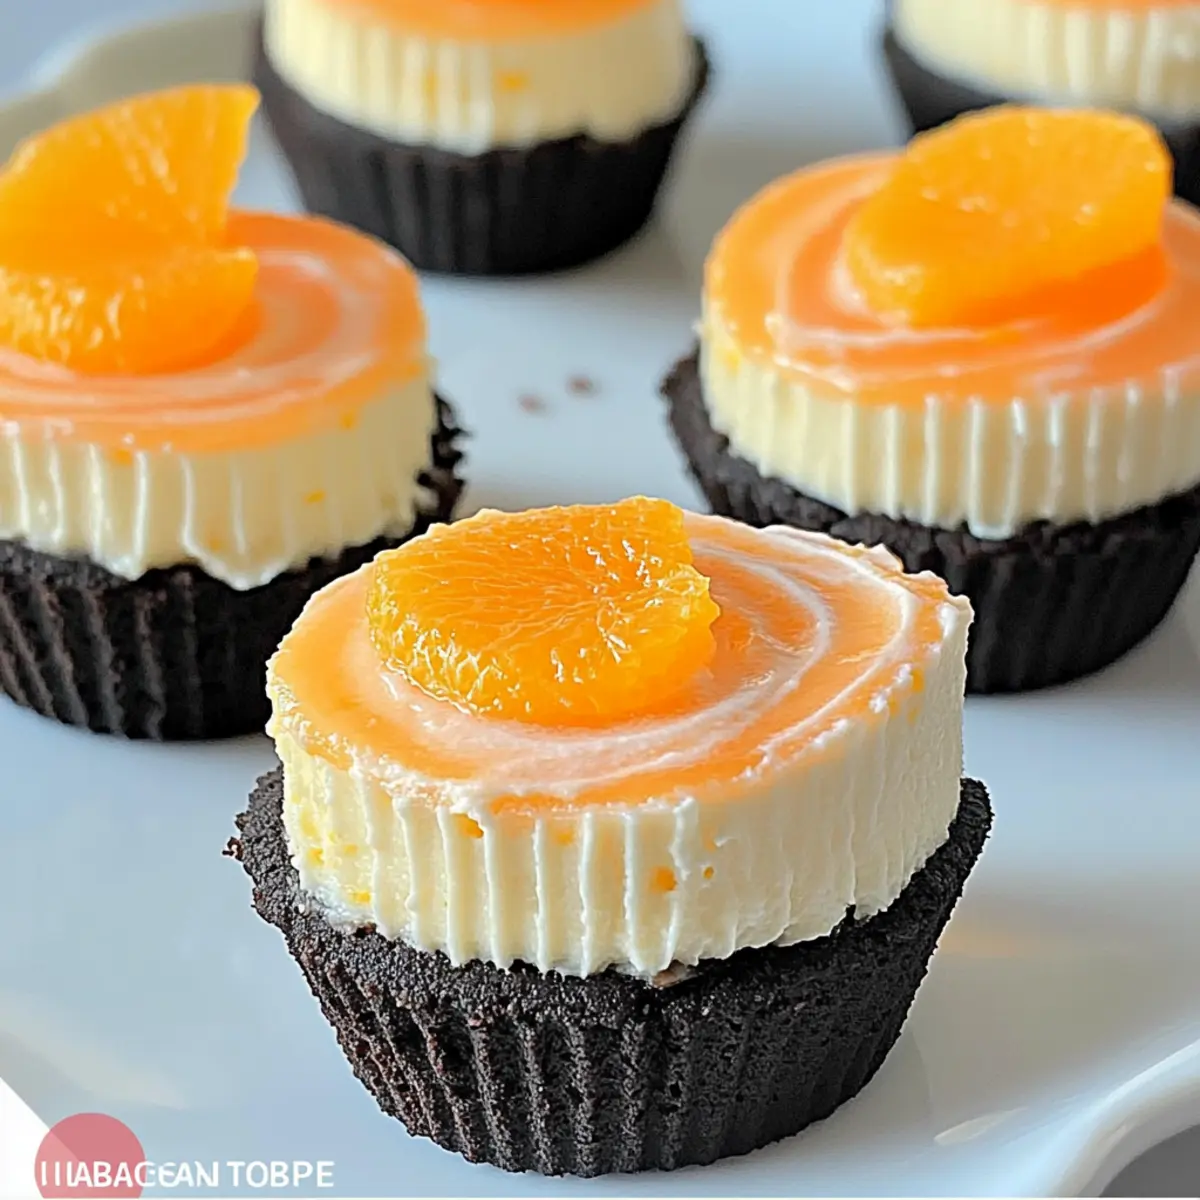
Divide the cheesecake mixture into two separate bowls. In one bowl, spread half of the mixture evenly over the Oreo bases. In the other bowl, mix in the fresh orange zest and the optional orange gel food coloring. Swirl it gently and then spread this vibrant mixture on top of the first layer, creating beautiful stripes in your Orange Creamsicle Mini Cheesecakes.
Step 6: Chill
Place the muffin tin in the refrigerator, allowing the cheesecakes to chill for 3-4 hours or until they are fully set. It’s crucial not to rush this step, as proper chilling ensures the cheesecakes hold their shape and flavors meld beautifully, giving you the perfect summer-inspired dessert.
Step 7: Garnish and Serve
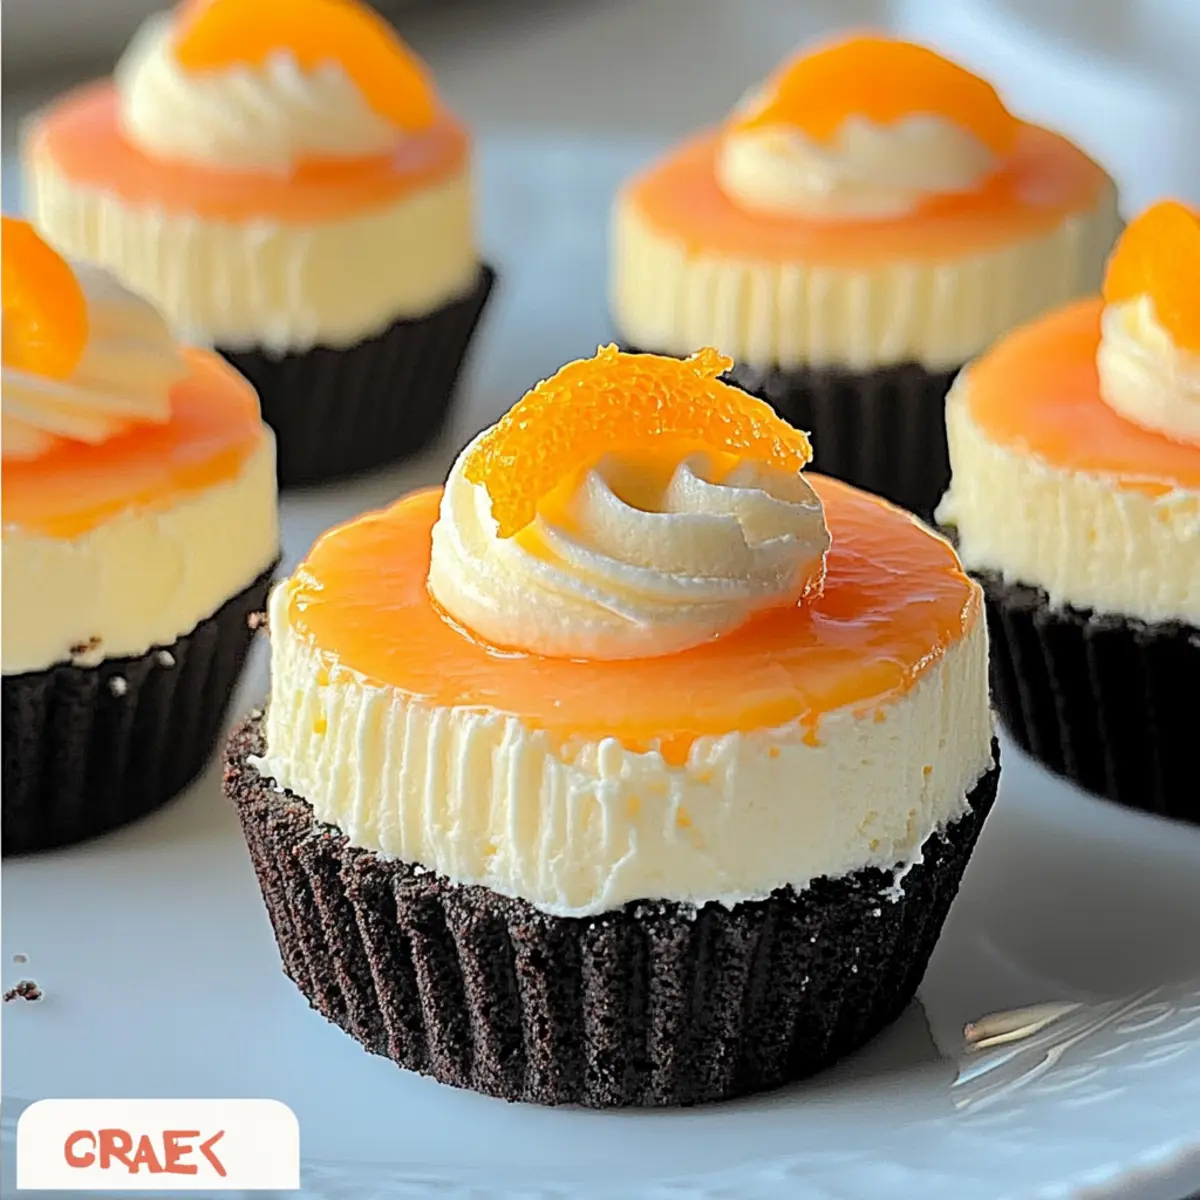
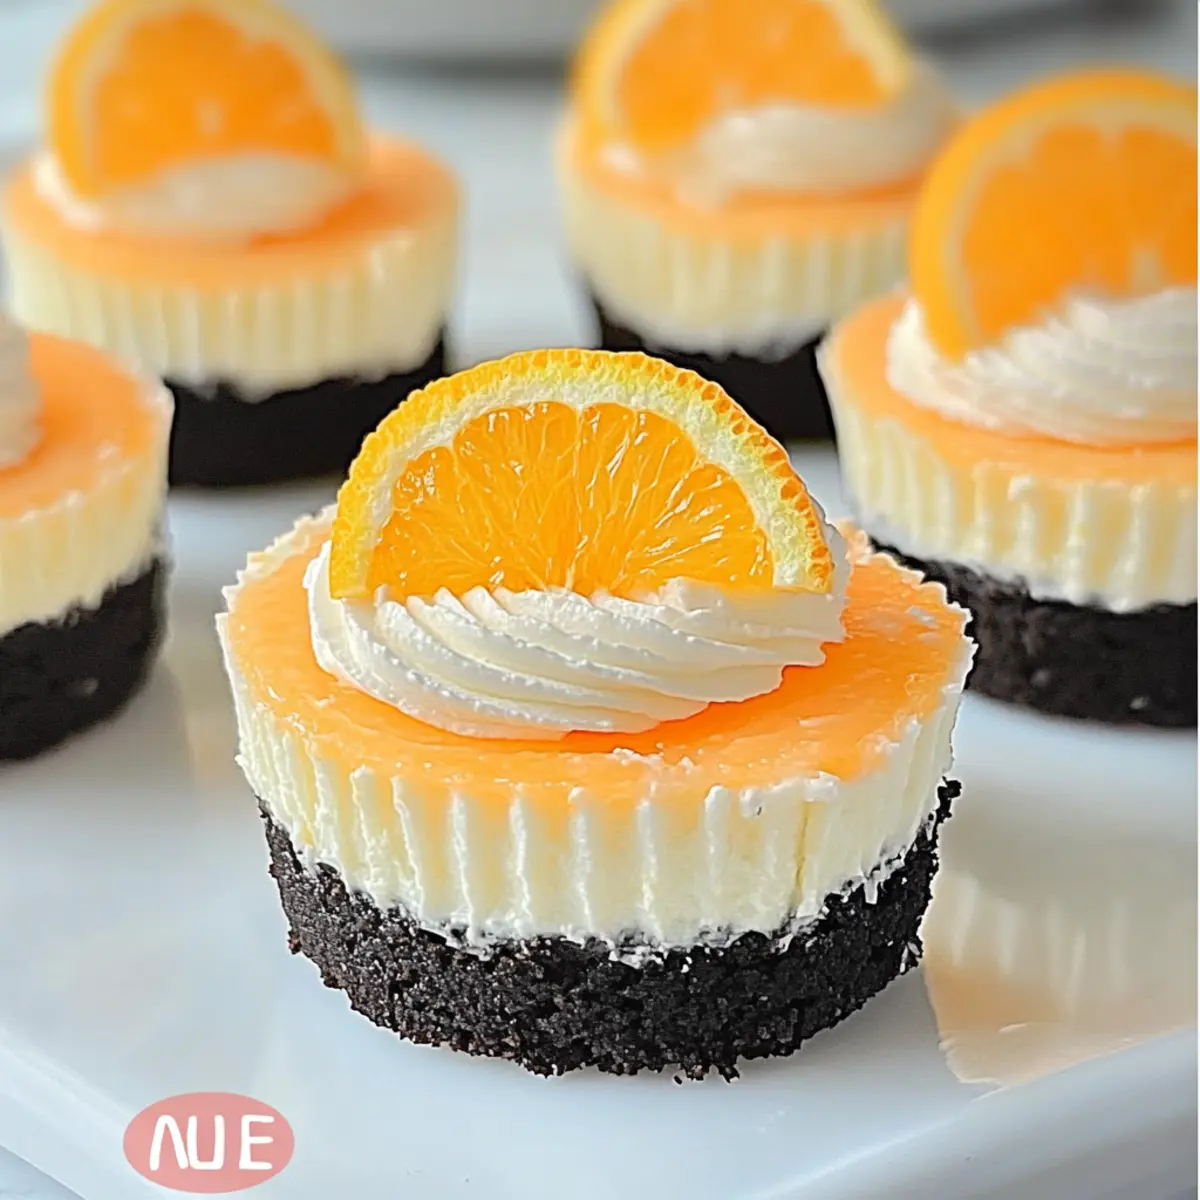
Once fully set, remove the mini cheesecakes from the refrigerator. Garnish each cheesecake with a dollop of whipped cream and, if desired, a slice of fresh orange on top for that extra pop of color and flavor. These Orange Creamsicle Mini Cheesecakes are now ready to brighten any gathering!
How to Store and Freeze Orange Creamsicle Mini Cheesecakes
Refrigerator: Store your Orange Creamsicle Mini Cheesecakes in an airtight container for up to 5 days. This will keep them fresh and delicious for when those sweet cravings strike!
Freezer: For longer storage, nicely wrap each cheesecake in plastic wrap and place them in a freezer-safe container. They can be frozen for up to 3 months. Just remember to thaw them in the fridge before serving!
Serving: If you desire a chilled treat, simply remove them from the refrigerator about 10-15 minutes before serving so they can soften slightly. This enhances their creamy texture!
Garnish Before Serving: To maintain the best look and flavor, add any garnishes—like whipped cream or fruit—just before serving instead of storing them atop the cheesecakes.
Make Ahead Options
These No-Bake Orange Creamsicle Mini Cheesecakes are perfect for meal prep enthusiasts looking to save time! You can prepare the cheesecake filling up to 24 hours in advance and layer it over the Oreo crust right before serving. To do this, make the cream cheese mixture and layer it in the cupcake liners, then cover it tightly with plastic wrap and refrigerate. This helps maintain their delightful texture and flavor. When ready to serve, simply remove them from the fridge, garnish with whipped cream, and your refreshing desserts will be just as delicious as if you made them the same day! This way, you can enjoy your time with family and friends while treating everyone to a sweet summer delight.
Orange Creamsicle Mini Cheesecakes Variations
Feel free to personalize these delightful cheesecakes to match your taste buds or dietary needs!
-
Dairy-Free: Substitute cream cheese and heavy cream with cashew cream and coconut cream for a deliciously lactose-free option. You’ll still enjoy that creamy richness without the dairy!
-
Gluten-Free: Use gluten-free Oreos or almond flour for the crust. It’s an easy swap that keeps everyone happy and able to indulge!
-
Enhanced Citrus: Swap out the orange zest for lemon or lime to create a zesty twist. The tartness of lemon or lime brings a refreshing vibe that’s just as delicious!
-
Chocolate Treat: Add cocoa powder to the cream cheese mixture or opt for a chocolate cookie base instead of Oreos. Because who can resist the combination of chocolate and orange?
-
Tropical Vibes: Incorporate shredded coconut and coconut extract for a fun, tropical flair. This version will whisk you away to a beach paradise!
-
Berry Bliss: Mix in pureed strawberries or raspberries to the filling for a fruity layer of flavor that pairs beautifully with the orange. This twist not only adds sweetness but also bursts of color!
-
Spiced Cheescake: Add a pinch of cinnamon or nutmeg to the filling for a warm, spicy undertone. It’s a surprising twist that enhances the overall flavor beautifully.
-
Mini Turkey Meatloaf Pairing: If you’re interested in savory bites to pair with your desserts, consider trying this delicious Mini Turkey Meatloaf—the perfect contrast to your sweet treats!
Expert Tips for Orange Creamsicle Mini Cheesecakes
-
Room Temperature Cream Cheese: Always use cream cheese at room temperature to ensure a smooth mixture without lumps; this is key for your Orange Creamsicle Mini Cheesecakes.
-
Don’t Overmix: When combining whipped cream with cream cheese, mix gently to avoid deflating the whipped cream. This keeps your filling light and airy.
-
Chill Thoroughly: Ensure you refrigerate the cheesecakes for at least 3-4 hours until fully set. Proper chilling is crucial for achieving the perfect texture and presentation.
-
Customize Flavors: Feel free to switch up the flavor by using lemon or lime zest instead of orange. This can add a refreshing twist to your mini cheesecakes!
-
Garnish Creatively: Use fresh fruit or edible flowers for toppings, elevating your Orange Creamsicle Mini Cheesecakes’ appearance and making them even more enticing.
What to Serve with No-Bake Orange Creamsicle Mini Cheesecakes
Looking to elevate your dessert experience and create a delightful meal? These creamy mini cheesecakes are perfect as a sweet finale to a summer feast.
- Fresh Fruit Salad: A mix of seasonal berries adds a refreshing burst that enhances the vibrant orange flavors. The juicy sweetness of strawberries, blueberries, and melon creates a lovely contrast.
- Crispy Lemon Bars: The zesty lemon bars provide a tangy punch that pairs beautifully with the sweetness of the cheesecakes, offering a satisfying balance of flavors.
- Minty Green Salad: A light salad of mixed greens, cucumbers, and a zesty lemon vinaigrette cleanses the palate, making each cheesecake bite even more enjoyable.
- Grilled Chicken Skewers: Marinated in citrus and herbs, these skewers serve as a light, savory option that complements the creamy, rich cheesecakes without overwhelming the senses.
- Light Moscato Wine: This sweet, flavored wine offers a sparkling accompaniment to your dessert, making every bite feel like a celebration of summer.
- Coconut Sorbet: A dairy-free option that brings a tropical twist, the refreshing coconut sorbet contrasts with the rich cheesecake flavor, making for a dreamy dessert combination.
- Chocolate Dipped Strawberries: The luxurious chocolate pairs wonderfully with the orange cheesecake, creating a decadent treat for those looking to indulge.
- Sparkling Water with Citrus: Elevate your beverage choice with refreshing sparkling water garnished with lemon or lime slices, providing a fizzy cleanse between bites.
- Lemon Meringue Tart: This classic dessert adds a nostalgic touch with its zesty filling and fluffy meringue, creating a delightful mix of textures and flavors alongside your mini cheesecakes.
Orange Creamsicle Mini Cheesecakes Recipe FAQs
What kind of oranges should I use for the zest?
Absolutely! When selecting oranges for zest, go for fresh, firm, and fragrant options. Look for oranges without dark spots or blemishes—these can often be less flavorful. Navel oranges are a fantastic choice for their bright flavor and easy-to-peel skin, but any sweet and juicy variety will work well.
How should I store my Orange Creamsicle Mini Cheesecakes?
You can store your mini cheesecakes in an airtight container in the refrigerator for up to 5 days. Be sure they’re covered tightly to avoid any absorption of unwanted flavors from the fridge. If you want to enjoy them later, wrapping each cheesecake securely in plastic wrap and placing them in a freezer-safe container allows for freezing them for up to 3 months!
Can I freeze these mini cheesecakes?
Yes, absolutely! Here’s how to freeze your Orange Creamsicle Mini Cheesecakes: First, allow them to chill completely in the refrigerator. Then, individually wrap each cheesecake in plastic wrap, ensuring there’s no exposed area to prevent freezer burn. Finally, place them in a freezer-safe container. When ready to enjoy, thaw them in the fridge overnight for the best texture!
What if my cheesecake filling is too runny?
If you find your filling is too runny, it might be due to over-whipping the cream or not mixing the ingredients thoroughly. To remedy this, continue whipping the filling gently until it thickens. You can also add a little more cream cheese, mixing it in gradually until you reach the desired consistency. Don’t worry, the texture will still be delightful once it’s properly set!
Are there any dietary considerations I should keep in mind when making these cheesecakes?
Of course! If you’re accommodating dietary restrictions, you can easily make them gluten-free by using gluten-free Oreo cookies. For those allergic to dairy, try substituting the cream cheese and heavy whipping cream with dairy-free alternatives, such as cashew cream or coconut cream. This way, everyone can enjoy a taste of these delightful Orange Creamsicle Mini Cheesecakes!
Can I adjust the sweetness in the recipe?
Absolutely! If you prefer a less sweet cheesecake filling, you can reduce the amount of powdered sugar to your taste. Start by cutting it down to a quarter cup, and then increase if you feel it needs a little more sweetness. Remember, if using granulated sugar, it may slightly change the texture, so powdered sugar is generally recommended for that creamy finish.
Delicious Orange Creamsicle Mini Cheesecakes for Summer Bliss
Ingredients
Equipment
Method
- Prepare the Cupcake Liners: Place 12 cupcake liners in a muffin tin. Place one Oreo cookie at the bottom of each liner.
- Make Cream Cheese Mixture: Beat room temperature cream cheese and powdered sugar in a medium mixing bowl until smooth and creamy, about 2-3 minutes.
- Whip Heavy Cream: In a large bowl, whip the heavy cream until soft peaks form, about 3-4 minutes, then gently fold in orange extract.
- Combine Mixtures: Fold the cream cheese mixture into the whipped cream gently.
- Layer Cheesecake Mixture: Spread half of the cheesecake mixture over the Oreo bases, then mix the other half with orange zest and coloring, swirl and spread on top.
- Chill: Refrigerate for 3-4 hours until fully set.
- Garnish and Serve: Remove from the refrigerator, garnish with whipped cream and a slice of fresh orange if desired, and serve.
Leave a Reply