
While sorting through my kitchen one afternoon, I stumbled upon a forgotten stash of shredded coconut—your typical cooking multitasker. Inspired, I decided to whip up some 20-Minute Gluten-Free Almond Joy Protein Balls, which perfectly blend the nostalgic flavors of those beloved candy bars with a nutritious twist. Not only are these protein-packed snacks a quick and easy way to satisfy your sweet tooth, but they’re also a fantastic option for busy days, keeping you fueled and energized. With a delightful mix of chewy coconut, crunchy almonds, and rich chocolate, these no-bake bites are both indulgent and wholesome. Plus, you can make a big batch and store them in the freezer for a guilt-free treat anytime. Are you ready to bring a bit of joy back into your snacking routine? Let’s dive in!
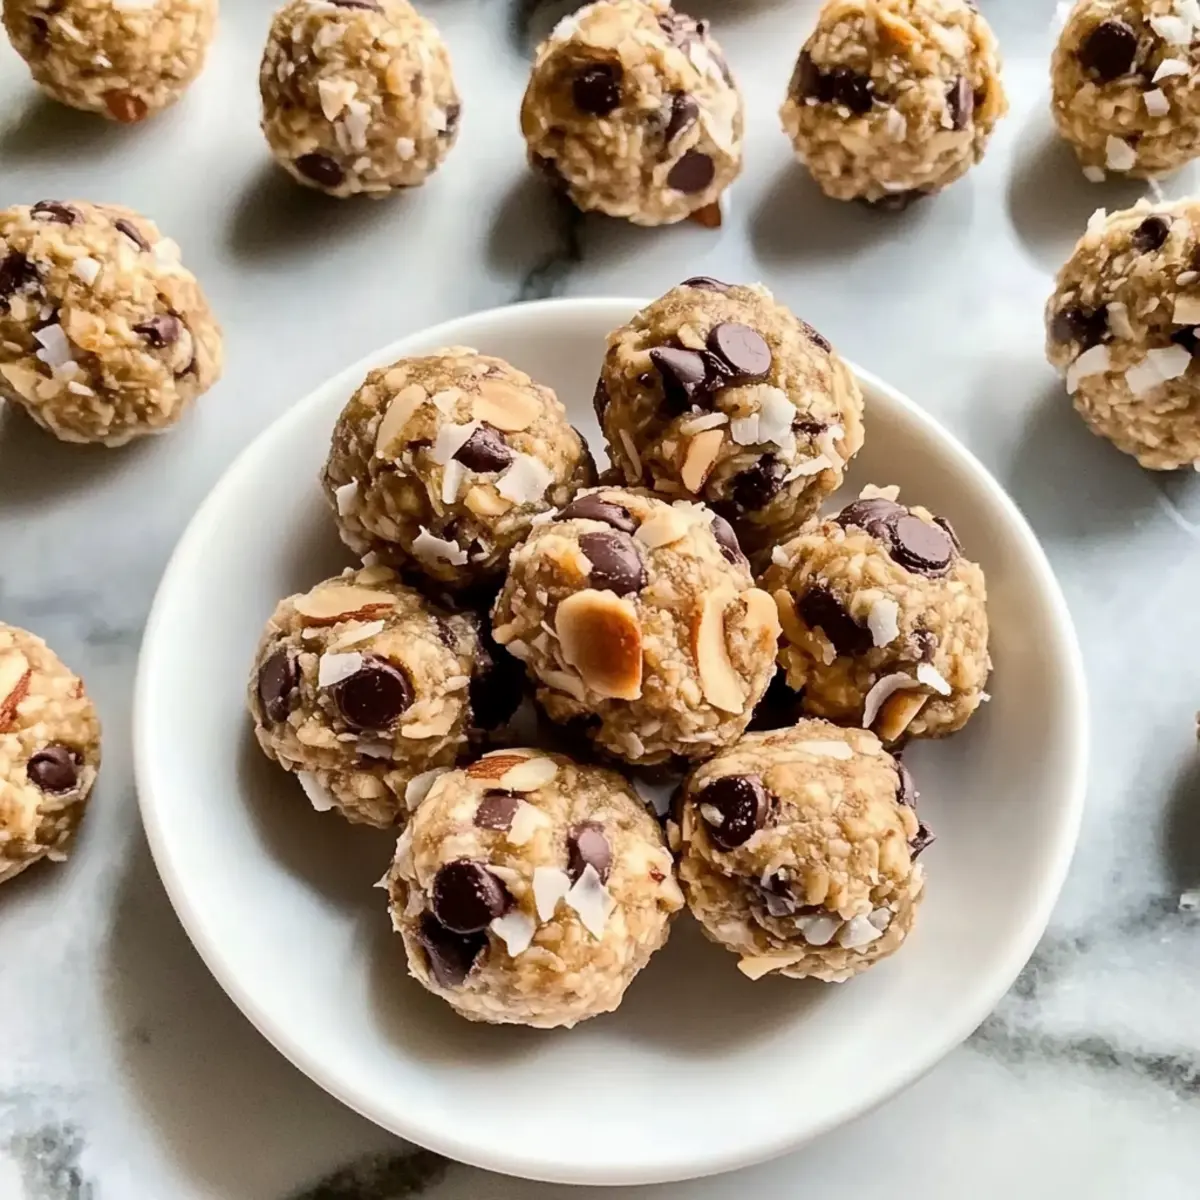
Why try Almond Joy Protein Balls?
Quick and Easy: This recipe takes only 20 minutes, making it ideal for busy individuals who crave a healthy snack without the hassle.
Protein-Packed Goodness: Each ball contains approximately 4.2g of protein, providing the fuel you need to power through your day.
Versatile Substitutions: Substitute almond butter or add cacao nibs for an extra chocolatey kick—these bites can be customized to your taste!
Guilt-Free Indulgence: Enjoy the nostalgic flavors of Almond Joy without the guilt; a delightful treat that satisfies your sweet tooth while keeping it healthy.
Batch-Friendly: Make a large batch and store in the freezer—perfect for a quick grab-and-go breakfast or pre-workout snack. Try pairing with a calorie high protein meal for an ultimate energy boost!
Almond Joy Protein Balls Ingredients
For the Base
• Rolled Oats – Provides the base and structure; ensure oats are labeled gluten-free if needed.
• Peanut Butter – Adds creaminess and protein; can substitute with almond or sunflower butter if desired.
• Unsweetened Shredded Coconut – Imparts a chewy texture and irresistible coconut flavor.
For the Crunch
• Chopped Almonds – Offers crunch and additional nutrients; to enhance flavor, use toasted almonds or swap with other nuts.
For Sweetness
• Honey or Maple Syrup – Acts as a natural sweetener; use maple syrup for a vegan-friendly option.
For the Boost
• Vanilla Plant-Based Protein Powder – Boosts protein content; feel free to omit or replace with your favorite flavor.
For the Chocolatey Finish
• Mini Dairy-Free Chocolate Chips – Provides delightful chocolate flavor; any dairy-free chocolate or nut-free variety works as a great substitute.
For Consistency
• Water – Adjusts the mixture’s consistency; start with ½ cup and add more as needed to achieve your desired texture.
With these simple ingredients, you are well on your way to whipping up some delicious and nutritious almond joy protein balls!
Step‑by‑Step Instructions for Almond Joy Protein Balls
Step 1: Prepare Your Workspace
Start by lining a rimmed baking sheet with parchment paper to prevent the Almond Joy protein balls from sticking. This simple step ensures easy cleanup and keeps your treats intact. Place it near your mixing area so it’s ready for the rolled balls.
Step 2: Combine the Dry Ingredients
In a large mixing bowl or stand mixer, combine rolled oats, unsweetened shredded coconut, chopped almonds, and vanilla plant-based protein powder. Mix these dry ingredients well, ensuring they are evenly distributed. This forms the nutritious base of your Almond Joy protein balls, blending the textures and flavors beautifully together.
Step 3: Add the Wet Ingredients
Next, add creamy peanut butter and your choice of sweetener, honey or maple syrup, to the bowl. Mix thoroughly until all ingredients are rich and cohesive. The goal here is to ensure the nut butter is evenly incorporated, leaving no clumps behind.
Step 4: Adjust the Consistency
Slowly pour in the water, mixing as you go, until the mixture holds together when pressed. Start with ½ cup and add more if needed for your desired consistency. You want it sticky enough to form into balls easily without becoming too liquid, making the Almond Joy protein balls just right for shaping.
Step 5: Shape the Protein Balls
Using a small cookie scoop or your hands, portion out about 2 tablespoons of the mixture. Roll each portion into a tight ball and place it on the prepared baking sheet. Continue this process until all the mixture is shaped into delightful little Almond Joy protein balls that are ready for freezing.
Step 6: Freeze to Set
Once all the balls are formed, place the baking sheet in the freezer for 10 to 30 minutes, until the protein balls are solid. This step ensures they hold their shape and texture, so when you grab them later, they are easy to enjoy without falling apart.
Step 7: Store for Later Enjoyment
After they are fully set and firm, transfer the Almond Joy protein balls to a resealable bag or airtight container. Store them in the refrigerator for up to 2 weeks or freeze for up to 6 months. Having these delicious snacks ready ensures you’ll always have a healthy option on hand!
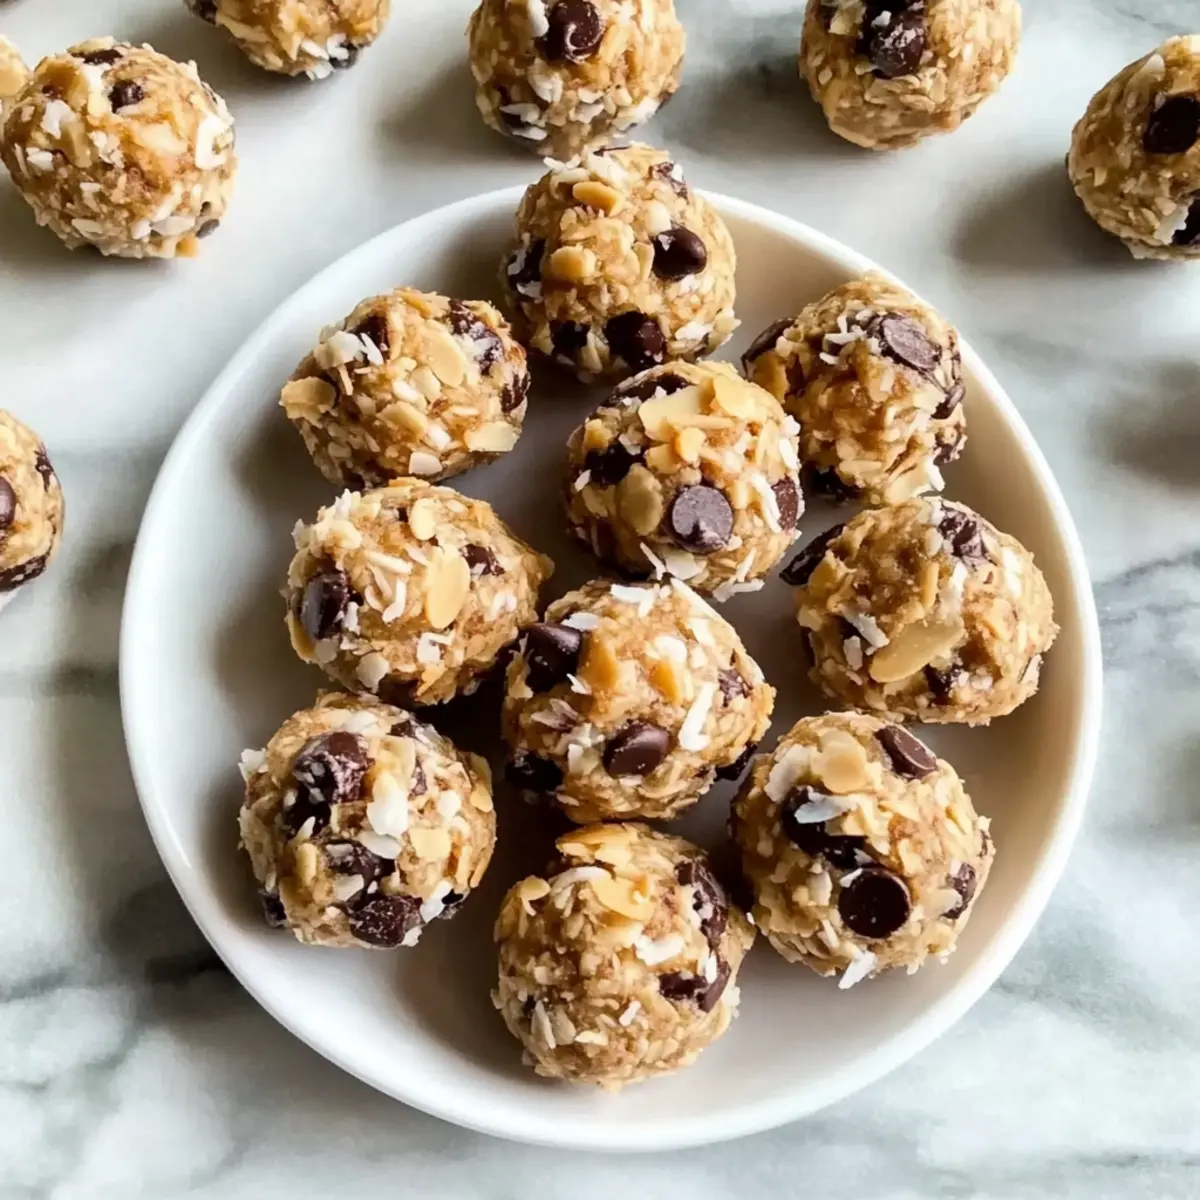
Expert Tips for Almond Joy Protein Balls
-
Thorough Mixing: Make sure to mix the dough well to avoid clumps of peanut butter. A tight blend ensures each bite is packed with flavor!
-
Water Adjustment: Start with less water and add gradually based on your protein powder’s hydration needs. The mixture should be malleable but not too wet.
-
Toasted Nuts: Using toasted almonds enhances the flavor significantly. A simple toasting in the oven brings out their rich, nutty taste!
-
Quick Freezing: For optimal texture, freeze the bites right after rolling them. This allows for easier handling and prevents them from becoming too soft.
-
Flavor Variations: Feel free to experiment! Substitute almond butter for peanut butter or add cacao nibs for an extra chocolatey twist in your Almond Joy protein balls.
Make Ahead Options
These Almond Joy Protein Balls are perfect for meal prep enthusiasts! You can prepare the mixture up to 24 hours in advance by following all the initial steps and then refrigerating it in an airtight container. Simply shape the balls and freeze them for 10 to 30 minutes as directed when you’re ready to enjoy. This not only maintains their delightful texture but ensures they remain just as delicious when served. Additionally, you can store the finished protein balls in the fridge for up to 2 weeks or freeze them for up to 6 months. Just remember to allow them time to thaw before indulging, keeping your healthy snacking routine effortlessly convenient.
Almond Joy Protein Balls Variations
Feel free to customize your Almond Joy protein balls for a delightful twist that suits your preferences!
-
Nut-Free: Use sunflower seed butter instead of peanut or almond butter to create a nut-free version while still enjoying that creamy texture.
-
Vegan-Friendly: Swap honey for maple syrup to make these protein balls entirely plant-based and stick to a wholesome vegan lifestyle.
-
Additional Crunch: Incorporate chopped walnuts or pecans in place of almonds for a different nutty flavor and added crunch.
-
Fruit Boost: Toss in some dried cranberries or raisins for a touch of natural sweetness and a chewy texture, turning each ball into a little surprise.
-
Cacao Nibs: For chocolate lovers, adding cacao nibs instead of mini chocolate chips will enhance the chocolatey goodness without the extra sweetness.
-
Protein Twist: Experiment with different flavors of plant-based protein powder, such as chocolate or mocha, to give your protein balls an exciting flavor twist.
-
Spicy Kick: Add a pinch of cayenne pepper for a surprising hint of heat, creating a unique flavor that will tantalize your taste buds.
-
Flavored Coconut: Use unsweetened shredded coconut with a hint of coconut extract to elevate the coconut flavor further. Check out my Greek Chicken Meatballs for another protein-packed recipe idea!
Let your creativity run wild, and enjoy the tasty journey with your homemade Almond Joy protein balls!
What to Serve with Almond Joy Protein Balls
Create a delightful snacking experience by pairing these delicious bites with complementary flavors and textures.
-
Fresh Fruit Salad: A colorful mix of berries and citrus provides a refreshing contrast, uplifting the sweetness of the protein balls. Pair it with a drizzle of honey for a zesty finish.
-
Greek Yogurt with Honey: This creamy, tangy yogurt adds a lovely richness to the nutty flavor, while honey enhances sweetness without overpowering your snack.
-
Nutty Granola: Crunchy granola offers a satisfying texture, adding extra fiber and flavor. Sprinkle some on top for an energizing bite that keeps you going.
-
Dark Chocolate Dipped Strawberries: Indulge in the perfect balance of fruity freshness and rich chocolate. These berries elevate your experience, making snacking feel like a treat.
-
Coconut Chia Pudding: The silky texture of chia pudding is rich in omega-3s and complements coconut in your protein balls beautifully, creating a luscious floral note.
-
Matcha Green Tea: The earthy and slightly bitter notes of matcha add an exotic flavor contrast that pairs well with the sweetness of the Almond Joy protein balls, providing a refreshing caffeine boost.
-
Peanut Butter Smoothie: Blend up a creamy smoothie with banana, almond milk, and a spoonful of peanut butter for a rich, protein-packed drink that echoes the flavors of your protein balls.
Pairing these snacks with your Almond Joy Protein Balls not only expands your meal options but also turns your quick bites into a delightful culinary adventure!
How to Store and Freeze Almond Joy Protein Balls
Fridge: Store Almond Joy protein balls in an airtight container for up to 2 weeks. This keeps them fresh and ready for a quick, nutritious snack.
Freezer: For long-term storage, freeze the protein balls for up to 6 months. Use a resealable bag or airtight container to avoid freezer burn.
Thawing: To enjoy, simply thaw at room temperature or pop them in the microwave for a few seconds; they’ll be ready to satisfy your cravings!
Batch Preparation: Making a large batch ensures you always have a healthy treat on hand, perfect for busy days or post-workout snacks.
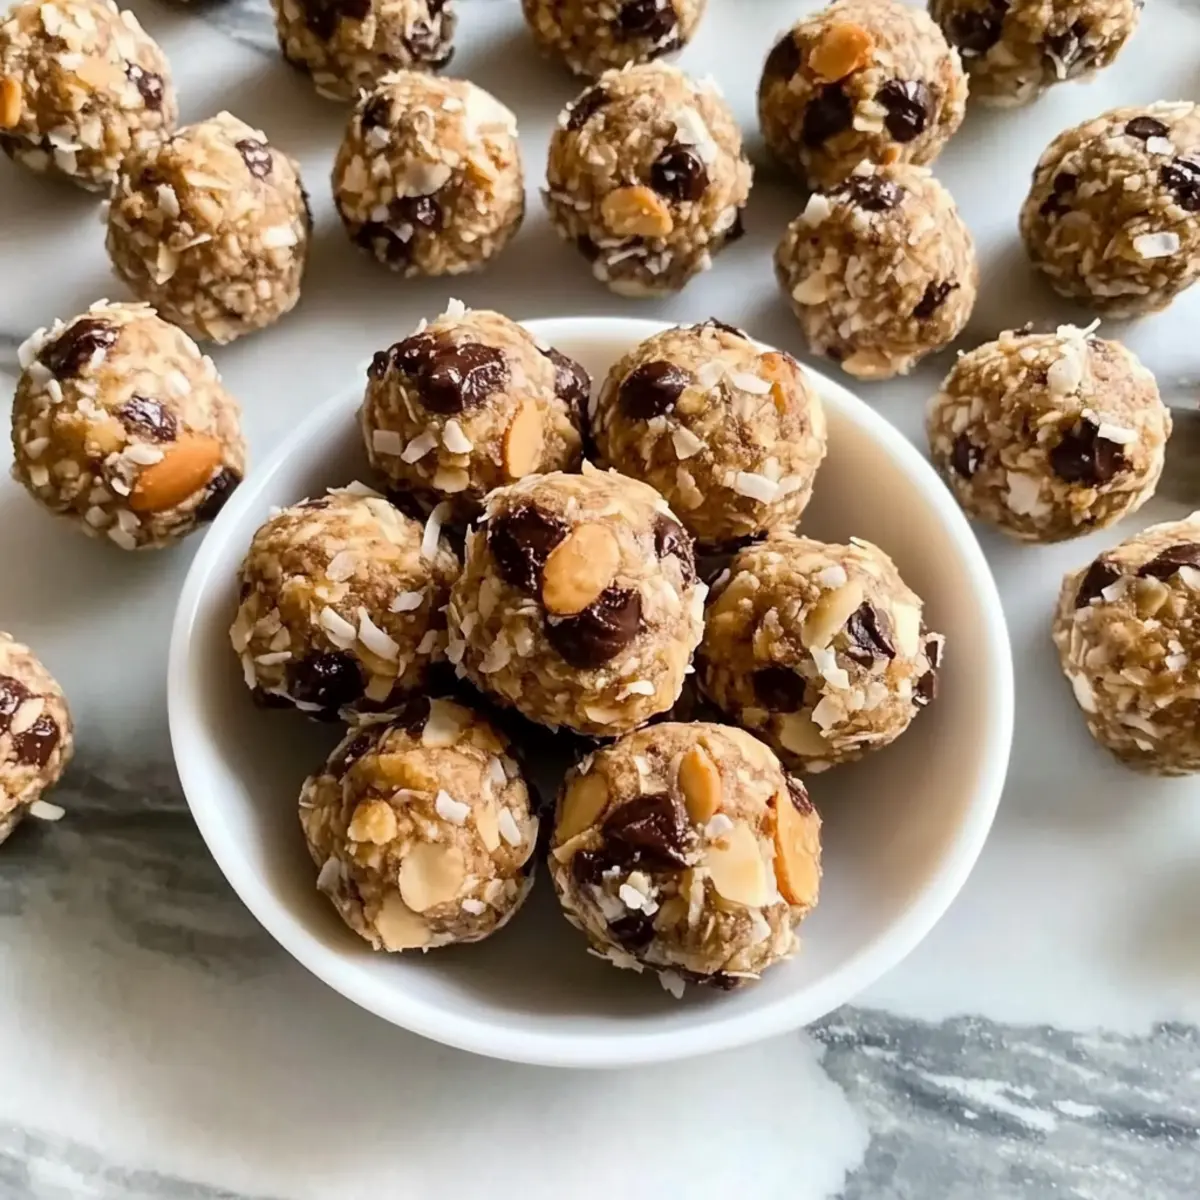
Almond Joy Protein Balls Recipe FAQs
How do I choose the right rolled oats for this recipe?
Look for oats that are labeled gluten-free, especially if you have a gluten intolerance or sensitivity. Regular oats may be cross-contaminated, so it’s essential to ensure they are certified gluten-free for your peace of mind. If you prefer a different grain base, you might experiment with gluten-free puffed rice or quinoa flakes.
How should I store the Almond Joy protein balls, and how long will they last?
You can store Almond Joy protein balls in an airtight container in the refrigerator for up to 2 weeks. For longer storage, freeze them in a resealable bag or airtight container for up to 6 months. This way, you’ll always have a quick and healthy snack on hand! Just make sure to label the container with the date so you can track freshness.
Can I freeze Almond Joy protein balls, and if so, how?
Absolutely! To freeze Almond Joy protein balls, place them in a single layer on a baking sheet and freeze for about 10-30 minutes until solid. Once firm, transfer them to a resealable bag or airtight container, separating layers with parchment paper to prevent sticking. You can enjoy them straight from the freezer or thaw for a few minutes at room temperature before eating.
What should I do if my protein ball mixture is too dry?
If your mixture seems too dry and isn’t holding together, gradually add more water, a tablespoon at a time, while mixing until you reach the desired consistency. The mixture should be sticky but not overly wet, allowing you to shape it into balls easily. Using a stand mixer can help ensure everything is well combined, avoiding any clumps.
Are Almond Joy protein balls safe for those with nut allergies?
While this recipe features peanut butter and almonds, it’s important to consider substitutions for nut allergies. Instead of using peanut butter, you can try sunflower seed butter or soy nut butter as alternatives. Likewise, you can skip the almonds or use seeds like pumpkin seeds to maintain a crunchy texture. Always check labels for any allergens if you’re preparing food for someone with dietary restrictions.
Can I make these protein balls vegan?
Yes, you can easily make these Almond Joy protein balls vegan by using maple syrup instead of honey and ensuring that your protein powder is plant-based. This way, you’ll maintain the delicious flavors and enjoy a wholesome treat that fits a vegan lifestyle.
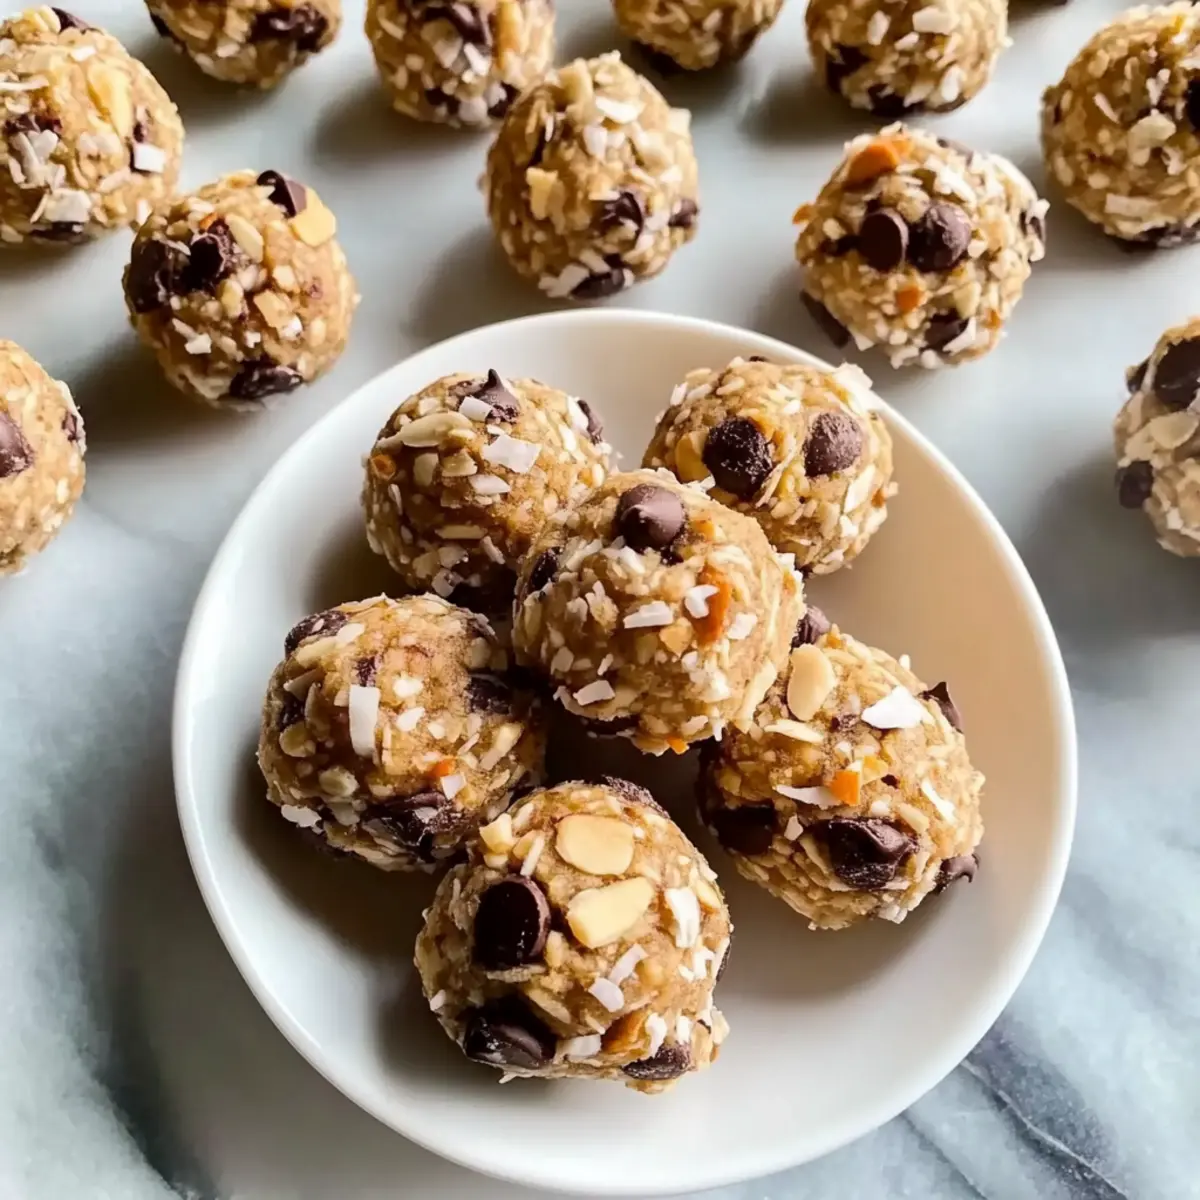
Delicious Almond Joy Protein Balls for Guilt-Free Snacking
Ingredients
Equipment
Method
- Start by lining a rimmed baking sheet with parchment paper to prevent the Almond Joy protein balls from sticking.
- In a large mixing bowl or stand mixer, combine rolled oats, unsweetened shredded coconut, chopped almonds, and vanilla plant-based protein powder. Mix these dry ingredients well.
- Next, add creamy peanut butter and your choice of sweetener, honey or maple syrup, to the bowl. Mix thoroughly until all ingredients are rich and cohesive.
- Slowly pour in the water, mixing as you go, until the mixture holds together when pressed. Start with ½ cup and add more if needed.
- Using a small cookie scoop or your hands, portion out about 2 tablespoons of the mixture. Roll each portion into a tight ball and place it on the prepared baking sheet.
- Once all the balls are formed, place the baking sheet in the freezer for 10 to 30 minutes, until the protein balls are solid.
- After they are fully set and firm, transfer the Almond Joy protein balls to a resealable bag or airtight container. Store in the refrigerator for up to 2 weeks or freeze for up to 6 months.
Leave a Reply