
As I stood in my kitchen, a whiff of sizzling butter and garlic engulfed the air, instantly transporting me to my favorite bistro. It’s hard to resist the charm of Garlic Butter Potatoes, with their golden, crispy skins and fluffy interiors that practically melt in your mouth. This easy, vegetarian side dish not only elevates weeknight dinners but also impresses guests at gatherings, making it a perfect crowd-pleaser. Enhanced with fresh herbs, these flavorful morsels are a comforting reminder that simple ingredients can unite to create something extraordinary. Ready to discover how to whip up these irresistible Garlic Butter Potatoes at home? Let’s dive in!
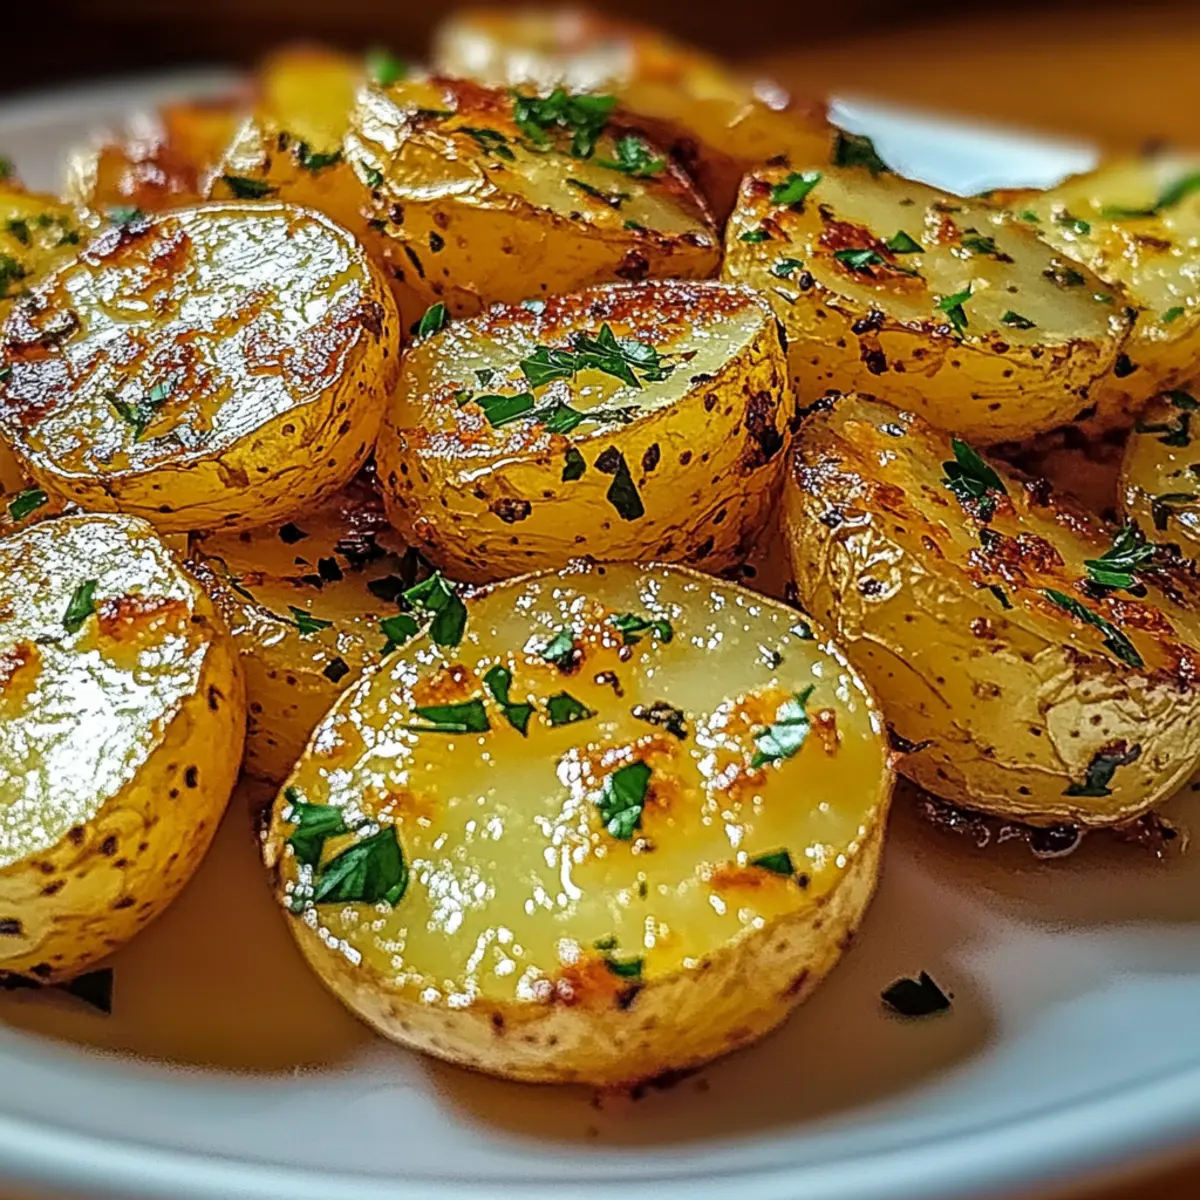
Why are Garlic Butter Potatoes so irresistible?
Unforgettable aroma: The enticing scent of garlic and butter will fill your kitchen, creating an atmosphere that’s simply hard to resist.
Crispy texture: Golden, crisp skins meet fluffy interiors in a delightful contrast that’s sure to please at any meal.
Quick preparation: With just a few simple steps, you can have this dish ready in under an hour, perfect for busy weeknights!
Versatile pairing: These potatoes are the ultimate sidekick, beautifully complementing grilled meats or a light salad, making it ideal for any occasion. For more delightful sides, check out my Garlic Herb Roasted recipe!
Crowd-pleaser: Impress your guests with this dish that transforms humble potatoes into an extraordinary feast!
Garlic Butter Potatoes Ingredients
• Gather these delicious ingredients for the perfect dish!
For the Potatoes
• Baby Potatoes – Use 2 lbs of baby potatoes for optimal crispiness.
• Garlic (4 cloves, minced) – Adds aromatic flavors; can substitute with garlic powder in a pinch (use about 1/2 tsp).
For the Sauce
• Butter (4 tbsp, melted) – Contributes richness and flavor; substitute with margarine for a dairy-free option.
• Olive Oil (2 tbsp) – Enhances roasting and adds flavor; can substitute with vegetable oil.
For Seasoning
• Salt (1 tsp) – Enhances overall taste; adjust to preference.
• Black Pepper (1/2 tsp) – Adds heat; use freshly cracked for the best flavor.
For the Garnish
• Fresh Parsley (2 tbsp, chopped) – Provides brightness and garnish; dried herbs can be used (1 tbsp dried parsley).
• Dried Rosemary (1 tsp) – Adds aromatic complexity; omit or substitute with thyme or oregano.
Step‑by‑Step Instructions for Garlic Butter Potatoes
Step 1: Preheat the Oven
Begin by preheating your oven to 425°F (220°C). This high temperature is essential for achieving that perfect golden-brown crispy texture on your Garlic Butter Potatoes. While the oven heats up, take the time to gather your ingredients for a seamless cooking experience.
Step 2: Prepare the Potatoes
Wash and scrub the 2 lbs of baby potatoes thoroughly under running water to remove any dirt. Once clean, pat them completely dry with a kitchen towel; excess moisture will impede crispiness. The key to achieving that delectable crunch lies in ensuring the potatoes are dry before coating.
Step 3: Cut the Potatoes
Carefully halve the potatoes lengthwise to increase their surface area, allowing for better roasting and more flavor absorption. This process will help achieve that delicious contrast of crispy skin and fluffy interior that makes Garlic Butter Potatoes so irresistible.
Step 4: Mix the Garlic Butter Sauce
In a large mixing bowl, combine 4 tablespoons of melted butter, 2 tablespoons of olive oil, and 4 cloves of minced garlic. Add in 1 teaspoon of salt, 1/2 teaspoon of black pepper, and 1 teaspoon of dried rosemary. Stir well until your garlic butter mixture is fully combined, creating a rich, aromatic coating for the potatoes.
Step 5: Coat the Potatoes
Toss the halved potatoes into the garlic butter sauce you created, ensuring each piece is generously coated. This step is crucial for infusing flavors into your Garlic Butter Potatoes. Use your hands or a spatula to mix thoroughly, making sure all the potatoes are evenly glistening with the delicious mixture.
Step 6: Arrange for Roasting
Line a baking sheet with parchment paper for easy cleanup and place the coated potatoes cut-side down. This arrangement allows for optimal roasting, ensuring that the undersides become beautifully crispy. Spread the potatoes out in a single layer; overcrowding can lead to steaming instead of roasting.
Step 7: Bake to Perfection
Slide the baking sheet into the preheated oven and bake for 35-45 minutes. Keep an eye on them; they should turn golden brown and crispy. To check for doneness, insert a fork into a potato; it should pierce easily, indicating a light and fluffy interior.
Step 8: Garnish and Serve
Once the Garlic Butter Potatoes are beautifully roasted, remove them from the oven and sprinkle with 2 tablespoons of freshly chopped parsley for a pop of color and flavor. Serve these delightful potatoes warm as a side dish, and watch them disappear from the table in no time!
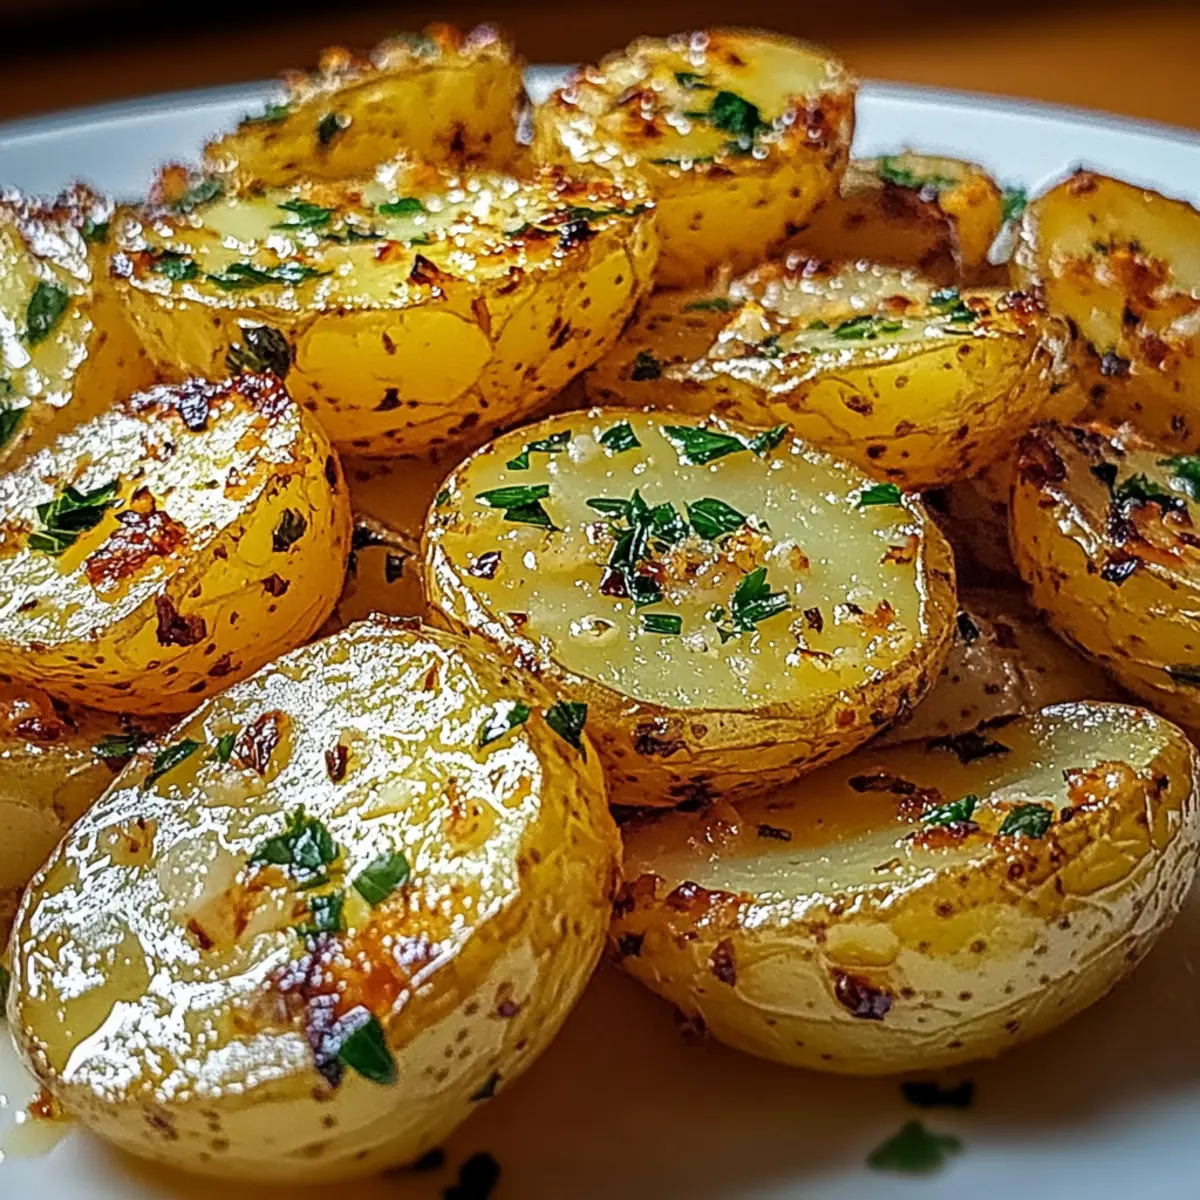
How to Store and Freeze Garlic Butter Potatoes
Fridge: Store leftover Garlic Butter Potatoes in an airtight container in the refrigerator for up to 3 days.
Freezer: For longer storage, freeze them in a single layer on a baking sheet for 1-2 hours, then transfer to a freezer-safe bag. They’ll keep well for up to 2 months.
Reheating: Reheat in the oven at 350°F (175°C) for about 15-20 minutes until heated through and crispy. Avoid the microwave if you want to maintain that perfect crunch!
Preparation: You can prep your Garlic Butter Potatoes up to 4 hours in advance; just cover them and refrigerate until you’re ready to bake.
Make Ahead Options
These Garlic Butter Potatoes are perfect for busy home cooks looking to save time during the week! You can prep the potatoes up to 4 hours in advance by washing, drying, and halving them, then tossing them in the garlic butter mixture (4 tbsp melted butter, 2 tbsp olive oil, 4 minced garlic cloves, 1 tsp salt, 1/2 tsp black pepper, and 1 tsp dried rosemary). Store them covered in the refrigerator to maintain freshness, and bring them to room temperature right before baking. When you’re ready to serve, simply arrange them on a parchment-lined baking sheet and bake at 425°F (220°C) for 35-45 minutes until golden brown and crispy. This way, you can enjoy restaurant-quality Garlic Butter Potatoes with minimal effort!
Expert Tips for Garlic Butter Potatoes
• Dry Potatoes Well: Ensure potatoes are completely dry before coating to avoid sogginess, resulting in a crispier finish for your Garlic Butter Potatoes.
• Single Layer Baking: Avoid overcrowding the baking sheet to allow each potato to roast evenly, leading to a perfect golden brown and crispy texture.
• Flavor Boost: For extra flavor, consider adding crushed red pepper flakes or herbs like thyme or dill to your garlic butter mixture for more depth.
• Temperature Trick: To achieve heightened crispiness, increase the oven temperature to 450°F (232°C) during the last 10 minutes of baking.
• Prep Ahead: You can prep your potatoes up to 4 hours in advance; store them covered in the refrigerator. Bring them back to room temperature before baking for best results.
What to Serve with Garlic Butter Potatoes
These crisp and fluffy garlic butter potatoes are the perfect base for a comforting meal or festive gathering.
- Grilled Chicken: Juicy, flavorful chicken complements the buttery potatoes, making for a hearty and satisfying dinner.
- Lemon Garlic Shrimp: The citrus notes enhance the garlic butter, creating a light, delightful seafood pairing. Serve them together to elevate your meal!
- Roasted Vegetables: Colorful roasted veggies add freshness and a variety of textures, balancing the richness of the potatoes. Try a mix of bell peppers, zucchini, and carrots for a vibrant dish.
- Fresh Garden Salad: A light and refreshing salad with a tangy vinaigrette contrasts beautifully with the potatoes’ richness, keeping the meal light and bright.
- Beef Stew: Heartwarming and savory, a rich beef stew melds wonderfully with the crisp potatoes, making for a comforting winter meal.
- Creamy Coleslaw: The crunchy and creamy coleslaw adds a delightful contrast to the crispy garlic butter potatoes, enhancing the overall dining experience.
- Chardonnay or Sauvignon Blanc: A chilled glass rounds out the meal, the wine’s acidity beautifully balancing the richness of the potatoes. Enjoy to elevate your dinner experience!
- Chocolate Mousse: End with a sweet note! This creamy dessert will leave your guests swooning, making a perfect finish after the savory delights.
Garlic Butter Potatoes: Delicious Variations
Feel free to let your creativity shine and enjoy these Garlic Butter Potatoes in tailored ways that suit your taste!
-
Vegan: Substitute butter with a plant-based margarine or coconut oil to create a delectable dairy-free version that’s just as tasty.
-
Herb-Infused: Use fresh herbs like rosemary, thyme, or dill for unique flavor profiles. Each herb brings its own personality to the dish!
-
Spicy Kick: Add a pinch of red pepper flakes or a drizzle of sriracha for a delightful heat that elevates your garlic butter experience.
-
Parmesan Twist: Sprinkle grated Parmesan cheese over the potatoes during the last few minutes of baking. This adds a savory crunch and umami flavor that’s hard to resist.
-
Crispier Texture: Swap half the baby potatoes with sweet potatoes, adjusting cooking time slightly. This will surprise your palate with a contrasting sweetness!
-
Garlic Lovers Option: Boost the garlic flavor by adding roasted garlic cloves. They’ll lend a mellower taste, enhancing the overall richness.
-
Loaded Version: Top with chopped bacon bits and green onions after baking for a loaded potato twist that’s perfect for sharing (or not!).
Consider pairing your Garlic Butter Potatoes with Honey Butter Skillet Corn for an irresistible side duo!
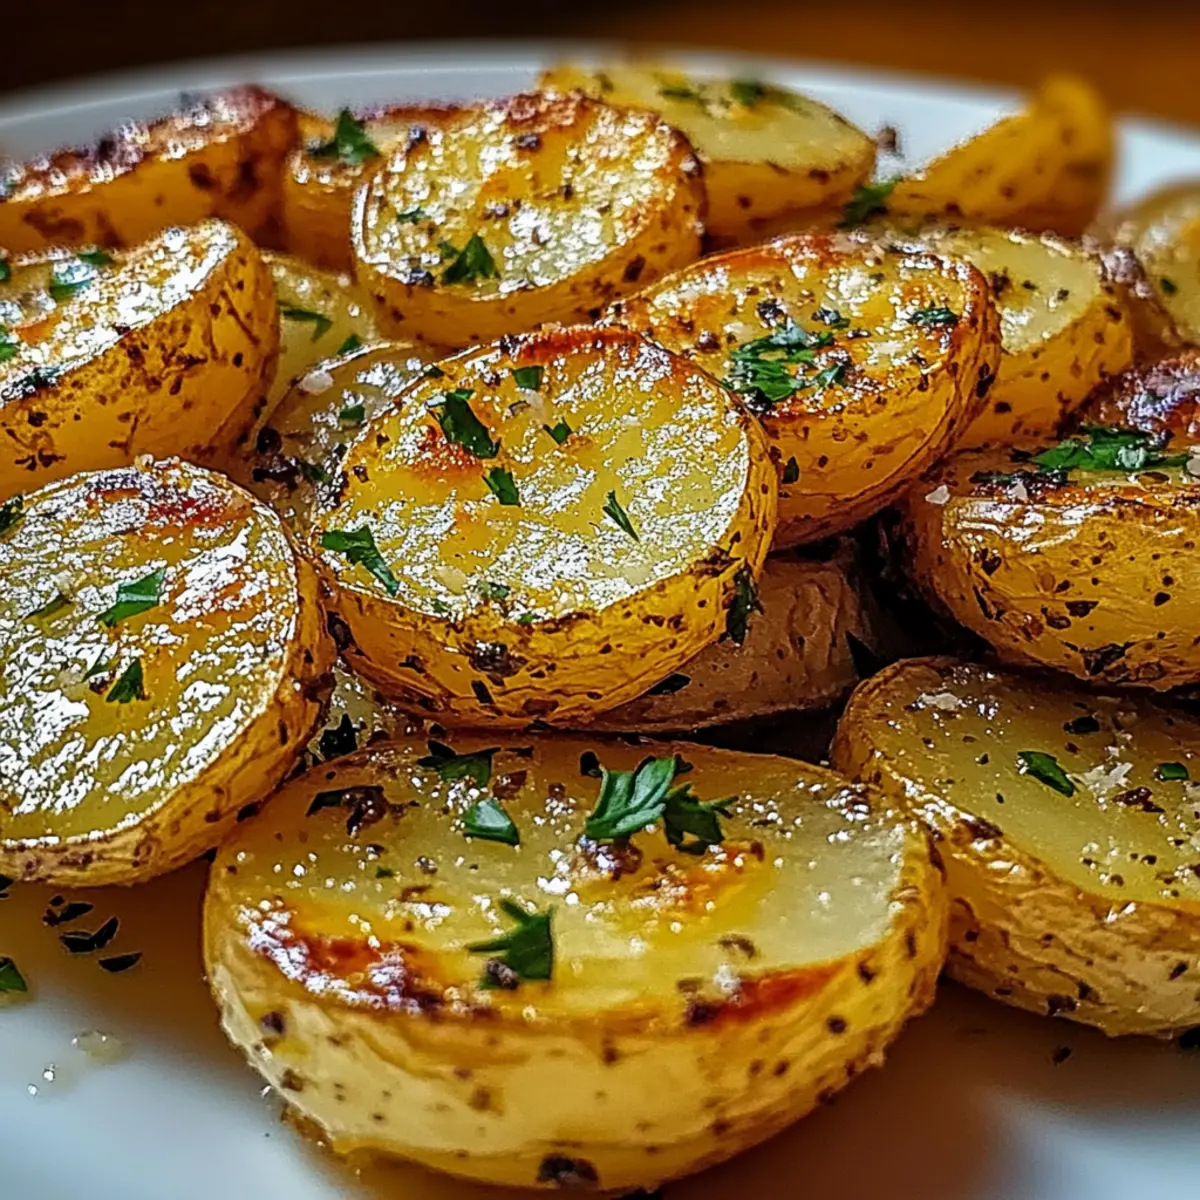
Garlic Butter Potatoes Recipe FAQs
What type of baby potatoes should I use?
I recommend using small, waxy baby potatoes as they hold their shape well and develop a crispy texture when roasted. Look for ones that are firm and free of dark spots; preferably, size them around 1-2 inches.
How do I store leftover Garlic Butter Potatoes?
Store your leftover Garlic Butter Potatoes in an airtight container in the refrigerator for up to 3 days. Make sure they have cooled down completely before sealing to avoid condensation, which can make them soggy.
Can I freeze Garlic Butter Potatoes?
Absolutely! To freeze, first allow the cooked potatoes to cool completely. Then, spread them out in a single layer on a baking sheet and place in the freezer for about 1-2 hours until frozen solid. Transfer to a freezer-safe bag, and they’ll keep for up to 2 months. To reheat, just bake them from frozen at 350°F (175°C) for about 20-25 minutes until warm and crispy.
What if my Garlic Butter Potatoes aren’t crispy?
If you find your potatoes aren’t crispy enough, there are a few things you can do. First, ensure they’re completely dry before tossing in the garlic butter mixture. Secondly, avoid overcrowding the baking sheet when arranging them for baking. Lastly, for an extra crispy finish, you can crank the oven up to 450°F (232°C) for the last 10 minutes of baking to help crisp them up.
Are there any dietary considerations with this recipe?
Yes, this dish is vegetarian and can easily be made dairy-free by substituting the butter with margarine or a plant-based butter alternative. If you’re concerned about garlic allergies, consider using garlic-infused oil instead for a milder flavor without the actual garlic.
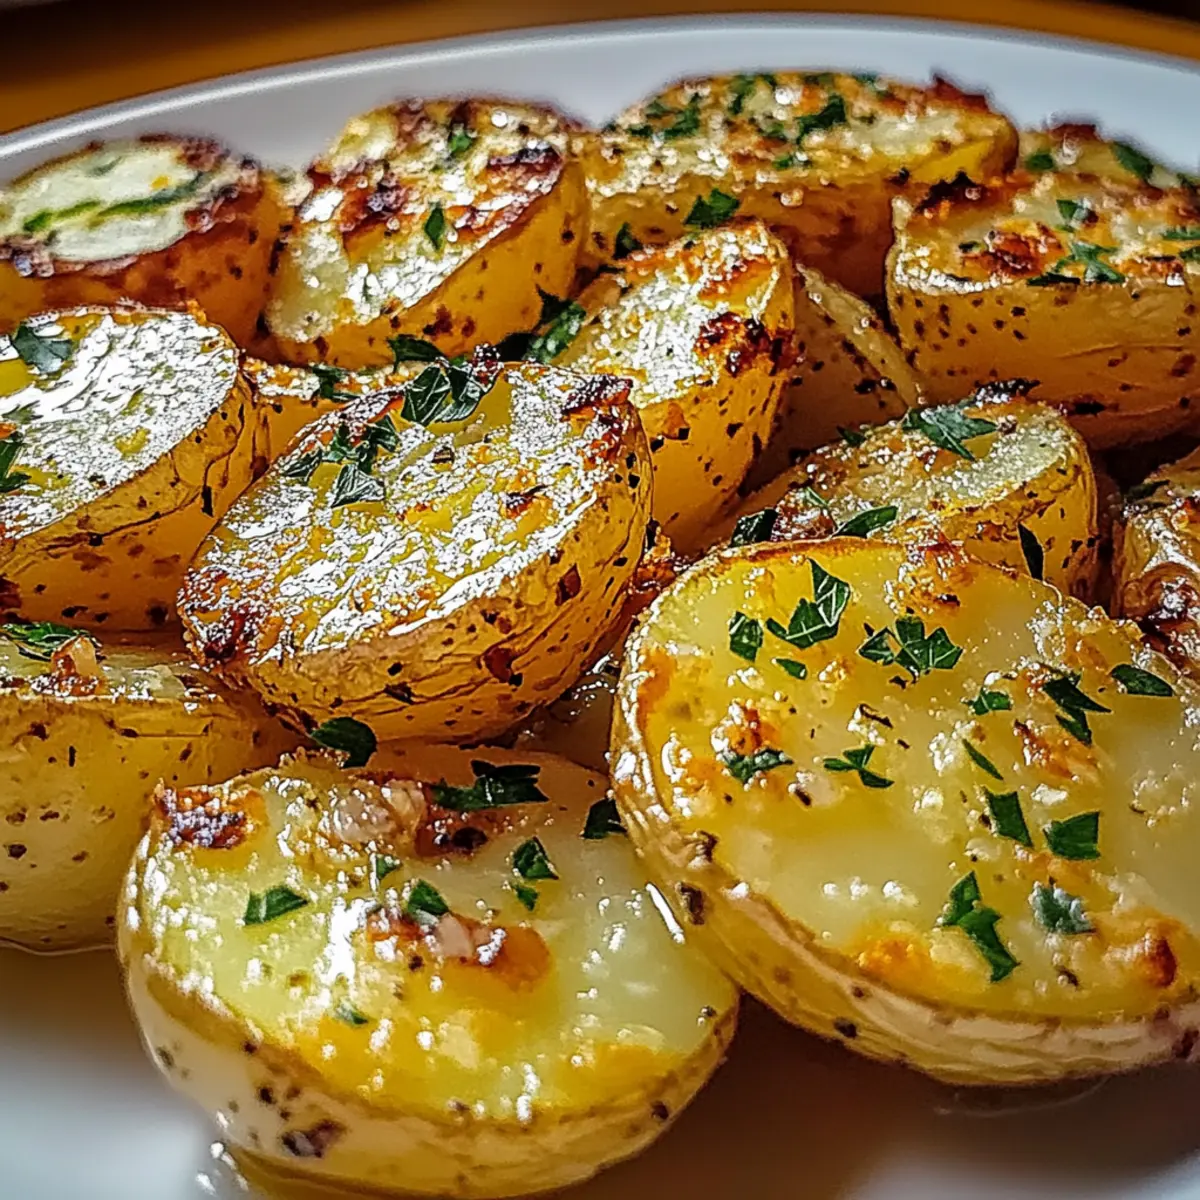
Garlic Butter Potatoes: Crispy Goodness You Can't Resist
Ingredients
Equipment
Method
- Preheat your oven to 425°F (220°C). Gather your ingredients while the oven heats up.
- Wash and scrub the baby potatoes thoroughly under running water and pat them dry.
- Halve the potatoes lengthwise to increase their surface area for better roasting.
- In a mixing bowl, combine melted butter, olive oil, minced garlic, salt, black pepper, and dried rosemary.
- Toss the halved potatoes in the garlic butter sauce until evenly coated.
- Line a baking sheet with parchment paper, arrange the potatoes cut-side down in a single layer.
- Bake in the preheated oven for 35-45 minutes until golden brown and crispy.
- Sprinkle with chopped parsley before serving warm as a side dish.
Leave a Reply