
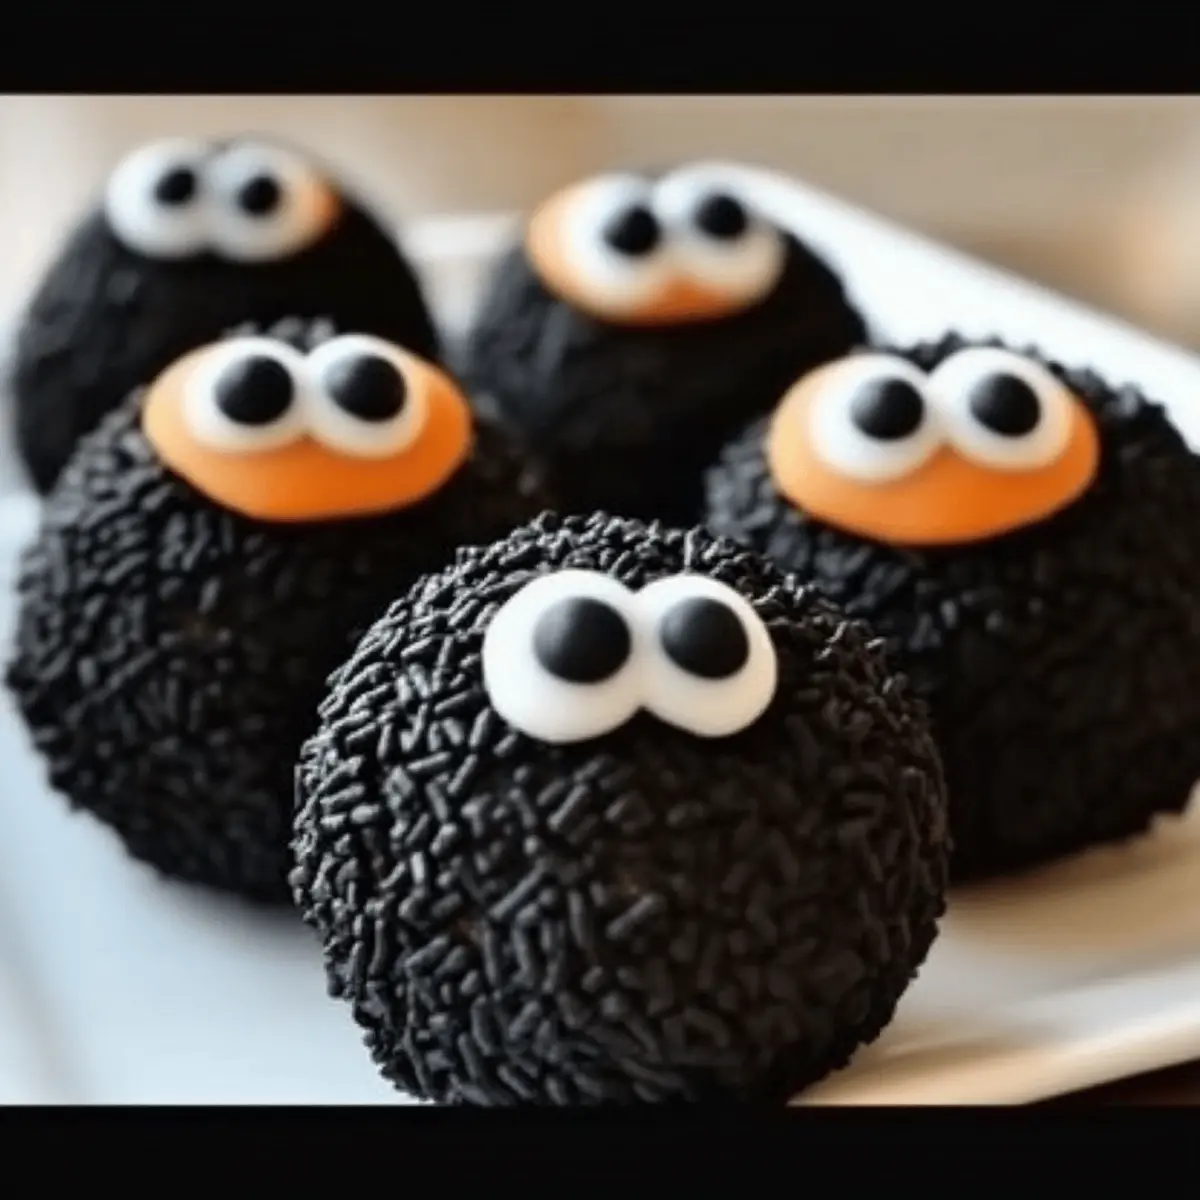
As the leaves turn crisp and shadows grow longer, I can’t help but feel a buzz of excitement in the air—Halloween is just around the corner! This year, I’m diving into the fun with Easy No-Bake Halloween Oreo Balls, an irresistible treat that combines crushed Oreos and cream cheese into delightful little bites of joy. The beauty of this recipe is not just in its mouthwatering flavor but also in its festive versatility. With quick prep and endless decoration options—think spooky ghosts, playful pumpkins, or mysterious mummies—these treats are perfect for kids’ parties and school celebrations alike. The best part? You don’t even need an oven! Are you ready to bring a touch of creativity to your Halloween festivities? Let’s get rolling!
Why Are Halloween Oreo Balls So Fun?
No-Bake Simplicity: These treats come together in no time, making them perfect for busy schedules and spontaneous Halloween celebrations.
Festive Creativity: With endless decoration possibilities, you can get creative! Transform them into adorable ghosts or spooky mummies to impress both kids and adults.
Family-Friendly Fun: Involve the whole family in the decorating process; it’s a great way to create lasting memories while crafting delightful treats.
Decadent Delight: Indulge in the rich and creamy combination of Oreo and cream cheese, enveloped in a crunchy chocolate coating—simply irresistible!
Crowd-Pleasing Flavor: Whether for a school party or Halloween gathering, these easy-to-make treats are sure to be a hit, just like my Halloween Witch Cookies or Halloween Oreo Stuffed cookies!
Halloween Oreo Balls Ingredients
Get ready to create these delightful treats!
For the Base
- Oreo cookies – The heart of this recipe, providing a sweet and crunchy texture. Feel free to use Halloween-themed Oreos for extra festivity!
- Cream cheese – A key ingredient that binds the crumbs and adds a creamy richness; full-fat works best for a smooth dough.
For the Coating
- Candy melts or white chocolate chips – The sweet coating adds color and flavor; choose festive colors like orange, black, or green for that Halloween vibe!
For the Decorations
- Candy eyes, sprinkles, or mini chocolate chips – Use these to create fun or spooky designs! Get creative and let your imagination run wild.
- Gel food coloring (optional) – Perfect for customizing the colors of your candy melts or chocolate coating.
For Baking Prep
- Parchment paper – Essential for lining your baking sheets; ensures easy removal of your delicious Halloween Oreo Balls after they cool.
Now that you have all the ingredients, let’s dive into the sweet world of making Halloween Oreo Balls that are sure to bring joy and fun to any gathering!
Step‑by‑Step Instructions for Halloween Oreo Balls
Step 1: Crush the Oreos
In a food processor, add your Oreo cookies and pulse until they form fine crumbs, which usually takes about 20-30 seconds. You want a sandy texture without any large pieces remaining. This crushed base is essential for the creamy Halloween Oreo Balls you’re about to create.
Step 2: Mix with Cream Cheese
In a mixing bowl, combine the crushed Oreos with softened cream cheese. Use a spatula or your hands to blend the ingredients until a smooth, cohesive dough forms, which should take about 3-5 minutes. The mixture should hold together well, resembling cookie dough, perfect for rolling into balls.
Step 3: Roll and Chill
With your hands, take portions of the dough and roll them into 1-inch balls. Place these formed balls on a parchment-lined baking sheet, leaving a little space between them. Once all the balls are shaped, freeze them for at least 20 minutes until firm; this helps maintain their shape during the dipping process.
Step 4: Melt the Coating
While your Halloween Oreo Balls chill, melt your choice of candy melts or white chocolate chips in a microwave-safe bowl in 30-second intervals. Stir in between heats until the chocolate is smooth and glossy, which should take about 1-2 minutes total. Be careful not to overheat the chocolate, as it can become grainy.
Step 5: Dip and Decorate
Remove the chilled Oreo balls from the freezer and, using a fork or toothpick, dip each ball into the melted coating, ensuring they are completely covered. Let the excess chocolate drip back into the bowl before placing them back onto the parchment paper. Immediately add your desired decorations, like candy eyes or sprinkles, to ensure they stick.
Step 6: Set the Coating
Allow the dipped Halloween Oreo Balls to sit at room temperature until the coating hardens completely, which will take about 30 minutes. If you prefer a quicker set, place them in the refrigerator for about 10-15 minutes. These last steps ensure that the treats are sturdy and ready for serving at your Halloween celebration!
Halloween Oreo Balls: Fun Variations
Explore the possibilities of customizing your Halloween Oreo Balls to suit every taste and occasion!
-
Gluten-Free: Substitute gluten-free Oreos to make these treats friendly for those with gluten sensitivities. They taste just as good, ensuring everyone can join the fun!
-
Vegan Twist: Swap cream cheese for a vegan cream cheese alternative and use dark chocolate for coating to create a vegan-friendly option. This way, everyone can delight in these spooky treats.
-
Nutty Crunch: Add crushed nuts or nut butter to the mixture for a delightful crunch and added flavor. It’s an unexpected twist that will pleasantly surprise your guests.
-
Flavor Infusion: Experiment with flavored cream cheese, like strawberry or pumpkin spice, to give your balls an exciting twist. Your taste buds will thank you for this creative change!
-
Chocolate Drizzle: After coating, drizzle contrasting colored chocolate over the tops for an elegant finish. It adds visual appeal and a boost of chocolatey goodness.
-
Spicy Kick: For a surprising heat level, mix in a hint of cayenne or chili powder into the cream cheese mixture. It’s an adventurous twist that will intrigue those who enjoy a little spice!
-
Mini Versions: Consider rolling smaller, bite-sized Oreo balls for a cute and snackable treat—perfect for parties and kids to enjoy. They may disappear faster than you think!
-
Decoration Themes: Use different themes for decorations like festive sprinkles or edible glitter. Try using a Halloween cookie cutter to create fun shapes, turning simple treats into masterpieces!
Get creative and make these Halloween Oreo Balls a true reflection of your festive spirit! If you’re looking for more Halloween inspiration, don’t miss my Halloween Witch Cookies and Halloween Oreo Stuffed cookies!
What to Serve with Halloween Oreo Balls
As you prepare for a spook-tacular Halloween celebration, consider these delightful pairings to create a complete festive meal.
- Crispy Apple Slices: The refreshing crunch of apple slices balances the sweet richness of the Oreo balls, making for a fun snack combo.
- Pumpkin Spice Dip: This creamy, spiced dip serves as a perfect counterpart to the chocolate treats, enhancing the seasonal flavors.
- Ghostly Marshmallow Pops: These fun pops add a playful touch to your Halloween spread and pair wonderfully with the sweet Oreo balls.
- Chocolate Milk: A classic drink, chocolate milk offers a familiar comfort that complements the decadent flavors of the Oreo dessert.
- Caramel Corn: The buttery sweetness of caramel corn adds an exciting texture contrast to the smooth Oreo balls, bringing a delightful crunch.
- Spooky Punch: Serve a fruity punch with floating eyeball-shaped ice cubes for a festive drink that brightens up your Halloween table.
- Mini Pumpkin Cupcakes: These sweet bites echo the flavors of fall and are the perfect handheld treat alongside your Oreo delights.
- Candy Corn Fudge: Create a beautiful platter with layers of colorful fudge that echo Halloween vibes while offering a sweet contrast.
- Black Velvet Brownies: Rich and fudgy, these brownies bring an indulgent touch, emphasizing the delicious range of Halloween desserts.
- Witch’s Brew Sorbet: This cool, refreshing sorbet can cleanse the palate perfectly after indulging in those Halloween Oreo balls!
Storage Tips for Halloween Oreo Balls
-
Fridge: Store your Halloween Oreo Balls in an airtight container for up to 1 week. This keeps them fresh and ready for snacking anytime!
-
Freezer: If you want to make them ahead of time, freeze undipped balls for up to 2 months. Just remember to thaw them in the fridge before dipping for best results.
-
Reheating: There’s no reheating needed! Enjoy these delightful treats straight from the fridge or at room temperature.
-
Airtight Storage: Ensure the container is airtight to prevent moisture from ruining the delicious texture of your Halloween Oreo Balls.
Make Ahead Options
These Halloween Oreo Balls are perfect for meal prep and can save you precious time during the busy holiday season! You can prepare the Oreo and cream cheese mixture up to 24 hours in advance; simply roll into balls and place them on a parchment-lined tray before refrigerating. For even longer storage, form the balls and freeze them for up to 2 months; just thaw and dip them in chocolate when you’re ready to serve. To maintain quality, ensure they’re tightly covered to prevent freezer burn. When finished, dip them in your melted coating, decorate with spooky designs, and let them set—these delightful treats will be just as delicious as if made fresh!
Expert Tips for Halloween Oreo Balls
• Dipping Precision: Use a toothpick or fork for clean dipping; it helps achieve a smooth coating and avoids messy hands.
• Chill Efficiently: Keep half of the Oreo balls chilled while dipping the others to prevent them from softening and losing shape.
• Decorate Immediately: Add decorations right after dipping; this ensures that toppings adhere properly to the coating for a festive look.
• Avoid Chocolate Chips: Opt for candy melts or white chocolate for coating; chocolate chips tend not to melt smoothly and may leave you frustrated.
• Experiment with Themes: Transform your Halloween Oreo Balls with different colors and decorations for various Halloween themes—get creative!
Halloween Oreo Balls Recipe FAQs
What type of Oreo cookies should I use for Halloween Oreo Balls?
Absolutely! You can use regular Oreo cookies for a classic taste, or opt for special Halloween-themed Oreos to make your treats even more festive. Just ensure they are fresh and without dark spots or damage for the best results.
How do I store Halloween Oreo Balls?
To keep your Halloween Oreo Balls fresh, store them in an airtight container in the refrigerator for up to 1 week. If you want to enjoy them later, they can be frozen for up to 2 months; just remember to thaw them in the fridge before dipping to maintain their texture.
Can I freeze undipped Halloween Oreo Balls?
Yes, you can! To freeze, place the formed but undipped Oreo balls on a baking sheet lined with parchment paper and freeze them until solid, about 1-2 hours. Once firm, transfer them to an airtight container or zip-top bag, layering them with parchment paper if necessary. When you’re ready to enjoy, thaw them in the fridge and then dip!
What do I do if the coating on my Halloween Oreo Balls isn’t smooth?
Very! If your coating isn’t melting smoothly, it could be due to overheating. Make sure to melt your candy melts or chocolate in 30-second intervals, stirring in between. This gentle method ensures a silky texture. If it’s too thick, you can add a teaspoon of vegetable oil to help it reach the desired consistency before dipping.
Are Halloween Oreo Balls suitable for different dietary needs?
Absolutely! You can easily create allergy-friendly Halloween Oreo Balls by using gluten-free Oreos. If you’re concerned about dairy, try using vegan cream cheese alternatives. These tweaks allow everyone to join in on the festive fun while accommodating various dietary restrictions!
What can I use to decorate the Halloween Oreo Balls?
The more the merrier! Use candy eyes, sprinkles, or mini chocolate chips to give your Halloween Oreo Balls a playful or spooky twist. You can also experiment with gel food coloring to enhance your coating, adding unique designs like mummy wrappings or ghostly features to delight your guests!
Delicious Halloween Oreo Balls: No-Bake Fun for Everyone
Ingredients
Equipment
Method
- Crush the Oreos in a food processor until fine crumbs are formed, about 20-30 seconds.
- In a mixing bowl, combine the crushed Oreos with softened cream cheese and mix until smooth for about 3-5 minutes.
- Roll portions of the dough into 1-inch balls and place on a parchment-lined baking sheet. Freeze for at least 20 minutes.
- Melt the candy melts or white chocolate chips in a microwave-safe bowl, stirring every 30 seconds until smooth.
- Dip each ball into the melted coating, letting excess drip off, then add decorations immediately.
- Let the dipped Oreo Balls sit at room temperature until the coating hardens, about 30 minutes.
Leave a Reply