
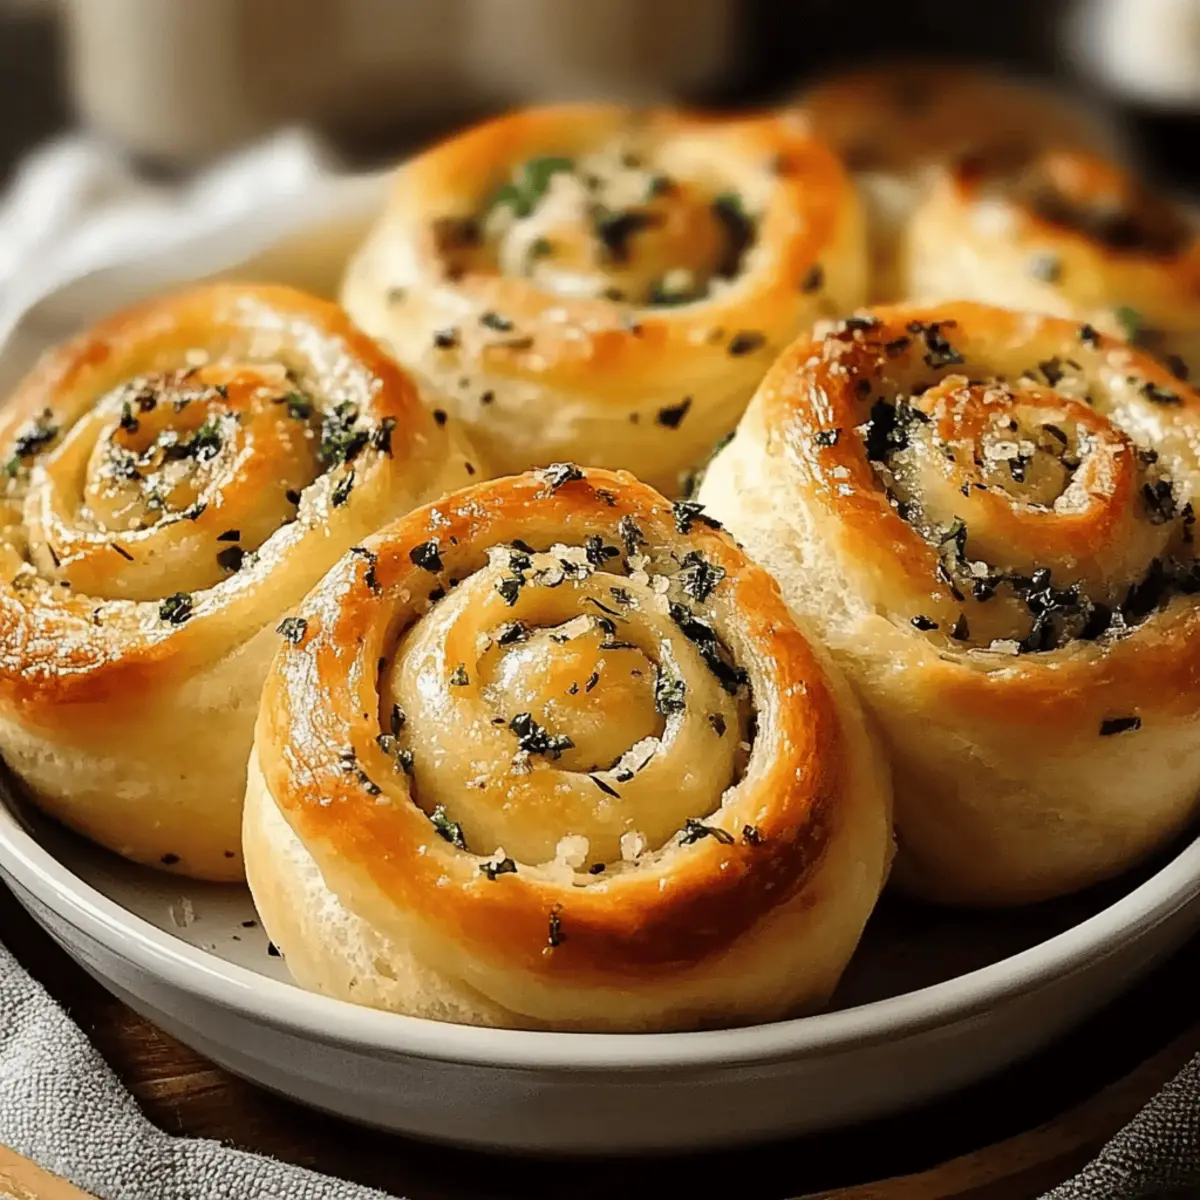
As I stood in my kitchen, the rich aroma of roasting garlic filled the air, instantly transporting me to a cozy Italian trattoria. These Fluffy Garlic-Swirl Rolls are the perfect side dish for any meal, offering a cozy comfort that’s hard to resist. Infused with aromatic garlic butter and fresh herbs, they deliver a pillowy texture that’s just right for soaking up sauces or enjoyed solo, straight from the oven. What I love most is how customizable they are—add in some cheese or spinach for an extra twist! Quick to whip up and absolutely impressive, these rolls promise to elevate your dining experience, making even a simple dinner feel special. Curious about how to bring this delightful recipe into your home? Let’s dive in!
Why Are Garlic-Swirl Rolls Irresistible?
Customization Galore: Whether you’re a cheese lover or a veggie enthusiast, these rolls adapt easily to your taste!
Cozy Comfort: The fluffy texture and warm garlic aroma evoke feelings of home and warmth.
Quick and Simple: With a straightforward recipe, you’ll be enjoying fresh rolls in no time!
Perfect Pairing: Ideal as a side dish for pasta, soups, or even a stand-alone delight.
Crowd-Pleaser: Impress family and friends alike at any gathering with these scrumptious rolls.
Elevate your meal with these savory delights, truly the perfect addition to your dinner table!
Garlic-Swirl Rolls Ingredients
For the Dough
• All-purpose Flour – Provides structure for the rolls; for a chewier texture, substitute with bread flour.
• Water – Activates the yeast and hydrates the dough; warm water is best to encourage yeast activation.
• Yeast – The leavening agent that makes your rolls fluffy; ensure it’s fresh active dry yeast for best results.
• Salt – Enhances the overall flavor; can be slightly reduced for a low-sodium option.
• Sugar – Feeds the yeast while adding a hint of sweetness; alternatives like honey or agave syrup work well if desired.
• Butter – Adds richness and flavor; for a dairy-free version, use margarine or olive oil.
For the Filling
• Garlic (minced) – The star flavor that makes these rolls irresistible; roasted garlic adds a sweeter note.
• Herbs (parsley, etc.) – Infuse the rolls with freshness; dried herbs or your favorite fresh herbs can be used instead.
• Cheese (optional) – Provides an extra layer of richness and flavor; consider mozzarella, cheddar, or any favorite cheese.
• Spinach (optional) – Boosts nutrition and adds a pop of color; can be substituted with kale or omitted entirely.
Step‑by‑Step Instructions for Garlic‑Swirl Rolls
Step 1: Prepare the Dough
In a large mixing bowl, combine 4 cups of all-purpose flour, 1 packet of active dry yeast, 1 tablespoon of sugar, and 1 teaspoon of salt. Gradually add 1 ½ cups of warm water and ¼ cup of melted butter, mixing until a dough forms. Transfer the dough to a lightly floured surface and knead for about 8-10 minutes until it’s smooth and elastic.
Step 2: Let the Dough Rise
Place the kneaded dough in a greased bowl and cover it with a clean kitchen towel. Let it rise in a warm area for about 1 hour or until it doubles in size. You’ll know it’s ready when you can gently press it and the indentation stays. This dough for your Garlic-Swirl Rolls is crucial for achieving that fluffy texture.
Step 3: Prepare the Filling
While the dough is rising, mix together 6 tablespoons of melted butter, 4 cloves of minced garlic, and 2 tablespoons of fresh herbs like parsley in a separate bowl. Stir until well combined. This fragrant filling will create that irresistible swirl in your Garlic-Swirl Rolls. Adjust the seasoning with salt or optional cheese if desired.
Step 4: Shape the Rolls
After the dough has risen, punch it down to release the air. Roll the dough out on a floured surface into a rectangle about ¼ inch thick. Evenly spread the garlic herb filling over the dough, leaving a small border. Starting from one long edge, tightly roll the dough into a log, sealing the edge by pinching it closed.
Step 5: Cut the Rolls
With a sharp knife or dough cutter, slice the rolled dough into 12 equal pieces. Place each piece cut-side up in a greased baking dish. Make sure to leave space between each roll for them to expand. Cover the dish with a towel and let them rise again for about 30 minutes until puffy and nearly doubled.
Step 6: Bake the Rolls
Preheat your oven to 375°F (190°C). Once the rolls have risen, uncover them and bake for 20-25 minutes, or until they are golden brown on top and cooked through. The aroma of the Garlic-Swirl Rolls will fill your kitchen, hinting at the delightful treat that’s about to be served.
Step 7: Cool and Serve
Once baked, remove the rolls from the oven and allow them to cool slightly in the pan for about 10 minutes. For extra flavor, brush with melted butter before serving. Your Garlic-Swirl Rolls are now ready; serve warm alongside pasta, soups, or simply enjoy them on their own!
What to Serve with Garlic-Swirl Rolls
Nothing elevates a meal quite like perfectly paired sides that enhance the comforting warmth of freshly baked rolls.
-
Creamy Pasta: The luscious flavor and richness of a creamy pasta dish complement the soft, fluffy texture of Garlic-Swirl Rolls beautifully. Imagine twirling your favorite noodles while the roll soaks up every last drop of sauce!
-
Hearty Vegetable Soup: Pair with a bowl of hearty vegetable soup for a nourishing combination. The rolls add a delightful chewiness, perfect for dipping in the warm, savory broth.
-
Fresh Garden Salad: A crisp garden salad balances the rolls’ richness, bringing in refreshing textures and vibrant flavors. Drizzle with a light vinaigrette to enhance this delightful combo.
-
Savory Gravy: Whether it’s served alongside meat or vegetarian dishes, rich savory gravy adds a touch of indulgence. Dip your rolls into the gravy for a comforting burst of flavor.
-
Marinara Sauce: Serve with warm marinara sauce for a delightful Italian twist. The rolls become the ideal vessel for scooping up this rich, tangy sauce!
-
Cheesy Garlic Butter Dip: Elevate your rolls with a side of cheesy garlic butter dip. The savory melted cheese combined with garlic echoes the flavors in the rolls, making each bite amazing!
-
Sweet Dessert: Finish the meal with a light dessert, such as lemon sorbet. The citrusy brightness clears the palate after enjoying the warm, buttery rolls.
-
Chilled White Wine: Pair your Garlic-Swirl Rolls with a glass of chilled Sauvignon Blanc. The crisp acidity of the wine enhances the flavors of the rolls wonderfully, creating an unforgettable meal experience.
Garlic-Swirl Rolls Variations & Substitutions
Feel free to unlock your creativity—customize these Garlic-Swirl Rolls into something uniquely yours that delights the senses!
-
Cheesy Delight: Add shredded mozzarella or cheddar to the filling for a gooey and rich experience. The melty cheese pairs beautifully with the garlic and herbs.
-
Herbal Twist: Swap fresh parsley for thyme or basil to create different aromatic profiles. Each herb offers a fresh lift, transforming the flavor in delightful ways.
-
Spicy Kick: Mix in red pepper flakes or jalapeños for a zesty touch that warms the palate. Just a hint of heat can elevate the entire roll.
-
Dairy-Free Option: Replace butter with olive oil or dairy-free margarine to make these rolls suitable for a vegan diet. You won’t sacrifice flavor or texture!
-
Nutty Addition: Sprinkle in some chopped walnuts or pine nuts for added crunch and depth. The surprise texture compliments the soft rolls perfectly.
-
Veggie Boost: Mix in sautéed spinach or kale for a nutritious boost and a pop of color in your rolls. It’s a delightful way to sneak in some greens!
-
Garlic Lovers: Use roasted garlic instead of minced garlic for a smoother, sweeter taste that intensifies the garlic goodness. You won’t believe the difference!
-
Caramelized Onions: Incorporate caramelized onions into the filling for a sweet, savory mix that takes these rolls up a notch. This addition brings a lovely depth of flavor.
Let your imagination run wild and delight your family with personalized versions of these scrumptious Garlic-Swirl Rolls!
Expert Tips for Garlic-Swirl Rolls
- Yeast Temperature: Always use warm water (about 110°F) for activating yeast; hot water can kill the yeast, leading to dense rolls.
- Knead Properly: Knead the dough until smooth and elastic—this is essential for achieving that fluffy texture in your Garlic-Swirl Rolls.
- Give It Time: Don’t rush the second rise; allowing the rolls to rise in a warm spot ensures they become light and airy.
- Check for Doneness: Keep an eye on your rolls in the oven; they should be golden brown on top for that perfect bake.
- Add Flavor: Experiment with different herbs and cheeses in the filling to customize your Garlic-Swirl Rolls to your family’s taste!
Make Ahead Options
These Garlic-Swirl Rolls are perfect for meal prep enthusiasts! You can prepare the dough and shape the rolls up to 24 hours in advance. Simply complete the first rise, then refrigerate the shaped rolls covered with plastic wrap. This method allows the flavors to deepen while keeping the rolls fresh. When you’re ready to bake, let them sit at room temperature for about 30-60 minutes before the second rise to ensure they’re fluffy and ready to go. If you want even more flexibility, you can freeze the unbaked rolls for up to 3 months. Just thaw overnight in the refrigerator and allow to rise before baking for that irresistibly soft and delicious result, perfect for busy weeknights!
How to Store and Freeze Garlic-Swirl Rolls
Airtight Container: Store leftover Garlic-Swirl Rolls in an airtight container at room temperature for up to 3 days to maintain their soft texture.
Refrigerate: If you want to keep them longer, place the rolls in the fridge for up to a week. Reheat in the oven or microwave to restore warmth.
Freezer: For longer storage, wrap the rolls tightly in plastic wrap and aluminum foil, then freeze for up to 3 months. Thaw overnight in the fridge before reheating.
Reheating: To enjoy your rolls warm again, preheat your oven to 350°F (175°C) and bake for about 10-15 minutes, or until heated through.
Garlic-Swirl Rolls Recipe FAQs
How do I know if my yeast is fresh?
Absolutely! To check for yeast freshness, dissolve a teaspoon of sugar in 1/4 cup of warm water (about 110°F), then add 2 1/4 teaspoons of active dry yeast. Let it sit for about 5-10 minutes. If it becomes frothy and bubbly, your yeast is fresh and ready to use!
What’s the best way to store Garlic-Swirl Rolls?
I recommend storing your Garlic-Swirl Rolls in an airtight container at room temperature for up to 3 days. For longer storage, you can place them in the refrigerator, where they will stay fresh for about a week. Just be sure to reheat them in the oven or microwave before serving!
Can I freeze Garlic-Swirl Rolls?
Yes! For freezing, wrap the cooled rolls tightly in plastic wrap, then in aluminum foil. Store them in the freezer for up to 3 months. To thaw, place them in the fridge overnight, and then reheat in a preheated oven at 350°F (175°C) for about 10-15 minutes until warmed through.
What should I do if my rolls didn’t rise properly?
Very! If your rolls didn’t rise, it could be due to the yeast not activating or the dough being in a cool environment. Ensure the water is warm (not hot!) and try placing the dough in a warmer spot next time. If you find it’s dense after baking, don’t let it discourage you—add a little more flour next time to improve structure.
Can I make these rolls dairy-free?
Definitely! You can substitute the butter with margarine or olive oil for a delicious dairy-free version. When using either option, the flavor will still shine through, keeping your Garlic-Swirl Rolls utterly delightful.
How can I customize the filling for my Garlic-Swirl Rolls?
Feel free to get creative! For a cheesy twist, you can add shredded mozzarella or feta to the filling. If you enjoy a bit of greenery, toss in some sautéed spinach or caramelized onions for an extra flavor boost. The more, the merrier when it comes to customizing your Garlic-Swirl Rolls!

Irresistible Garlic-Swirl Rolls You’ll Want with Every Meal
Ingredients
Equipment
Method
- In a large mixing bowl, combine flour, yeast, sugar, and salt. Gradually add warm water and melted butter, mixing until a dough forms. Knead on a floured surface for about 8-10 minutes until smooth and elastic.
- Place the kneaded dough in a greased bowl and cover with a kitchen towel. Let it rise in a warm area for about 1 hour until it doubles in size.
- Mix together melted butter, minced garlic, and fresh herbs in a separate bowl. Stir until well combined.
- After the dough has risen, punch it down and roll it out on a floured surface into a rectangle about ¼ inch thick. Spread the garlic herb filling over the dough, leaving a small border. Roll the dough tightly and seal the edge.
- Slice the rolled dough into 12 equal pieces and place them cut-side up in a greased baking dish. Leave space between each roll and cover with a towel. Let them rise again for about 30 minutes.
- Preheat oven to 375°F (190°C). Bake the rolls for 20-25 minutes until golden brown on top.
- Allow the rolls to cool slightly in the pan for about 10 minutes. Brush with melted butter before serving. Enjoy warm!
Leave a Reply