
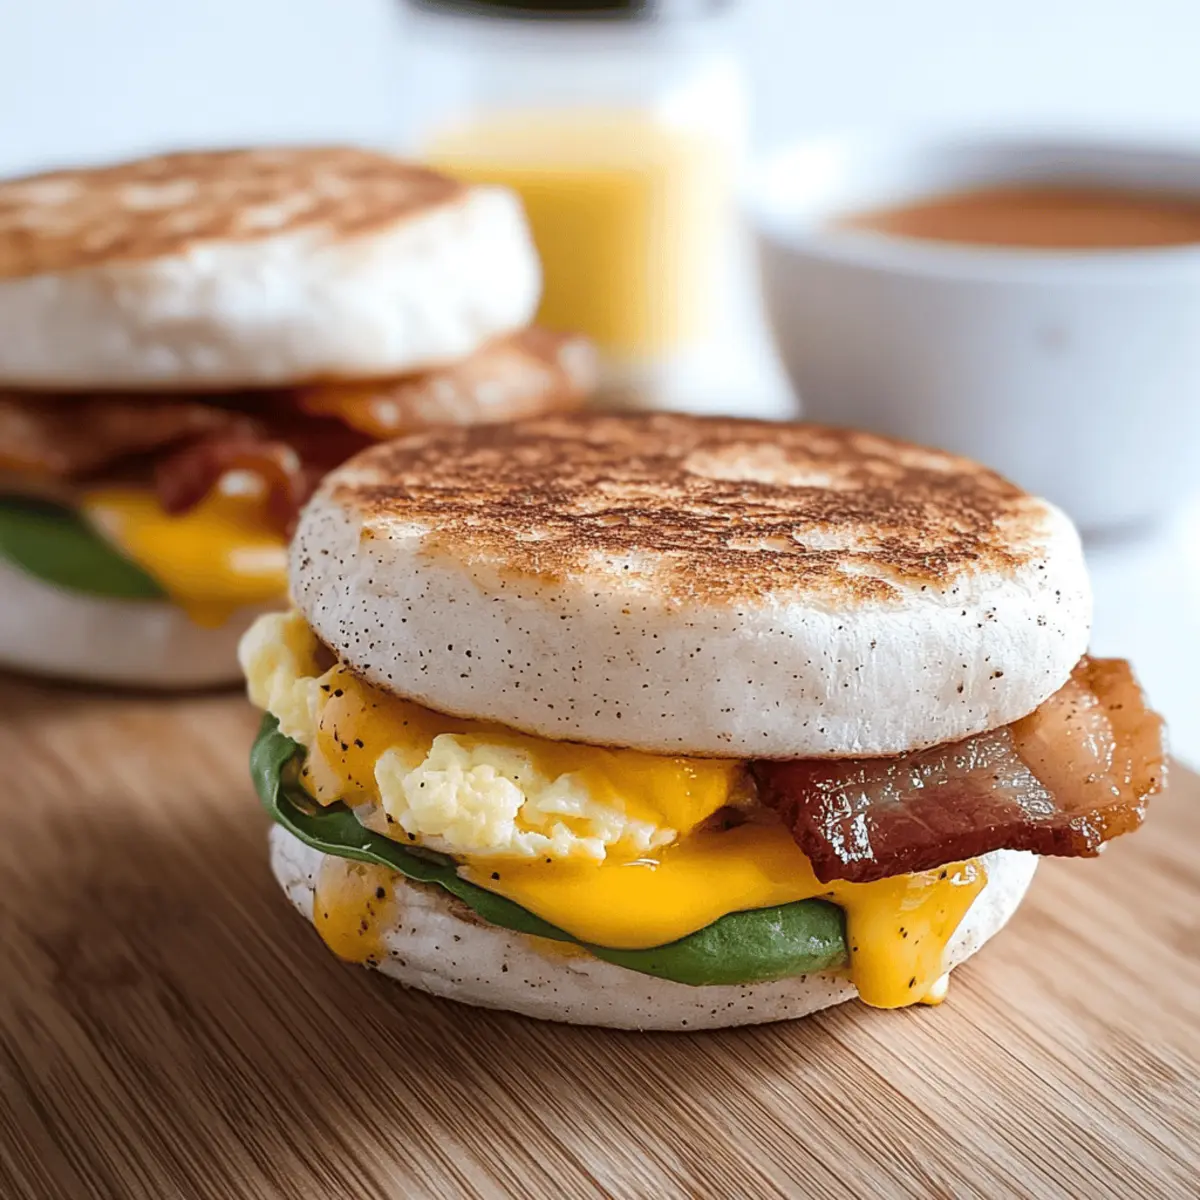
As I rummaged through my freezer one particularly hectic morning, I stumbled across a little treasure: homemade Freezer Breakfast Sandwiches. In less than an hour, I had crafted a dozen delicious, hearty sandwiches, each packed with fluffy eggs, crispy bacon, and melty cheese, nestled between toasted English muffins. These make-ahead wonders haven’t just transformed my busy mornings; they’ve become a reliable crowd-pleaser for my family (and a lifesaver on slow-moving weekdays). The beauty is in their versatility—you can swap out ingredients like bacon for sausage or sneak in veggies, all while creating a customizable breakfast that fits your taste. Isn’t it time you add these irresistible sandwiches to your routine? Let’s dive into how to make your mornings brighter and tastier!
Why Choose Freezer Breakfast Sandwiches?
Convenience at Your Fingertips: Imagine having a hearty breakfast ready in minutes. These sandwiches can be made ahead and stored in the freezer, making busy mornings a breeze.
Crowd-Pleasing Flavors: With crispy bacon or savory sausage, every bite is a delightful experience. Plus, you can customize them with your favorite cheeses and veggies!
Meal Prep Magic: Create a dozen sandwiches in under an hour, saving you time and effort. They fit perfectly into your meal prep routine, ensuring you never skip breakfast.
Healthy Options: Packed with protein and fiber, each sandwich keeps you satisfied longer. You can easily swap ingredients for a healthier version that suits your dietary needs!
All-Time Favorite: These sandwiches capture the essence of a diner breakfast but with the joy of homemade goodness. They’re sure to become a family favorite!
Discover delightful variations and tips for maximizing flavor by exploring how to infuse your sandwiches with fresh ingredients, encouraging creativity in your kitchen!
Freezer Breakfast Sandwich Ingredients
For the Sandwiches
• Eggs – Provide protein and structure to the sandwich; use large eggs for the best results.
• Milk – Adds creaminess to the egg mixture; substitute with almond milk for a dairy-free option.
• Bacon – Adds savory, smoky flavor; can be swapped for turkey bacon or omitted for a vegetarian option.
• Sausage Patties – Contribute heartiness; plant-based sausages make a great vegetarian alternative.
• English Muffins – Form the sandwich base; whole-grain or gluten-free versions work beautifully.
• Butter – Used for toasting muffins; olive oil is a lighter alternative if preferred.
• Salt and Pepper – Season the egg mixture; feel free to adjust spices based on your taste.
Optional Add-Ins
• Sautéed Spinach – Boosts nutrition and adds color; try it for a fresh twist.
• Roasted Sweet Potato – Adds sweetness and fiber; it’s a great way to enhance flavor.
• Sliced Tomato – Provides a juicy freshness; perfect for a summer-inspired sandwich.
• Mashed Avocado – Introduces creamy richness; it pairs wonderfully with the other ingredients.
Think of these Freezer Breakfast Sandwiches as a canvas—you can easily customize them to create your ideal morning treat!
Step‑by‑Step Instructions for Freezer Breakfast Sandwiches
Step 1: Preheat and Prepare
Begin by preheating your oven to 325°F (165°C). Line a large sheet pan with parchment paper to prevent sticking. This will be crucial for baking the fluffy egg mixture that is the foundation of your Freezer Breakfast Sandwiches. Having everything ready sets the stage for a smooth cooking experience.
Step 2: Bake the Bacon
Arrange slices of bacon on a separate baking sheet and place them in the oven. Bake for about 15 minutes until they’re crispy and browned. Keep an eye on the bacon as it cooks; you’ll know it’s ready when it sizzles beautifully and has that perfect crispness. Once done, remove and drain on paper towels.
Step 3: Cook the Sausage Patties
While the bacon is baking, heat a large skillet over medium heat. Add sausage patties and cook for 3-4 minutes per side until golden brown and fully cooked. Turn them gently with tongs—this ensures they brown evenly. Once cooked, transfer them to a plate lined with paper towels to absorb any excess grease.
Step 4: Whisk the Egg Mixture
In a large mixing bowl, crack eggs and add milk, seasoning with salt and pepper. Whisk everything together until well combined and fluffy. Pour this delicious mixture onto the prepared parchment-lined baking sheet, spreading it evenly. Bake in the oven for about 30 minutes, until the eggs are set and slightly golden on top.
Step 5: Cut the Baked Eggs
Once your baked egg mixture has cooled slightly, use a sharp knife to cut it into 12 equal portions. Each piece will perfectly fit inside your sandwiches, providing that protein-packed goodness that ties your Freezer Breakfast Sandwiches together. Set these portions aside while you assemble the other ingredients.
Step 6: Prepare the English Muffins
Slice the English muffins in half and spread a little butter on the cut sides. Toast them under the broiler for about 2-3 minutes, watching closely to achieve a golden crunchy exterior. Toasting adds a delightful texture that holds up well against the fillings, making your sandwiches delightful to bite into.
Step 7: Assemble Your Sandwiches
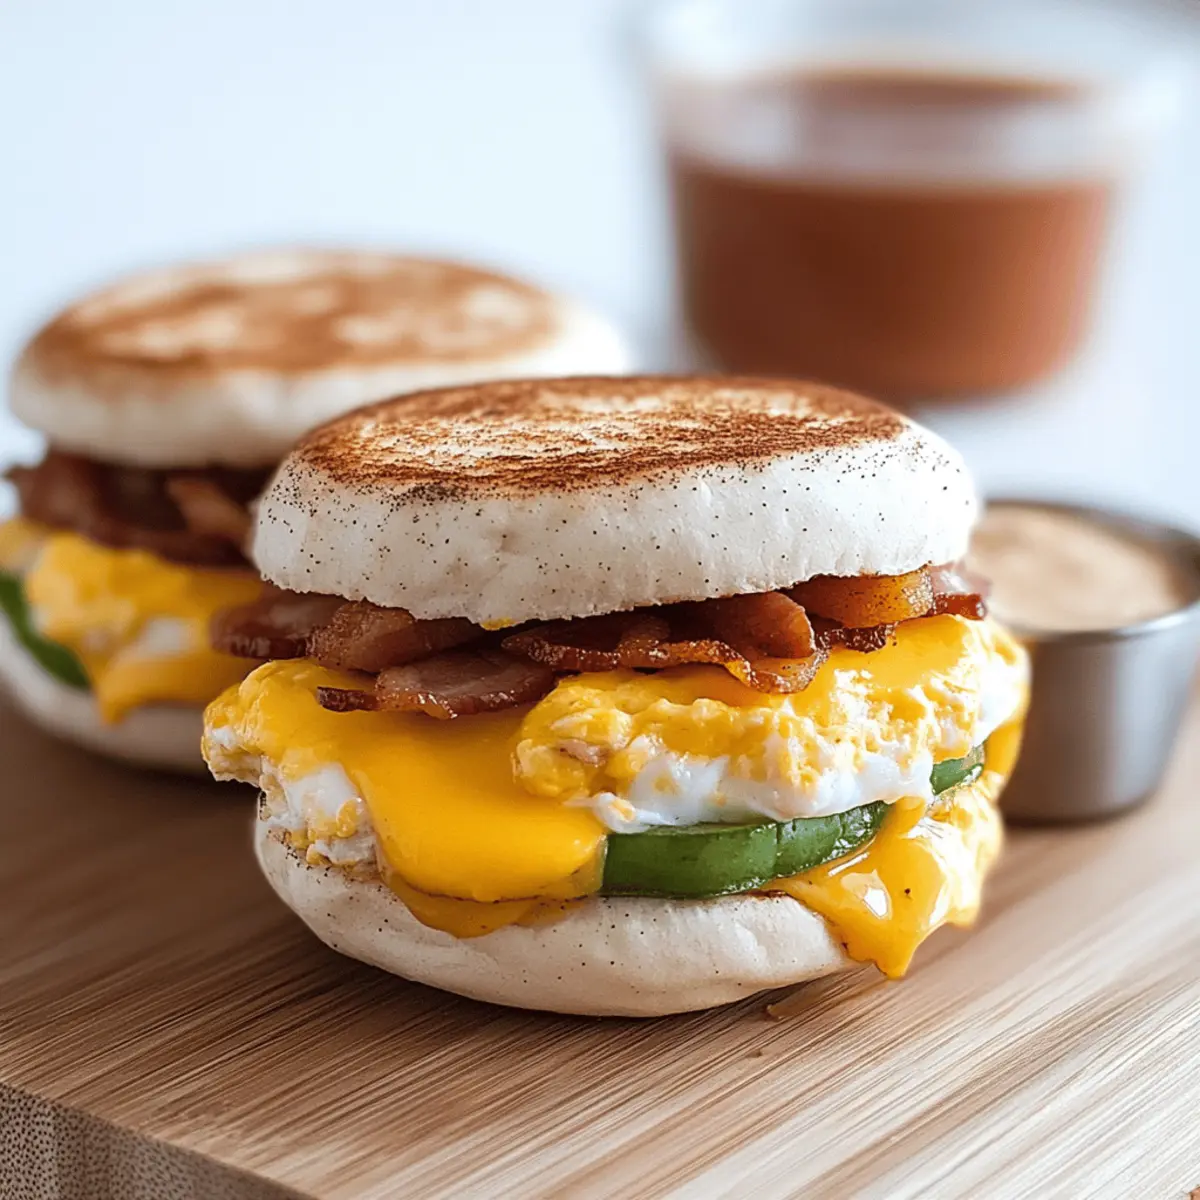
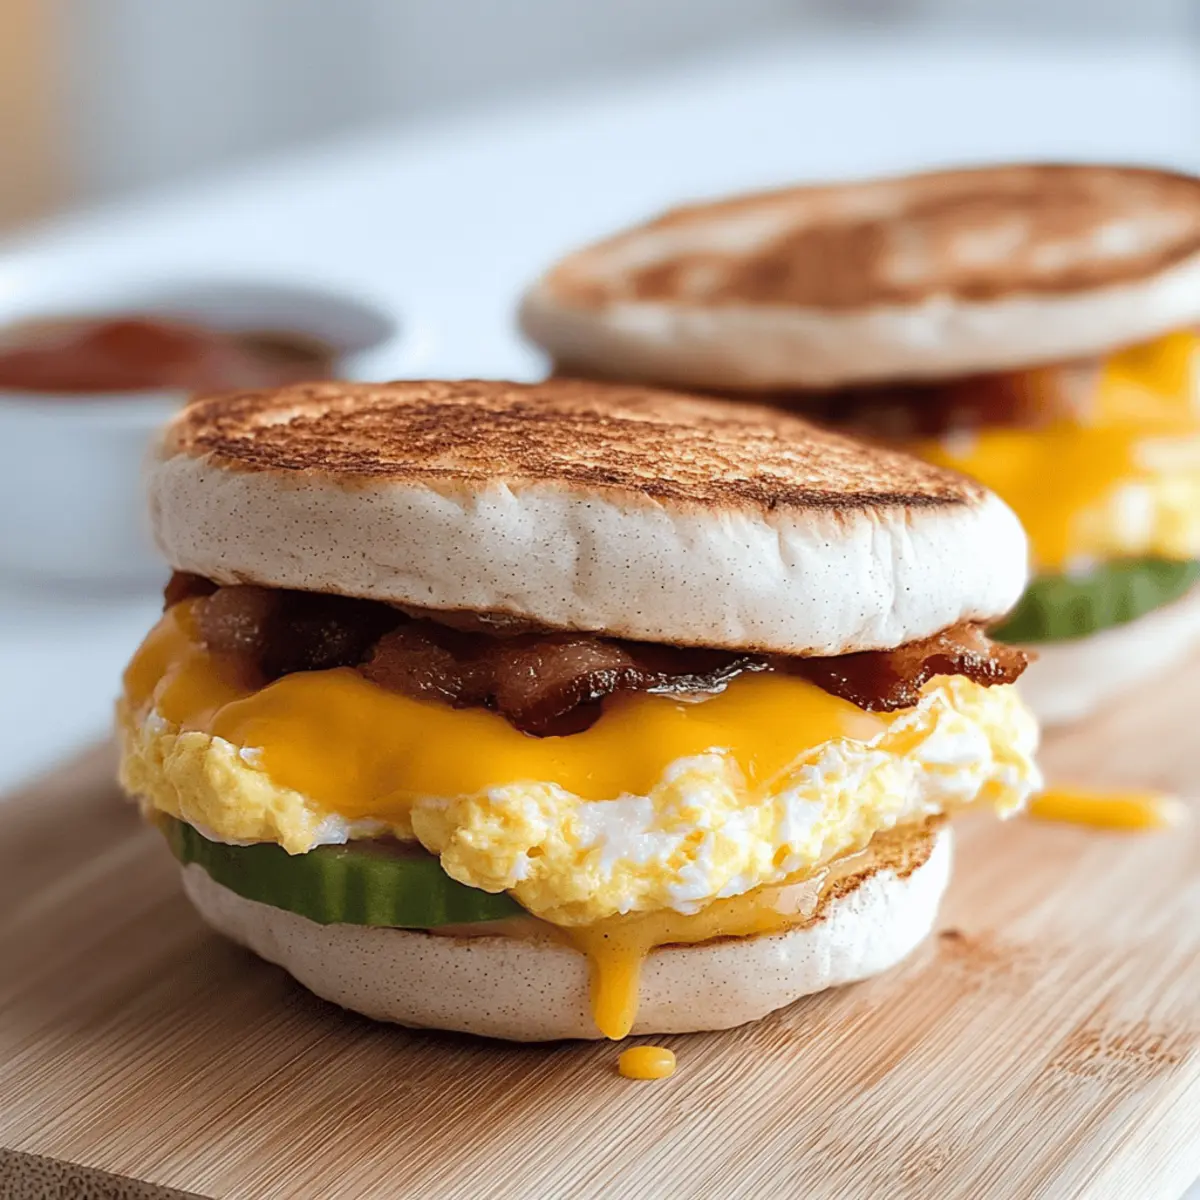
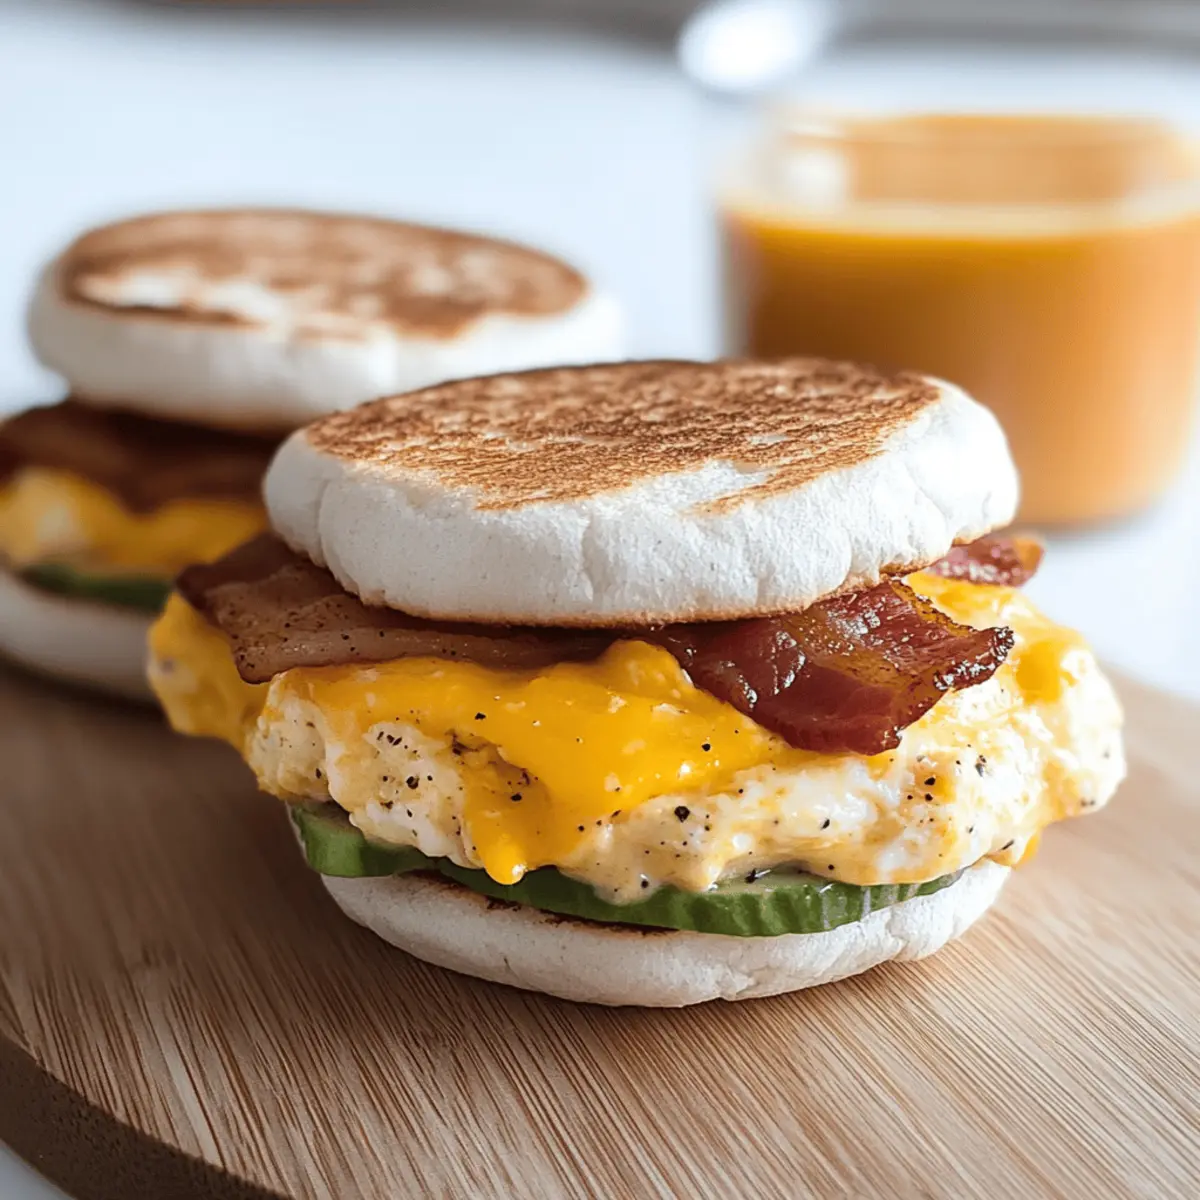
Now it’s time for the fun part! On the bottom half of each toasted English muffin, layer a portion of baked egg, a piece of crispy bacon or sausage patty, and a slice of cheese. Feel free to add any optional ingredients like sautéed spinach or mashed avocado for even more flavor.
Step 8: Wrap and Freeze
Carefully place the top half of the muffin on each sandwich and wrap them individually in parchment paper or plastic wrap. Be sure to label each wrap for easy identification later. Then, pack all the sandwiches into a freezer bag, removing as much air as possible to keep them fresh.
Step 9: Enjoy Anytime
Your delicious Freezer Breakfast Sandwiches are now ready to be stored in the freezer for up to three months! When you’re ready to enjoy, simply reheat them from frozen in the microwave or let them thaw overnight and warm them up in the oven for a few minutes until heated through and the cheese is melted.
Make Ahead Options
These Freezer Breakfast Sandwiches are a lifesaver for busy mornings! You can prepare and assemble the sandwiches up to 24 hours in advance, storing them in the refrigerator before freezing. Simply bake the eggs, cook the bacon or sausage, and toast the English muffins, then layer everything together. To maintain quality, ensure all components are cooled completely before wrapping individually in parchment or plastic wrap to prevent moisture. If you’re ready to freeze them right away, they can stay good for up to three months. When you’re set to enjoy, simply reheat them from frozen or let them thaw overnight for a quick and delicious breakfast with all the homemade goodness you crave!
What to Serve with Freezer Breakfast Sandwiches?
Wake up to a delightful meal waiting for you, perfectly paired to elevate your cozy breakfast time.
-
Crispy Hash Browns: The contrast of crunchy, golden hash browns adds a satisfying texture that complements the softness of the sandwiches.
-
Fresh Fruit Salad: Bright and juicy fruits create a refreshing balance, bringing a lightness that enhances the savory flavors of your sandwiches.
-
Creamy Greek Yogurt: A dollop of yogurt offers a tangy creaminess, making it a perfect dip for your breakfast sandwich while adding a protein boost.
-
Savory Spinach Quiche: This quiche brings a delightful earthiness that pairs well with the richness of the sandwiches, making for a hearty brunch spread.
-
Smoothie: Blend your favorite fruits with yogurt or almond milk for a nutritious drink; it’s refreshing and energizing alongside a warm sandwich.
-
Coffee: A steaming cup of coffee serves as the ideal companion, with its robust flavors perfectly offsetting the hearty breakfast experience.
These options will not only round out your meal but also create an inviting breakfast atmosphere that everyone will love!
Freezer Breakfast Sandwiches: Fun Variations
Get ready to personalize your morning delight! These sandwiches are adventure-ready, inviting you to bring your creative twist to the table.
-
Dairy-Free: Substitute milk with almond or coconut milk for a creamy texture without dairy. It’s a simple shift that opens up this recipe to everyone.
-
Gluten-Free: Use gluten-free English muffins to ensure your sandwich fits your dietary preferences and still delivers that satisfying crunch.
-
Veggie-Loaded: Add sautéed bell peppers and onions for a colorful and nutritious boost. These will add flavor and crunch, making each bite even more delightful!
-
Spicy Twist: Crank up the heat by incorporating jalapeños or a splash of hot sauce. It gives your mornings a fiery kick that wakes up your taste buds.
-
Different Cheeses: Experiment with cheeses like pepper jack or feta for unique flavor profiles. A sharp cheddar can also deepen the sandwich’s creamy allure.
-
Savory Mushrooms: Sauté mushrooms to layer in for an earthy flavor profile that complements the other ingredients perfectly. It enhances the depth of each bite.
-
Sweet Potato Goodness: Substitute regular potatoes for roasted sweet potatoes for added sweetness and fiber. This tangy side pairs well with the rest of your hearty sandwich.
If you’re looking for more delightful ways to create unique flavors, don’t forget to check out my recipes for Sautéed Spinach and Roasted Sweet Potato as fantastic add-ins! Each variation gives you a chance to make this dish your own, ensuring that breakfast is an experience to look forward to every day!
Expert Tips for Freezer Breakfast Sandwiches
• Cool Before Wrapping: Allow the sandwiches to cool completely before wrapping to avoid condensation, which can make them soggy.
• Customize with Ease: Feel free to swap ingredients, like using different meats or adding veggies, to suit your family’s tastes while making the freezer breakfast sandwiches more exciting.
• Reheat Right: For best results, reheat sandwiches from frozen in the microwave, then finish in the oven for a crispy texture that retains the fluffy interior.
• Use Quality Muffins: Choose high-quality English muffins to help hold up the fillings. Whole-grain or gluten-free options add more flavor and fiber.
• Label for Convenience: When freezing, label your sandwiches with the date and fillings for easy meal planning. It saves time when searching for breakfast in your freezer!
How to Store and Freeze Freezer Breakfast Sandwiches
Room Temperature: Store Freezer Breakfast Sandwiches at room temperature for up to 2 hours before refrigerating, ensuring they don’t get too warm.
Fridge: Keep sandwiches in the fridge for up to 3 days if you prefer easy access without freezing. Wrap tightly in plastic to prevent drying out.
Freezer: For longer storage, freeze sandwiches for up to 3 months. Wrap each one in parchment or plastic wrap and place in an airtight freezer bag.
Reheating: Reheat frozen sandwiches in the microwave for 1-2 minutes, or cook from thawed in the oven at 350°F (175°C) for about 10-15 minutes until heated through.
Freezer Breakfast Sandwiches Recipe FAQs
How do I choose the right eggs for my Freezer Breakfast Sandwiches?
Absolutely! For the best results, opt for large eggs. They provide a hearty structure to your sandwich and ensure the perfect fluffiness of your egg mixture. Be sure to examine them before buying and select eggs without visible cracks or dark spots, indicating freshness.
What is the best way to store my Freezer Breakfast Sandwiches?
To keep your sandwiches fresh, wrap each one tightly in parchment or plastic wrap and place them in an airtight freezer bag. They will last for up to 3 months in the freezer. For storage in the fridge, they can stay fresh for about 3 days when tightly wrapped to prevent them from drying out.
Can I freeze the Freezer Breakfast Sandwiches without losing their quality?
Absolutely! Just follow this step-by-step freezing guide:
- Allow the sandwiches to cool completely after assembling to prevent condensation.
- Wrap each sandwich individually in parchment paper or plastic wrap.
- Place wrapped sandwiches in a freezer bag, pressing out excess air.
- Label the bag with the date and your sandwich fillings for easy identification later.
This process helps ensure they remain delicious and fresh for up to 3 months.
What if my breakfast sandwiches come out soggy after reheating?
The key to avoiding sogginess is cooling the sandwiches completely before wrapping them for freezing. Also, try reheating them from frozen directly in the microwave for about 1-2 minutes, then transfer them to a preheated oven at 350°F (175°C) for another 10-15 minutes. This will help restore their crispy exterior while warming the insides evenly.
Are Freezer Breakfast Sandwiches suitable for kids or people with dietary restrictions?
Very! These sandwiches are highly customizable—just swap in your family’s favorite ingredients. Use plant-based sausage for vegetarian options or turkey bacon for a leaner choice. Always check for allergies, particularly with dairy in cheese and milk. Plus, you can add extra veggies to boost nutrition, making them perfect for kids or anyone looking for a healthier breakfast option.
Freezer Breakfast Sandwiches for Busy Mornings Made Easy
Ingredients
Equipment
Method
- Preheat your oven to 325°F (165°C) and line a large sheet pan with parchment paper.
- Arrange bacon on a baking sheet and bake for about 15 minutes until crispy.
- In a skillet, cook the sausage patties for 3-4 minutes per side until golden brown.
- Whisk together eggs, milk, salt, and pepper, then pour into the prepared pan and bake for 30 minutes.
- Once eggs are set, cut them into 12 equal portions.
- Toast the halved English muffins with butter under the broiler for 2-3 minutes.
- Layer each muffin half with baked egg, bacon or sausage, and any optional add-ins.
- Wrap sandwiches individually in parchment or plastic wrap, label, and freeze.
- Enjoy your sandwiches reheated as desired!
Leave a Reply