
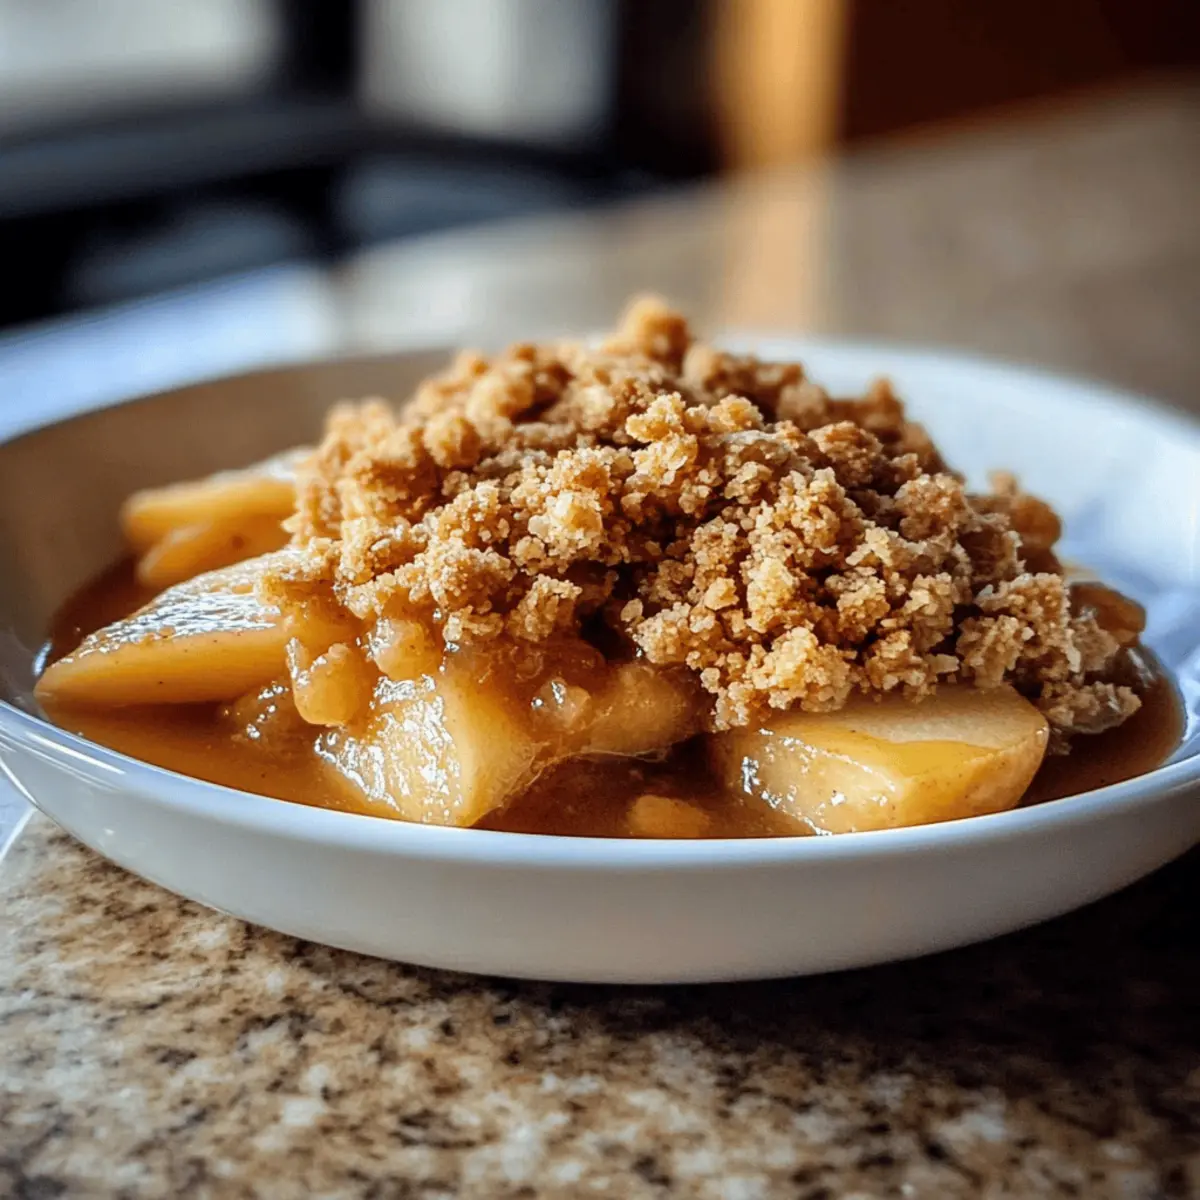
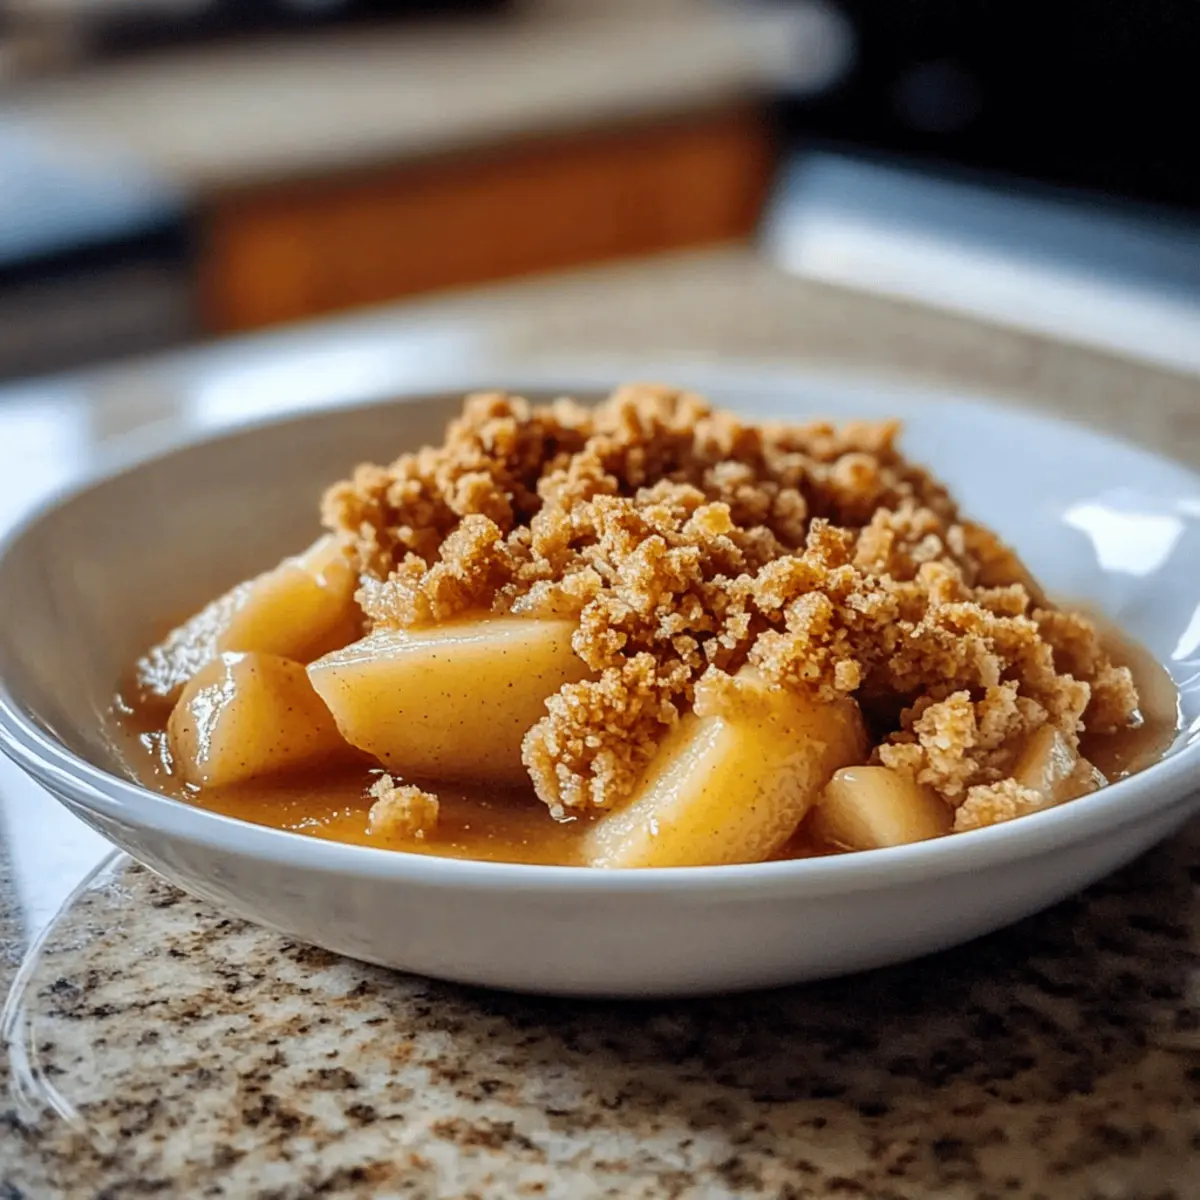
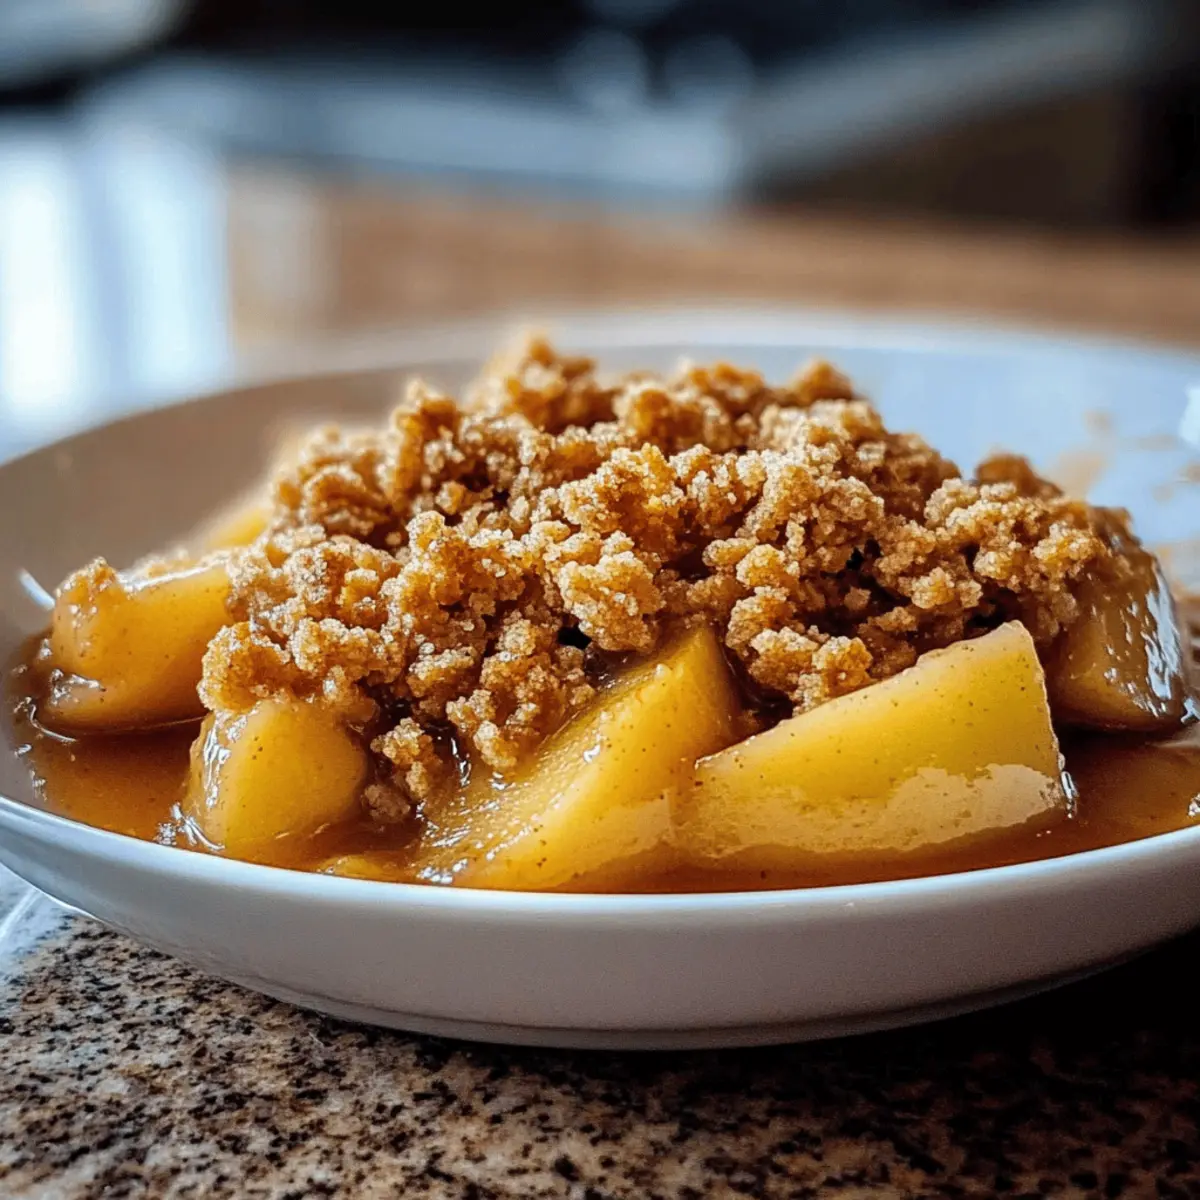
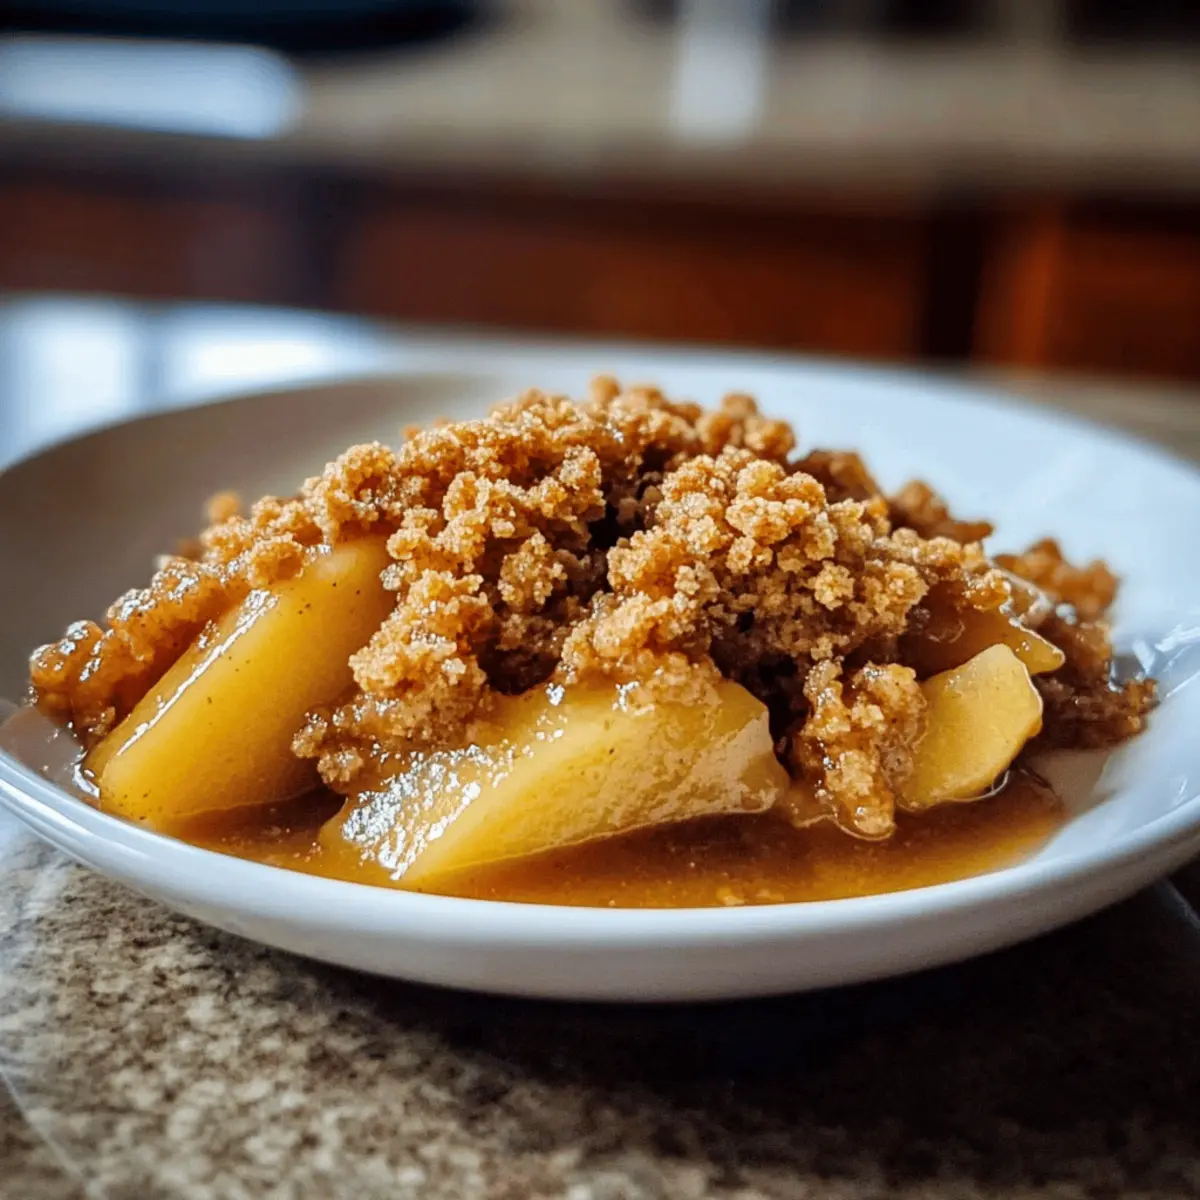
As the first bite of fall settles in, it’s hard not to crave something warm and cozy. That’s where my Classic Apple Crisp steps in, bringing the heartwarming essence of autumn right into your kitchen. With tender, baked apples kissed by a hint of sweetness and topped with a buttery oat crumble, this delightful dessert is not only a crowd-pleaser but also incredibly easy to make. It’s the perfect recipe for those busy weeknights or casual weekend gatherings when comfort food is in high demand. Trust me, with just a little prep, you’ll fill your home with irresistible smells that rival any bakery. Are you ready to whip up a timeless treat that captures the spirit of the season? Let’s get started!
Why is Apple Crisp a Fall Favorite?
Warmth and Comfort: This Classic Apple Crisp is the epitome of fall comfort food, bringing a cozy aroma that welcomes loved ones into your home.
Simple Steps: With straightforward instructions, even novice bakers can easily whip up this delightful dessert.
Versatile Variation: Play with different apple varieties; blend tart and sweet for an exceptional flavor profile.
Crowd-Pleaser: Perfect for serving at gatherings, it’s a dish that satisfies every palate and pairs beautifully with ice cream.
Timeless Treat: Revisit cozy memories as each bite delights with tender apples and crunchy, buttery topping—what’s not to love? Check out my Apple Cinnamon Blondies for more fall-inspired sweetness!
Classic Apple Crisp Ingredients
• Prepare to create a warm, comforting treat with these essential ingredients for Classic Apple Crisp!
For the Apples
- Apples – A mix of Granny Smith for tartness and Honeycrisp for sweetness works wonders!
- Granulated Sugar – Sweetness that complements the apples and enhances their natural flavors.
- Ground Cinnamon – This adds a cozy, familiar warmth to the apple mixture.
- Ground Nutmeg – Just a hint brings out an earthy note that elevates the dessert.
- Lemon Juice – Brightens the flavors and balances the natural sweetness of the apples.
For the Crumble Topping
- All-Purpose Flour – Provides structure for that delightful crumble topping.
- Light Brown Sugar – Infuses the topping with a hint of caramel sweetness.
- Old-Fashioned Rolled Oats – Adds texture and chewiness that contrasts beautifully with the soft apples.
- Unsalted Butter – Use cold butter for the perfect crispy and flaky crumble; it makes all the difference!
- Salt – A pinch helps to balance the sweetness and enhance all the flavors.
With these ingredients for Classic Apple Crisp, you’re ready to bring the essence of autumn right into your kitchen! Happy baking!
Step‑by‑Step Instructions for Classic Apple Crisp
Step 1: Preheat the Oven
Begin by preheating your oven to 375°F (190°C). While the oven heats, take a moment to grease a 9×13 inch baking dish with butter or non-stick spray. This ensures your Classic Apple Crisp will release easily after baking, allowing for beautiful presentation and every last crumb!
Step 2: Prepare the Apples
In a large mixing bowl, toss sliced apples with granulated sugar, ground cinnamon, ground nutmeg, and a splash of lemon juice until they are evenly coated. This process takes about 5-7 minutes and enhances the apples’ natural sweetness while adding a delightful flavor depth. Once coated, transfer the apple mixture into the prepared baking dish, spreading them out evenly.
Step 3: Make the Crumble Topping
In a separate bowl, combine all-purpose flour, light brown sugar, rolled oats, and a pinch of salt. Use your fingers or a fork to cut in cold, unsalted butter until the mixture resembles coarse crumbs, which should take about 3-4 minutes. This step is crucial for achieving a perfectly crispy topping for your Classic Apple Crisp!
Step 4: Assemble and Bake
Sprinkle the crumble topping evenly over the apple mixture in the baking dish, making sure to cover the apples generously. Place the dish in the preheated oven and bake for 35-45 minutes, or until the apples are tender and the topping is golden brown. You’ll know it’s done when the edges bubble slightly and you can see the beautiful golden crust forming.
Step 5: Cool and Serve
After baking, allow the Classic Apple Crisp to cool for 10-15 minutes before serving. This cooling period lets the juices settle, making it easier to serve. The warm, inviting aroma filling your kitchen will have everyone eagerly awaiting this delicious fall treat!
Expert Tips for Classic Apple Crisp
- Apple Variety Mix: Experiment with different apples like Granny Smith and Honeycrisp for a harmonious balance of tartness and sweetness, enhancing your Classic Apple Crisp.
- Keep Butter Cold: Cold butter is key for achieving a flaky topping; ensure your butter is straight from the fridge before mixing it into the crumble.
- Baking Monitor: Keep an eye on your crisp as it bakes; tent with foil if the topping browns too quickly to avoid burning.
- Let It Set: Allow your Classic Apple Crisp to cool for 10-15 minutes post-baking; this helps with easier serving while keeping that delicious texture!
- Add Extra Crunch: For a fun twist, incorporate nuts like walnuts or pecans into the crumble for added texture and flavor depth.
Storage Tips for Classic Apple Crisp
- Room Temperature: For short-term storage, keep the Classic Apple Crisp covered at room temperature for up to 1 day. This helps maintain its crunchy topping.
- Fridge: Transfer leftovers to an airtight container and refrigerate for up to 3-4 days. Reheating will restore some of the crispiness while keeping the flavors fresh.
- Freezer: Freeze for longer storage by placing the cooled apple crisp in a tightly sealed container or freezer bag. It can last for up to 2 months.
- Reheating: To enjoy, reheat in the oven at 350°F (175°C) for about 15-20 minutes or in the microwave for a few minutes until heated through, making sure to keep that delicious texture intact!
What to Serve with Classic Apple Crisp
Indulge in the cozy flavors of the season with delightful accompaniments that elevate your dessert experience.
- Vanilla Bean Ice Cream: Creamy and rich, it contrasts beautifully with the warm, spiced apples and adds a delightful chill.
- Fresh Whipped Cream: Light and airy, this topping allows the crisp’s flavors to shine while adding a touch of sweetness.
- Caramel Sauce: Drizzled over the apple crisp, this adds an extra layer of decadence, deepening the cozy fall experience.
- Warm Spiced Cider: The fragrant spices in hot cider mirror the flavors of the crisp, creating a comforting beverage pairing.
- Sweetened Yogurt: A dollop of cinnamon-infused yogurt offers a tangy contrast that balances the richness of the dessert.
- Pecans or Walnuts: Sprinkle chopped nuts on top for a crunchy texture that complements the softness of the baked apples.
- Pumpkin Spice Latte: The warm spices of this beloved drink enhance the nostalgic feel of fall, making each bite even sweeter.
- Harvest Salad: A fresh salad with apples, walnuts, and feta provides a refreshing contrast to the warm dessert and adds a seasonal touch.
- Coffee or Tea: Start or end your meal with a cozy cup, as the warmth and richness of either beverage pairs wonderfully with apple crisp.
Classic Apple Crisp Variations
Feel free to get creative and make this Classic Apple Crisp your own—these simple variations will elevate your fall dessert experience!
-
Different Apples: Use a mix of tart and sweet apples to customize flavor; Macintosh for softness, Granny Smith for tang.
-
Nutty Crunch: Add chopped walnuts or pecans to your crumble for a delightful crunch that enhances the texture beautifully.
-
Spiced Twist: Elevate flavors by adding ground cloves or allspice; just a pinch makes a world of difference in warming your senses.
-
Caramel Drizzle: Drizzle caramel sauce over your warm apple crisp before serving for an extra touch of sweetness and indulgence.
-
Oat-Free Option: Swap out rolled oats with crushed graham crackers for a different crunch in your topping, giving it a subtle hint of sweetness.
-
Gluten-Free Crumble: Replace all-purpose flour with almond flour or a gluten-free flour blend; just ensure your oats are certified gluten-free for peace of mind.
-
Delicate Citrus: Incorporate orange zest into the apple mixture for a fresh, zesty twist that brightens up the warm flavors.
-
Warm Spices: For an extra kick, add a dash of cayenne or chili powder into the crumble to introduce a subtle heat that plays wonderfully with the sweetness.
Now that you have ideas to personalize your Classic Apple Crisp, why not try it with some delicious Apple Cinnamon Cookies? Your guests will be amazed at your culinary creativity!
Make Ahead Options
These Classic Apple Crisp are ideal for busy home cooks looking to save time without sacrificing flavor! You can prepare the apple mixture by tossing the sliced apples with sugar, cinnamon, nutmeg, and lemon juice up to 24 hours in advance; just cover and refrigerate it to keep the apples fresh. Additionally, you can mix the crumble topping and store it separately in an airtight container for up to 3 days. When you’re ready to bake, simply combine the prepped apple mixture with the crumble topping and follow the original baking instructions, adding an extra 5-10 minutes to the cooking time. This way, you’ll have a comforting dessert that’s just as delicious with minimal last-minute effort!
Classic Apple Crisp Recipe FAQs
What types of apples should I use for the Classic Apple Crisp?
Absolutely! Using a mix of apples is key to achieving the best flavor in your Classic Apple Crisp. I recommend combining tart Granny Smith apples with sweet Honeycrisp or Fuji apples for a perfect sweet-tart balance. This combination creates a delightful depth of flavor that makes each bite irresistible.
How should I store leftovers of the Classic Apple Crisp?
For optimal freshness, cover your Classic Apple Crisp tightly with plastic wrap or transfer it to an airtight container. It can be stored in the refrigerator for up to 3-4 days. Just a quick reheating in the microwave or oven will restore its yummy textures!
Can I freeze the Classic Apple Crisp?
Yes, you can freeze the Classic Apple Crisp! To do this, allow it to cool completely after baking. Then, place it in an airtight container or freezer bag, ensuring that you remove as much air as possible. It can freeze for up to 2 months. When you’re ready to enjoy, thaw it overnight in the refrigerator and reheat in the oven at 350°F (175°C) for about 15-20 minutes until warmed through.
What should I do if my crumble topping doesn’t crisp up?
If your crumble topping isn’t getting that desired crispy texture, it could be due to a few reasons. First, ensure you’re using cold butter, as it’s essential for that flaky texture. If it still isn’t crisping, try increasing the oven temperature to 400°F (200°C) for the last 5-10 minutes of baking. Keep an eye on it to prevent burning, and consider spreading the topping in a thinner layer to allow for better browning!
Are there any dietary considerations for the Classic Apple Crisp?
For those with dietary restrictions, this Classic Apple Crisp can be easily adapted. You can substitute granulated sugar with coconut sugar or a sugar alternative to lower the glycemic index. If nut allergies are a concern, simply omit any nuts from the crumble topping; the dessert will still be deliciously comforting without them. Enjoy it knowing you can tweak the ingredients to meet your dietary needs!
Classic Apple Crisp That’s Warm, Cozy, and Irresistibly Delicious
Ingredients
Equipment
Method
- Preheat the oven to 375°F (190°C) and grease a 9x13 inch baking dish.

- Toss sliced apples with granulated sugar, cinnamon, nutmeg, and lemon juice until coated. Transfer to the baking dish.
- Combine flour, brown sugar, oats, and salt in a bowl. Cut in cold butter until the mixture resembles coarse crumbs.
- Sprinkle the crumble topping over the apple mixture and bake for 35-45 minutes until the apples are tender and topping is golden brown.
- Let cool for 10-15 minutes before serving.
Leave a Reply