
As summer heat washes over, the idea of turning on an oven feels like a mini crisis, doesn’t it? Thankfully, I’ve discovered a delightful solution in these No-Bake Rice Krispy Peanut Butter Balls. They aren’t just your average dessert; they’re a harmonious blend of crunchy and chewy goodness, making them a beloved family favorite for decades. Whipping up this easy dessert is a breeze—perfect for those busy days when you crave a sweet treat without the fuss of baking. Plus, they’re adaptable! You can get creative by adding a chocolate coating or tossing in your choice of nuts and cereals, ensuring there’s something for everyone. Curious about how to make this no-bake wonder? Let’s dive in!
Why are Rice Krispy Peanut Butter Balls a Must-Try?
No-Bake Convenience: These delightful treats come together in just minutes, making them the ultimate solution for hot summer days without the fuss of baking.
Irresistible Crunch: The combination of crispy Rice Krispies and creamy peanut butter creates a mouthwatering texture that will leave you reaching for more.
Family-Friendly Fun: Kids can easily join in the making process, fostering family bonding and ensuring everyone has a hand in creating this tasty treat.
Customizable Joy: Elevate your treats by dipping them in chocolate or adding nuts for a gourmet twist that caters to everyone’s taste buds.
Perfect for Any Occasion: Whether it’s a snack for school, a party treat, or a sweet gift, these Peanut Butter Balls fit the bill. If you’re looking for more quick and delicious ideas, don’t miss the chance to check out the Honey Butter Skillet Corn or Garlic Butter Beef Bites with Potatoes.
Rice Krispy Peanut Butter Balls Ingredients
For the Base
• Corn Syrup – Acts as a binding agent and adds sweetness. Substitution: Honey or agave syrup can be used for a different sweetness profile, but may alter flavor.
• Powdered Sugar – Provides a fine sweetness and helps to maintain a smooth texture. No direct substitutes; using granulated sugar will change texture.
• Peanut Butter – Adds flavor, richness, and creaminess. Substitution: Almond butter or Nutella for different flavors; note Nutella may result in excessive sweetness.
• Vanilla Extract – Enhances the overall flavor profile. No substitutes necessary, but can be omitted if needed.
• Rice Krispies Cereal – Provides the crunch and structure of the balls. Substitution: Cocoa Krispies for a chocolate version, or corn flakes for a different texture.
Step‑by‑Step Instructions for Rice Krispy Peanut Butter Balls
Step 1: Prepare the Mixture
In a large saucepan, combine 1 cup of corn syrup and 1 cup of powdered sugar over medium heat. Stir continuously for about 3–5 minutes or until the mixture reaches a gentle boil, bubbling steadily. Watch carefully to avoid scorching; the mixture should blend seamlessly. Once boiling, remove it from the heat to prevent overcooking.
Step 2: Mix in Peanut Butter and Vanilla
Add 1 cup of peanut butter and 1 teaspoon of vanilla extract into the hot mixture. Stir vigorously for about 1–2 minutes, until the peanut butter has melted and the mixture is smooth and creamy. Ensure there are no lumps, allowing the rich aromas to fill your kitchen as the flavors meld beautifully together.
Step 3: Fold in Rice Krispies
Gently fold in 6 cups of Rice Krispies cereal using a rubber spatula. Aim to evenly coat the cereal with the peanut butter mixture, taking about 2 minutes. The mixture should be sticky yet manageable, and you’ll see the cereal glistening in the rich peanut butter coating. This is the foundation of your delicious Rice Krispy Peanut Butter Balls!
Step 4: Shape the Treats
Using a spoon or your hands, drop rounded spoonfuls of the mixture onto silicone mats or wax paper, leaving spaces between each to allow for cooling. Alternatively, you can press the mixture into a buttered 9×13 inch baking pan for bar-style treats. Let these sit at room temperature for about 30 minutes to firm up.
Step 5: Form into Balls
Once the mixture has cooled enough to handle, begin rolling it into balls, about 1 inch in diameter. It may be slightly sticky, so wet your hands with a bit of water to prevent sticking. Place the balls on a plate or baking sheet, ready to be enjoyed as delectable Rice Krispy Peanut Butter Balls.
Step 6: Optional Chocolate Coating
For an extra touch, melt some chocolate and dip the cooled balls into it, then return them to the wax paper to set. Leave these coated treats at room temperature or refrigerate to firm up the chocolate, adding a delightful twist to your no-bake dessert that’s sure to impress!
Rice Krispy Peanut Butter Balls Variations
Feel free to sprinkle your own creativity into the mix with these delicious variations for a more personalized treat!
-
Chocolate-Dipped: Dip your balls in melted chocolate or white chocolate for a rich, indulgent treat that adds a luxurious touch. The creamy chocolate pairs beautifully with the peanut butter, making each bite irresistible!
-
Nutty Crunch: Mix in a variety of chopped nuts such as almonds, walnuts, or pecans for a delightful crunch. This extra texture not only enhances flavor but also adds nutrients, making your treats a bit heartier!
-
Fruit Explosion: Add dried fruits like cranberries or raisins for a touch of sweetness and chewy texture. They’re a delightful surprise that complements the rich peanut butter, creating a balanced flavor profile.
-
Cereal Mix-Up: Swap Rice Krispies for alternate cereals like Cocoa Krispies or Honey Bunches of Oats. Each cereal adds its unique flavor and crunch that brings new life to this classic treat!
-
Spicy Kick: For those who enjoy a little heat, incorporate a dash of cayenne pepper or cinnamon into the peanut butter mixture. This unexpected twist offers a unique flavor experience that is sure to impress adventurous palates.
-
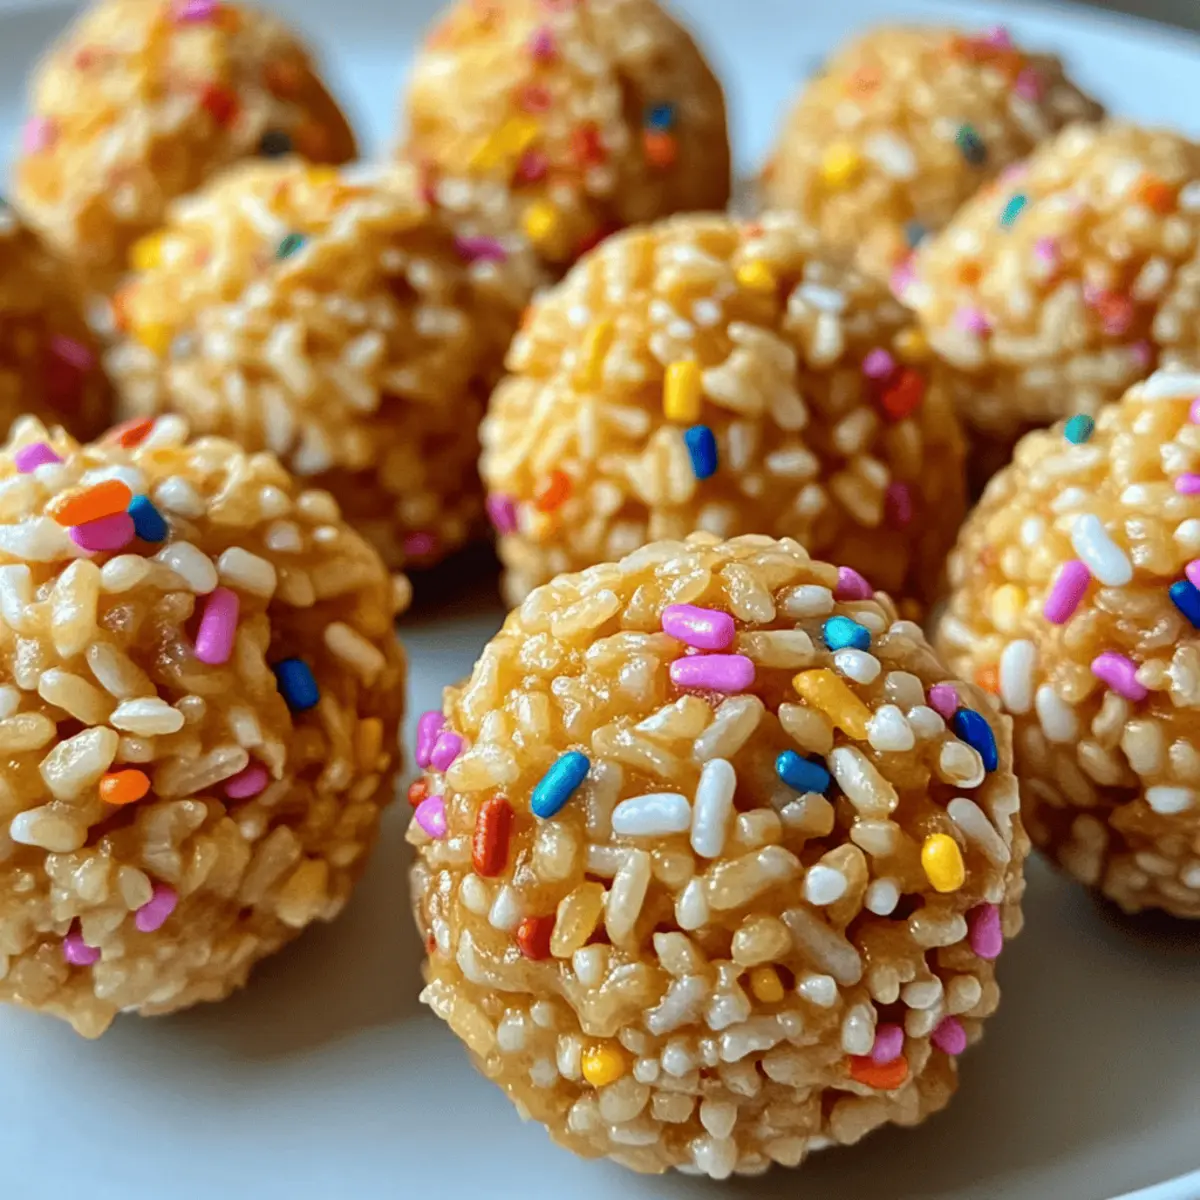
Sprinkled Joy: Roll your balls in colorful sprinkles or crushed graham crackers before letting them cool. The added decoration not only makes them visually appealing but adds a fun crunch with every bite!
-
Nut Butter Variations: Try almond butter or sunflower seed butter for a nut-free variation that offers different flavor dimensions. Each alternative brings its distinct taste while keeping the same creamy goodness.
Feeling inspired? You might also love whipping up some Teriyaki Chicken Rice Bowls or delightful Cheesy Chicken and Rice Casserole for a wholesome meal!
How to Store and Freeze Rice Krispy Peanut Butter Balls
Room Temperature: Store the Rice Krispy Peanut Butter Balls in an airtight container at room temperature to maintain their delightful texture.
Fridge: If you prefer a colder treat, you can refrigerate them for up to 1 week, but keep in mind that chilling may alter the texture slightly.
Freezer: For longer storage, freeze the balls in a single layer in a freezer-safe container for up to 3 months. Thaw at room temperature before enjoying.
Reheating: There’s no need to reheat these no-bake treats! Enjoy them straight from the refrigerator or at room temperature for a perfect treat anytime.
What to Serve with No-Bake Rice Crispy Peanut Butter Balls
A delightful assortment of sides and treats can elevate your no-bake dessert to a complete meal experience.
-
Fresh Fruit Salad: The vibrant mix of seasonal fruits adds a refreshing contrast to the rich flavors of the peanut butter balls.
-
Chocolate Milkshake: Creamy and indulgent, this classic pairing brings out the sweetness, perfect for both kids and adults alike.
-
Veggie Sticks with Hummus: A crunchy, savory option that balances the sweetness of the Rice Krispy Peanut Butter Balls with wholesome goodness.
-
Mini Marshmallow Treats: A crispy, chewy complement that offers a nostalgic taste, making it an ideal party snack to pair with your delightful treats.
-
Peanut Butter Dip with Pretzels: Enjoy this salty-sweet duo for a playful twist; the crunch of pretzels elevates the peanut butter flavors beautifully.
-
Pineapple Coconut Smoothie: A tropical twist that can wash down the treats! This refreshing drink adds a fruity flair to your dessert spread.
-
Vanilla Ice Cream: A scoop of smooth vanilla is a classic way to cool down those sweet and chewy Rice Krispy Peanut Butter Balls, making each bite a bit more exciting.
Expert Tips for Rice Krispy Peanut Butter Balls
-
Avoid Overboiling: Monitor the corn syrup and sugar mixture closely. Overboiling can lead to hard, sticky treats that are difficult to chew.
-
Chill Thoroughly: After shaping, let the balls cool completely to set properly. This helps maintain their texture and prevents them from falling apart.
-
Hand-Wetting Trick: If the mixture sticks to your hands while forming the balls, simply wet your hands lightly. This prevents mess and helps shape perfect Rice Krispy Peanut Butter Balls.
-
Storage Secret: Store in an airtight container at room temperature. This keeps them fresh for several days; however, they are best consumed within 2-3 days for optimal taste.
-
Customize Flavors: Feel free to mix in chopped nuts or dried fruits for added flavor and texture, transforming your Rice Krispy Peanut Butter Balls into a unique treat.
Make Ahead Options
These Rice Krispy Peanut Butter Balls are a fantastic option for meal prep enthusiasts! You can easily prepare the mixture up to 24 hours in advance; simply follow the recipe up until shaping the treats. After you’ve mixed the Rice Krispies with the peanut butter mixture, transfer it to an airtight container and refrigerate until you’re ready to roll into balls. This helps maintain their delightful texture! When you’re ready to serve, just let the mixture sit at room temperature for about 10 minutes to soften slightly before shaping. You’ll have a delicious treat ready to go, saving you precious time during your busy week!
Rice Krispy Peanut Butter Balls Recipe FAQs
What kind of corn syrup should I use for Rice Krispy Peanut Butter Balls?
I recommend using light corn syrup as it provides the right sweetness and texture without overpowering the peanut butter flavor. Dark corn syrup can change the taste and color, making them richer but not ideal for this recipe.
How long do Rice Krispy Peanut Butter Balls last?
Stored in an airtight container at room temperature, these treats will last about 2 to 3 days while maintaining their delightful crunch. To extend their freshness, you can keep them in the fridge for up to a week, though you may notice a slight texture change.
Can I freeze Rice Krispy Peanut Butter Balls?
Absolutely! To freeze them, place the balls in a single layer in a freezer-safe container, separating layers with wax paper to prevent sticking. They’ll hold up well for up to 3 months. When you’re ready to enjoy, just thaw them at room temperature for a few hours.
What should I do if the mixture is too sticky?
If your mixture is sticky, it may be because the corn syrup and powdered sugar mixture was overboiled. Ensure that it only reaches a gentle boil for about 3-5 minutes. If it’s already made, you can wet your hands lightly while shaping the balls to prevent sticking.
Can I customize the recipe for allergies?
Of course! If you have nut allergies, consider using sunflower seed butter or soy nut butter instead of peanut butter for a similar texture. If you’re looking for gluten-free options, confirm that your Rice Krispies are labeled gluten-free. Always check labels for potential allergens!
How can I make the Rice Krispy Peanut Butter Balls firmer?
To enhance the firmness of the Rice Krispy Peanut Butter Balls, you can add a bit more powdered sugar to the mixture before shaping. Alternatively, chill the mixture in the refrigerator for about 30 minutes before forming the balls. This will make them easier to handle and help them hold their shape better.

Irresistible Rice Krispy Peanut Butter Balls in a Snap
Ingredients
Equipment
Method
- In a large saucepan, combine corn syrup and powdered sugar over medium heat. Stir continuously for about 3–5 minutes until the mixture reaches a gentle boil.
- Add peanut butter and vanilla extract into the hot mixture. Stir vigorously for about 1–2 minutes until smooth and creamy.
- Gently fold in Rice Krispies cereal using a rubber spatula for about 2 minutes until evenly coated.
- Drop rounded spoonfuls of the mixture onto silicone mats or wax paper, leaving spaces between each to cool.
- Once cooled enough to handle, roll the mixture into balls, about 1 inch in diameter.
- For an optional chocolate coating, melt some chocolate and dip the cooled balls into it. Allow to set.
Leave a Reply