
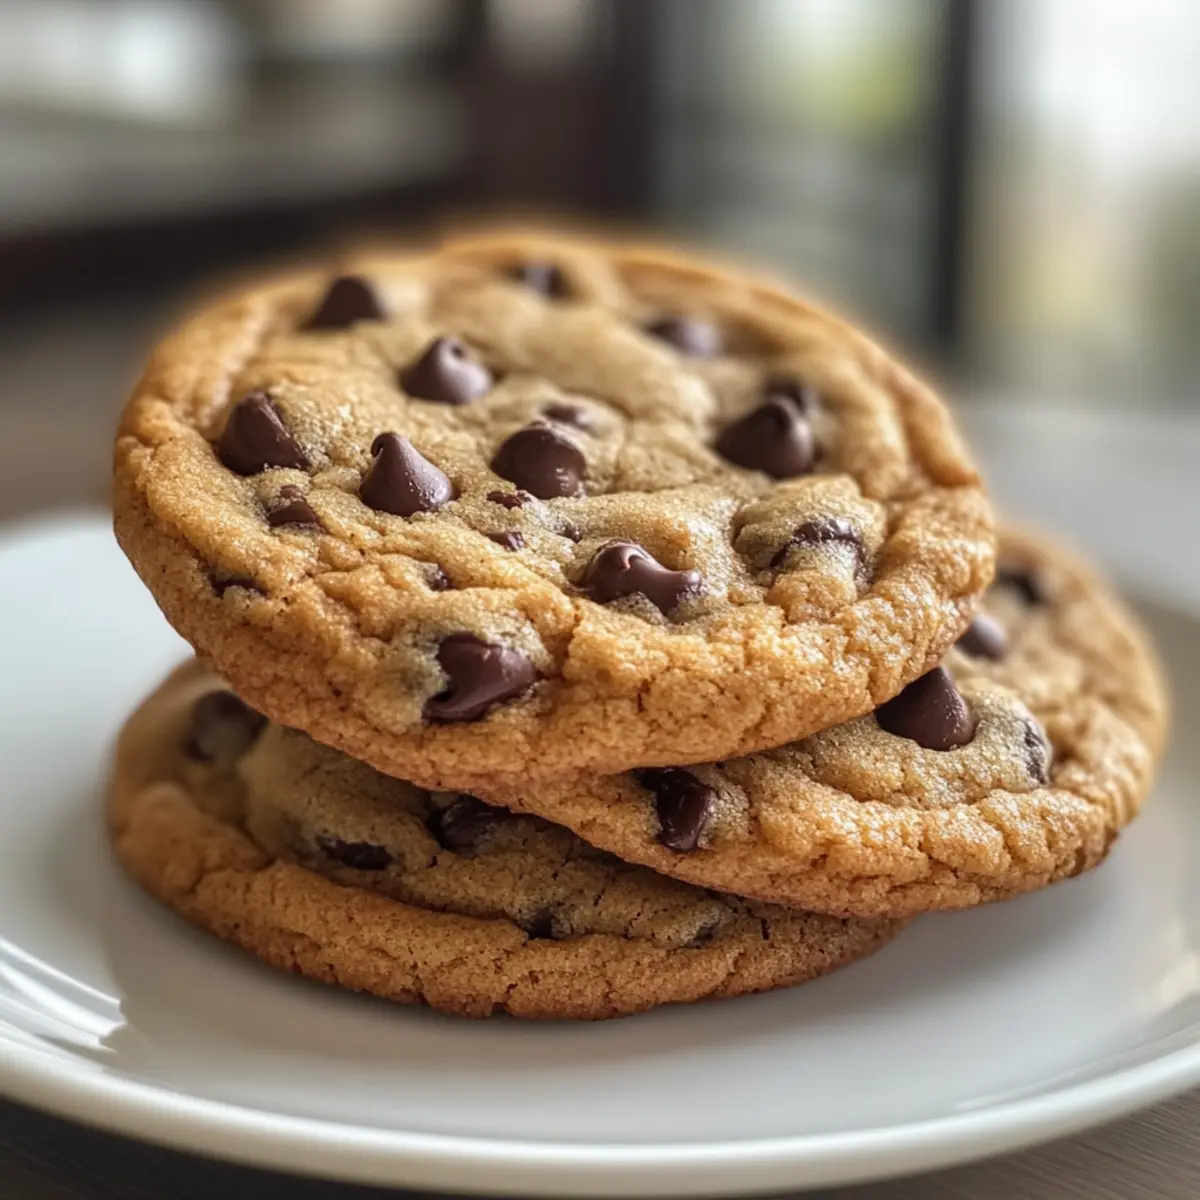
The aroma of freshly baked cookies wafting through the house is like a warm hug—comforting and inviting. Lately, I’ve been perfecting my Ultimate Classic Chocolate Chip Cookies, and let me tell you, each bite is a nostalgic journey back to childhood. This recipe showcases the joy of homemade treats, offering the perfect blend of chewy centers and crisp edges that will make you feel like a master baker in no time. With just a handful of pantry staples, making these delectable cookies is so simple it practically becomes a family tradition. Plus, they’re endlessly customizable! Add some nuts or experiment with different chocolates to create your own signature version. So, are you ready to embark on a cookie adventure that will bring smiles to everyone around your table?
Why are these cookies so irresistible?
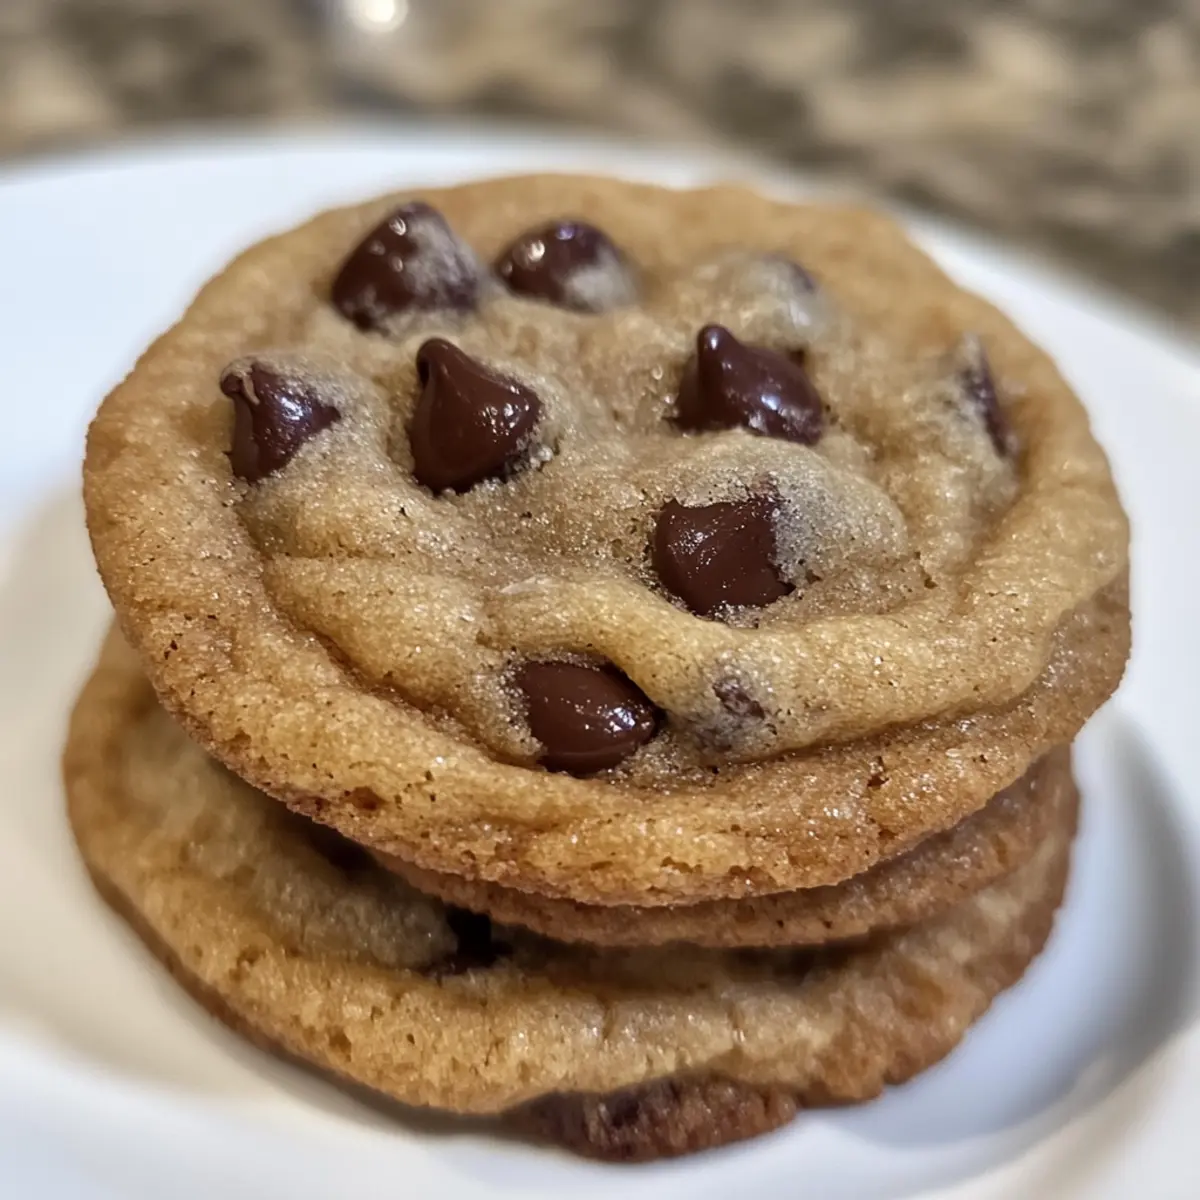
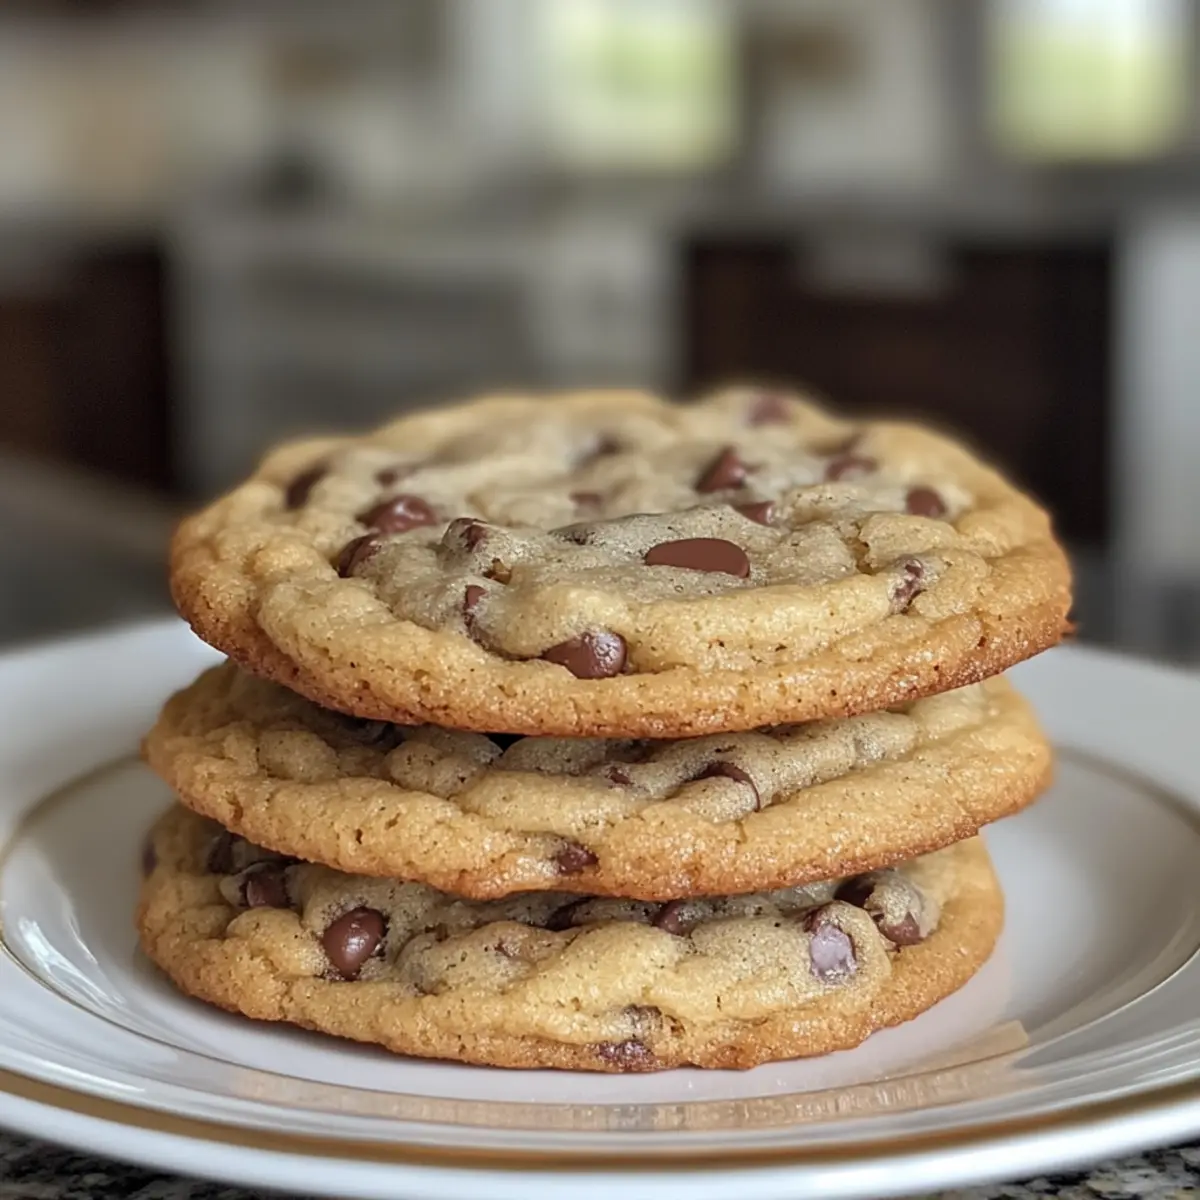
Chewy, Gooey Texture: Each cookie features a soft, indulgent center paired with a perfectly crisp edge, offering a delightful contrast.
Endless Customization: You can easily personalize with your favorite mix-ins, whether it’s nuts, different chocolates, or even a sprinkle of sea salt for that gourmet touch.
Quick and Easy: With straightforward instructions, you don’t need to be a baking expert to wow your friends and family.
Nostalgic Aroma: Baking these cookies fills your home with a warm, inviting scent that brings back fond memories, making it perfect for gatherings or cozy nights in.
Perfect Pairing: For an extra treat, serve them warm with a tall glass of milk or a scoop of your favorite ice cream!
Family Tradition: This recipe is not just about cookies; it’s about creating lasting memories while baking together.
Classic Chocolate Chip Cookie Ingredients
• For the Batter
- All-Purpose Flour – Provides structure; substitute with gluten-free flour blend for a gluten-free version.
- Baking Soda – Acts as a leavening agent to help cookies rise; no substitutes recommended.
- Salt – Balances sweetness; using kosher or sea salt enhances the flavor.
- Unsalted Butter – Adds a rich flavor and desired texture; can substitute with coconut oil for a dairy-free option.
- Granulated Sugar – Sweetens the cookies and contributes to their texture; replace half with brown sugar for a deeper flavor.
- Brown Sugar – Introduces moisture and chewiness; choose light or dark based on your flavor preference.
- Vanilla Extract – Enhances the overall flavor; opt for pure vanilla for best results, though imitation works too.
- Eggs – Binds ingredients together, creating a tender cookie; for a vegan version, use flax eggs.
- Chocolate Chips – The star of the show; use semi-sweet, dark, or milk chocolate chips, or mix them for extra deliciousness.
You’re just a few ingredients away from creating the beloved classic chocolate chip cookies that are not only easy but also wildly customizable!
Step‑by‑Step Instructions for Loaded Bravas Tots
Step 1: Prep Your Oven & Baking Sheet
Begin by preheating your oven to 425°F (220°C), ensuring it’s hot and ready for those perfectly crispy Loaded Bravas Tots. While the oven warms up, line a large baking sheet with parchment paper for easy cleanup and to help achieve that golden-brown finish.
Step 2: Prepare the Potatoes
Wash and peel about 2 pounds of potatoes, then cut them into bite-sized cubes. Soak the potato cubes in cold water for at least 30 minutes to remove excess starch, promoting crispiness. Drain and pat them dry with a clean kitchen towel to ensure they’re moisture-free before baking.
Step 3: Season the Potatoes
In a large mixing bowl, toss the dried potato cubes with 2 tablespoons of olive oil, along with salt, pepper, and any preferred seasonings like paprika or garlic powder. Make sure to coat all the tots evenly for maximum flavor and that signature bravas profile before spreading them out on your prepared baking sheet.
Step 4: Bake for Crispiness
Place the seasoned potatoes in the preheated oven and bake for about 25-30 minutes. Flip them halfway through to guarantee that each side gets golden and crispy. Keep a close eye towards the end—you’re looking for those irresistible, deep-golden edges that will elevate your Loaded Bravas Tots.
Step 5: Prepare the Sauce
While the potatoes are baking, prepare your signature sauce. In a small saucepan over medium heat, combine mayonnaise, sriracha, and lemon juice. Stir until well blended and creamy, adjusting the spice level to suit your taste. This creamy topping will take your Loaded Bravas Tots to a whole new level!
Step 6: Assemble the Tot Dish
Once the potatoes are fully baked and delightfully crispy, remove them from the oven and let them cool slightly. Drizzle or dip generous amounts of your creamy sauce over the hot bravas tots, followed by a sprinkle of chopped chives or parsley for added freshness and a pop of color.
Step 7: Serve Immediately
Finally, plate up your Loaded Bravas Tots while they’re still warm for the best experience. Pair them with a side dip and gather friends or family around the table to savor every crispy, gooey bite together. Enjoy the warmth and flavor of this delightful snack!
Tips for the Best Classic Chocolate Chip Cookies
• Room Temperature Butter: Make sure your butter is at room temperature for the perfect creamy texture when mixing; this ensures even blending.
• Don’t Overmix: After adding the flour, mix just until combined. Overmixing can lead to tough cookies instead of the desired chewy ones.
• Chill the Dough: For chewier cookies, refrigerate the dough for at least 30 minutes before baking. This helps the dough hold its shape.
• Monitor Baking Time: Cookies will continue to bake once out of the oven, so pull them out when edges are golden but centers look slightly underdone.
• Custom Add-Ins: Feel free to experiment with your favorite mix-ins! Whether it’s nuts or different chocolate types, make the loaded bravas tots your own!
• Cool on Racks: Let your cookies cool on wire racks for the best texture. This allows air to circulate, keeping the bottoms from becoming too soggy.
Storage Tips for Classic Chocolate Chip Cookies
Room Temperature: Store cookies in an airtight container at room temperature for up to 1 week. This keeps them soft and fresh, perfect for snacking.
Freezer: For longer storage, freeze cookies in a single layer before transferring them to a freezer bag for up to 3 months. Just thaw at room temperature when craving a sweet treat.
Reheating: To enjoy warm cookies again, pop them in a 350°F (175°C) oven for a few minutes. This will revive their gooey centers and delightful warmth—just like fresh-baked!
Tip: Keep in mind that these classic chocolate chip cookies make great gifts; just package them in a cute tin for a heartfelt, homemade touch!
What to Serve with Classic Chocolate Chip Cookies
The aroma of freshly baked cookies wafting through the house is like a warm hug—comforting and inviting.
- Creamy Milk: A tall glass of cold milk perfectly complements the rich chocolate, enhancing the comforting experience of each sweet bite.
- Vanilla Ice Cream: Serve warm cookies with a scoop of velvety vanilla ice cream for a heavenly dessert that combines hot and cold sensations.
- Fruity Berry Compote: Drizzle a homemade berry sauce on top for a burst of fruity freshness that lifts the sweetness of the cookies.
- Nutty Brownies: Pair these cookies with a chunk of fudgy brownies for a decadent dessert platter that’s sure to please.
- Coffee or Espresso: The rich, complex flavors of a fresh brew balance the sweetness, making it a perfect companion for cookie indulgence.
- Chopped Nuts Salad: A light salad with mixed greens, seasonal fruits, and toasted nuts adds a crunchy contrast to the sugary delight of cookies.
- Hot Chocolate: Indulge in a luxurious cup of hot chocolate to dip your cookies in for an extra melt-in-your-mouth experience.
Loaded Bravas Tots Variations & Substitutions
Get ready to elevate your Loaded Bravas Tots with these delightful options, ensuring everyone at the table can enjoy their perfect plate.
- Spicy Twist: Add diced jalapeños to your seasoning mix for an extra kick that will tantalize the taste buds.
- Herb Infusion: Toss in fresh herbs like rosemary or thyme before baking for a fragrant, earthy flavor.
- Cheesy Delight: Sprinkle shredded cheese, like cheddar or queso fresco, over the tots during the last few minutes of baking for a melty, delicious layer.
- Vegan Option: Substitute traditional mayo with a vegan mayo to keep your Loaded Bravas Tots delicious and plant-based.
- Crispy Parmentier: For an extra crunch, try coating the potatoes in panko breadcrumbs before baking for an irresistible texture.
- Texture Booster: Mix in some cooked, crumbled bacon or chorizo for a savory kick that adds depth and flavor to your dish.
- Dipping Fun: Offer a variety of dipping sauces like garlic aioli or chipotle ranch alongside your creamy sauce for a fun twist.
- Customization Bliss: Let guests add their favorite toppings, such as pickled onions or avocado, to create a personal masterpiece on their bravas tots.
Feel free to experiment with these suggestions! You may also want to consider serving these tasty treats alongside a refreshing salad or your favorite dipping sauces like homemade sriracha mayo or guacamole to enhance your dining experience.
Make Ahead Options
These Ultimate Classic Chocolate Chip Cookies are perfect for busy home cooks who love to plan ahead! You can prepare the cookie dough up to 24 hours in advance; simply cover it tightly and refrigerate. To maintain that delicious flavor and texture, be sure to wrap it well, preventing any exposure to air. When you’re ready to bake, let the dough sit at room temperature for about 15-20 minutes before scooping and baking as directed. If you’re feeling extra organized, baked cookies can be stored in an airtight container for up to 3 days at room temperature, ensuring they’re just as delightful when you finally serve them! With these make ahead tips, you’ll have freshly baked, irresistibly chocolatey cookies waiting for you at a moment’s notice.

Classic Chocolate Chip Cookies Recipe FAQs
What type of flour should I use for the best texture?
I recommend using all-purpose flour for a classic chewy texture, but you can substitute it with a gluten-free flour blend if you’re looking for a gluten-free option. Just make sure to check the blend’s packaging for any additional moisture requirements.
How should I store my chocolate chip cookies?
To keep your cookies soft and fresh, store them in an airtight container at room temperature for up to 1 week. If you want to enjoy them later, I suggest freezing them; wrap individual cookies in plastic wrap and place them in a freezer-safe bag for up to 3 months. Thaw at room temperature for a quick snack!
Can I freeze the cookie dough?
Absolutely! You can freeze the prepared cookie dough for up to 3 months. Simply scoop the dough into individual balls, place them on a baking sheet to freeze for about an hour, then transfer them to a freezer bag. When you’re ready to bake, bake from frozen, adding 1-2 minutes to the baking time.
What should I do if my cookies turn out too flat?
If your cookies spread too much, there are a few things to check! Ensure your butter is not too warm; it should be at room temperature. Also, consider chilling your dough for at least 30 minutes before baking—it helps maintain the shape. Lastly, double-check that you’re measuring your flour correctly, as too little can cause excess spread.
Are there any dietary considerations for allergies?
Yes, absolutely! These classic chocolate chip cookies call for butter and eggs, which are not suitable for vegans or certain allergies. For a vegan alternative, use flax eggs (1 tablespoon flaxseed meal mixed with 2.5 tablespoons water per egg) and coconut oil instead of butter. Always check for nut allergies if you’re adding mix-ins like nuts!
Loaded Bravas Tots: Crispy, Creamy, and Full of Flavor!
Ingredients
Equipment
Method
- Preheat your oven to 425°F (220°C) and line a baking sheet with parchment paper.
- Wash and peel the potatoes, then cut them into bite-sized cubes and soak in cold water for at least 30 minutes.
- Drain and pat the potatoes dry, then toss with olive oil, salt, pepper, and seasonings in a large mixing bowl.
- Spread the seasoned potatoes on the prepared baking sheet and bake for 25-30 minutes, flipping halfway through.
- While potatoes bake, prepare the sauce by combining mayonnaise, sriracha, and lemon juice in a small saucepan over medium heat.
- Remove crispy potatoes from the oven, drizzle with sauce, and sprinkle with chopped chives or parsley before serving.
- Serve warm with a side dip and enjoy!
Leave a Reply