
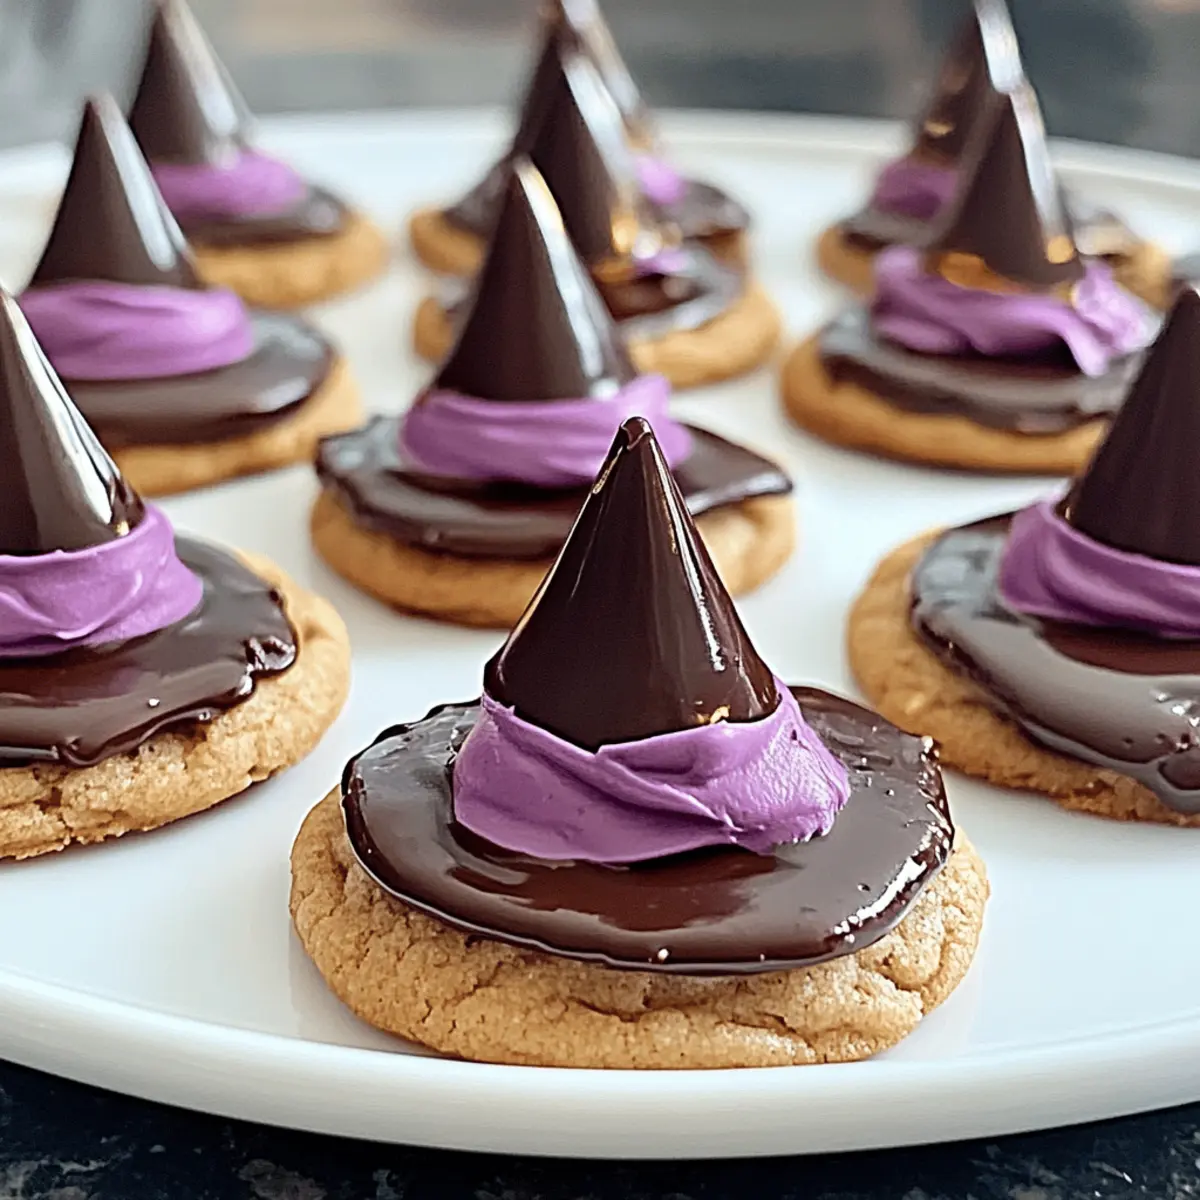
As the leaves turn crisp and shadows grow longer, my kitchen transforms into a Halloween haven filled with sweet scents and spooky spirits. One of my all-time favorite treats to whip up during this season is these Easy Halloween Witch Hat Cookies. Made from simple fudge-striped cookies topped with melted Hershey’s Kisses, they not only capture the festive spirit but are also incredibly fun to create with little ones. The best part? They come together in no time, making them perfect for surprise gatherings or last-minute celebrations. Who wouldn’t want a delicious witch hat at their party? I can’t wait for you to join me in making these delightful cookies that will have everyone asking for more. Are you ready to conjure up some delicious magic?
Why Are These Cookies a Must-Try?
Simplicity at Its Best: The process is straightforward, requiring just a few ingredients and minimal effort, making it perfect for bakers of all skill levels.
Festive and Fun: Kids will adore crafting these whimsical Witch Hat cookies, adding their creative touch through colorful frosting decorations.
Perfect for Gatherings: Whether it’s a Halloween party or a school event, these cookies are guaranteed to be a crowd-pleaser, enchanting guests of all ages!
Versatile Options: Mix things up by using different cookie bases or toppings. Try out variations like chocolate frosting or even round cookies for a delightful twist.
Quick to Make: These cookies are ready in a flash, ideal for those spontaneous get-togethers when you want a festive touch without the fuss.
Join the Halloween fun and check out my other recipes like Pumpkin Cheesecake Cookies or Meringue Ghost Cookies for more sweet delights!
Easy Halloween Witch Cookies Ingredients
For the Cookie Base
- Fudge Striped Cookies – These sweet cookies provide both the structure and festive charm for your witch hats; consider vanilla wafers as an alternative.
- Hershey’s Kisses – The delicious topping that creates the iconic witch hat appearance; remember to unwrap them before use!
For the Decoration
- Purple or Green Frosting – Add a pop of color and festive flair with this optional decoration; gel frosting tends to show vibrant hues better.
- Crushed Nuts (optional) – For an extra crunch, sprinkle these on top of the melted Kiss before it sets!
These easy Halloween Witch Cookies are not just a delightful treat; they also allow for creative expression! Enjoy crafting a batch that’s perfect for any celebration.
Step‑by‑Step Instructions for Easy Halloween Witch Cookies
Step 1: Prepare Your Baking Surface
Begin by preheating your oven to 350°F (175°C) and laying out parchment paper on a baking sheet. Take your fudge-striped cookies and flip them over, placing the stripe-side down, ensuring they form a solid base for your Easy Halloween Witch Cookies. This will help create the perfect foundation for each whimsical hat.
Step 2: Melt the Hershey Kisses
Next, heat a non-stick pan over medium-low heat. Unwrap your Hershey’s Kisses and carefully place them on the pan for about 10-15 seconds until the bottom just begins to soften but not melt too much. This will allow them to adhere better to the cookies. Keep an eye on them as you don’t want to overheat and lose their shape.
Step 3: Assemble the Cookies
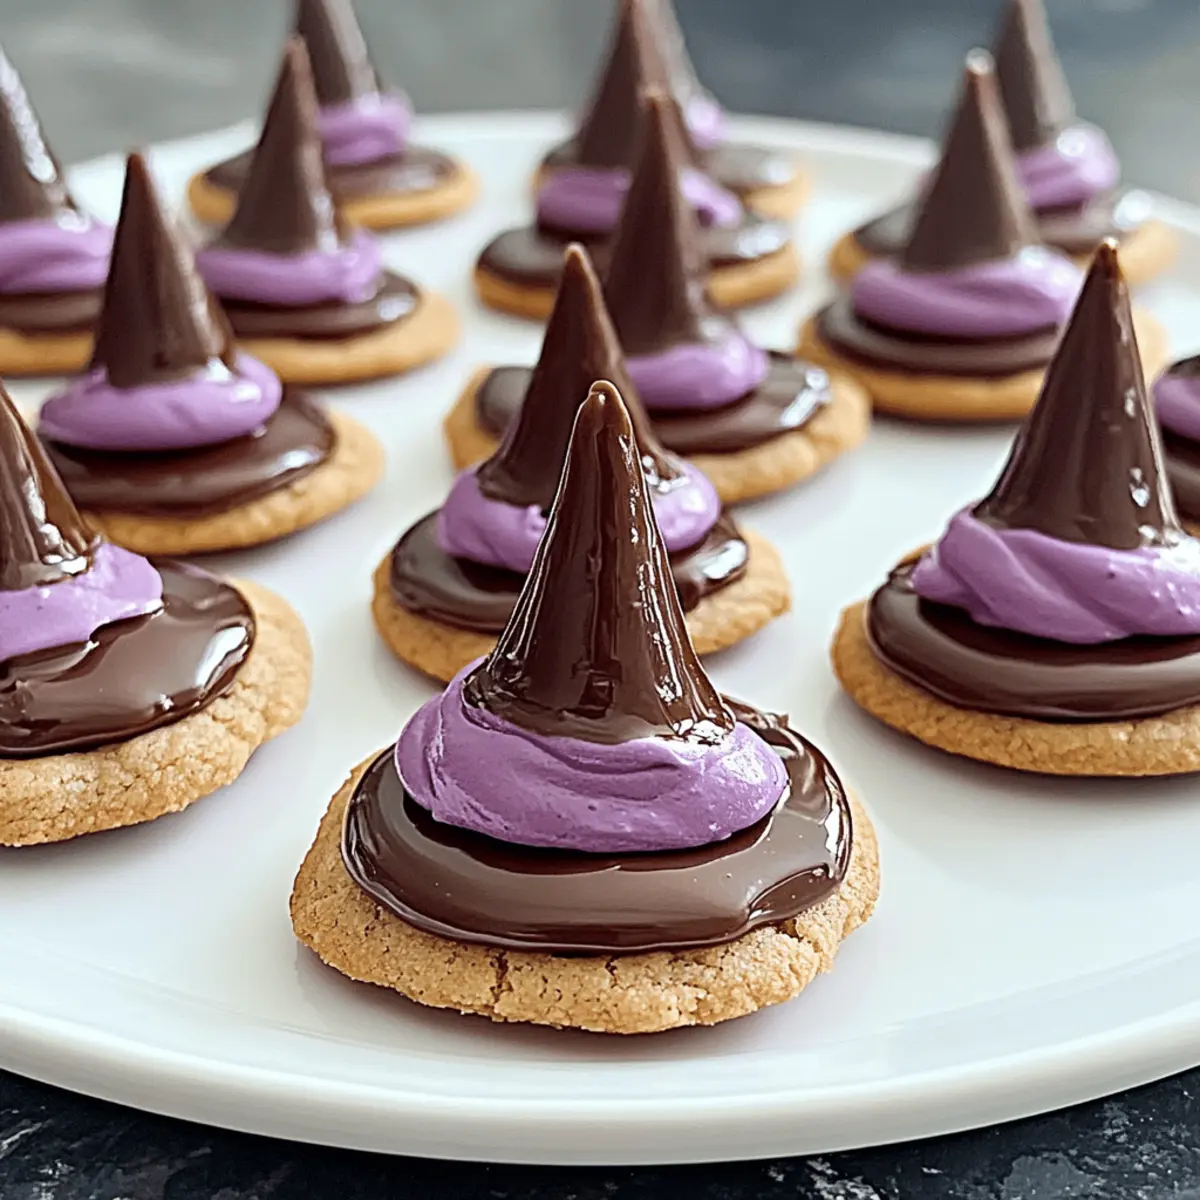
Once the Kisses are slightly melted, swiftly lift each one and place it in the center of a fudge-striped cookie, using the melted side to ensure they stick. Press gently but firmly, allowing them to settle in place. This step brings to life the adorable witch hats in your Easy Halloween Witch Cookies and creates that fun focal point for decoration.
Step 4: Add Decorative Touches
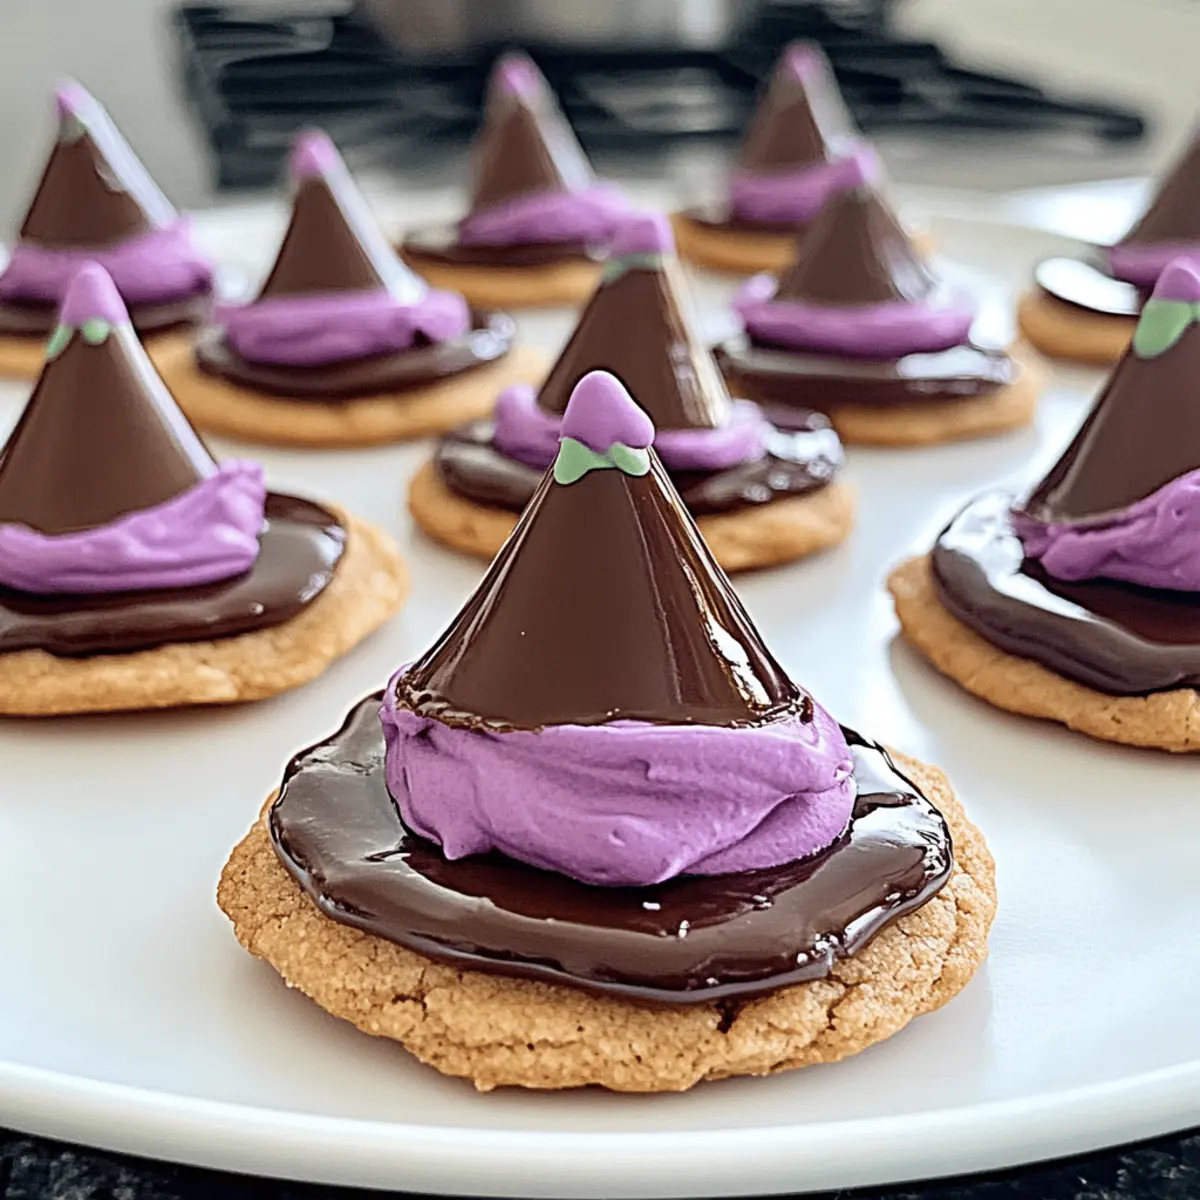
If you want to add some extra flair, grab your purple or green frosting. Using a piping bag, pipe decorative lines or swirls around the base of each melted Hershey Kiss, creating that whimsical witch hat look. Feel free to get creative with designs and patterns; your kids will love this part of the process!
Step 5: Let Them Set
Allow the frosting to set for a few minutes as the cookies cool down. If your decorative frosting does not harden quickly, popping them into the fridge for about 10 minutes can help. This will ensure your Easy Halloween Witch Cookies will look perfect and be ready for serving at your upcoming festivities.
Step 6: Store or Serve
Once fully cooled and decorated, you can serve your delightful witch hat cookies right away or store them in an airtight container. To keep them fresh, make sure they are kept in a cool area or freeze them if needed. Enjoy the compliments as your delicious Easy Halloween Witch Cookies bring smiles to everyone!
Make Ahead Options
These Easy Halloween Witch Cookies are perfect for meal prep and can save you time during the busy Halloween season! You can prepare the fudge-striped cookies and melt the Hershey’s Kisses up to 24 hours in advance. Simply assemble the cookies by sticking the Kisses on top of the cookies, then refrigerate them in an airtight container to maintain freshness. When you’re ready to serve, simply add your creative frosting decorations and allow them to set for a few minutes. This way, you’ll have delightful Halloween treats ready to impress without the last-minute rush, ensuring they’re just as delicious and festive!
What to Serve with Easy Halloween Witch Cookies
As you prepare to share these delightfully spooky treats, consider adding complementary flavors and textures that will elevate your celebration!
- Crispy Apple Slices: Fresh and sweet, they provide a refreshing crunch to contrast the rich chocolate of the cookies.
- Pumpkin Spice Hot Chocolate: This cozy drink is the perfect warm accompaniment, enhancing the fall flavors while keeping the Halloween spirit alive.
For something extra fun, set up a decoration station with colorful sprinkles and edible glitter for your apple slices. Kids will love customising their treats while sipping hot chocolate!
- Gummy Worms: These chewy, colorful candies enhance the Halloween theme and make for a fun side treat that kids adore.
- Spooky Fruit Salad: Combine orange and black fruits like mandarin slices and blueberries for a healthy, festive side that balances out the sweetness of the cookies.
Serve the fruit salad in a carved pumpkin for an added festive touch! It creates a focal point at your table that kids will find delightful.
- Candy Corn: A classic Halloween treat, these sweet candies add a playful, nostalgic touch to your dessert spread.
- Vanilla Ice Cream: A scoop of creamy vanilla will perfectly complement the cookies’ crunchy texture, creating a comforting dessert experience.
Try melting a bit of chocolate syrup on the ice cream as a fun drizzle! It’s a simple way to elevate your dessert and bring smiles around the table.
Easy Halloween Witch Cookies Customizations
Feel free to tailor these Halloween Witch cookies with fun variations and delightful substitutions!
-
Chocolate Frosting: Swap purple or green frosting for chocolate frosting to intensify the chocolate flavor and create a deeper visual contrast.
-
Vanilla Wafers: Use vanilla wafers instead of fudge-striped cookies for a lighter, less sweet base that allows the chocolate to shine.
-
Nutty Crunch: Sprinkle crushed nuts on top of the melted Kiss for a delightful texture contrast. This nutty addition complements the sweetness beautifully.
-
Spooky Sprinkles: Add Halloween-themed sprinkles on your frosting to make these creations even more festive; think ghosts, bats, and pumpkins!
-
Heat Things Up: For those who love a little spice, sprinkle some chili powder on the melted Hershey’s Kiss to create an unexpected kick that surprises and delights.
-
Mini Chocolate Hats: Use mini chocolate candies, like Rolos, instead of Hershey’s Kisses for a compact version of the witch hat that’s just as charming!
-
Alternative Shapes: Feeling adventurous? Use round cookies to craft fun little witch hats, or even cookie cutters to shape your cookies into spooky designs.
As you dive into these sweet variations, consider trying out other festive recipes like Pumpkin Cheesecake Cookies or Apple Cinnamon Cookies for more Halloween fun! Enjoy the creative journey!
Expert Tips for Easy Halloween Witch Cookies
-
Avoid Melting Too Much: Ensure the Hershey’s Kisses are only warmed slightly on the pan. Too much heat can cause them to lose their shape.
-
Creative Decorating: Use gel frosting for vibrant colors. A piping bag can help you create fun designs that kids will love adding to their cookies.
-
Storage Secrets: To keep your cookies fresh, store them in an airtight container. You can also freeze them for up to a month without losing taste.
-
Family Fun Factor: Get everyone involved by letting kids decorate their own cookies. This lovely activity makes your Easy Halloween Witch Cookies even more special.
-
Experiment with Bases: Feel free to substitute fudge-striped cookies with vanilla wafers or other cookie bases for a unique flavor twist!
Storage Tips for Easy Halloween Witch Cookies
Room Temperature: Store the cookies in an airtight container at room temperature for up to 3 days to maintain their delicious crunch and charm.
Fridge: For longer storage, you can refrigerate the cookies in an airtight container; they’ll stay fresh for about a week but may lose some crunch.
Freezer: Freeze your Easy Halloween Witch Cookies for up to 1 month. Place them in a single layer in a freezer-safe container, separating layers with parchment paper.
Reheating: To restore their delightful texture, let the cookies thaw at room temperature for about 30 minutes before serving or enjoy them chilled!
Easy Halloween Witch Cookies Recipe FAQs
How do I select ripe ingredients for this recipe?
Absolutely! When you choose fudge-striped cookies, look for ones that are intact and free from breaks or dark spots. For the Hershey’s Kisses, ensure they’re in good condition—no visible indentations or cracks, as this can affect melting. Lastly, if you’re using any frosting, check that it’s fresh and hasn’t expired.
What is the best way to store the finished cookies?
Very! To maintain the delightful crunch and shape of your Easy Halloween Witch Cookies, store them in an airtight container at room temperature for up to 3 days. If you need to keep them for longer, you can refrigerate them in an airtight container for about a week, though they may lose some crispiness. Just make sure they cool completely before locking them away to avoid moisture buildup!
Can I freeze my Halloween Witch Cookies?
Absolutely! You can freeze your Easy Halloween Witch Cookies for up to 1 month. To do this, lay the cookies in a single layer on a baking sheet and freeze them for about 1 hour. Once frozen, transfer them to a freezer-safe container or bag, separating layers with parchment paper to prevent sticking. When ready to enjoy, simply let them thaw at room temperature for around 30 minutes—easy peasy!
What should I do if my Hershey’s Kisses aren’t melting properly?
If your kisses aren’t melting as expected, simply lower the heat on your pan and allow them a bit more time—around 10-15 seconds usually does the trick. Remember, too high of a heat can cause them to become misshapen! If you’re worried, try microwaving them for about 5 seconds instead. Just keep a close eye on them to avoid over-melting and ruining the shape!
Can I modify the recipe for allergies or dietary preferences?
Absolutely! If you’re catering to dietary restrictions, consider using gluten-free cookies or dairy-free chocolate alternatives. For nut allergies, skip the crushed nuts entirely. If you’re aiming for less sugar, you could also use a sugar-free frosting. Remember, the key is to choose ingredients that work for your dietary needs without sacrificing the festive charm of these Easy Halloween Witch Cookies!

Easy Halloween Witch Cookies That Kids Will Love
Ingredients
Equipment
Method
- Preheat your oven to 350°F (175°C) and lay out parchment paper on a baking sheet. Flip fudge-striped cookies over, stripe-side down.
- Heat a non-stick pan over medium-low heat. Unwrap Hershey's Kisses and place on the pan for about 10-15 seconds until the bottom just begins to soften.
- Place each melted Kiss in the center of a fudge-striped cookie and press gently to create witch hats.
- Pipe decorative frosting around the base of each melted Hershey Kiss to add flair.
- Allow frosting to set for a few minutes or refrigerate for about 10 minutes.
- Serve cookies immediately or store in an airtight container.
Leave a Reply