
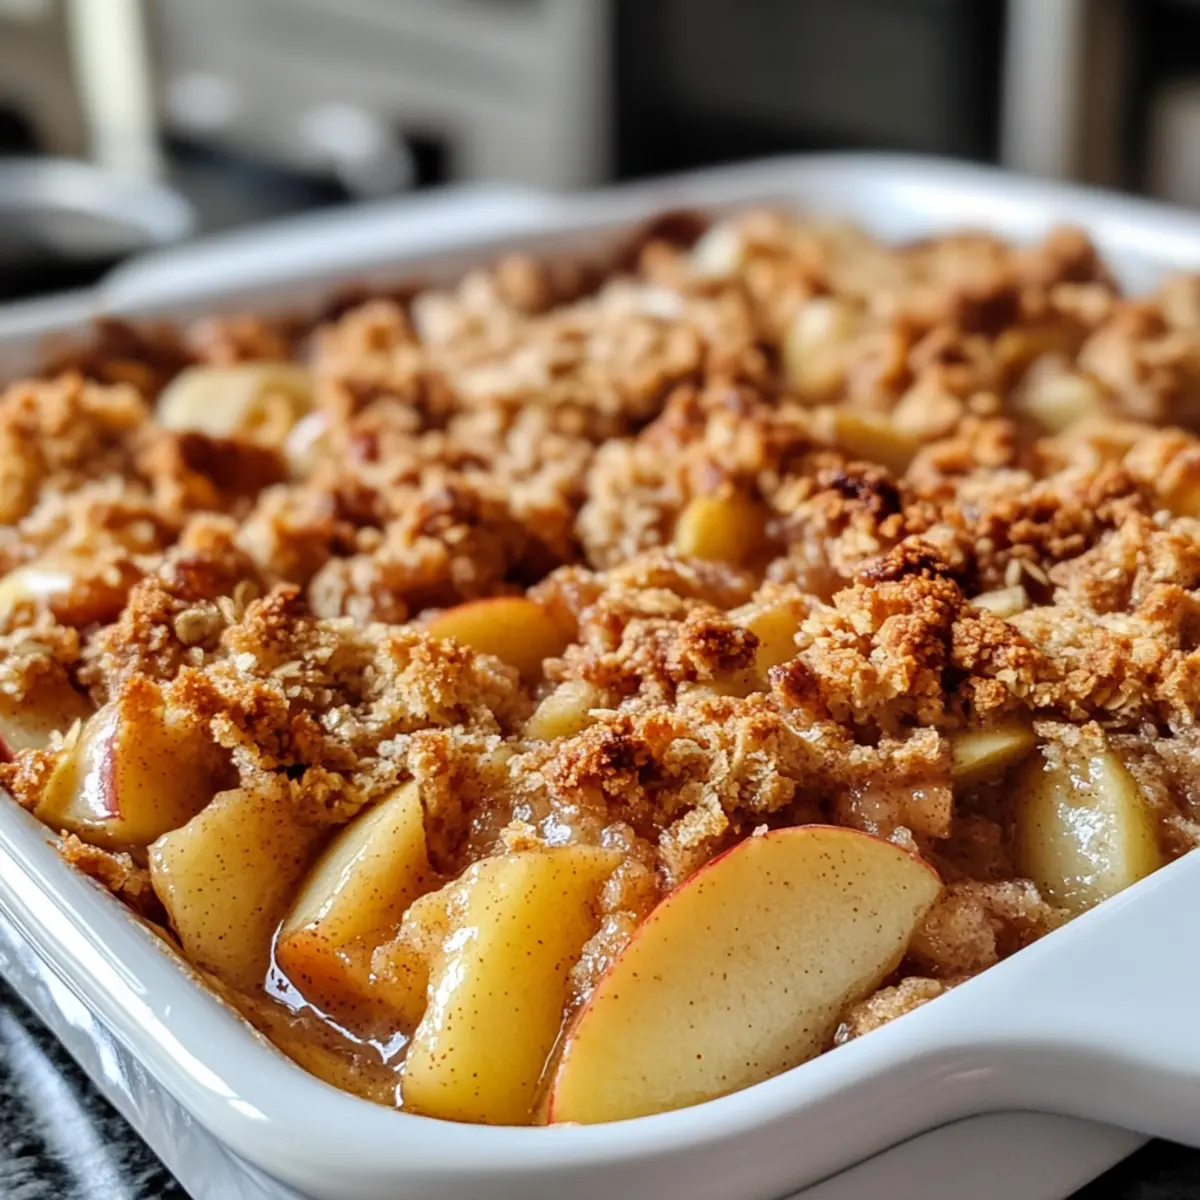
As I stood in my kitchen, the enticing scent of cinnamon danced through the air, instantly transporting me to a cozy fall day. Today, I’m thrilled to share my delightful Gluten-Free Cinnamon Apple Crisp, a dessert that feels like a warm hug in a bowl. This recipe not only combines tender baked apples with a crunchy topping but is also incredibly easy to whip up on those busy weeknights or for festive gatherings. What’s even better? It’s gluten-free, making it a wonderful treat for everyone to enjoy without compromise. Whether you’re looking for a comforting dessert to share with family or simply craving a slice of autumn goodness all to yourself, this apple crisp hits the spot. Are you ready to dive into those sweet flavors and comforting textures? Let’s get started!
Why Choose This Apple Crisp Recipe?
Simplicity: The recipe is straightforward and requires no complicated techniques, making it perfect for all skill levels, whether you’re a seasoned chef or a home cook.
Deliciously Unique: Combining tender baked apples with a crunchy topping, this crisp delivers a mouthwatering flavor that leaves everyone wanting more.
Versatile Options: Feel free to customize your dessert. Try substituting apples with pears or berries for a fresh twist, or go for a different sweetener to suit your dietary needs.
Quick Prep Time: With minimal prep, your scrumptious dessert will be ready in just about 35 minutes! Perfect for impromptu gatherings or cozy nights in.
Crowd-Pleasing: Whether served warm with vanilla ice cream or simply on its own, this treat is an instant hit, perfect for sharing with family and friends.
Want to pair it with a savory dish? Check out my Korean Ground Beef Bowl for a delightful meal before indulging in this sweet finish!
Gluten-Free Apple Crisp Ingredients
• Your journey to a delicious dessert starts here!
For the Filling
- Apples – Use Granny Smith for a perfect balance of sweetness and tartness in your apple crisp.
- Brown Sugar – Adds a deep, rich flavor; consider coconut sugar for a healthier twist.
- Cinnamon – This warm spice enhances the apple’s natural sweetness; nutmeg can also elevate the flavor.
For the Topping
- Gluten-Free Oats – Essential for that satisfying crisp texture; ensure they are certified gluten-free.
- Gluten-Free Flour – Helps bind the topping; almond or coconut flour can be swapped for a different texture.
- Butter (or Coconut Oil) – Adds richness; coconut oil serves as a dairy-free alternative.
Extras
- Chopped Nuts (optional) – For added crunch and healthy fats, walnuts or pecans can be a delightful addition.
This Gluten-Free Apple Crisp is not only easy to make but is sure to be a cherished dessert at any table!
Step‑by‑Step Instructions for Gluten-Free Cinnamon Apple Crisp
Step 1: Preheat the Oven
Begin by preheating your oven to 350°F (175°C). This ensures that the heat is evenly distributed when you bake your Gluten-Free Cinnamon Apple Crisp, resulting in perfectly tender apples and a beautifully golden topping. While the oven warms up, you can focus on preparing the apples for the filling.
Step 2: Prepare the Apples
Peel and slice about six medium Granny Smith apples, placing them in a large mixing bowl. Add in a generous sprinkle of brown sugar and a teaspoon of cinnamon, tossing everything together until the apple slices are evenly coated. This mixture should glisten, indicating that the flavors are melding beautifully. Once ready, set it aside to let the apples soak up the sweetness.
Step 3: Make the Crisp Topping
In a separate bowl, combine gluten-free oats, gluten-free flour, and the remaining brown sugar. Use a fork or your fingers to mix in softened butter or coconut oil until the mixture resembles coarse crumbs. This should be crumbly and slightly moist, ready to create a delightful crunch over your apple filling. Prepping the topping now helps ensure it’s ready to spread over the apples.
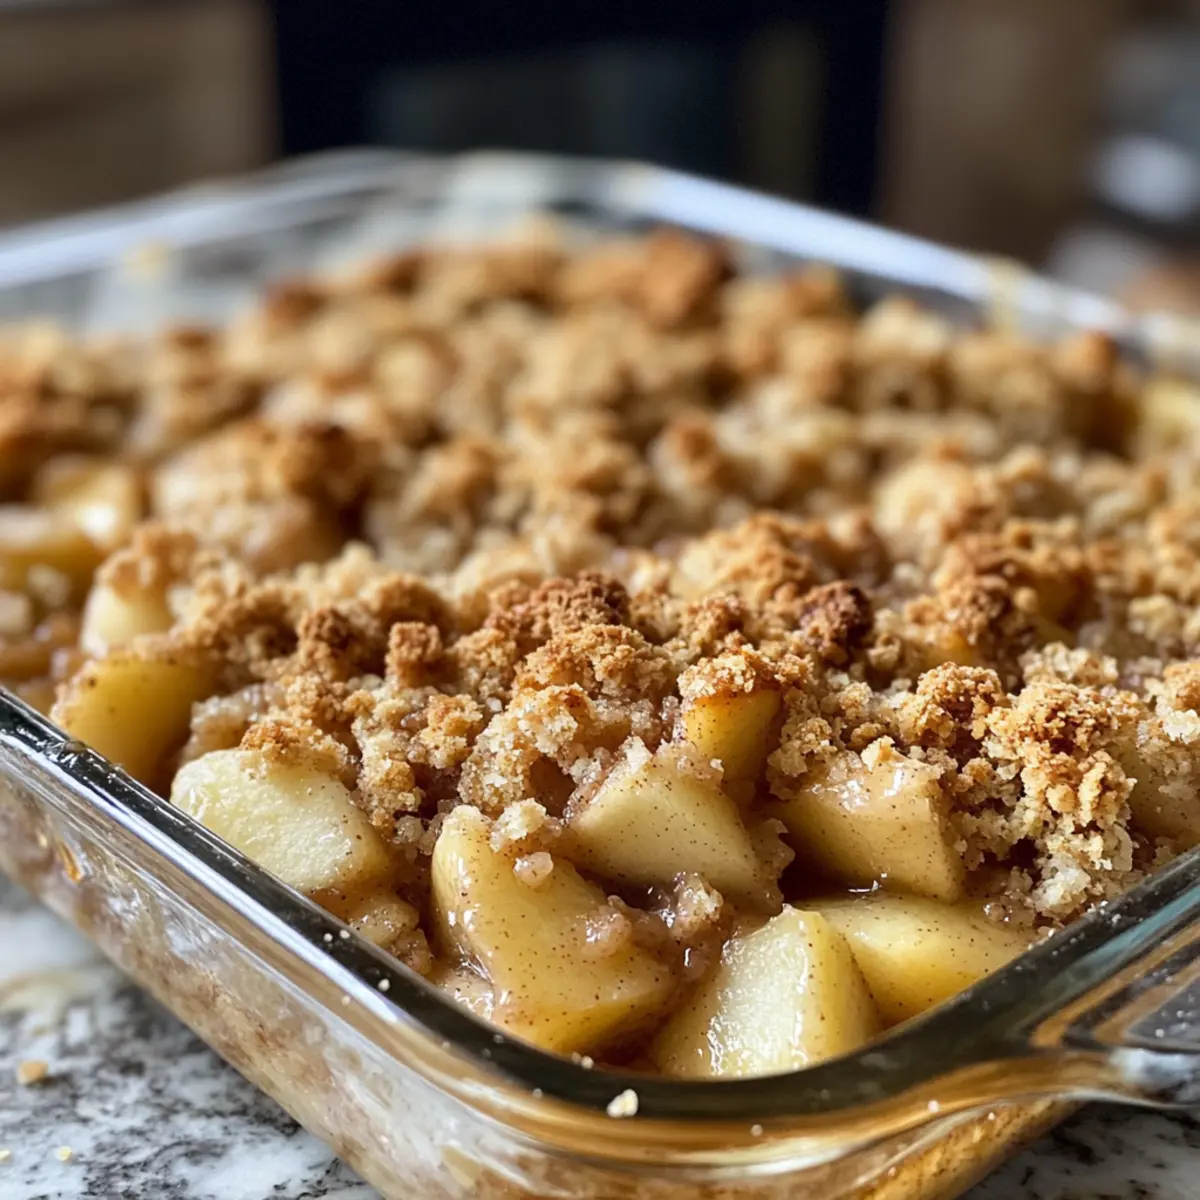
Step 4: Assemble the Dish
Take a greased 9×13-inch baking dish and spread the apple mixture evenly across the bottom. Arrange the apples so they layer nicely, allowing for even cooking. The apples should be slightly mounded in the center, as they’ll cook down while baking. This layer will be the foundation of your warm and comforting Gluten-Free Cinnamon Apple Crisp.
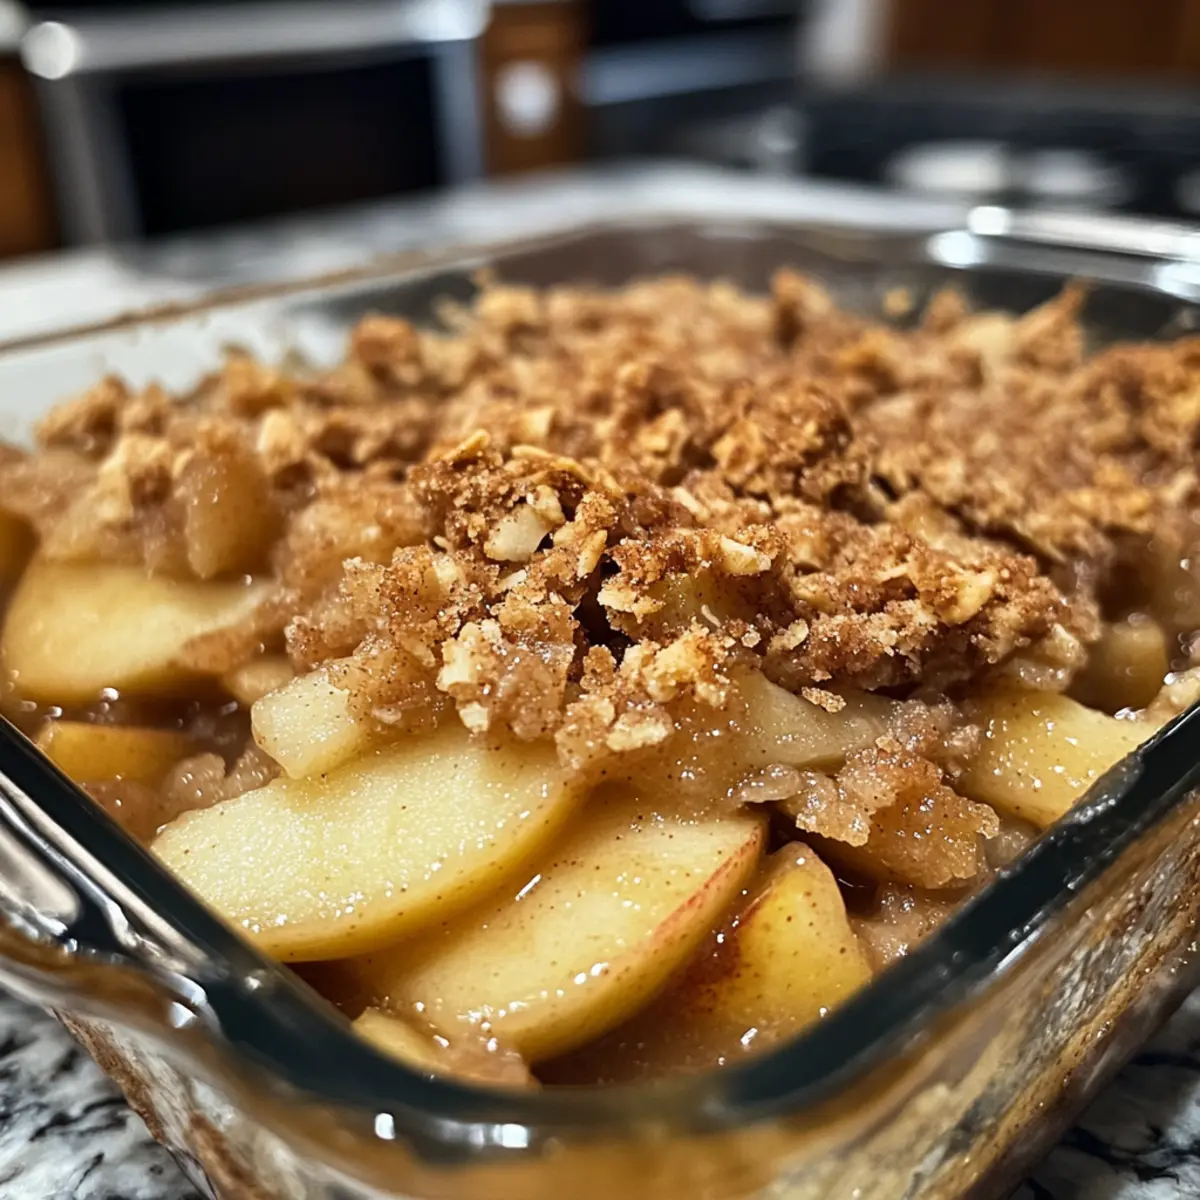
Step 5: Add the Topping
Evenly distribute the oat topping over the prepared apple layer, ensuring that it covers every inch. Take care to spread it out gently with a spatula, allowing some gaps for the apples to peek through. You want to see the oats and some apple surfaces, which will create a beautiful texture once baked.
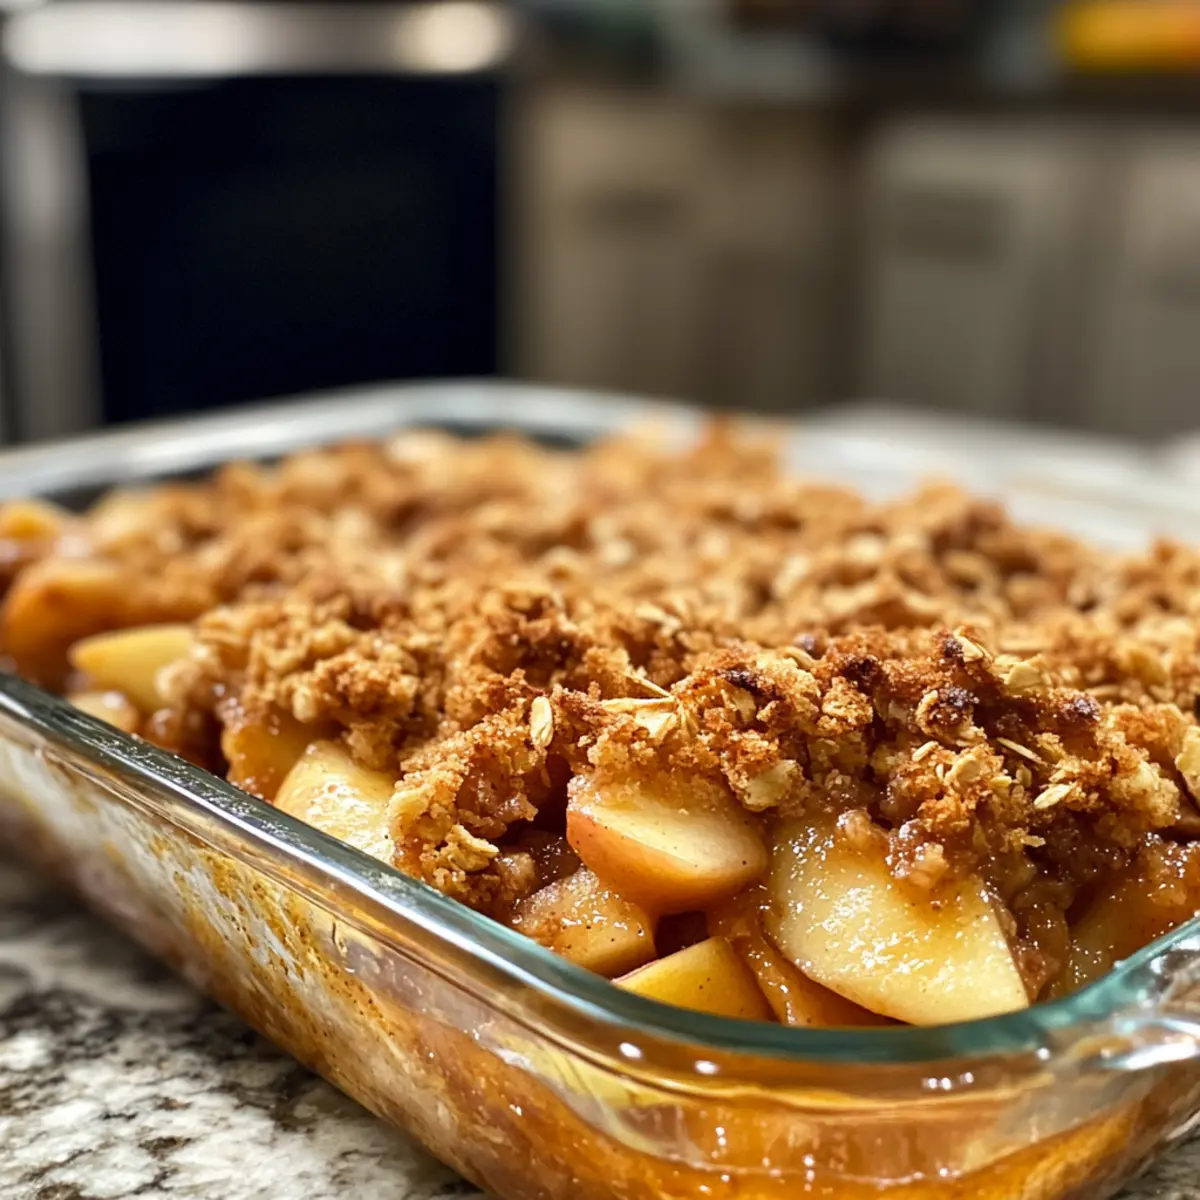
Step 6: Bake the Crisp
Place the assembled baking dish into the preheated oven and bake for 30 to 35 minutes. Keep an eye on it, and look for the topping to turn golden brown and the apple mixture to bubble around the edges. The aroma that fills the kitchen will be comforting and inviting.
Step 7: Cool and Serve
Once the topping has achieved a lovely golden color and the apples are bubbling, remove your Gluten-Free Cinnamon Apple Crisp from the oven. Allow it to cool for about 10 minutes before digging in, letting the flavors settle. Serve warm, perhaps with a scoop of vanilla ice cream on the side for an extra indulgent treat!
Expert Tips for Gluten-Free Apple Crisp
Choose the Right Apples: Using a mix of sweet and tart apples like Granny Smith and Honeycrisp will result in a more balanced flavor.
Crisp Topping Quality: Ensure your gluten-free oats are certified gluten-free to avoid cross-contamination and to maintain a proper texture.
Mix It Up: Feel free to substitute other fruits like pears or berries for a unique twist on your Gluten-Free Apple Crisp!
Watch the Bake Time: Keep an eye on the topping; it should reach a golden brown color. If it browns too quickly, cover it with foil.
Cooling is Key: Let the apple crisp cool for about 10 minutes before serving. This helps the filling set and enhances the overall flavor!
What to Serve with Gluten-Free Cinnamon Apple Crisp
Imagine the comforting aroma of cinnamon and baked apples wafting through your home, setting the perfect stage for a delightful meal.
- Savory Korean Ground Beef Bowl: Pair this sweet dessert with a hearty Korean dish for a satisfying contrast of flavors and textures.
- Creamy Vanilla Ice Cream: A scoop of this classic favorite takes your apple crisp to a whole new level, melting into your warm dessert.
- Whipped Cream: Light and fluffy, it adds a luxurious touch that beautifully complements the sweet and spiced apple filling.
- Caramel Sauce: Drizzling this over your apple crisp enhances the sweetness and creates an indulgent, decadent treat.
- Simple Green Salad: A fresh salad balances the sweetness, offering a refreshing crunch with every bite and keeping the meal light.
- Hot Apple Cider: This cozy drink echoes the flavors of your dessert while warming you from the inside out, perfect for fall evenings.
- Nutty Granola: Sprinkle a bit on top for added texture and a delicious contrast against the tender apples and soft topping.
- Pecan Pie Bars: Serve these along with your apple crisp for a dessert duo that showcases the best of autumn flavors.
Make Ahead Options
These Gluten-Free Cinnamon Apple Crisp preparations are perfect for busy home cooks looking to save time! You can slice and toss your apples with brown sugar and cinnamon up to 24 hours in advance, then cover and refrigerate them. Additionally, you can prepare the oat topping ahead of time and store it in an airtight container for up to 3 days to maintain its crunchy texture. When it’s time to bake, simply place the prepared apples in your baking dish, add the topping, and bake as instructed for that comforting, warm dessert. This way, when you’re ready to indulge, everything is prepped, and you can enjoy a delightful treat with minimal effort!
How to Store and Freeze Gluten-Free Apple Crisp
Fridge: Store leftovers in an airtight container in the refrigerator for up to 3 days. This helps maintain the texture and flavor of your delightful gluten-free apple crisp.
Freezer: Freeze unbaked apple crisp in a covered dish for up to 2 months. When ready to enjoy, simply thaw in the fridge overnight and bake as directed.
Reheating: Reheat leftover apple crisp in the oven at 350°F (175°C) for about 15-20 minutes. This restores the crispiness of the topping while warming the apple filling beautifully.
Serving Suggestion: For a delightful experience, reheat and serve your apple crisp warm, ideally topped with a scoop of ice cream for an indulgent treat.
Variations & Substitutions for Apple Crisp
Feel free to get creative and make this recipe your own—it’s all about that comforting flavor and delightful texture!
- Gluten-Free Flour: Swap with almond or coconut flour for a nutty twist. Just keep in mind that alternative flours may slightly change the texture.
- Sweeteners: Use honey or maple syrup in place of brown sugar for a natural sweetness that shines through.
- Fruits: Try substituting apples with fresh pears or mixed berries for a refreshing change of flavor during any season.
- Add Nuts: Incorporate chopped walnuts or pecans into the topping for an extra crunchy texture that provides a nice contrast to the soft apples.
- Dairy-Free: Replace butter with coconut oil or vegan butter for a completely dairy-free option, keeping all the richness intact.
- Spice It Up: Include a pinch of nutmeg or ginger for a spicy kick that enhances the warm, comforting aroma of your apple crisp.
- Toppings: Give a layer of granola on top for added crunch and a delightful chew to the topping—it’s like having your favorite breakfast in dessert form!
- Serving Suggestions: Serve this delectable apple crisp over a scoop of vanilla ice cream or a spoonful of Greek yogurt for a creamy accompaniment.
For even more deliciousness, consider serving alongside a savory dish like my Korean Ground Beef Bowl for a balanced meal experience!
Gluten-Free Cinnamon Apple Crisp Recipe FAQs
What apples are best to use for this recipe?
Absolutely! I recommend using Granny Smith apples for their tartness, which perfectly balances the sweetness of brown sugar. You can also mix in some sweeter varieties like Honeycrisp or Fuji for added flavor depth. The combination of sweet and tart will elevate your apple crisp wonderfully.
How do I store leftover apple crisp?
Very simple! Store your leftover Gluten-Free Cinnamon Apple Crisp in an airtight container in the refrigerator for up to 3 days. Just ensure it’s cooled before sealing it. This keeps the flavors intact while maintaining the texture.
Can I freeze the apple crisp?
Yes, you can freeze your apple crisp! For best results, freeze it unbaked in a covered baking dish for up to 2 months. When you’re ready to enjoy it, simply thaw the dish in the fridge overnight, then bake as directed. This is a great way to have this comforting dessert ready for a quick treat.
What can I do if my topping is too dry or crumbly?
If you find your topping is too dry, mix in a little more softened butter or coconut oil, a tablespoon at a time, until you reach the desired consistency. You want the mixture to be crumbly and moist, somewhat like wet sand, to ensure it crisps up beautifully during baking.
Are there any allergy considerations with this recipe?
Absolutely! This recipe is gluten-free, but if you’re cooking for someone with nut allergies, be cautious with the nuts that you might add. You can entirely skip them or use seeds like pumpkin or sunflower for added crunch without the nut risks. Always double-check that your oats and other ingredients are certified gluten-free to avoid cross-contamination.
Can I make substitutions to this recipe?
Very much! Feel free to swap out the apples for other fruits like pears or berries, depending on your preferences. You can also experiment with using maple syrup instead of brown sugar for a unique sweetness. Just remember that this might alter the texture a bit, so keep an eye on the consistency!
Savory Korean Ground Beef Bowl That Will Ignite Your Tastebuds
Ingredients
Equipment
Method
- In a skillet over medium heat, add ground beef and cook until browned, about 5-7 minutes.
- Add soy sauce, sesame oil, garlic, and ginger. Stir to combine and cook for an additional 5 minutes.
- Remove from heat and stir in sliced green onions.
- Place cooked rice in serving bowls.
- Top with beef mixture and steamed or stir-fried vegetables.
- Garnish with sesame seeds and additional green onions if desired.
Leave a Reply