
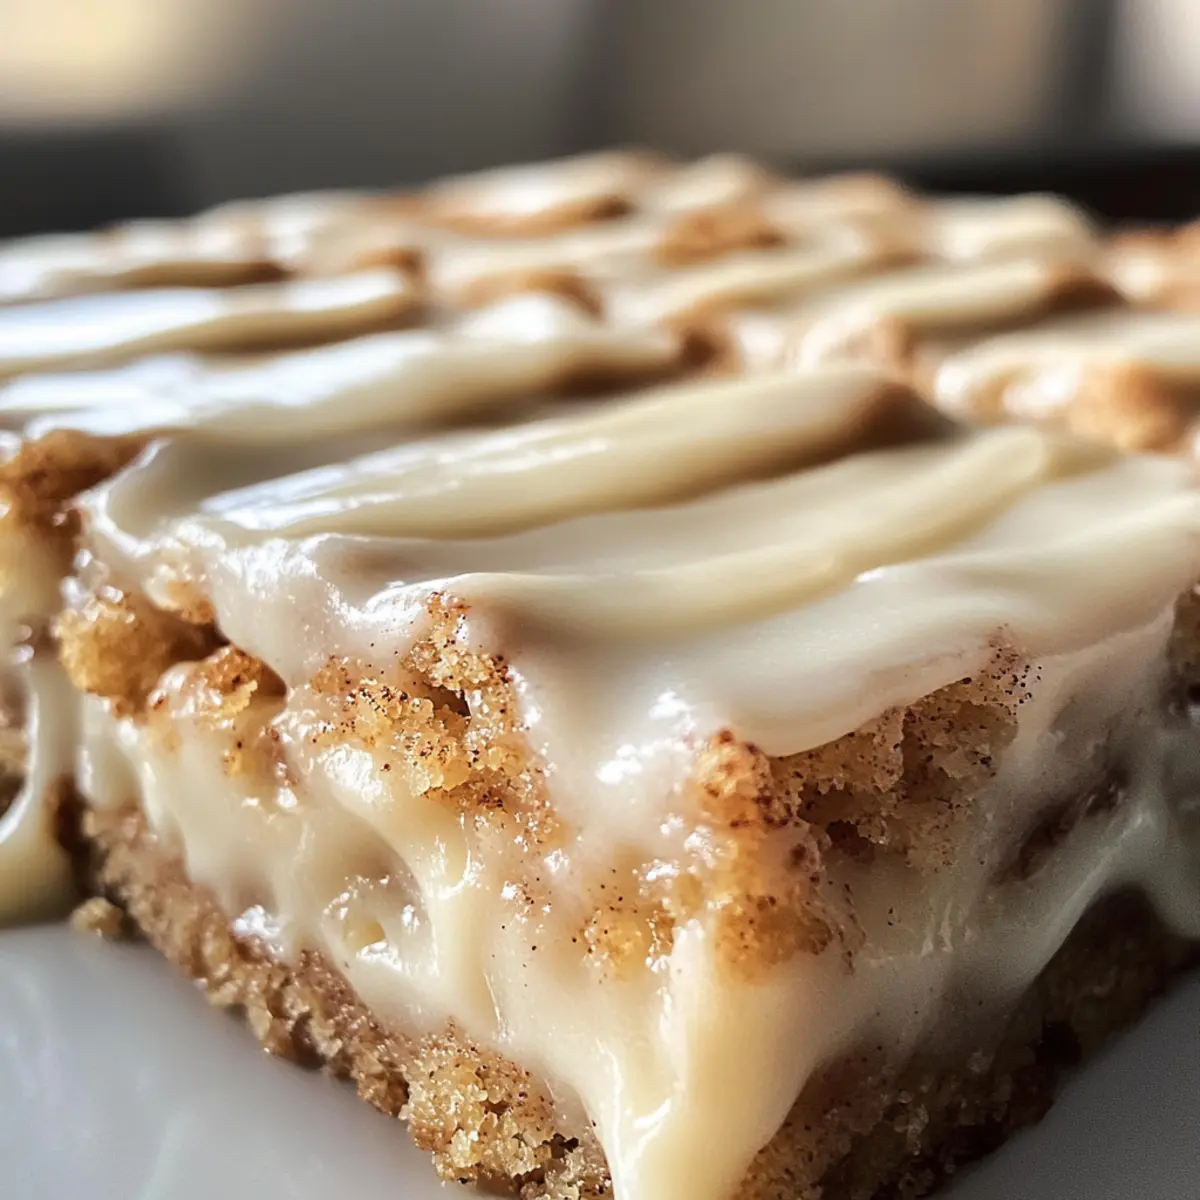
The comforting aroma of cinnamon wafting through the kitchen can instantly transport me back to my childhood, where baking was not just a task but a cherished tradition. Today, I’m excited to share a quick and delightful recipe for Cinnamon Roll Bliss Bars that combines the beloved flavors of classic cinnamon rolls with the convenience of modern dessert-making. These bars are not only a crowd-pleaser but also incredibly simple to whip up in just 45 minutes—perfect for busy weeknights when you’re craving something sweet without the fuss. With their soft, chewy texture and a luscious cream frosting, these bars are sure to bring smiles to the faces of family and friends. Ready to turn your kitchen into a cozy haven? Let’s dive into these Cinnamon Roll Bliss Bars that will make every gathering feel special!
Why are Cinnamon Roll Bliss Bars irresistible?
Simplicity: These bars come together in just 45 minutes, making them a stress-free choice for any occasion.
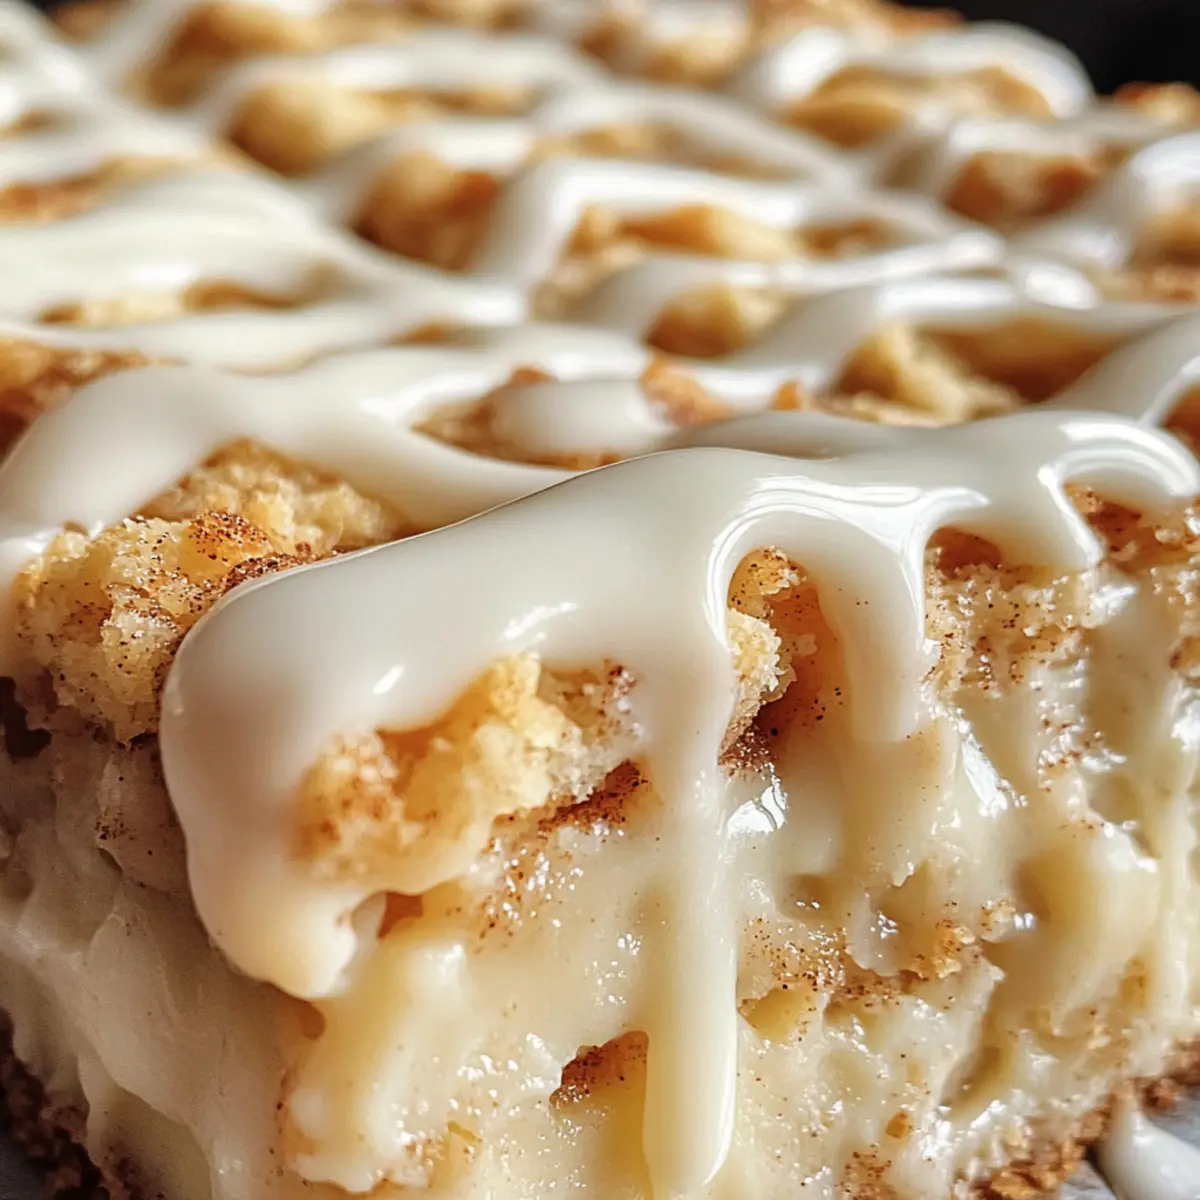
Iconic Flavors: The warm, aromatic blend of cinnamon and butter creates a nostalgic dessert experience you’ll love.
Chewy Texture: Soft, gooey, and utterly satisfying, they provide a delightful bite reminiscent of your favorite cinnamon rolls.
Crowd-Pleaser: Perfect for sharing at gatherings, they are bound to impress your family and guests alike.
Versatility: Feel free to add your favorite mix-ins like nuts or chocolate chips for a unique twist!
If you love the flavors of cinnamon, you might also enjoy these Apple Cinnamon Blondies or Apple Cinnamon Cookies. Enjoy baking!
Cinnamon Roll Bliss Bars Ingredients
For the Bars
- Softened Butter – Adds richness and moisture; for best flavor, use unsalted butter.
- Brown Sugar – Contributes to sweetness with a deeper flavor; coconut sugar can be a lower glycemic substitute.
- Granulated Sugar – Provides the sweetness that balances the spice.
- Eggs – Acts as a binding agent, making your bars moist; use room temperature eggs for better mixing.
- Sour Cream – Keeps the bars wonderfully moist with a slight tang; you can swap it for Greek yogurt for a lighter version.
- Vanilla Extract – A touch of vanilla enhances the overall flavor of these delightful cinnamon roll bliss bars.
- All-Purpose Flour – Gives structure to the bars; opt for a gluten-free flour blend to make them gluten-free.
- Baking Powder – A leavening agent that helps your bars rise beautifully.
- Baking Soda – Works in conjunction with baking powder for a perfect texture.
- Ground Cinnamon – Provides that signature cinnamon flavor; freshly ground will give a more robust taste.
- Salt – Balances sweetness and amplifies all the flavors.
For the Frosting
- Powdered Sugar – Creates a smooth, creamy frosting; adjust the quantity based on your sweetness preference.
- Milk – Necessary for thinning the frosting to the desired consistency; plant-based milk works well if you prefer a dairy-free option.
- Vanilla Extract – Enhances the flavor of the frosting, making it even more irresistible!
Step‑by‑Step Instructions for Cinnamon Roll Bliss Bars
Step 1: Preheat and Prepare
Begin by preheating your oven to 350°F (175°C). While the oven warms, generously grease a 9×13 inch baking pan with butter or non-stick spray to ensure your Cinnamon Roll Bliss Bars release easily after baking. This essential step sets the stage for a perfectly baked treat!
Step 2: Cream the Butter and Sugars
In a large mixing bowl, combine softened butter, brown sugar, and granulated sugar. Using a hand mixer or stand mixer, cream these ingredients together on medium speed until the mixture is smooth and creamy, about 2-3 minutes. This process incorporates air for lighter bars and ensures a lovely sweetness throughout.
Step 3: Incorporate Wet Ingredients
Next, add room temperature eggs, sour cream, and vanilla extract to the creamed mixture. Mix on low speed until everything is just combined, being careful not to overmix. You want a cohesive batter that maintains some moisture and richness, perfect for your Cinnamon Roll Bliss Bars!
Step 4: Combine Dry Ingredients
In a separate bowl, whisk together all-purpose flour, baking powder, baking soda, ground cinnamon, and salt. This ensures even distribution of all dry ingredients and helps your bars rise beautifully. The aromatic cinnamon will start to fill your kitchen, getting you excited for what’s to come!
Step 5: Mix Dry with Wet
Gradually add the dry mixture into the wet ingredients, stirring gently with a spatula until just combined. Avoid overmixing; it’s okay if a few lumps remain. This careful folding technique keeps your bars soft and chewy, providing that cherished texture reminiscent of classic cinnamon rolls.
Step 6: Spread the Batter
Once combined, spread the batter evenly into your prepared baking pan, using a spatula to smooth the top. This step is crucial for ensuring that your Cinnamon Roll Bliss Bars bake uniformly. You should see a lovely, thick layer of dough ready to absorb all that cinnamon goodness.
Step 7: Create the Cinnamon Topping
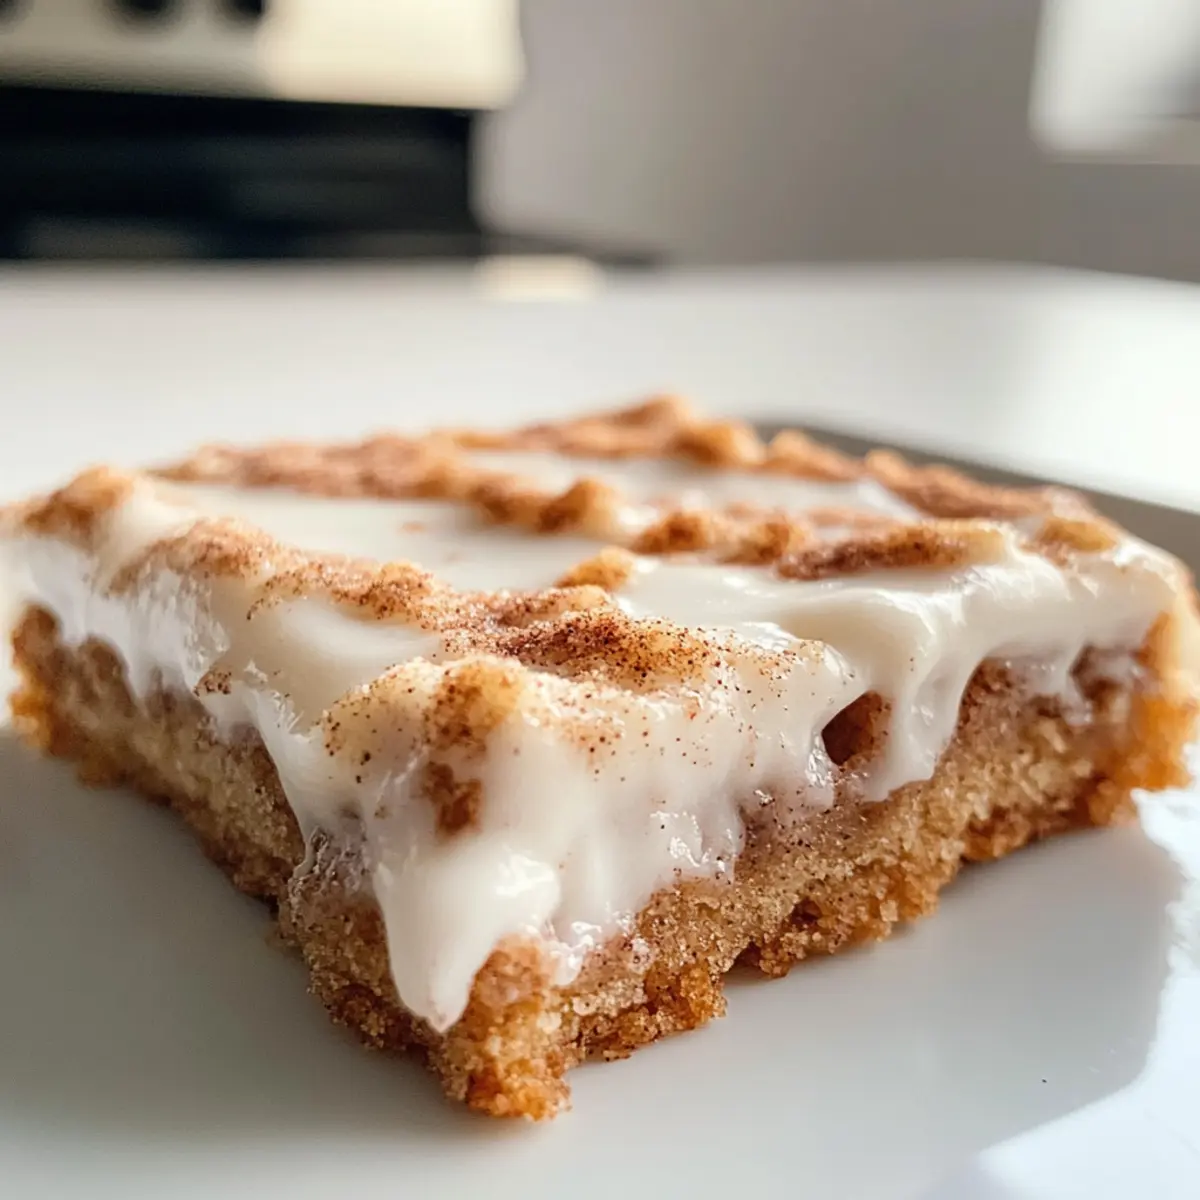
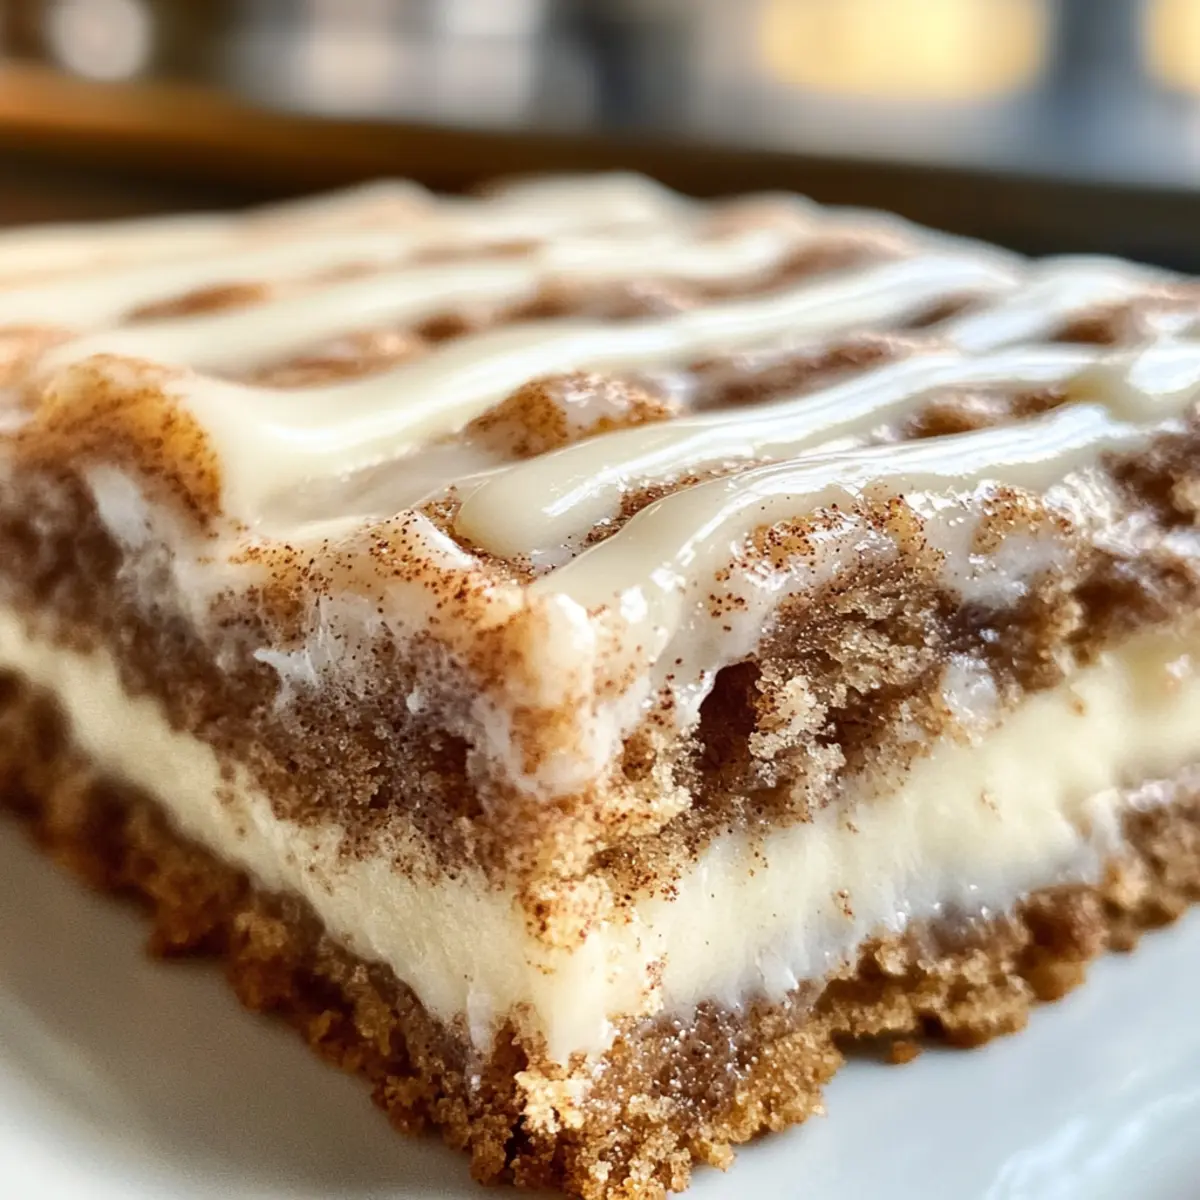
In a small bowl, mix together some additional cinnamon and sugar to create a delightful topping. Sprinkle the cinnamon-sugar mixture generously over the batter in the pan, ensuring it’s evenly coated. This will give your bars that irresistible cinnamon swirl flavor we all adore.
Step 8: Bake to Perfection
Place the baking pan in the preheated oven and bake for 25-30 minutes. You’ll know they’re done when the edges are lightly golden and a toothpick inserted into the center comes out clean. Keep an eye on them toward the end of baking for that perfect golden hue.
Step 9: Cool the Bars
Remove the baking pan from the oven and allow your Cinnamon Roll Bliss Bars to cool completely in the pan. This cooling process is important, as it helps the bars set properly before frosting, ensuring a delightful texture and the perfect finishing touch.
Step 10: Prepare the Frosting
While the bars cool, prepare the frosting by mixing powdered sugar, milk, and vanilla extract in a medium bowl. Whisk until smooth and creamy, adjusting the milk as necessary to reach your desired consistency. This luscious frosting will elevate your Cinnamon Roll Bliss Bars to an indulgent level.
Step 11: Frost and Serve
Finally, once the bars are completely cool, spread the frosting evenly over the top with a spatula. The creamy layer will enhance the flavors and create a visual treat. Slice into squares, serve, and watch everyone enjoy these delightful Cinnamon Roll Bliss Bars!
Expert Tips for Cinnamon Roll Bliss Bars
• Avoid Overmixing: Don’t overmix the batter once the dry ingredients are added. This can lead to tough, chewy bars instead of the soft texture you desire.
• Cool Completely: Allow the bars to cool completely before frosting. This prevents the frosting from melting and ensures a smooth finish on your Cinnamon Roll Bliss Bars.
• Use Fresh Cinnamon: For the best flavor, opt for freshly ground cinnamon. It enhances the taste profile, making your bars even more irresistible.
• Room Temperature Ingredients: Ensure your eggs and sour cream are at room temperature. This helps create a uniform batter that rises beautifully and keeps everything moist.
• Bake to Perfection: Keep an eye on the baking time. Overbaking can dry out the bars; they should be golden and a toothpick should come out clean, but not dry.
What to Serve with Cinnamon Roll Bliss Bars
These delightful bars are the perfect sweet ending to any meal, inviting you to create a cozy culinary experience.
-
Fresh Fruit Salad: The juicy bursts of seasonal fruits offer a refreshing contrast to the chewy texture of the bars. Enjoying a scoop of refreshing fruit alongside your dessert makes for a balanced treat.
-
Vanilla Ice Cream: A scoop of creamy, vanilla ice cream adds a luxurious element and a delightful temperature contrast. The melting ice cream over the warm bars creates an indulgent experience that is hard to resist!
-
Coffee or Latte: A warm cup of coffee or a frothy latte beautifully enhances the sweet, cinnamon flavor while balancing the richness of the frosted bars. Sharing these with loved ones fosters connection over freshly brewed comfort.
-
Creamy Yogurt Parfait: Layering yogurt with granola and fruit elevates the meal to a beautiful, healthful option, harmonizing perfectly with the sweetness of the Bliss Bars. Each bite brings a fusion of textures that’s sure to please.
-
Milk: A classic pairing, a cold glass of milk not only quenches your thirst but complements the sweetness of the bars beautifully. It’s a nostalgic combo that brings back childhood memories!
-
Lemonade or Iced Tea: The tartness of lemonade or the subtle herbal notes of iced tea provide a refreshing contrast to the sugary dessert. Sipping on lemonade or iced tea can transform your gathering into a delightful summer experience.
-
Chocolate Sauce Drizzle: Adding a drizzle of chocolate sauce over the frosting can elevate your bars, creating a mouthwatering blend of flavors. The bittersweet chocolate pairs perfectly with the cinnamon and sweetness, fulfilling any dessert lover’s cravings.
-
Pecan Pie Bites: For a touch of indulgence, serve mini pecan pie bites on the side for a delightful interplay of flavors. The nutty richness of the bites will enhance the experience of enjoying Cinnamon Roll Bliss Bars.
Make Ahead Options
These Cinnamon Roll Bliss Bars are perfect for meal prep enthusiasts! You can prepare the batter and store it in the refrigerator for up to 24 hours before baking. Just mix all your wet ingredients and dry ingredients separately, then combine them just before spreading the batter into the pan. Alternatively, if you bake the bars in advance, they can be kept in an airtight container at room temperature for up to 3 days or frozen for up to 2 months. For the best quality, let the bars cool completely before frosting, ensuring they stay soft and chewy. When ready to serve, simply frost and slice, and you’ll have a delightful treat that’s just as delicious as when freshly made!
How to Store and Freeze Cinnamon Roll Bliss Bars
Room Temperature: Store your Cinnamon Roll Bliss Bars in an airtight container at room temperature for up to 3 days. This keeps them soft and chewy for snacking!
Fridge: For longer freshness, keep the bars in the fridge, where they’ll last about a week. Make sure they’re covered tightly to prevent drying out.
Freezer: To freeze, wrap the bars tightly in plastic wrap and then place them in a freezer-safe container for up to 2 months. Thaw in the fridge overnight before enjoying!
Reheating: Reheat leftovers in the microwave for about 10-15 seconds for a warm, gooey treat, or enjoy them cool straight from the fridge.
Cinnamon Roll Bliss Bars Variations
Feel free to get creative with your Cinnamon Roll Bliss Bars and make them your own with these delicious twists!
-
Cream Cheese Frosting: Swap out the vanilla frosting for cream cheese frosting for a tangy, rich flavor that elevates each bite.
-
Nutty Crunch: Add chopped walnuts or pecans into the batter for added crunch and a delightful contrast to the chewy texture.
-
Chocolate Delight: Stir in some chocolate chips either into the batter or sprinkle them on top before baking to create a delightful chocolatey version.
-
Fruit Infusion: Incorporate raisins or chopped apples into the batter for a fruity twist; they bring moisture and natural sweetness that pairs beautifully with cinnamon.
-
Gluten-Free Bliss: Use a gluten-free flour blend instead of all-purpose flour to cater to gluten sensitivities without sacrificing flavor.
-
Spiced Up: Enhance the flavor profile by mixing in nutmeg or pumpkin spice for an extra spiced kick that will warm you up!
-
Salted Caramel Drizzle: Drizzle some warm salted caramel over the top of the frosted bars for an indulgent treat that adds both flavor and elegance.
If you love these bars, why not also try making some Apple Cinnamon Blondies or treat yourself to Apple Cinnamon Cookies? Happy baking!
Cinnamon Roll Bliss Bars Recipe FAQs
How do I choose ripe ingredients for my Cinnamon Roll Bliss Bars?
Absolutely! For the best flavor and texture, ensure your butter is softened to room temperature, allowing it to cream well with the sugars. Use room temperature eggs to help create a uniform batter. Additionally, fresh ground cinnamon is preferred for a stronger flavor, enhancing the overall taste of your bars.
What’s the best way to store Cinnamon Roll Bliss Bars?
You can keep your Cinnamon Roll Bliss Bars in an airtight container at room temperature for up to 3 days. For extended freshness, move them to the fridge, where they can last about a week. Just make sure they are well-covered to prevent drying out!
Can I freeze my Cinnamon Roll Bliss Bars, and how?
Absolutely! To freeze, wrap the cooled bars tightly in plastic wrap, then store them in a freezer-safe container. This method will keep them fresh for up to 2 months. When you’re ready to enjoy them, simply thaw overnight in the fridge or let them sit at room temperature for a couple of hours.
What if my Cinnamon Roll Bliss Bars come out too dry or tough?
Oh no! If your bars turn out dry, it’s likely due to overbaking or overmixing. Always check for doneness a few minutes before the recommended time by inserting a toothpick—it should come out with a few moist crumbs, not dry. To avoid tough bars, gently fold the dry ingredients into the wet until just combined, keeping some lumps for a tender texture.
Can I make Cinnamon Roll Bliss Bars gluten-free?
Very much so! You can easily turn these into a gluten-free dessert by swapping all-purpose flour for a gluten-free flour blend. Just make sure the blend has a good mix of xanthan gum, or you might need to add a bit to mimic the elasticity of traditional flour. Enjoy the same delicious flavors without any gluten worries!
Are there any dietary considerations I should keep in mind?
Yes! While this recipe is vegetarian-friendly, take care to check your ingredients if you have allergies, particularly with the use of eggs and dairy in the frosting. You can substitute the sour cream with a plant-based yogurt and the milk with an almond or oat milk for a dairy-free version.
Cinnamon Roll Bliss Bars: Your Ultimate Chewy Dessert Fix
Ingredients
Equipment
Method
- Preheat your oven to 350°F (175°C) and grease a 9x13 inch baking pan.
- In a large mixing bowl, cream softened butter, brown sugar, and granulated sugar together until smooth.
- Add room temperature eggs, sour cream, and vanilla extract; mix until just combined.
- Whisk together flour, baking powder, baking soda, cinnamon, and salt in a separate bowl.
- Gradually add the dry mixture to the wet ingredients, mixing gently until just combined.
- Spread the batter evenly in the prepared baking pan.
- Mix additional cinnamon and sugar for topping; sprinkle over batter evenly.
- Bake for 25-30 minutes until edges are golden and a toothpick comes out clean.
- Cool the bars completely in the pan before frosting.
- Prepare frosting by mixing powdered sugar, milk, and vanilla extract until smooth.
- Spread frosting over cooled bars, slice into squares, and serve.
Leave a Reply