
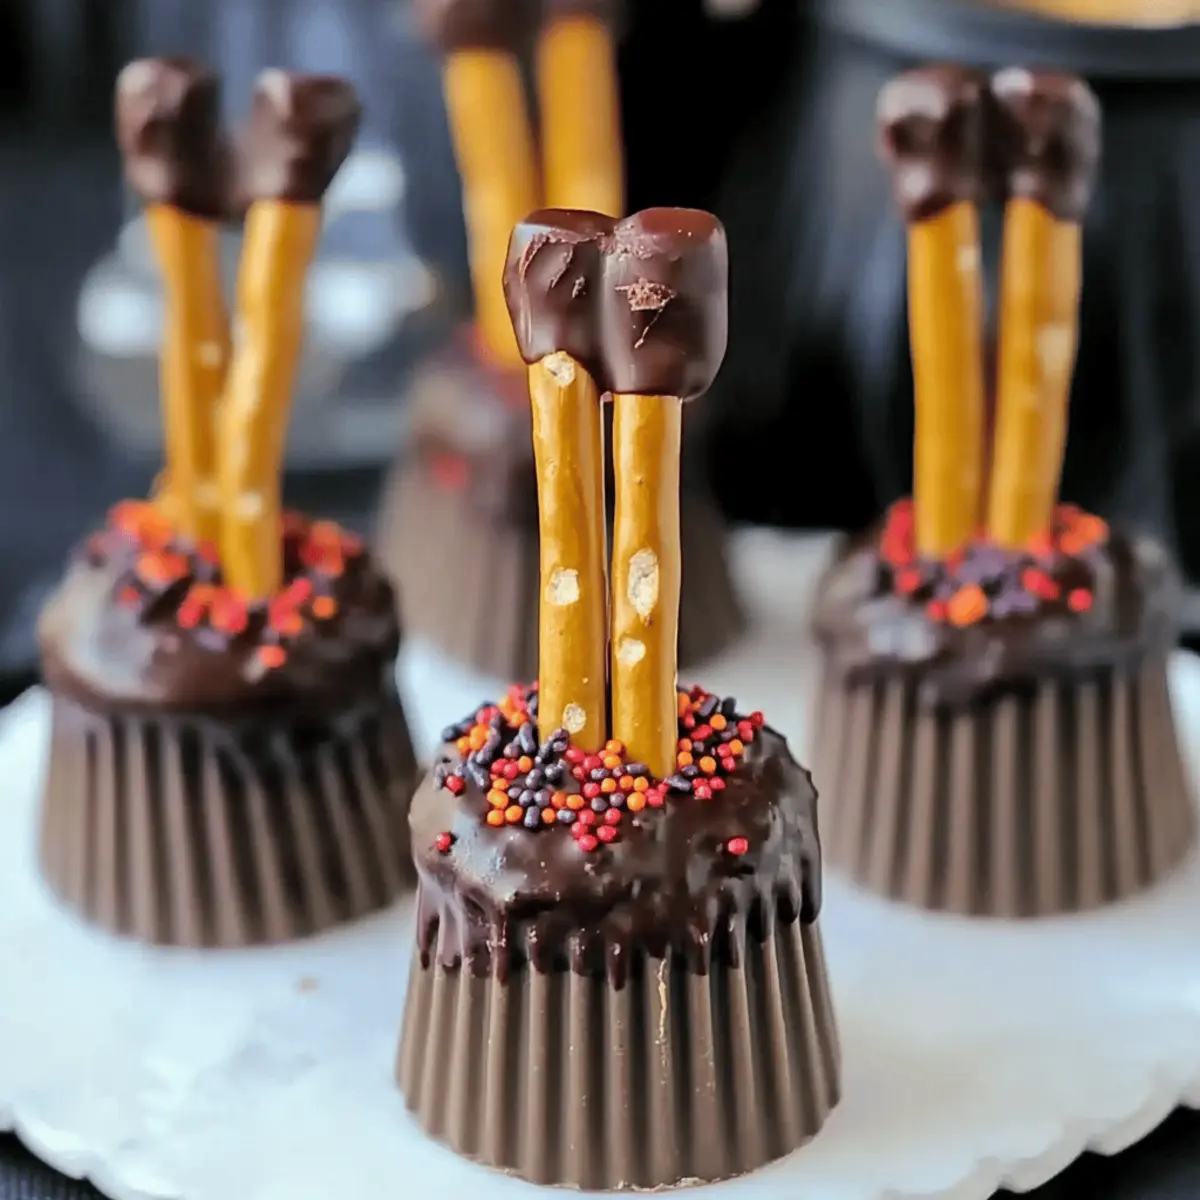
As the Halloween season approaches, I can’t help but feel the excitement building! There’s something magical about transforming simple ingredients into creative treats. Enter these Easy No-Bake Chocolate Witches Brooms—an adorable dessert that’s sure to spark joy in your festive gatherings. With just 15 minutes of prep, this recipe combines creamy mini peanut butter cups with the delightful crunch of pretzel sticks, making it a winning choice for parties, school events, or cozy movie nights. Plus, it’s a vegetarian-friendly delight that both kids and adults will enjoy! Have you ever made an edible craft that was this quick and fun? Let’s get those spooky vibes rolling!
Why Make DIY Witches Brooms?
Simplicity Made Fun: With only a few ingredients and no baking required, these treats come together in just 15 minutes, making them perfect for last-minute party plans.
Irresistible Flavor Fusion: The combination of creamy peanut butter and crunchy pretzels creates a delightful balance that everyone will love!
Creative Decoration Options: Add your personal touch with Halloween sprinkles or colored candy melts, letting your creativity shine as you craft these spooky snacks.
Perfect for All Occasions: Whether it’s a Halloween party, classroom celebration, or a cozy family movie night, these brooms are sure to bring smiles to faces of all ages!
Make-Ahead Convenience: Prepare them up to five days in advance, allowing you more time to enjoy the festivities!
DIY Witches Brooms Ingredients
For the Brooms
- Mini Peanut Butter Cups – Forms the base of the broom; you can substitute with homemade peanut butter cups if they are firm enough.
- Thin Pretzel Sticks – Serves as the broom handles; alternative stick options can be used if pretzels are not available.
For Assembly
- Chocolate Chips (1/4 cup, melted) – Acts as the glue for assembling; offers a sweet finish essential for these DIY witches brooms. You could also use candy melts or royal icing.
For Decoration
- Halloween Sprinkles or Edible Glitter – Optional for visual appeal and to enhance the festive spirit.
- Colored Candy Melts (Orange, Green, Purple) – Used for additional decoration, allowing you to customize your brooms.
- Small Candy Bows or Icing Pens – Optional for added detail, enhancing the whimsical charm of your creations.
Step‑by‑Step Instructions for DIY Witches Brooms
Step 1: Prepare Your Workspace
Start by lining a tray with parchment paper to prevent sticking. Unwrap all the mini peanut butter cups and arrange your thin pretzel sticks close by for easy access. This setup will help streamline the process as you assemble your DIY Witches Brooms.
Step 2: Melt the Chocolate
In a microwave-safe bowl, combine 1/4 cup of chocolate chips and microwave them in 30-second intervals. Stir the chocolate vigorously after each interval until it’s completely melted and smooth, which should take about 60-90 seconds total. Ensure there are no lumps, as the melted chocolate will act as glue for your brooms.
Step 3: Make Pilot Holes
Take a toothpick or a small knife and carefully poke a small hole in the center of the top side of each mini peanut butter cup. Be gentle to avoid breaking the cups, as these holes will hold the pretzel handles snugly in place, creating the illusion of your enchanting DIY Witches Brooms.
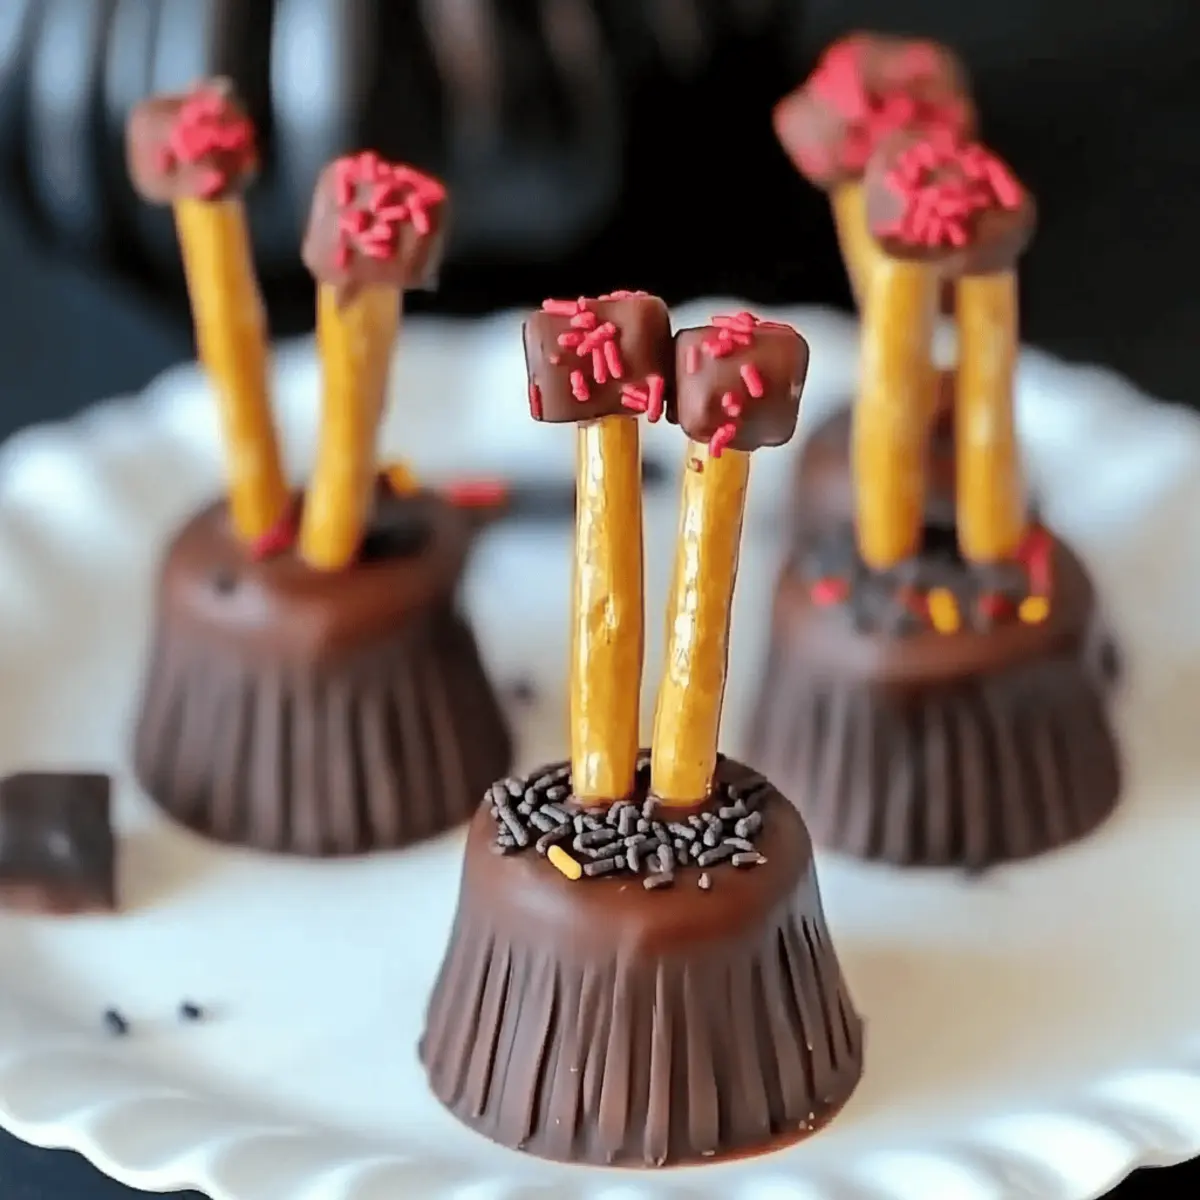
Step 4: Assemble the Brooms
Dip one end of a pretzel stick into the melted chocolate, coating it well, and then insert it into the hole you created in the peanut butter cup. Hold the pretzel stick in place for about 10-15 seconds to let the chocolate set slightly, ensuring your broomsticks remain sturdy and secure.
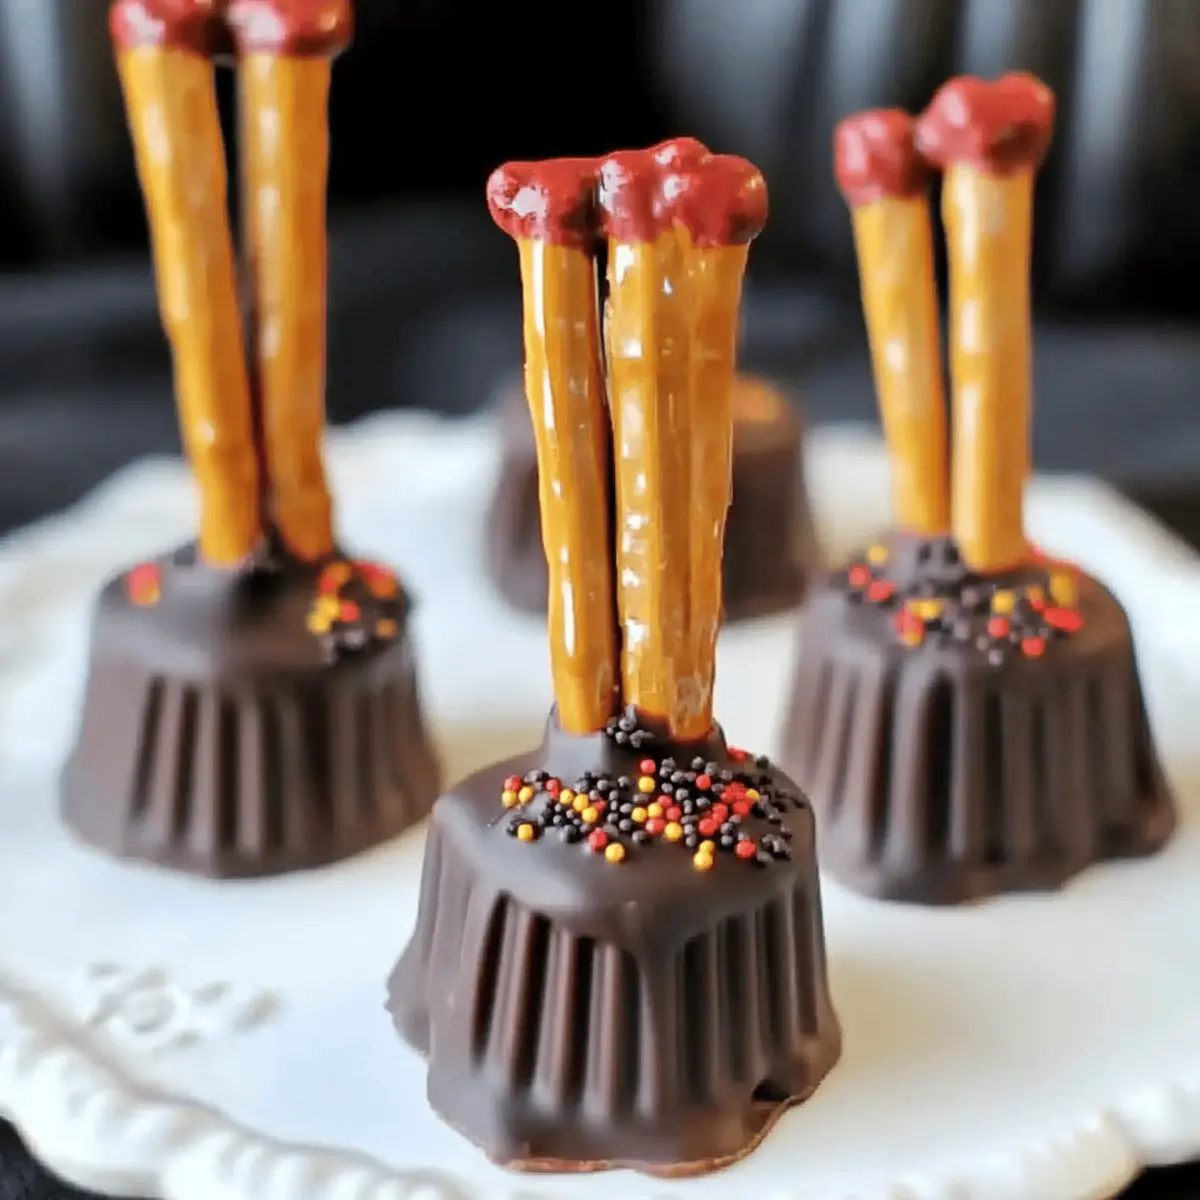
Step 5: Neaten & Decorate
Once all brooms are assembled, use the remaining melted chocolate to drizzle around the base where the pretzel meets the peanut butter cup. This not only enhances stability but also adds a decorative touch. Sprinkle Halloween decorations like sprinkles or edible glitter before the chocolate sets to create eye-catching DIY Witches Brooms.
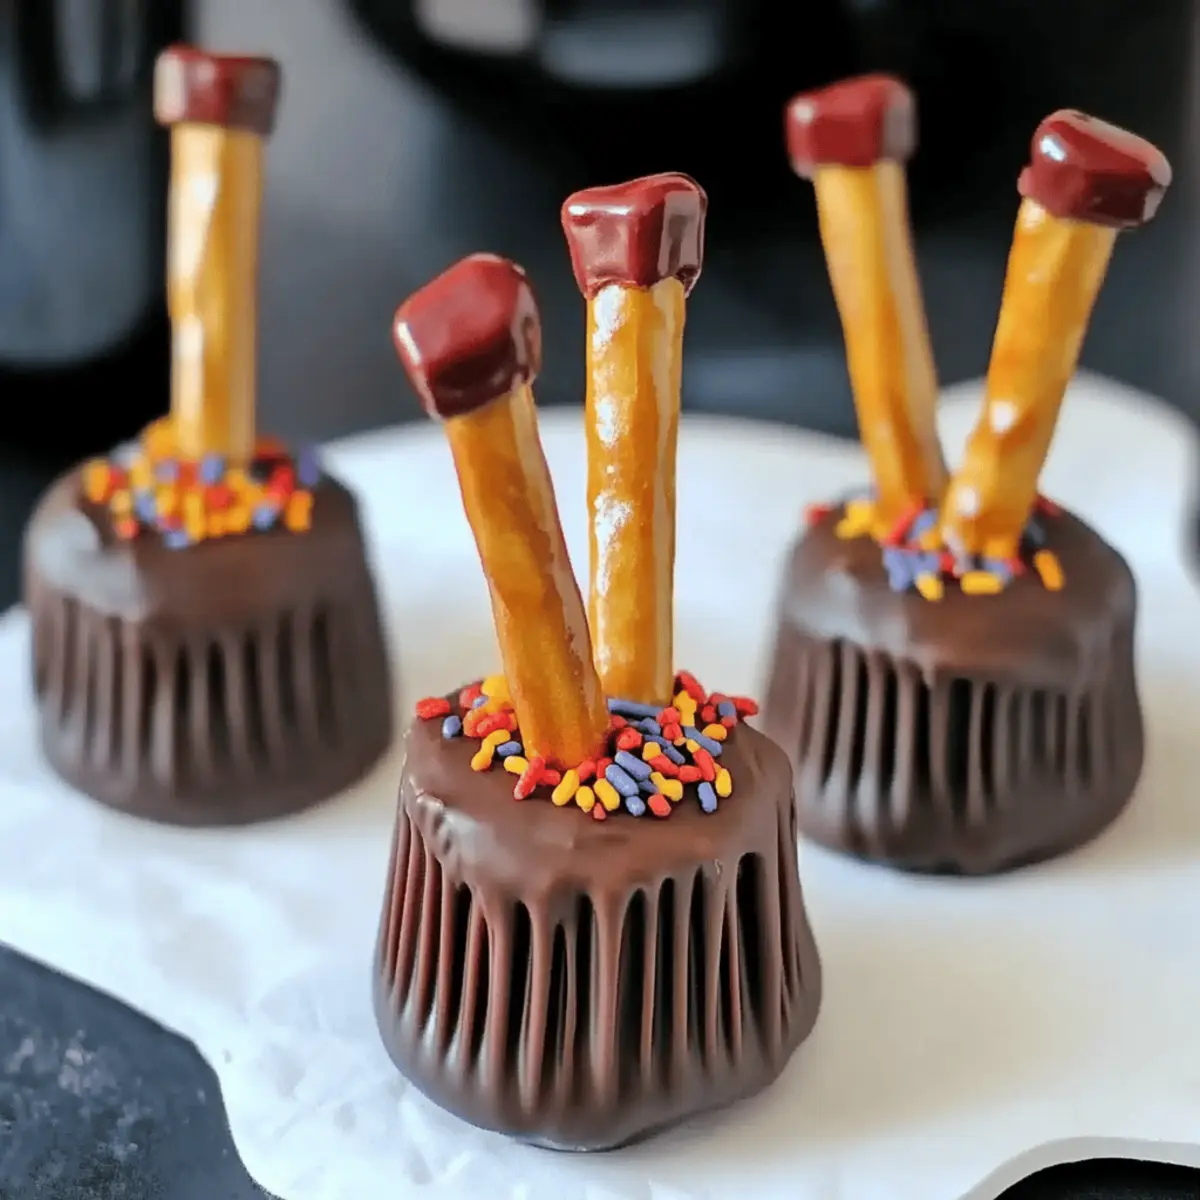
Step 6: Set the Brooms
Let your assembled brooms sit at room temperature for approximately 15 minutes, allowing the melted chocolate to harden. Alternatively, you can place them in the refrigerator for 5-10 minutes if you’d like to speed up the process. Once firm, your delightful treats are ready to share!
DIY Witches Brooms Variations
Feel free to let your creativity run wild while making these delightful treats and customize to your heart’s content!
-
Peanut Butter Alternative: Swap mini peanut butter cups for chocolate-covered cookie dough bites or favorite candy bars for a different flavor twist.
-
Gluten-Free Handles: Use gluten-free pretzel sticks or even crunchy graham crackers to accommodate those with dietary restrictions.
-
Colorful Chocolate: Brighten your brooms using colored candy melts, like bright pink or electric blue, for a charming twist.
-
Add a Kick: Sprinkle a dash of sea salt on top of the chocolates for enhanced flavor that balances sweet and salty notes.
-
Texture Boost: For added crunch, mix in crushed nuts or pumpkin seeds into the melted chocolate before drizzling for an extra dimension.
-
Spiced-Up Chocolate: Infuse your melted chocolate with a hint of cinnamon or pumpkin spice for a cozy autumn flavor that screams Halloween!
-
Mini Broomsticks: For a fun twist, use mini pretzel sticks dipped in chocolate to create tiny brooms perfect for more delicate hands.
-
Decorative Touches: Use icing pens instead of bows to create spooky designs or fun characters on each broom, giving them personality!
Feel free to check out our guide on Halloween Treats for more inspired ideas or to enhance these delightful treats!
Expert Tips for DIY Witches Brooms
Chocolate Consistency: Use a small amount of coconut oil when melting chocolate to achieve a smoother, more fluid consistency for good glue application.
Avoid Overheating: Always melt chocolate in 30-second intervals, stirring often to prevent burning—chocolate can be finicky if overheated.
Choose the Right Pretzels: Opt for thin pretzel sticks, as they provide more stability for the assembled DIY witches brooms—thicker ones may cause your brooms to topple over.
Timing is Key: Work quickly with melted chocolate since it sets fast; having all your ingredients prepped will ensure smoother assembly.
Decorate with Care: Add sprinkles or decorations before the chocolate fully sets. This helps them adhere better and creates a more festive appearance.
Storage Hint: Keep your assembled brooms in an airtight container at room temperature. They can last up to five days, making them a convenient treat for any Halloween gathering!
How to Store and Freeze DIY Witches Brooms
Room Temperature: Keep assembled DIY Witches Brooms in an airtight container at room temperature for up to 5 days. They’ll stay delightful and ready for snacking!
Fridge: To extend shelf life, refrigerate the brooms; this allows them to last longer while maintaining their shape and texture. Let them reach room temperature before serving for the best taste.
Make-Ahead: Feel free to prepare these treats up to 5 days in advance, making them perfect for busy Halloween celebrations without sacrificing fun or flavor.
Reheating: There’s no need to reheat these treats, as they taste best when enjoyed at room temperature!
Make Ahead Options
These Easy No-Bake Chocolate Witches Brooms are perfect for meal prep, allowing you to prepare them up to 5 days in advance! To get started, assemble the brooms as instructed, but hold off on the final decorations until just before serving. Store the assembled brooms in an airtight container at room temperature to maintain their delightful crunch and flavor. If you prefer, you can refrigerate them, but let them sit at room temperature for about 15 minutes to regain their original texture before serving. By prepping ahead, you can focus on enjoying the festive spirit without any last-minute rush, ensuring your DIY Witches Brooms remain just as delicious and whimsical for your Halloween celebrations!
What to Serve with Easy DIY Witches Brooms?
Indulge in the festive spirit by pairing these enchanting treats with delightful accompaniments that enhance your Halloween celebrations!
- Halloween Fruit Skewers: Bright, colorful fruits on skewers add a refreshing contrast and are fun for kids to eat.
- Pumpkin Spice Hot Chocolate: A warm, creamy drink with rich spices creates a cozy atmosphere, perfect for chilly autumn evenings.
- Mini Ghost Pizzas: These cute, cheesy snacks topped with ghostly mozzarella are a great savory counterpart to your sweet treats, making your spread well-rounded.
- Spooky Cheese Platter: A mix of cheeses with olive “spiders” and crackers creates a delightful charcuterie board that’s both savory and festive.
- Caramel Apple Slices: Crunchy apple slices dipped in sweet caramel deliver a classic fall flavor that perfectly complements the sweetness of the witches brooms.
- Halloween-themed Cupcakes: Adorned with playful frosting designs, these mini cakes add a whimsical touch to your table, making every bite a treat!
- Spiced Apple Cider: Serve this warm and aromatic drink that embodies the essence of fall and harmonizes wonderfully with the flavors of your brooms.
- Chocolate-Covered Pretzels: A crunchy and salty treat that echoes the pretzel brooms, adding texture and depth to your Halloween spread.
- Ghoulish Green Punch: A vibrant, fruity beverage to quench thirst and add an eye-catching centerpiece that draws attention to your ghoulish gathering!
- Witch’s Brew Popcorn: Elevated popcorn mix with chocolate drizzles and festive sprinkles makes for a light and spirited snack, encouraging cheerful munching!
DIY Witches Brooms Recipe FAQs
How do I choose the right mini peanut butter cups?
Absolutely! Look for mini peanut butter cups that are firm to the touch without any dark spots or visible damage. You’ll want them to hold up well when pierced. If you prefer, you can also make homemade peanut butter cups, ensuring they are well-chilled before using.
How should I store my DIY Witches Brooms?
I recommend storing your assembled brooms in an airtight container at room temperature for up to 5 days. If you’d like to extend their shelf life, placing them in the refrigerator is a great option. Just remember to bring them back to room temperature before serving for the best taste!
Can I freeze these Halloween treats?
While freezing isn’t necessary, you can absolutely do it! To freeze your DIY Witches Brooms, first, assemble them then place them in a single layer in an airtight container, separating layers with parchment paper. They can be frozen for up to 3 months. When ready to enjoy, thaw them in the refrigerator for several hours before serving.
What if my chocolate melts unevenly?
No worries! If your chocolate isn’t melting smoothly, it may be slightly overheated. To salvage it, try adding a teaspoon of coconut oil and stir well to combine. If the problem persists, feel free to start with a new batch. Remember, melting chocolate should be done in small intervals, stirring frequently to avoid burning.
Are DIY Witches Brooms suitable for kids with allergies?
Great question! This recipe can be modified to accommodate various allergies. If you have peanut allergies, consider using alternative fillings like sunbutter cups instead of peanut butter cups. Additionally, always check that your chocolate chips and candies are nut-free and consider opting for dairy-free chocolate if dairy allergies are a concern.
What decorative options can I use?
Very! The beauty of these treats lies in their versatility. Try colored candy melts, edible glitter, or even assorted Halloween sprinkles for decoration. Get creative—use icing pens to draw small faces or include little bows on your brooms for added whimsy!
DIY Witches Brooms: Fun, No-Bake Halloween Treats for All
Ingredients
Equipment
Method
- Prepare Your Workspace: Line a tray with parchment paper and unwrap mini peanut butter cups. Keep thin pretzel sticks nearby.
- Melt the Chocolate: Microwave 1/4 cup of chocolate chips in 30-second intervals, stirring until smooth.
- Make Pilot Holes: Carefully poke holes in the center of each mini peanut butter cup using a toothpick or small knife.
- Assemble the Brooms: Dip pretzel stick ends in melted chocolate and insert them into the holes of the peanut butter cups.
- Neaten & Decorate: Drizzle remaining chocolate around the base of brooms and add sprinkles before it sets.
- Set the Brooms: Allow the brooms to sit at room temperature for 15 minutes or refrigerate for 5-10 minutes.
Leave a Reply