
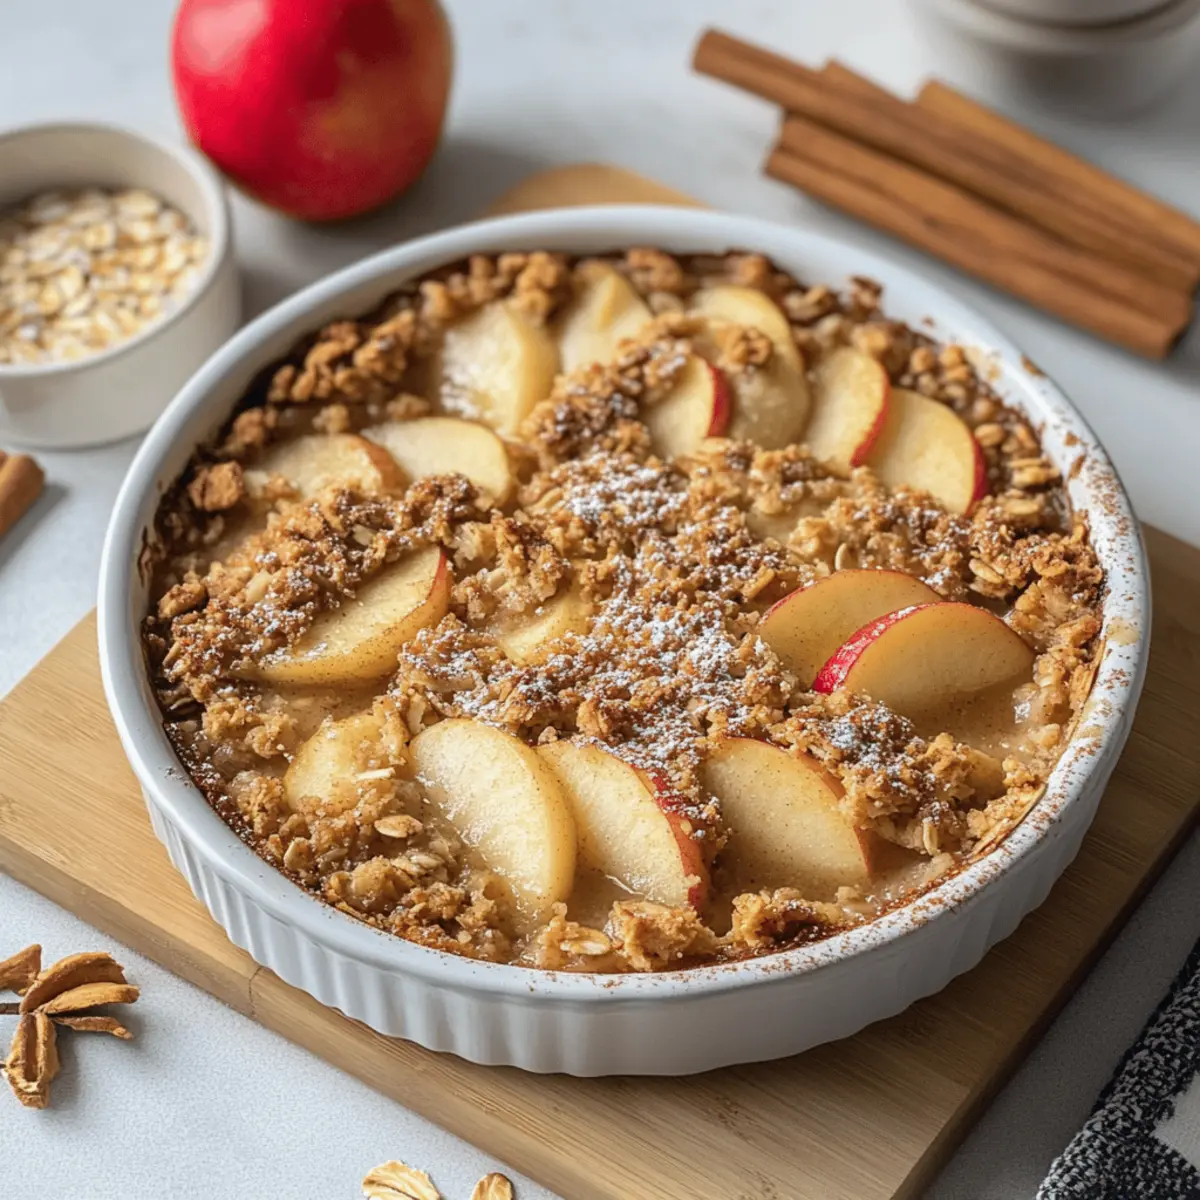
As the leaves turn and the air fills with that unmistakable crispness, I find myself yearning for the comforting aromas of fall baking. This Easy Apple Crisp with Oats is my go-to recipe that captures the essence of the season. Picture tender, spiced apples hiding beneath a golden, buttery oat topping—it’s a delightful combination that evokes warm memories and makes any gathering special. The best part? This dessert comes together with ease, making it perfect for cozy weeknight treats or festive get-togethers. Plus, it’s a wonderful way to showcase those fresh apples from the orchard! Are you ready to make your kitchen the coziest spot this fall?
Why You’ll Love This Apple Crisp?
Comforting, Homey Appeal: This Easy Apple Crisp with Oats brings warmth and nostalgia, making it a must-have in your fall baking repertoire.
Quick Preparation: Just a few simple steps yield a stunning result, perfect for bakers of any skill level.
Versatile Serving Options: Whether you choose to top it with creamy vanilla ice cream or drizzle it with caramel, each bite is a delight.
Fresh Ingredients: Using a mix of tart and sweet apples elevates the flavor and showcases seasonal freshness.
Crowd Pleaser: It’s a beloved dessert that’s sure to impress at family gatherings or cozy weeknight dinners—just like our Apple Cinnamon Cookies or the Salted Caramel Apple Crumble Bars.
Dive into this delightful recipe and transform your home into a haven of coziness and flavor!
Easy Apple Crisp with Oats Ingredients
For the Filling
- Apples – Aim for a mix of Granny Smith for tartness and Honeycrisp for sweetness to achieve the perfect balance in your Easy Apple Crisp with Oats.
- Brown Sugar – This sweetener adds a delightful caramel flavor; feel free to swap it with coconut sugar for a healthier twist.
- Cinnamon – Essential for enhancing the apple flavor; consider adding a pinch of nutmeg for an aromatic kick.
- Salt – A touch of salt elevates the sweetness and brings out the best in your apples.
For the Topping
- Butter – Use cold butter for a crispy and crunchy topping that will be the highlight of your dessert.
- Oats – Opt for rolled oats for a hearty texture; they provide that delightful chewiness we love in a crisp.
- Flour – All-purpose flour helps bind the topping together; substitute with gluten-free flour if needed.
With these ingredients at your fingertips, you’re well on your way to baking a cozy fall treat that will warm both hearts and homes!
Step‑by‑Step Instructions for Easy Apple Crisp with Oats
Step 1: Prep the Apples
Begin by preheating your oven to 350°F (175°C). While it warms up, peel (if desired) and slice about 6 cups of mixed apples, such as Granny Smith and Honeycrisp. In a large mixing bowl, toss the sliced apples with ¾ cup of brown sugar, 1 teaspoon of cinnamon, and a pinch of salt until well-coated. The apples should glisten with a sweet, aromatic mixture.
Step 2: Make the Topping
In a separate mixing bowl, combine 1 cup of rolled oats, ½ cup of all-purpose flour, ½ teaspoon of cinnamon, and a pinch of salt. Cut in ½ cup of cold butter using your fingers or a pastry cutter until the mixture resembles coarse crumbs. The topping should be crumbly yet cohesive. This lovely blend of oats and butter will create a crunchy layer for your Easy Apple Crisp with Oats.
Step 3: Assemble the Crisp
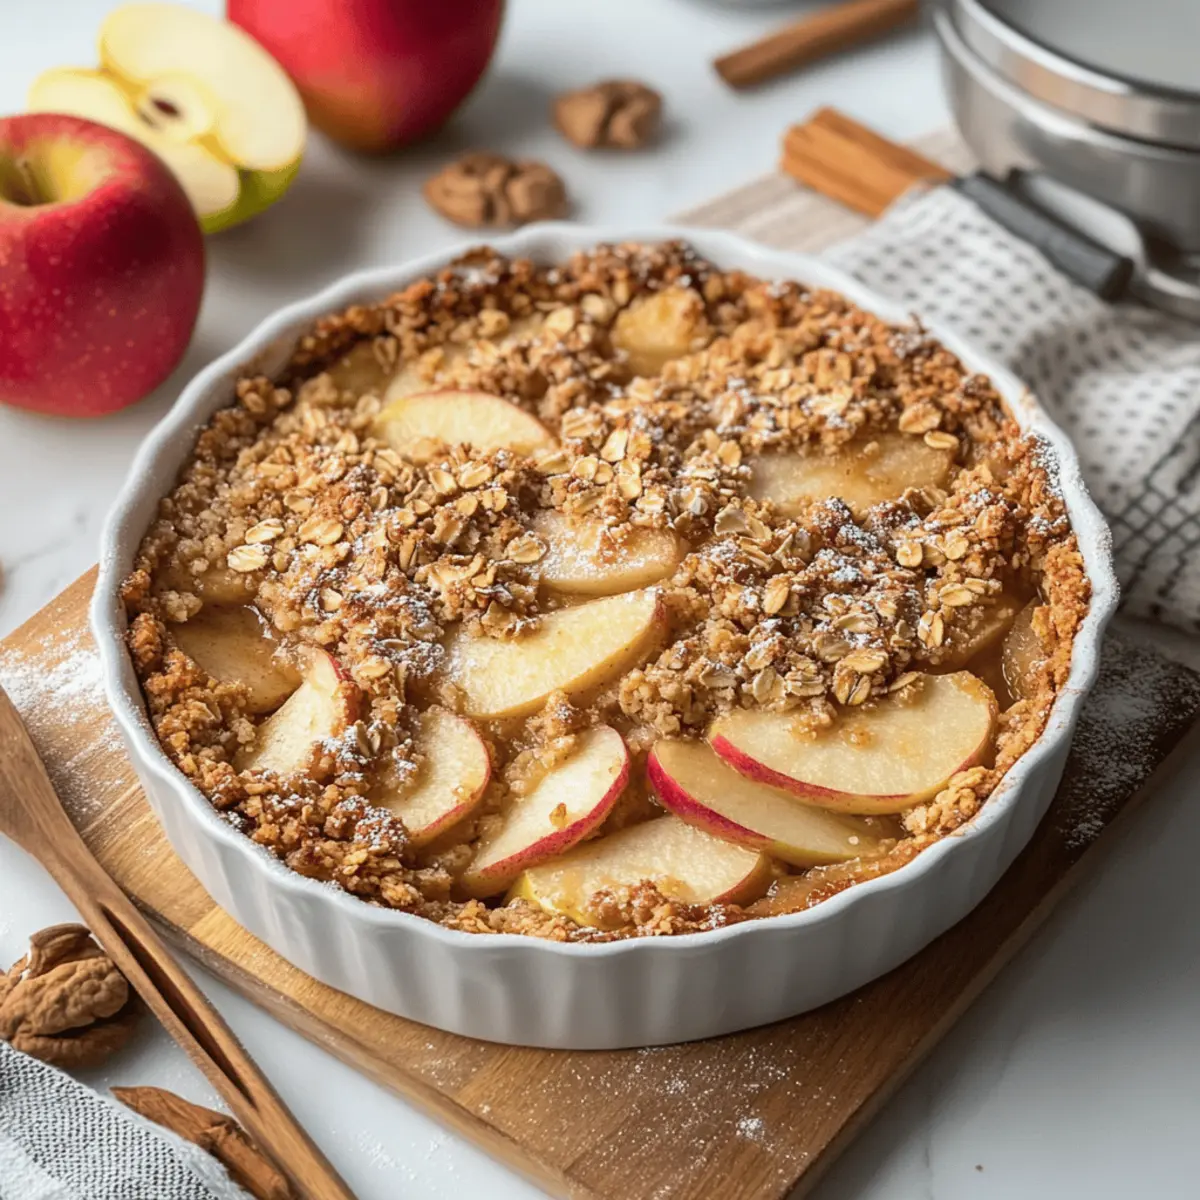
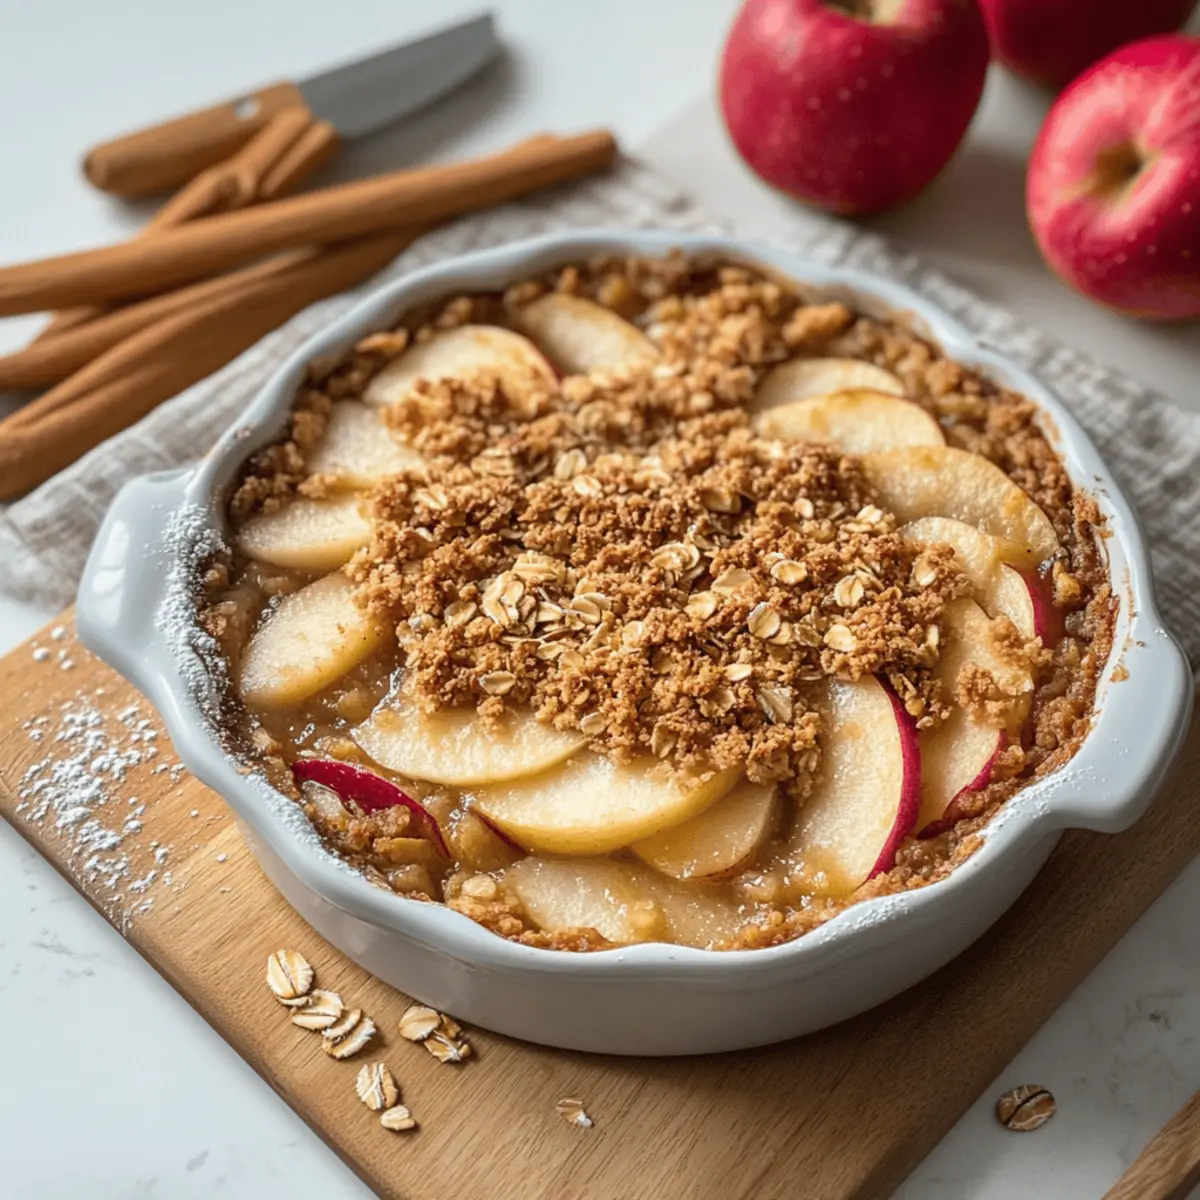
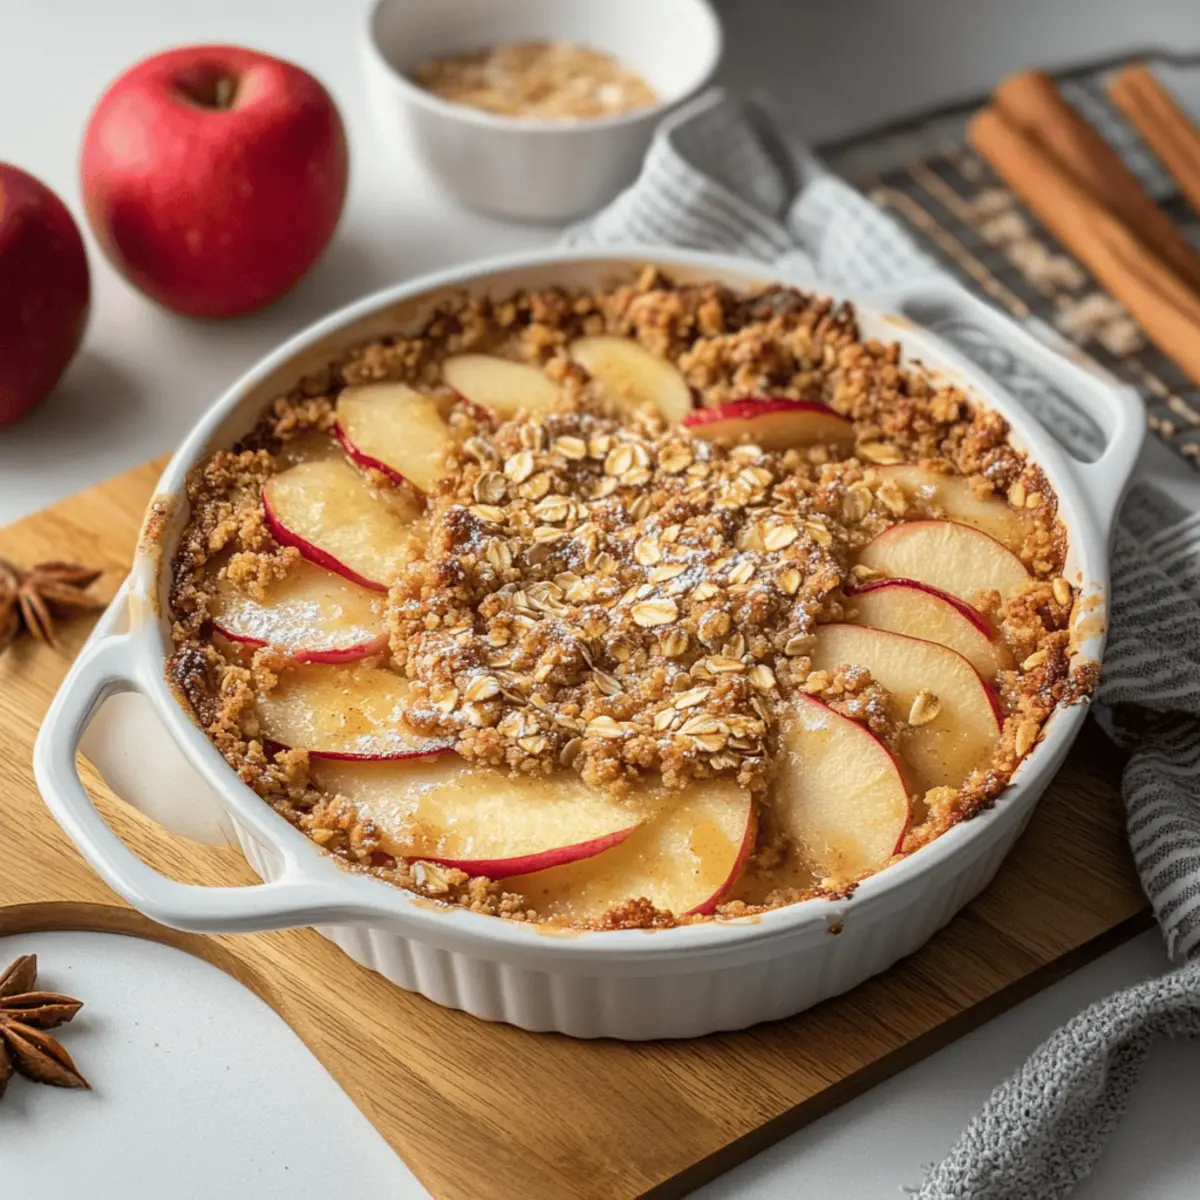
Take a greased 9×13-inch baking dish and evenly layer the apple mixture across the bottom. Make sure to spread the apples out so they bake evenly. Once the apples are arranged, sprinkle the oat topping generously over the entire apple layer, ensuring that the fruit is completely covered. The contrasting textures will promise delightful bites once baked.
Step 4: Bake the Crisp
Place the assembled dish in the preheated oven and bake for 40-45 minutes. Keep an eye on it; when the topping turns a rich, golden-brown and the filling starts bubbling at the edges, it’s ready! This delightful aroma will fill your kitchen, making it hard to wait for your Easy Apple Crisp with Oats to cool.
Step 5: Cool and Serve
Remove the crisp from the oven and allow it to cool for 15-20 minutes before serving. This resting period helps the filling set and allows flavors to meld beautifully. Once cooled slightly, scoop generous portions into bowls. Enjoy your warm apple crisp plain or topped with vanilla ice cream for an extra special treat!
Easy Apple Crisp with Oats Variations
Customize this Easy Apple Crisp with Oats to make it your own! Each variation brings delightful new flavors and textures to your cozy fall treat.
-
Nutty Crunch: Add chopped walnuts or pecans to the topping for an extra layer of crunch. The nutty flavor elevates this comforting dessert!
-
Berry Bliss: Mix in a cup of fresh or frozen berries with the apples for a burst of tart sweetness. The combination is vibrant and adds a twist to the classic.
-
Caramel Swirl: Drizzle with caramel sauce before baking to enhance the sweetness of the apples and topping. Treat your taste buds to a decadent surprise!
-
Gluten-Free: Swap all-purpose flour for gluten-free flour to make this dessert friendly for those avoiding gluten. Everyone will enjoy this delicious, satisfying treat.
-
Spicy Twist: Boost the flavor by adding ginger or nutmeg to the apple mixture. The warming spices marry beautifully with the sweetness of the apples.
-
Coconut Flavor: Use coconut oil in place of butter for a tropical twist. The slight coconut flavor adds a unique and delightful layer to the crisp.
-
Savory Touch: Incorporate a pinch of sea salt and fresh herbs, like thyme, into the apples for a surprising savory balance. It’s a unique take on the traditional sweet dessert!
-
Oat-Free Option: Skip the oats entirely for a lighter, softer topping made with crushed cookies or graham crackers. It reinvents the crisp while delivering comfort and nostalgia.
These variations will make your Easy Apple Crisp with Oats even more exciting! For more delightful apple recipes, don’t forget to check out my Apple Cinnamon Blondies or Apple Zucchini Bread for more cozy baking inspiration!
How to Store and Freeze Easy Apple Crisp with Oats
Fridge: Store any leftovers in an airtight container in the refrigerator for up to 3 days. This keeps the crispy topping separate from the soft filling, preserving its texture.
Freezer: If you want to store your Easy Apple Crisp with Oats for longer, wrap it tightly with plastic wrap and aluminum foil; it can be frozen for up to 3 months.
Reheating: When you’re ready to enjoy, thaw overnight in the fridge, then reheat in a preheated oven at 350°F (175°C) for about 15-20 minutes, until warmed through.
Make-Ahead Tip: Feel free to assemble your apple crisp ahead of time and refrigerate it before baking. Just pop it in the oven when you’re ready to serve!
Make Ahead Options
These Easy Apple Crisp with Oats are perfect for busy weeknights and meal prep enthusiasts! You can assemble the entire crisp up to 24 hours in advance. Simply prepare the apple filling and topping as directed, layer them in your baking dish, and cover tightly with plastic wrap before refrigerating. This helps the flavors meld and ensures a delicious outcome. When you’re ready to enjoy your dessert, simply bake it directly from the fridge, adding a few extra minutes to the baking time if necessary. By prepping ahead, you not only save time but also guarantee a delightful, hassle-free dessert to impress your family and friends!
Expert Tips for Easy Apple Crisp with Oats
• Apple Selection: Choose firm, tart apples like Granny Smith and sweet varieties like Honeycrisp for the best flavor balance in your Easy Apple Crisp with Oats.
• Cold Butter is Key: Using cold butter prevents the topping from becoming greasy, ensuring a perfectly crunchy texture that contrasts beautifully with the soft apples.
• Don’t Overmix: When combining the topping, mix just until crumbly. Overmixing can lead to a dense, tough layer rather than a delightful crisp.
• Bake Until Golden: Underbaking might lead to a watery filling, so ensure the topping is deeply golden and the filling bubbles at the edges for optimum results.
• Make It Ahead: For convenience, assemble your apple crisp ahead of time and refrigerate. Bake it straight from the fridge for a fuss-free dessert when you’re ready to serve.
What to Serve with Easy Apple Crisp with Oats
Cozy up your dessert experience with delightful pairings that beautifully complement the warm, spiced flavors of autumn.
- Vanilla Ice Cream: A classic pairing that melts into the warm crisp, adding a creamy, luscious contrast.
- Caramel Sauce: Drizzle over the apple crisp for a sweet twist, enhancing the caramel notes in the dish.
- Whipped Cream: Light and airy, this is a perfect addition to balance the rich oat topping.
- Chai Tea: The warming spices in chai echo the cinnamon in the crisp, creating a harmonious flavor experience.
- Crunchy Walnuts: Toasted walnuts sprinkled on top add a rustic crunch that elevates the texture beautifully.
- Apple Cider: A refreshing drink that mirrors the flavors of the dessert while offering a crisp, tangy contrast.
- Ginger Snap Cookies: The spiciness of ginger snaps pairs wonderfully with the sweet and spiced apples underneath.
- Pumpkin Spice Latte: Infuse your dessert moments with nostalgic fall flavors, complementing the apple and oat combo perfectly.
- Chocolate Ganache: For the adventurous, a rich chocolate drizzle can provide a decadent contrast to the fruitiness.
- Spiced Pears: Serve alongside or on top of your crisp for a double-fruit experience that celebrates autumn’s bounty.
Easy Apple Crisp with Oats Recipe FAQs
What kind of apples should I use for the filling?
Absolutely! For optimal flavor in your Easy Apple Crisp with Oats, I recommend using a mix of Granny Smith apples for tartness and Honeycrisp or Fuji apples for sweetness. This combination creates a delightful balance that brings out the best in the crisp.
How should I store leftovers?
Very! Store any leftovers in an airtight container in the refrigerator for up to 3 days. This will help maintain the texture of the crispy topping, keeping it from becoming soggy while allowing the flavors to stay fresh. You can reheat individual portions in the microwave or warm the entire dish in the oven for about 15-20 minutes.
Can I freeze apple crisp?
Absolutely! If you want to save your Easy Apple Crisp with Oats for later, wrap it tightly in plastic wrap and aluminum foil. It can be frozen for up to 3 months, making it a perfect make-ahead dessert. When ready to enjoy, thaw it overnight in the fridge, then reheat in a preheated oven at 350°F (175°C) for about 15-20 minutes until thoroughly warmed.
What should I do if my filling is too watery?
Oh, I know how frustrating that can be! If you find your filling is too watery, make sure to bake the crisp until the topping is a deep golden brown and includes some bubbles at the edges of the filling. If you’re still having trouble, try adding a tablespoon of cornstarch or flour to the apple mixture next time to help absorb excess moisture before baking.
Is this recipe safe for individuals with gluten allergies?
Yes! To make the Easy Apple Crisp with Oats gluten-free, simply substitute the all-purpose flour with a gluten-free flour blend. Additionally, ensure that your oats are certified gluten-free, as some may be processed in facilities that handle gluten-containing grains, potentially leading to cross-contamination.
Can I make this ahead of time?
Very much so! You can assemble your Easy Apple Crisp with Oats ahead of time and store it in the fridge, unbaked, for up to 24 hours. When you’re ready to serve, bake it directly from the refrigerator, adjusting the baking time slightly if needed. This way, you can enjoy freshly-baked comfort with minimal effort!
Easy Apple Crisp with Oats: Cozy Fall Dessert Magic
Ingredients
Equipment
Method
- Preheat your oven to 350°F (175°C) and prepare the apples.
- In a large bowl, toss sliced apples with brown sugar, cinnamon, and salt.
- In another bowl, combine oats, flour, cinnamon, and salt; cut in butter until crumbly.
- Layer the apple mixture in a greased baking dish, then spread the topping over the apples.
- Bake for 40-45 minutes or until the topping is golden-brown and filling is bubbling.
- Allow to cool for 15-20 minutes before serving.
Leave a Reply