
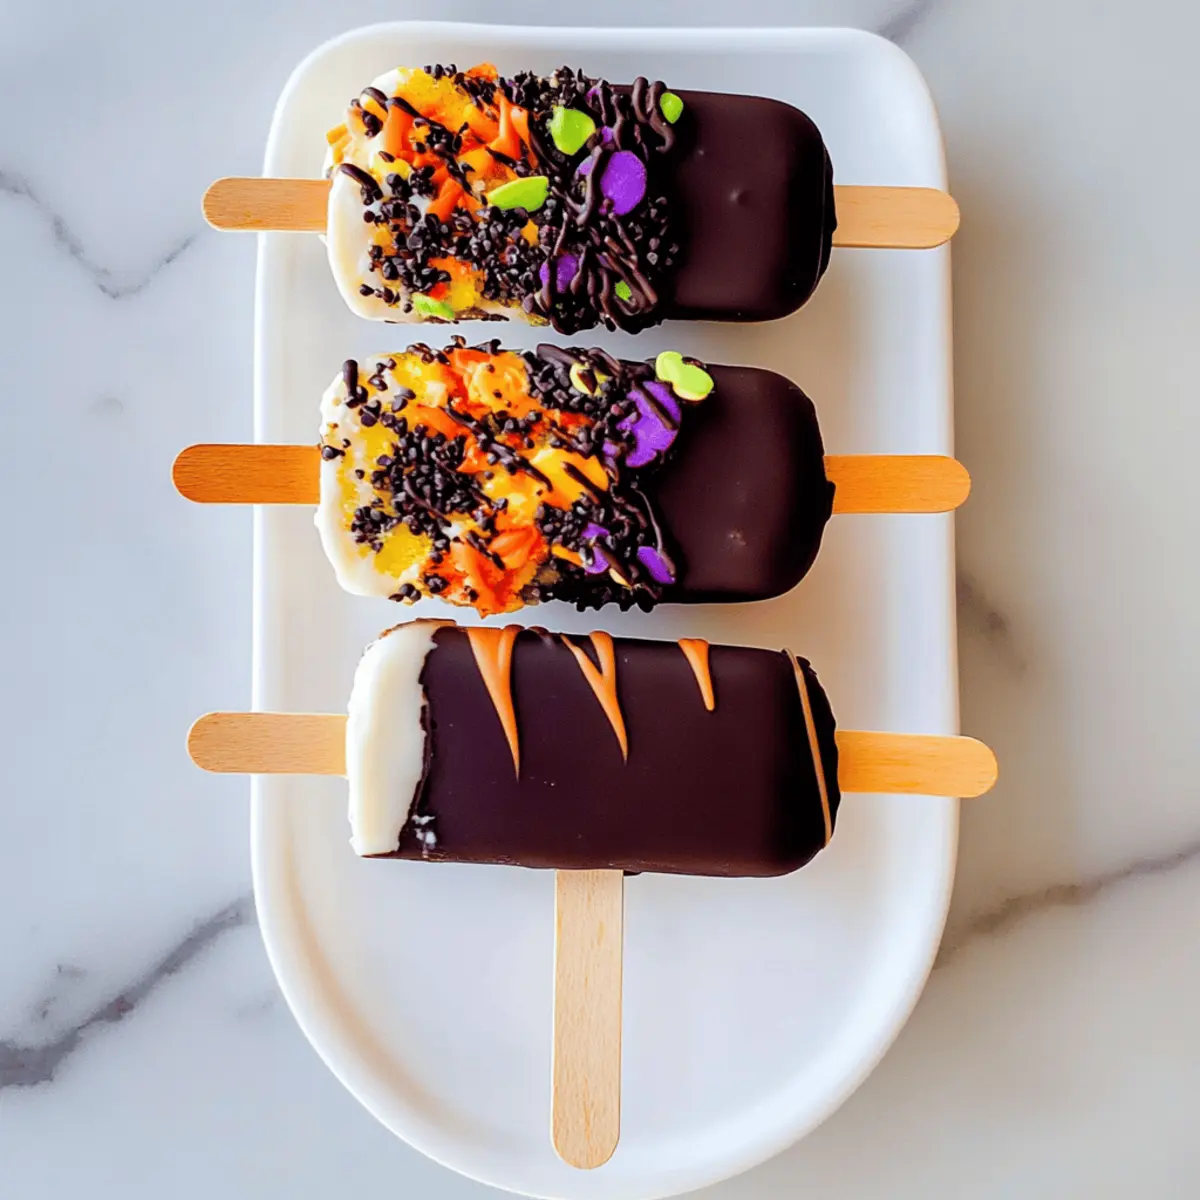
As the leaves turn and the air grows crisp, there’s a buzz of excitement that lingers in the kitchen. Halloween is nearly here, and what better way to celebrate than with these adorable Easy Halloween Cakesicles? These treats not only bring a festive flair to your dessert table but are also a delightful way to breathe new life into any leftover cake or cupcakes you might have. They are kid-friendly and oh-so-simple to whip up, making them perfect for family baking sessions. With their crisp chocolate coating and customizable decorations, these cakesicles are destined to become a favorite at your Halloween gatherings. Are you ready to let your creativity shine and craft some spooktacular sweets?

Why are Halloween Cakesicles a must-try?
Delightful Creativity: These Halloween Cakesicles are a canvas for your imagination; you can use any kind of leftover cake or cupcake to create unique flavors!
Quick and Easy: This recipe is perfect for those who want to get festive without fuss; just mix, mold, and chill!
Kid-Friendly Fun: These treats are ideal for aligning with family fun! Kids love decorating them, and they’ll enjoy eating their creations.
Perfect for Parties: Impress your guests with these eye-catching cakesicles; they’re not just treats, they’re conversation starters!
Versatile Forms: Whether you prefer spooky, sweet, or silly designs, you can customize the toppings and coatings to match your Halloween theme.
If you love getting creative in the kitchen, consider pairing these with other festive sweets like Halloween Witch Cookies or Peanut Butter Spider Cookies!
Halloween Cakesicles Ingredients
• Perfect for your spooky treats!
For the Cakesicles
- Leftover Cake or Cupcakes – Use any flavor; red velvet works wonderfully for Halloween cakesicles!
- Frosting (optional) – Adds moisture and helps bind the cake; both store-bought and homemade options are great.
For the Coating
- Coating Chocolate (or Candy Melts) – Choose high-quality chocolate for a smooth shell; Ghirardelli is a popular choice.
- Food Coloring (oil-based or powdered) – Elevate your designs with vibrant colors; powdered food colors are best for white chocolate.
Tools Needed
- Cakesicle Molds – Essential for shaping your cakesicles; having 2-3 molds on hand speeds up the process!
- Popsicle Sticks – These will help give your cakesicles that classic handheld treat feel.
Step‑by‑Step Instructions for Halloween Cakesicles
Step 1: Crumble the Cake
Begin by crumbling your leftover cake or cupcakes into a large mixing bowl, breaking them down into fine crumbs. Use your hands or a fork to ensure there are no large chunks. If desired, mix in a bit of frosting to achieve a moist and cohesive cake mixture. The goal is a texture that holds its shape but remains soft, perfect for shaping into cakesicles.
Step 2: Melt the Chocolate
In a microwave-safe bowl or a double boiler, melt the coating chocolate or candy melts. Heat in short increments of 30 seconds in the microwave, stirring in between, until the chocolate is completely smooth and glossy. Be cautious not to overheat, as this can affect the texture. For beautiful Halloween Cakesicles, choose colors that pop, and make sure the chocolate is warm but not hot.
Step 3: Coat the Molds
Pour a generous amount of the melted chocolate into your cakesicle molds, ensuring the chocolate coats the bottom and the sides evenly. Use a spoon or a brush to spread the chocolate up the sides, creating a nice shell. Gently tap the molds to remove any air bubbles, which can prevent a smooth exterior. Allow this initial layer to set slightly, about 5-10 minutes in the refrigerator.
Step 4: Fill with Cake Mixture
Once the chocolate has set, it’s time to fill the molds with your prepared cake mixture. Take small handfuls of the cake mixture and gently press it into each mold, packing it firmly to ensure the cakesicles hold their shape. Leave a little space at the top for more chocolate. This step is key to achieving that delightful moist center in your Halloween Cakesicles.
Step 5: Seal with More Chocolate
After packing the molds, it’s time to pour additional melted chocolate on top of the cake mixture, ensuring it’s covered completely. Make sure to spread the chocolate to the edges to seal and avoid any gaps. Smooth out the top with a spatula for an even finish. This layer will create a beautiful chocolate shell surrounding your cake filling.
Step 6: Insert Sticks and Chill
Insert popsicle sticks into the centers of each mold, pushing them gently down until they are stable in the chocolate. Place the filled molds in the refrigerator for about 30 minutes, or until the chocolate has completely set. You’ll know they’re ready when the chocolate is firm to the touch and easily releases from the mold.
Step 7: Remove and Decorate
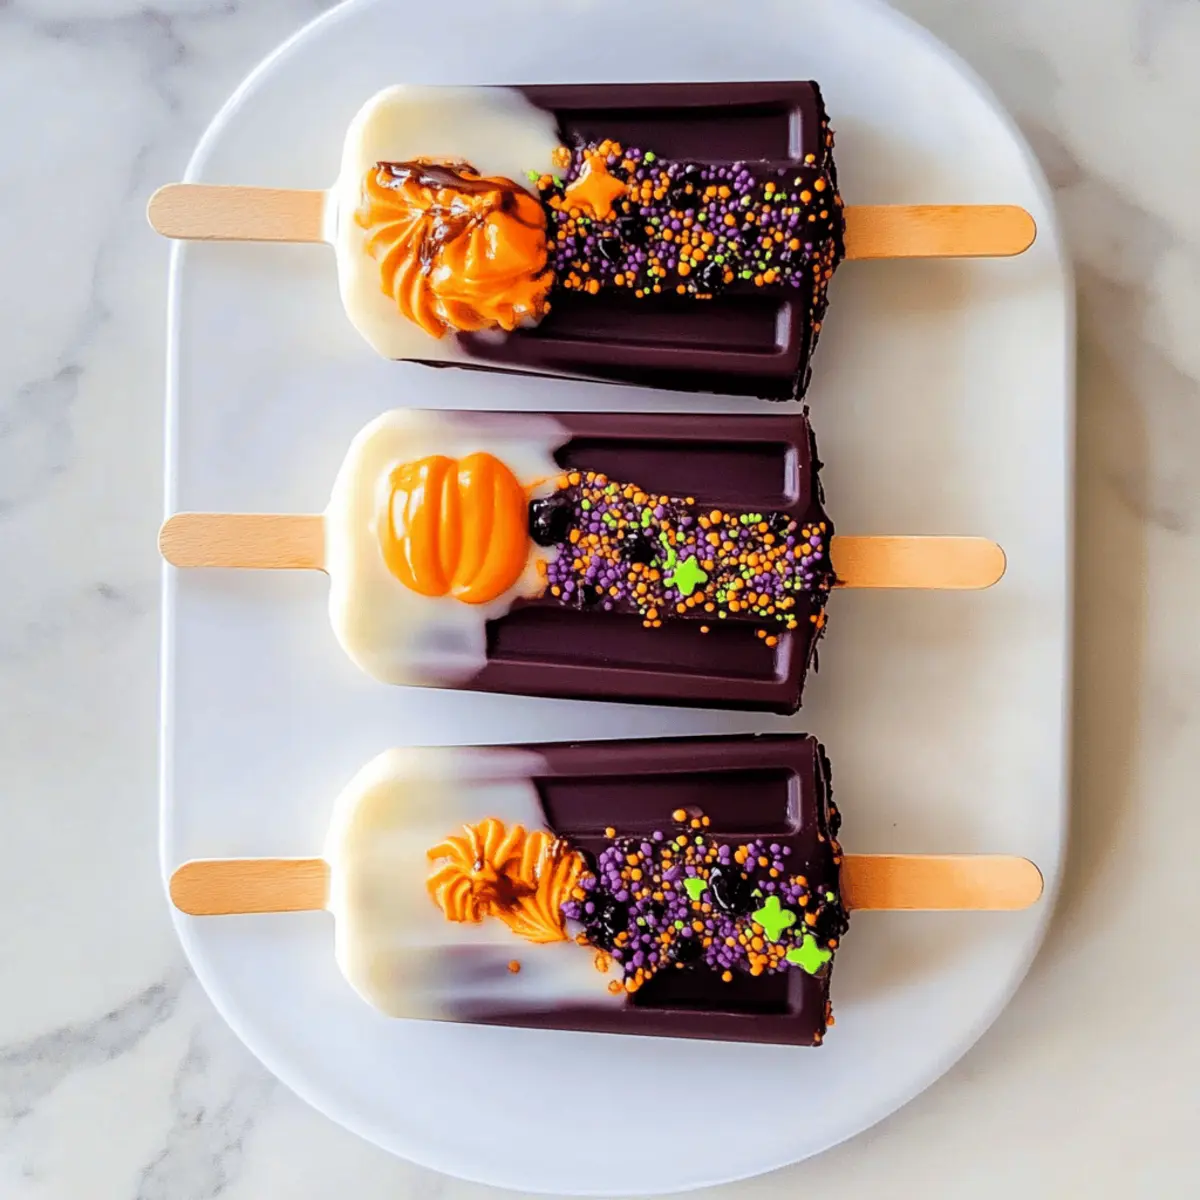
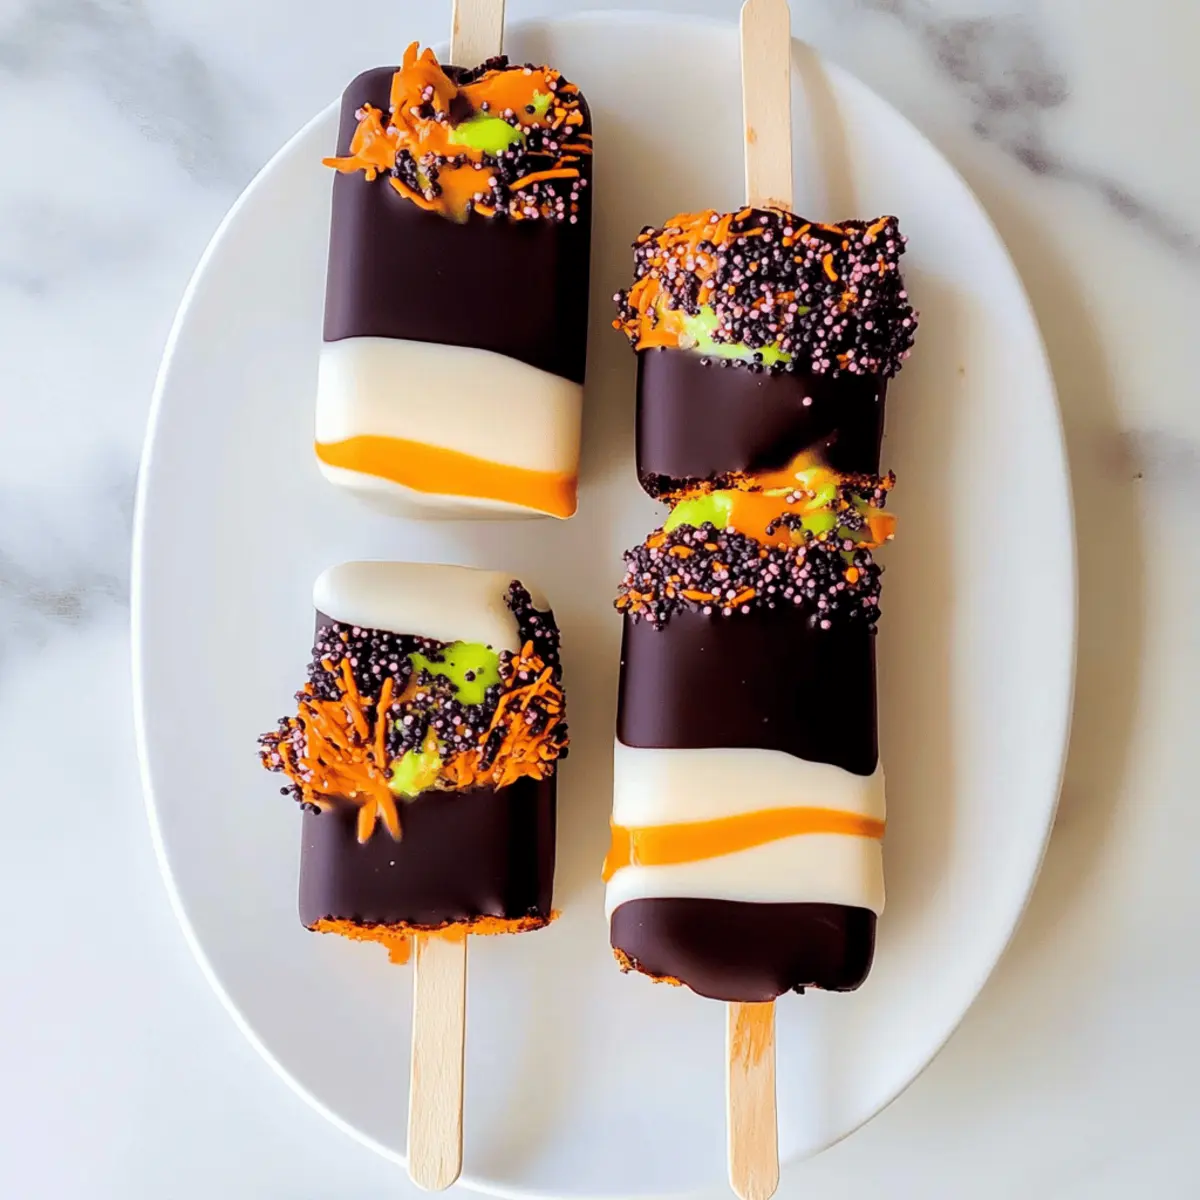
Carefully remove the cakesicles from the molds by gently pushing them out from the bottom. If they stick, let them sit at room temperature for a few minutes. Once removed, it’s time to get creative! Decorate with additional melted chocolate, sprinkles, or spooky toppings, giving your Halloween Cakesicles a festive flair that will delight everyone.
Expert Tips for Halloween Cakesicles
-
Choose Quality Chocolate: Using high-quality coating chocolate ensures a smooth, shiny exterior; avoid supermarket brands that may not melt well.
-
Chill the Molds: Refrigerating the molds before pouring in chocolate makes it easier to release the cakesicles without breaking.
-
Avoid Overheating: Melt your chocolate in short intervals. Overheating can lead to a grainy texture, which may affect your Halloween Cakesicles.
-
Press Firmly: When filling the molds, pack the cake mixture tightly to prevent them from falling apart when removed.
-
Decorate Boldly: Use a variety of toppings to add personality; sprinkles, edible glitter, or themed candies make your cakesicles truly festive!
Make Ahead Options
These Easy Halloween Cakesicles are fantastic for meal prep! You can crumble leftover cake and mix it with frosting up to 24 hours in advance, refrigerating the mixture in an airtight container to maintain freshness and prevent drying out. The chocolate coating can also be melted and stored separately if done with precision, ensuring it stays smooth; just reheat gently before use and avoid overheating to keep its quality intact. When you’re ready to assemble, simply coat the molds with chocolate, fill them with the prepped cake mixture, and chill until set. You’ll have delightful Halloween Cakesicles ready for your spooky festivities with minimal last-minute effort!
Halloween Cakesicles: Creative Swaps
Feel free to add your personal touch to the Halloween Cakesicles and make them uniquely yours!
-
Chocolate Variety: Swap in any type of cake like vanilla or lemon for a fresh twist; your creativity is the limit.
-
Frosting Flavors: Experiment with flavored frosting, like peanut butter or cream cheese, to enhance the cakesicle deliciousness.
-
Colorful Coatings: Use pastel-colored candy melts to make a more cheerful version that’s perfect for any celebration, not just Halloween.
-
Incorporate Mix-Ins: Toss in sprinkles, crushed candy bars, or nuts to your cake mixture for an unexpected crunch. The blend of textures adds a fun element!
-
Dairy-Free Option: For a dairy-free version, use almond or coconut milk-based chocolate, providing a rich flavor without the dairy.
-
Gluten-Free Fun: Make these cakesicles gluten-free by using gluten-free cake mixes or recipes; everyone can join in the fun!
-
Spicy Kick: Add a pinch of cinnamon or cayenne pepper to the chocolate for a surprising spicy burst; it pairs wonderfully with chocolate!
-
Nutty Crunch: For a textural surprise, dip your cakesicles in crushed nuts or drizzle with nut butter before coating them with chocolate.
As you enjoy making these delectable desserts, consider pairing them with other Halloween treats like Halloween Witch Cookies or Halloween Oreo Stuffed for a festive treat platter!
Storage Tips for Halloween Cakesicles
-
Room Temperature: Store your Halloween Cakesicles in a cool, dry place for up to 2 days; keep them covered to maintain freshness.
-
Fridge: For longer storage, place cakesicles in an airtight container in the refrigerator, where they can last for up to 1 week without losing flavor.
-
Freezer: Freeze your uncoated cakesicles for up to 3 months. Ensure they are well-wrapped in plastic wrap before placing in a freezer-safe bag to prevent freezer burn.
-
Reheating: If you prefer a softer texture, let the frozen cakesicles thaw in the refrigerator overnight before serving them or placing them at room temperature for about 30 minutes.
What to Serve with Easy Halloween Cakesicles?
These festive treats are sure to brighten up your Halloween celebrations; let’s think about some delicious pairings to complete your spooky spread!
-
Witch’s Brew Hot Chocolate: Serve a cozy cup of rich hot chocolate, topped with whipped cream and served in cauldron-like mugs; it’s the perfect sweet sip alongside your cakesicles.
-
Ghoulish Fruit Salad: A refreshing mix of seasonal fruits like oranges, apples, and blackberries adds a bright, zingy touch to balance the rich chocolate treats; consider using pumpkin-shaped cookie cutters for extra fun!
-
Creepy Veggie Platter: A display of carrots, cucumbers, and bell peppers with hummus can add a healthy crunch; the bright colors are not only appetizing but also make for a beautiful Halloween presentation.
-
Spooky Sugary Drinks: Punch up your parties with colorful, fizzy drinks; consider serving a vibrant fruit punch or berry soda—garnished with gummy worms for an eerie effect!
-
Decorated Cupcakes: Pairing these cakesicles with Halloween-themed cupcakes—think ghostly swirls or spider web designs—will please both kids and adults; it’s a treat every sweet tooth will love.
-
Pumpkin Spice Rice Krispie Treats: These festive treats are an easy make-ahead option; their chewy texture and warm spices complement the crispness of the cakesicles beautifully.
Adding these delightful companions to your Halloween Cakesicles will elevate your celebration, inviting friends and family to indulge in the spooky spirit!
Halloween Cakesicles Recipe FAQs
How do I choose the best leftover cake or cupcakes for my cakesicles?
Absolutely! Any type of leftover cake or cupcakes works wonderfully. I recommend vibrant options like red velvet, chocolate, or vanilla, as they not only taste delicious but also lend beautiful colors when coated. Be sure they’re moist enough – avoid cakes that are too dry!
What is the best way to store Halloween Cakesicles?
You can store your Halloween Cakesicles in an airtight container in the refrigerator for up to one week. If you need to save them for longer, I suggest freezing them. Just wrap them tightly in plastic wrap, then place them in a freezer-safe bag to prevent freezer burn. They can last up to 3 months!
Can I freeze Halloween Cakesicles?
Yes! To freeze your Halloween Cakesicles, I recommend doing it before the chocolate coating. After packing the molds with the cake mixture, wrap them tightly in plastic wrap and place them in a freezer-safe bag. When ready to enjoy, allow them to thaw in the refrigerator overnight before decorating and coating.
What should I do if my chocolate coating is cracking?
Very common! If you notice cracks, it may be because the chocolate was overheated or cooled too quickly. I recommend melting in short intervals at lower power settings in the microwave, stirring frequently until smooth. If cracks appear after cooling, try re-melting the chocolate slightly before pouring a fresh layer over the existing one to seal.
Are these Halloween Cakesicles safe for kids with allergies?
Yes, just be cautious with ingredients! If you’re making these for kids with allergies, ensure that the cake, frosting, and coating chocolate are free from common allergens like nuts, dairy, or gluten. You can often find alternatives in your local store, such as gluten-free cake mixes or dairy-free chocolate.
How can I make the decorating process fun for kids?
The more the merrier! Gather various toppings like colored sprinkles, candy eyes, and edible glitter. Let the kids decorate their Halloween Cakesicles with their favorite fun designs! An easy tip: melt some additional chocolate to use as glue for sticking toppings, allowing for even greater creativity!
Halloween Cakesicles: Fun, Easy Treats for Spooky Celebrations
Ingredients
Equipment
Method
- Crumble your leftover cake or cupcakes into fine crumbs in a large bowl, optionally mix in frosting.
- Melt the coating chocolate or candy melts in short increments, stir until smooth and glossy.
- Pour melted chocolate into molds, coating the bottom and sides, and let set for 5-10 minutes in the fridge.
- Fill molds with the prepared cake mixture, packing it firmly, and leave space for more chocolate.
- Pour more melted chocolate over the cake mixture, smoothing the top and sealing the edges.
- Insert popsicle sticks into the centers and chill for 30 minutes until firm.
- Carefully remove cakesicles from the molds and decorate as desired.
Leave a Reply