
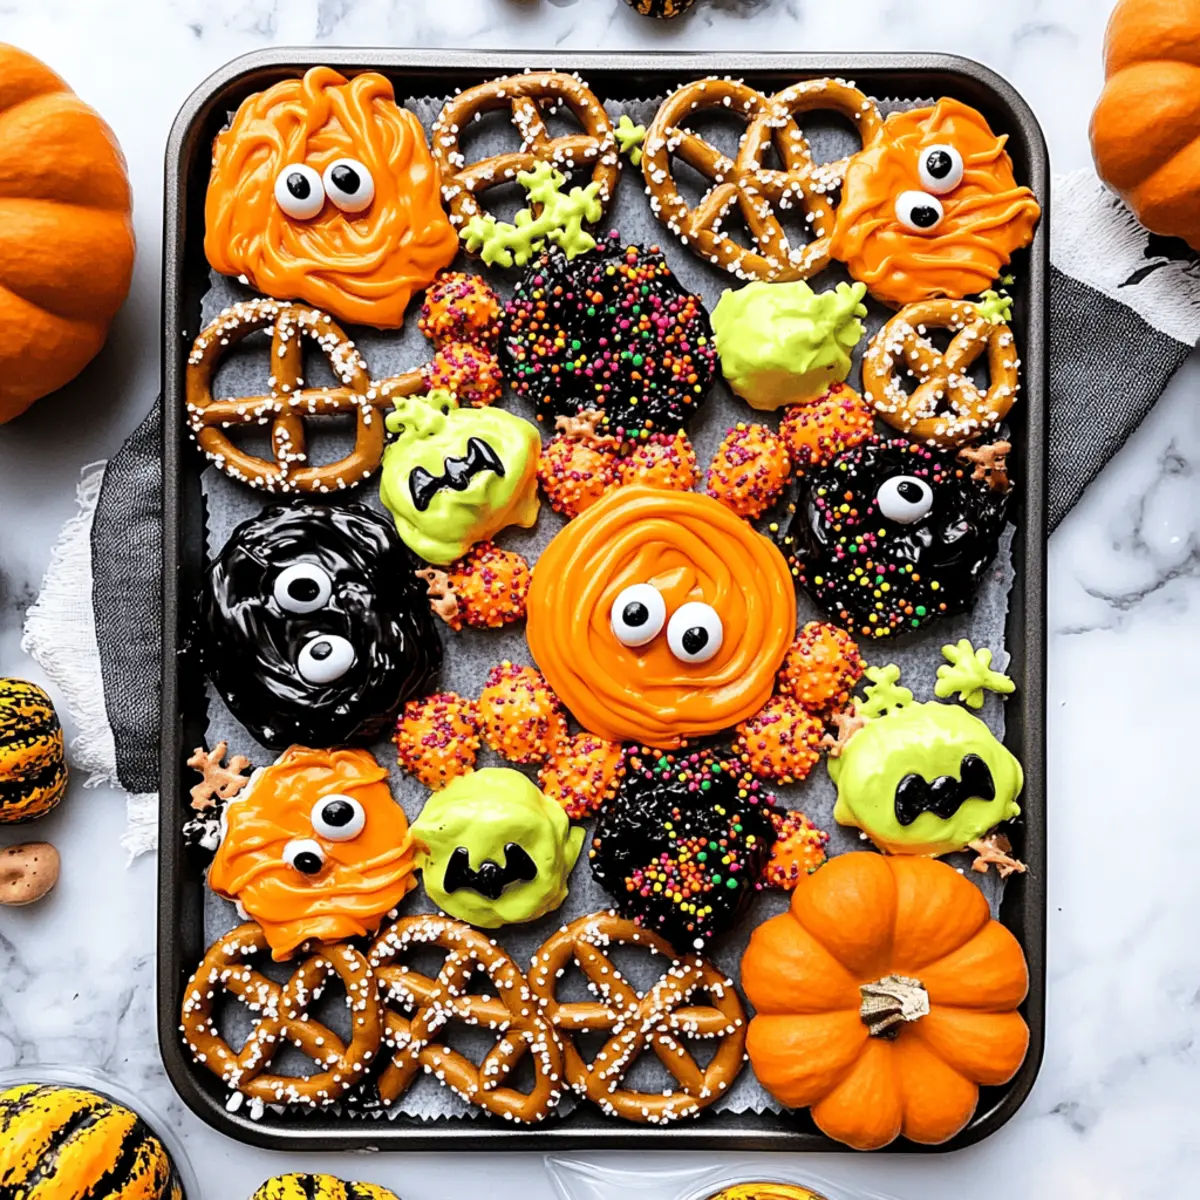
As I prepared to welcome Halloween, a sudden burst of inspiration struck me: what if I could transform traditional pretzels into something delightfully spooky? Enter my easy no-bake Halloween pretzels! These charming treats combine salty and sweet elements that will entice both kids and adults alike. With just 20 minutes of prep time, this recipe not only offers a fun creative outlet for decorating but is also a guaranteed crowd-pleaser for any Halloween gathering. Plus, it’s easily customizable—whether you’re using gluten-free pretzels or introducing surprise toppings, the possibilities are as endless as your imagination. Ready to bring some festive flair to your snack table? Let’s dive into the world of Halloween pretzels together!
Why Are These Halloween Pretzels Perfect?
Endless Creativity: The easy customization options let you play with colors and toppings, making each batch unique!
No-Bake Simplicity: With just 20 minutes of prep, you can whip these treats together without breaking a sweat.
Kid-Friendly Fun: Engaging your little ones in the decorating process guarantees smiles and lasting memories.
Crowd-Pleasing Treat: These sweet and salty snacks are sure to impress at any Halloween gathering, just like Halloween Witch Cookies or Butter Spider Cookies.
Guilt-Free Indulgence: Easily swap in gluten-free ingredients to satisfy all your guests’ dietary needs!
Versatile Appeal: Perfect for Halloween parties, school lunches, or as delightful additions to treat bags, they never disappoint!
Halloween Pretzel Ingredients
Get ready to create spooktacular bites!
For the Pretzels
- Mini Pretzels – Ideal for a crunchy base, choose between pretzel twists or rods for your Halloween pretzels.
- Parchment Paper – Essential for lining your baking sheets, preventing any sticky situations while setting up your treats.
For the Coating
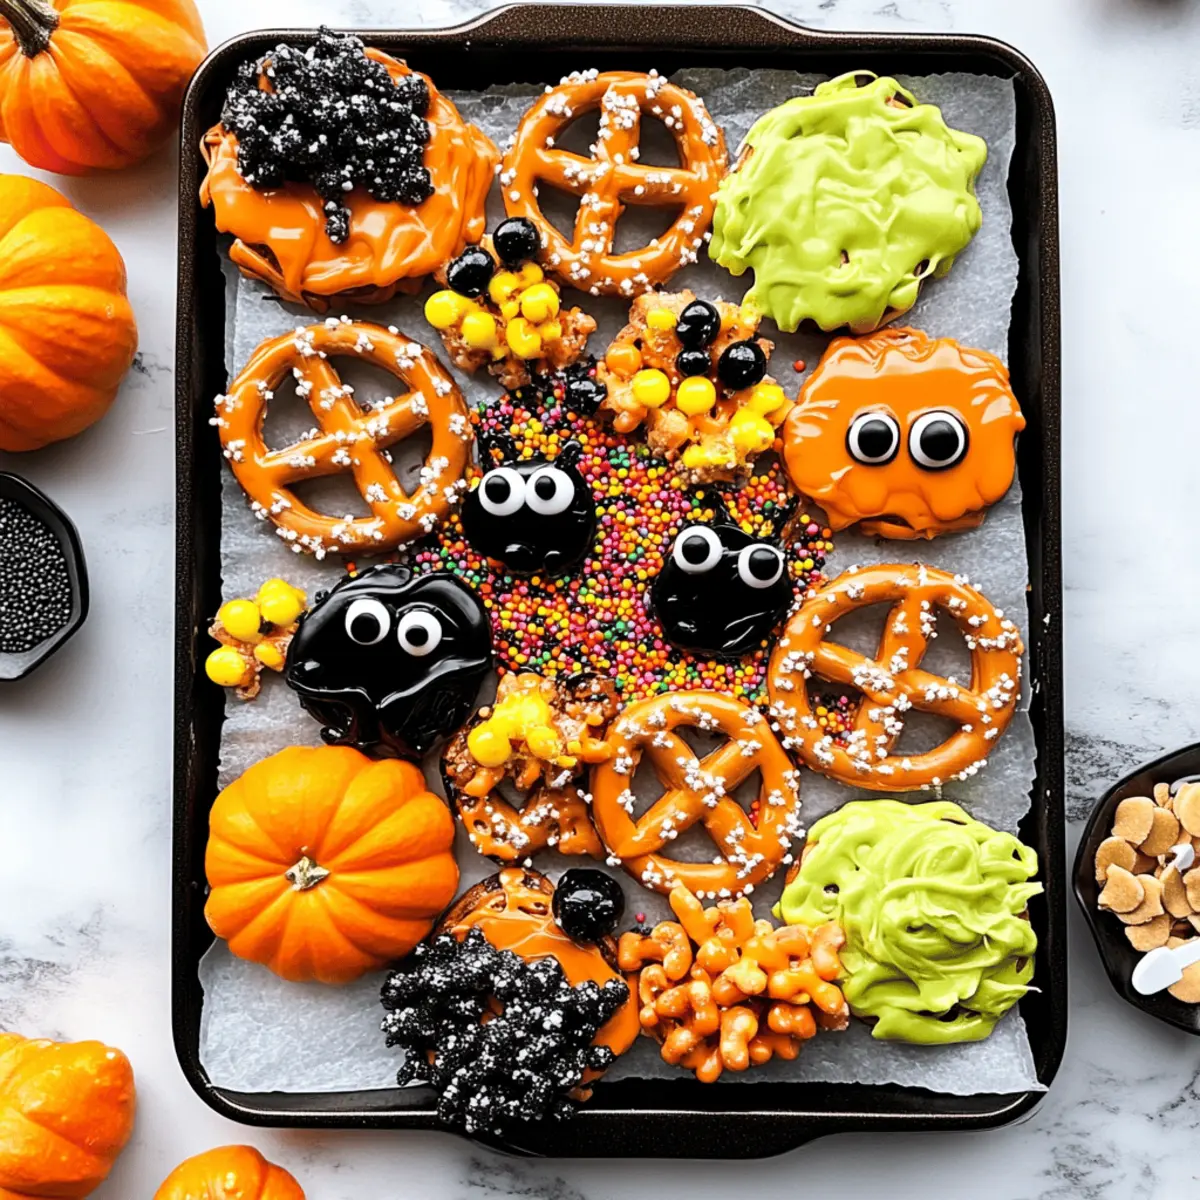
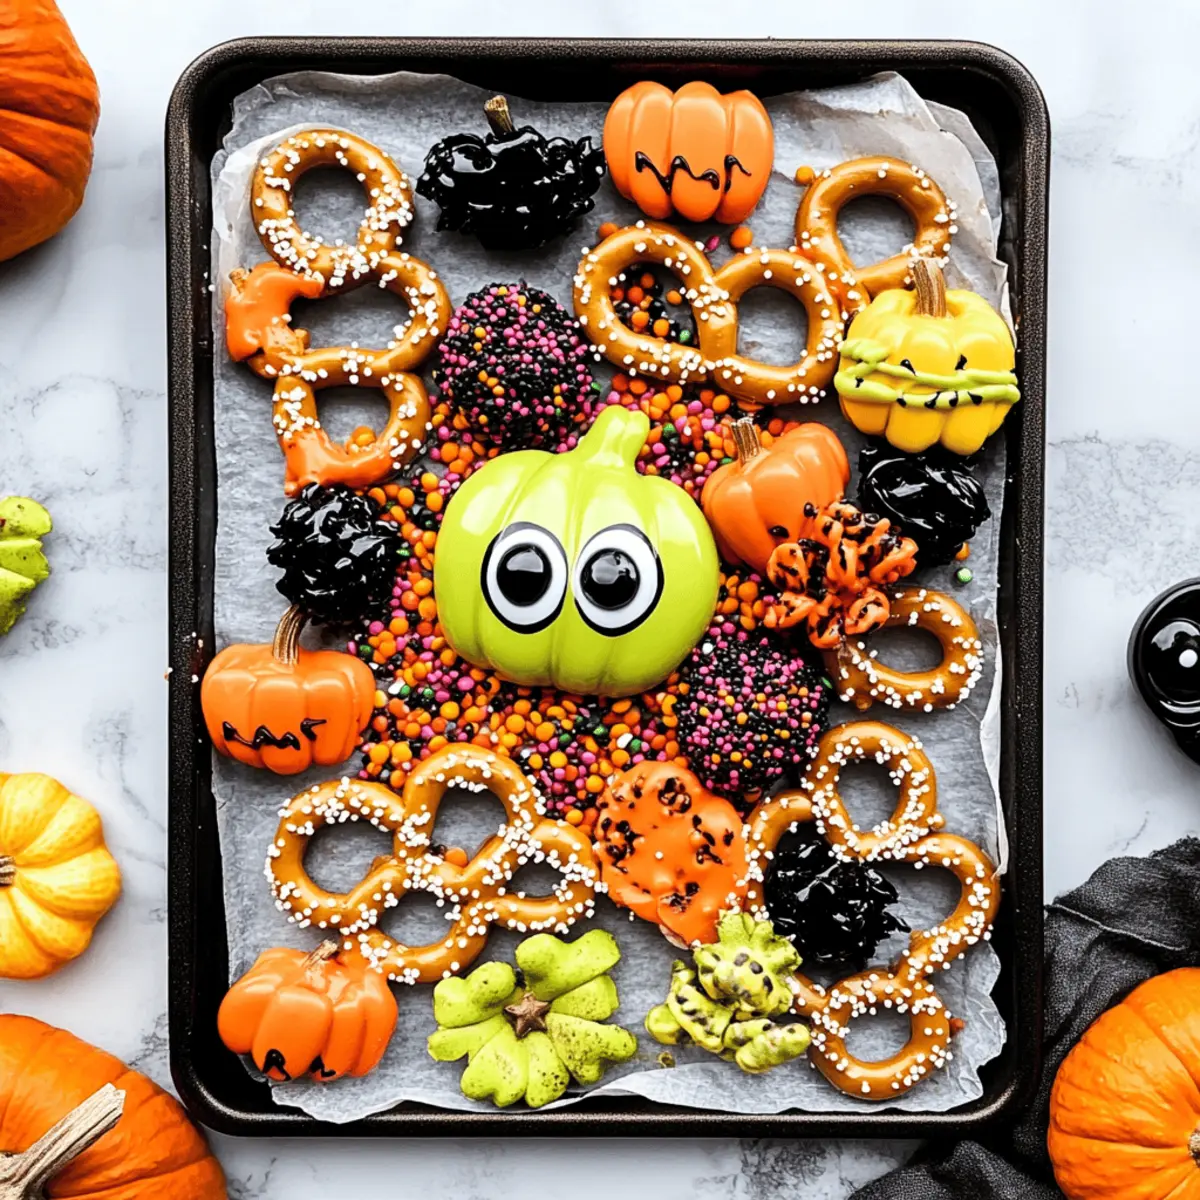
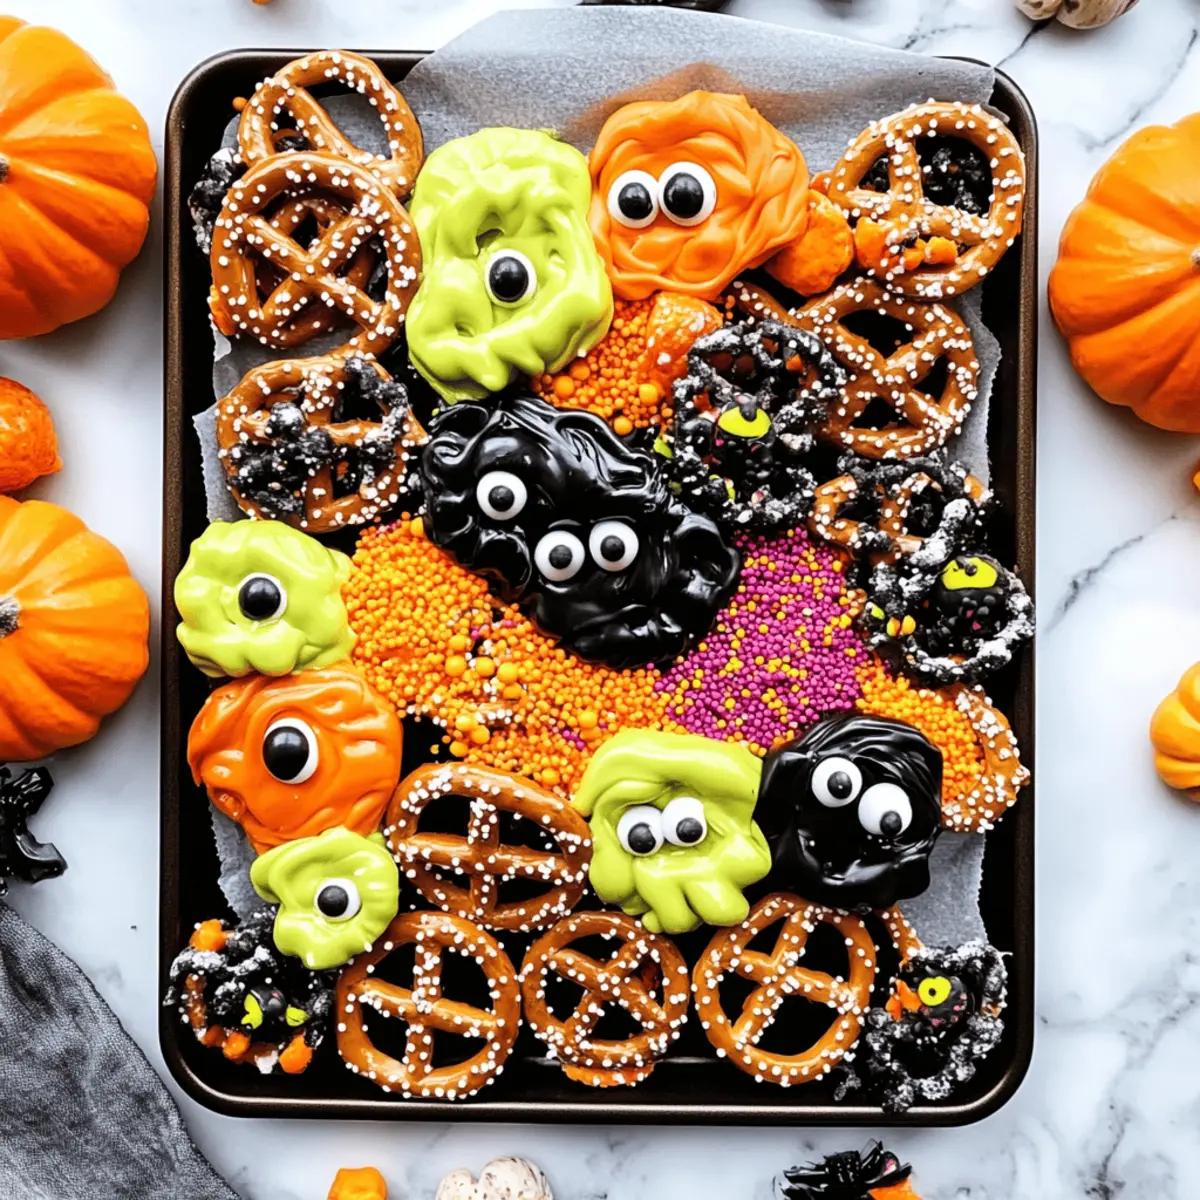
- Candy Melts (White, Orange, Black) – The star of the show, these colorful melts give your pretzels a sweet, festive touch; feel free to swap with melted chocolate chips mixed with coconut oil for extra shine!
For Decoration
- Halloween Sprinkles – Sprinkle on creativity with assorted fun shapes and colors to bring your treats to life.
- Candy Eyes – These whimsical additions add a playful, spooky charm to your Halloween pretzels.
- Crushed Oreos (optional) – Sprinkle on some crunchy chocolate goodness for an extra layer of flavor and texture!
With these ingredients in hand, you’re just a few steps away from crafting delightful Halloween pretzels that are sure to enchant everyone at your gathering!
Step‑by‑Step Instructions for Halloween Pretzels
Step 1: Prepare Your Workspace
Begin by lining a baking sheet with parchment paper to prevent the Halloween pretzels from sticking. This essential step makes cleanup easy and ensures your festive creations set perfectly. Make sure your workspace is tidy and ready to encourage creativity as you dive into this fun project!
Step 2: Melt the Candy Melts
In a microwave-safe bowl, melt your candy melts according to the package instructions, typically heating in 30-second intervals, stirring in between, until completely smooth and glossy. Aim for a velvety consistency, as this will be used to coat the pretzels. Choose vibrant colors like orange and black for a spooky touch.
Step 3: Coat the Pretzels
Once the candy melts are ready, take each mini pretzel and dip it into the melted mixture, ensuring it’s fully coated. If you prefer a drizzle effect, use a fork to create swirls over the pretzels instead. Allow any excess candy to drip off before placing them on your prepared baking sheet to set.
Step 4: Add Toppings
While the candy coating is still warm, immediately add Halloween sprinkles, candy eyes, or crushed Oreos as festive toppings. The warmth of the coating will help these playful decorations stick nicely. Get creative and let your imagination run wild—this is the fun part of making Halloween pretzels that everyone will surely enjoy!
Step 5: Allow to Set
Let your decorated Halloween pretzels sit at room temperature until fully hardened, which usually takes about 15 minutes. You’ll know they’re ready when the candy coating is firm to the touch, making the pretzels look glossy and ready to impress. Patience is key as you wait for these delightful treats to transform!
Step 6: Store or Serve
If you’re not serving the Halloween pretzels right away, store them in an airtight container to keep them fresh and crunchy. These treats can last up to a week when stored properly, making them perfect for snacking throughout the Halloween season or sharing at parties!
How to Store and Freeze Halloween Pretzels
Room Temperature: Store your Halloween pretzels in an airtight container at room temperature for up to 7 days. This keeps them fresh and crunchy for those snack attacks!
Fridge: If you’re in a warm climate, you can refrigerate the pretzels to maintain their texture; just ensure they are in an airtight container to prevent moisture absorption, lasting up to a week.
Freezer: For long-term storage, freeze the Halloween pretzels in an airtight container for up to 2 months. Let them thaw at room temperature before enjoying to retain their delightful crunch.
Reheating: While not typically required, if you prefer warm pretzels, pop them in a preheated oven at 200°F for a few minutes, just until slightly warmed—enjoy those spooky flavors again!
Make Ahead Options
These Halloween pretzels are perfect for meal prep, allowing you to save time during the busy Halloween season! You can coat the pretzels in candy melts up to 24 hours in advance and let them harden before storing. Simply keep the finished treats in an airtight container at room temperature to maintain their crunchy texture for up to a week. If you’d like to prep further, you can also melt the candy melts and store them in the refrigerator for up to 3 days. When you’re ready to finish, just reheat the melts gently and drizzle over the pretzels or use it to re-coat any that may have lost their shine. This way, you’ll have ready-to-go Halloween pretzels that are just as delicious and festive!
What to Serve with Easy No-Bake Halloween Pretzels
Gather your friends and family for a spooktacular snacking experience that pairs delightfully with these festive treats!
-
Creamy Apple Slices: Crisp apple wedges with a smooth dip offer a fresh contrast, brightening up the sweet and salty flavors.
-
Chocolate-Covered Strawberries: Decadent and fruity, these treats add a touch of elegance while harmonizing with the chocolaty appeal of the pretzels.
-
Ghoulish Green Monster Dip: A vibrant green guacamole or spinach dip brings a fun pop of color and a savory complement to the sweet pretzels.
-
Cheesy Popcorn: Light and airy, this cheesy snack brings crunchiness to your spread, balancing the sticky-sweetness of the Halloween pretzels.
-
Festive Fruit Punch: A refreshing drink with fruity flavors cleanses the palate and adds a celebratory vibe, making your gathering even more fun.
-
Halloween-themed Cupcakes: These whimsical sweets can echo the playful spirit of your pretzels and offer a variety of textures for a delightful dessert experience.
Helpful Tricks for Halloween Pretzels
- Get Creative: Use various colors of candy melts to match your Halloween theme, keeping every batch unique and festive.
- Quickly Add Toppings: Remember to sprinkle on decorations immediately after coating; otherwise, the candy will set, and toppings won’t stick.
- Watch the Temperature: If the melted candy cools down too much, it may thicken and become hard to work with; reheating gently will keep it smooth.
- Involve the Kids: This engaging project is perfect for children; let them help with decorating to create cherished family memories while making Halloween pretzels.
- Seal for Freshness: Always store your pretzels in an airtight container to maintain their crunch and flavor for up to a week, ensuring every bite stays delightful!
Halloween Pretzels Variations & Substitutions
Elevate your Halloween pretzels by exploring these creative twists that will tantalize your taste buds!
- Gluten-Free: Use gluten-free pretzels to ensure everyone can enjoy this treat without worry.
- Dairy-Free: Swap candy melts with dairy-free chocolate chips for an inclusive, delicious option that pleases all dietary needs!
- Flavor Explosion: Add a sprinkle of sea salt on top before the candy sets for an exciting sweet-and-salty combination.
- Nutty Surprise: Mix in chopped nuts or seeds into the melted chocolate for extra crunch and flavor diversity. Not only does it enhance texture, but it also makes it a fun, wholesome alternative!
- Fruity Finish: Top with dried fruits, like cranberries or cherries, to add a pop of vibrant color and natural sweetness.
- Seasonal Swaps: Experiment with different seasonal sprinkles—think red and green for Christmas, pink for Valentine’s, or pastel colors for Easter.
- Extra Crunch: Replace crushed Oreos with graham cracker crumbs for a different kind of crunch and a hint of nostalgia. If you’re feeling adventurous, consider adding a drizzle of caramel afterward!
- Spicy Kick: Incorporate a pinch of cayenne pepper or chili powder into your candy melts for a surprising heat that complements the sweetness beautifully.
Eager to explore other fun recipes? Check out these delightful treats like Halloween Witch Cookies or the charming Halloween Oreo Stuffed for more inspiration!
Halloween Pretzels Recipe FAQs
How do I choose the right mini pretzels?
When selecting mini pretzels, look for those that are uniformly shaped and have a nice crunch. Avoid any pretzels that show signs of breakage or have dark spots all over, as these may be stale. Pretzel twists are great for dipping, while rods offer a fun twist in terms of presentation!
How should I store my Halloween pretzels?
Halloween pretzels should be stored in an airtight container at room temperature to ensure they remain fresh and crunchy for up to 7 days. If you’re in a warm environment, it’s best to refrigerate them – just make sure they are safely sealed to prevent moisture.
Can I freeze my Halloween pretzels?
Absolutely! To freeze your Halloween pretzels, first, make sure they are completely hardened. Place them in an airtight container with parchment paper between layers to prevent sticking. They can last for up to 2 months in the freezer. When you’re ready to enjoy them, simply thaw at room temperature for the best taste and texture.
What if my candy melts are too thick to work with?
If you find your melted candy melts are becoming too thick, it can be due to cooling down too much. No worries! Just take your microwave-safe bowl and reheat it in 10-second intervals to regain that smooth, velvety consistency, stirring in between to ensure it melts evenly.
Are there any allergen considerations for Halloween pretzels?
Yes, absolutely! While the basic ingredients in the Halloween pretzels are quite safe, always check the labels for potential allergens, especially with candy melts and sprinkles, as cross-contamination can occur. For gluten-free needs, simply choose gluten-free pretzels and verify all added ingredients meet those standards.
Can kids help make these Halloween pretzels?
Very! Involving kids in the making of Halloween pretzels is a fantastic way to bond and have fun together. They can assist with dipping the pretzels, drizzling the candy melts, and especially decorating with sprinkles and candy eyes. Just ensure you supervise them closely, especially when using the microwave!
Spooktacular Halloween Pretzels: Easy No-Bake Fun for Kids
Ingredients
Equipment
Method
- Prepare Your Workspace: Line a baking sheet with parchment paper for easy cleanup.
- Melt the Candy Melts: Heat the candy melts in the microwave until smooth.
- Coat the Pretzels: Dip each pretzel in the melted candy until fully coated.
- Add Toppings: While the coating is warm, sprinkle with Halloween sprinkles, candy eyes, or crushed Oreos.
- Allow to Set: Let the pretzels sit at room temperature for about 15 minutes until hardened.
- Store or Serve: Keep in an airtight container for freshness up to a week.
Leave a Reply