
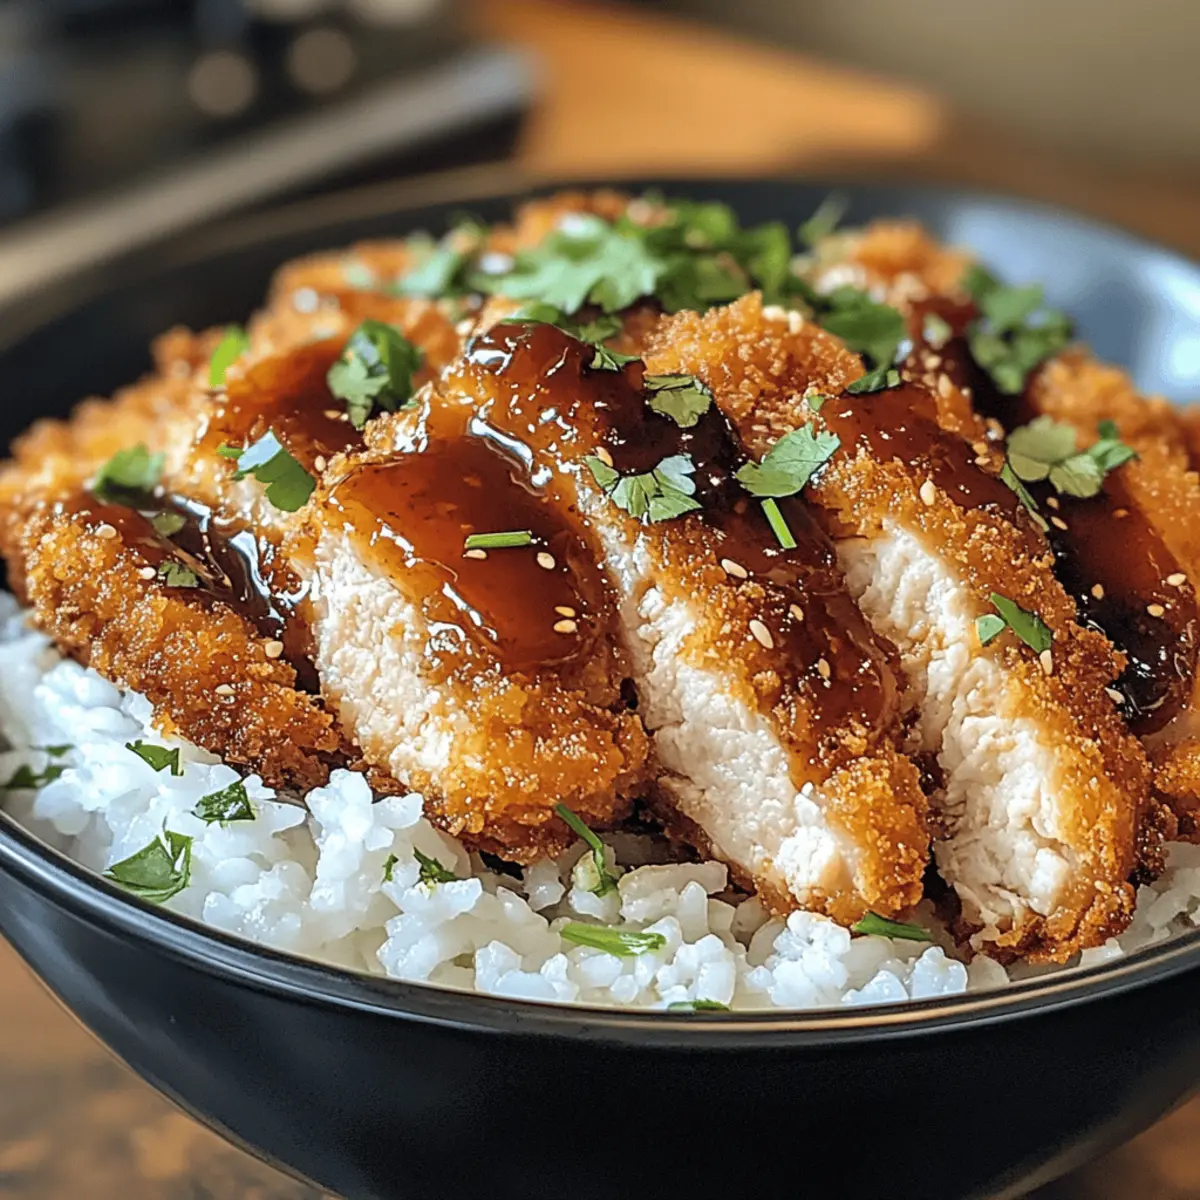
As I was savoring a takeout meal recently, I yearned for the comforting crunch of a homemade feast instead. That’s when I decided to whip up these Crispy Japanese Katsu Bowls with Homemade Tonkatsu Sauce. The allure of panko-breaded cutlets resting on a bed of soft, fluffy rice was simply irresistible. This recipe not only brings the joy of cooking back into your kitchen, but it also makes for a quick weeknight meal that’s packed with flavor and nostalgia. Whether you choose chicken or pork, it’s a delightful dish that’s not just satisfying but can be easily customized for gluten-free diets, too! Ready to dive into this culinary adventure? Let’s get cooking!
Why Are Katsu Bowls So Delicious?
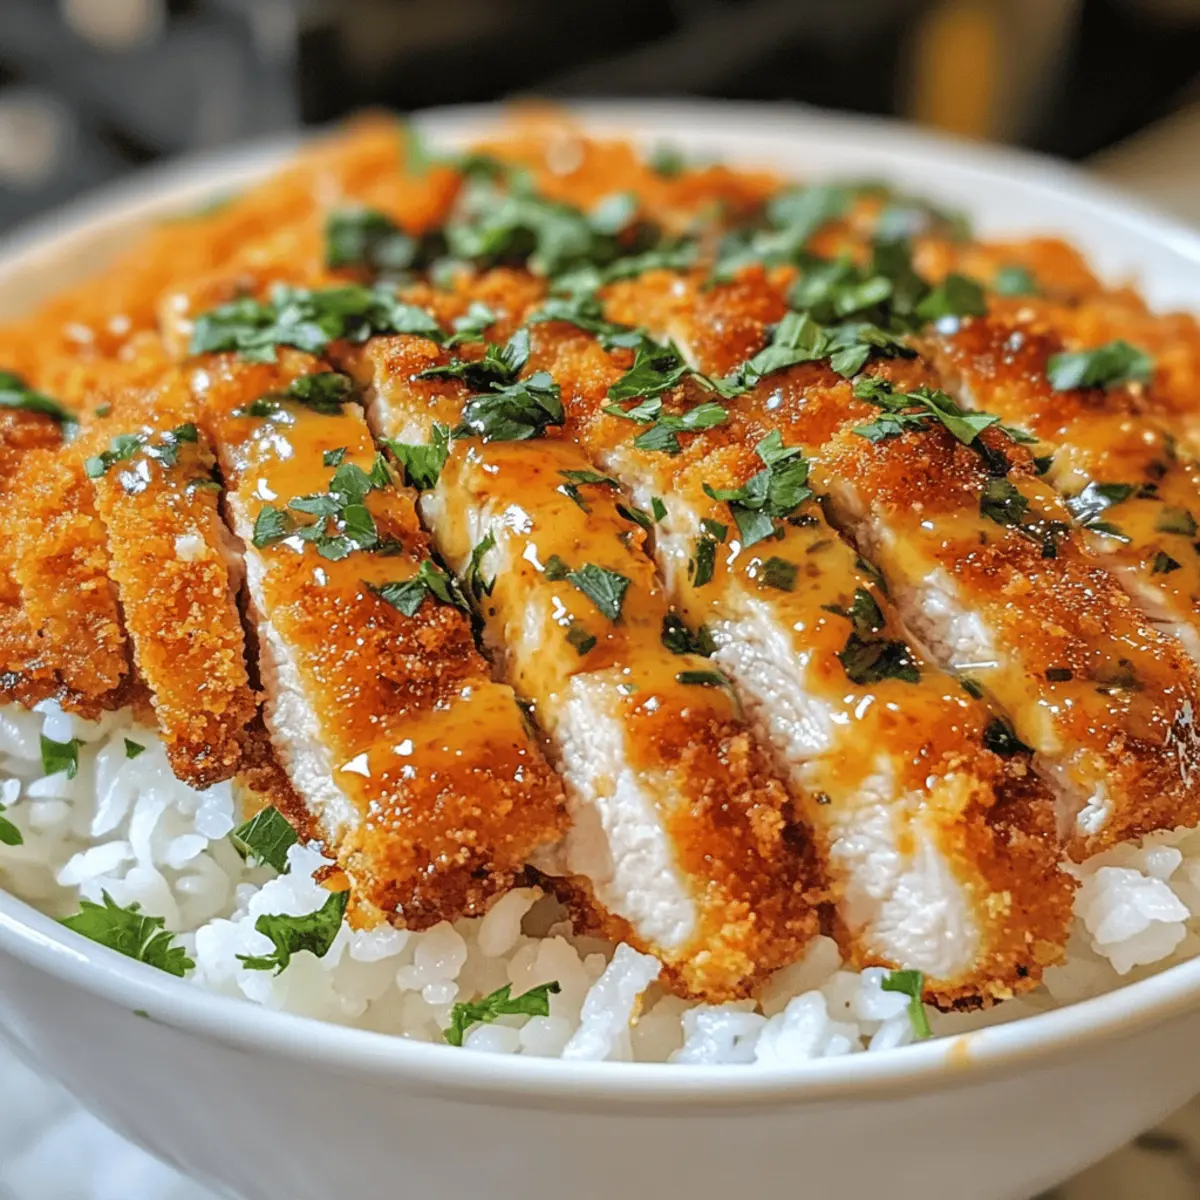
Comforting Crunch: The crispy panko coating enveloping the cutlets creates a delightful crunch that pairs perfectly with the fluffy rice.
Customizable Flavors: Whether you opt for chicken or pork, this recipe allows for personal twists—experiment with gluten-free substitutes like Cucumber Salad Blueberries and enjoy a meal that’s tailor-made for you!
Quick and Easy: Designed for busy weeknights, this recipe comes together quickly—perfect for those who are tired of fast food.
Savory Sauce: The homemade tonkatsu sauce, with its sweet and tangy notes, elevates the dish and satisfies your taste buds.
Versatile Meal: Serve it with a side of miso soup or a refreshing Thai salad for a complete, restaurant-style experience at home!
Japanese Katsu Bowls Ingredients
For the Cutlets
• Cutlets (Chicken or Pork) – The primary protein that provides wonderful flavor and texture; make sure to pound to ½ inch thickness for even cooking.
• Salt and Pepper – Simple seasonings that enhance your meat’s natural taste; use generously to bring out the best flavors.
• Flour – A crucial base for the breading; can be substituted with gluten-free flour for a lighter option.
• Eggs – Acts as a binding agent; ensures the panko adheres beautifully to the cutlets.
• Panko Breadcrumbs – Provides that signature crispy coating; regular breadcrumbs can be used if needed, but panko adds that extra crunch.
• Oil (for frying) – Essential for achieving that golden-brown finish; use vegetable or canola oil for best results.
For the Tonkatsu Sauce
• Ketchup – The main base for a sweet and flavorful tonkatsu sauce; feel free to adjust sweetness to your liking.
• Worcestershire Sauce – Adds a hint of tanginess and depth; don’t skip this for a well-rounded flavor.
• Soy Sauce – Brings in umami; opt for low-sodium soy sauce if you prefer less salt.
• Sugar – Balances the flavors in your tonkatsu sauce; adjust based on your taste preference.
For Serving
• White Rice – Your comforting base; consider substituting with brown rice for a healthier twist.
• Fresh Parsley or Green Onions (for garnish) – Adds a pop of freshness and color; these are optional but highly recommended!
This delectable Japanese Katsu Bowls with Tonkatsu Sauce is the perfect dish to whip up for a cozy night in. Enjoy the process and the delicious outcome!
Step‑by‑Step Instructions for Japanese Katsu Bowls with Tonkatsu Sauce
Step 1: Prepare the Cutlets
Begin by placing your chicken or pork cutlets on a cutting board. Use a meat mallet to gently pound them to a uniform thickness of about ½ inch, ensuring even cooking. Season both sides with salt and pepper, which enhances the natural flavors of the meat. Set the prepared cutlets aside while you organize your breading station.
Step 2: Set Up Breading Stations
Create three shallow bowls for the breading process. In the first bowl, add flour; in the second, whisk two large eggs until well blended; and in the third, place panko breadcrumbs. This setup will streamline your coating process for the Japanese Katsu Bowls, allowing for a smooth transition as you prep the delicious, crispy cutlets.
Step 3: Bread the Cutlets
Take each seasoned cutlet and dredge it in the flour, coating both sides fully, and then dip it into the beaten eggs, ensuring it’s well covered. Finally, press each cutlet into the panko breadcrumbs, making sure to adhere them firmly for maximum crunch. Arrange the coated cutlets on a plate, ready for frying.
Step 4: Heat Oil
In a large skillet, pour enough vegetable or canola oil to cover the bottom of the pan, about ¼ inch deep. Heat the oil over medium-high heat until it reaches 375°F. To test the temperature, drop a small piece of breaded panko into the oil; it should sizzle and float to the surface. This indicates that the oil is hot enough for frying.
Step 5: Fry Cutlets
Carefully place the breaded cutlets into the hot oil, ensuring not to overcrowd the pan. Fry each cutlet for about 3-4 minutes per side, turning them when golden brown. Use a meat thermometer to check for doneness; the internal temperature should reach 165°F for chicken or 145°F for pork. Once cooked, transfer the cutlets to a paper towel-lined plate to absorb excess oil.
Step 6: Prepare Tonkatsu Sauce
In a small bowl, combine ½ cup ketchup, 2 tablespoons Worcestershire sauce, 2 tablespoons soy sauce, and 1 tablespoon sugar. Whisk these ingredients together until the sugar dissolves and the sauce is well mixed. This homemade tonkatsu sauce will provide a delicious sweet and tangy contrast to your crispy cutlets in the Katsu bowls.
Step 7: Assemble Bowls
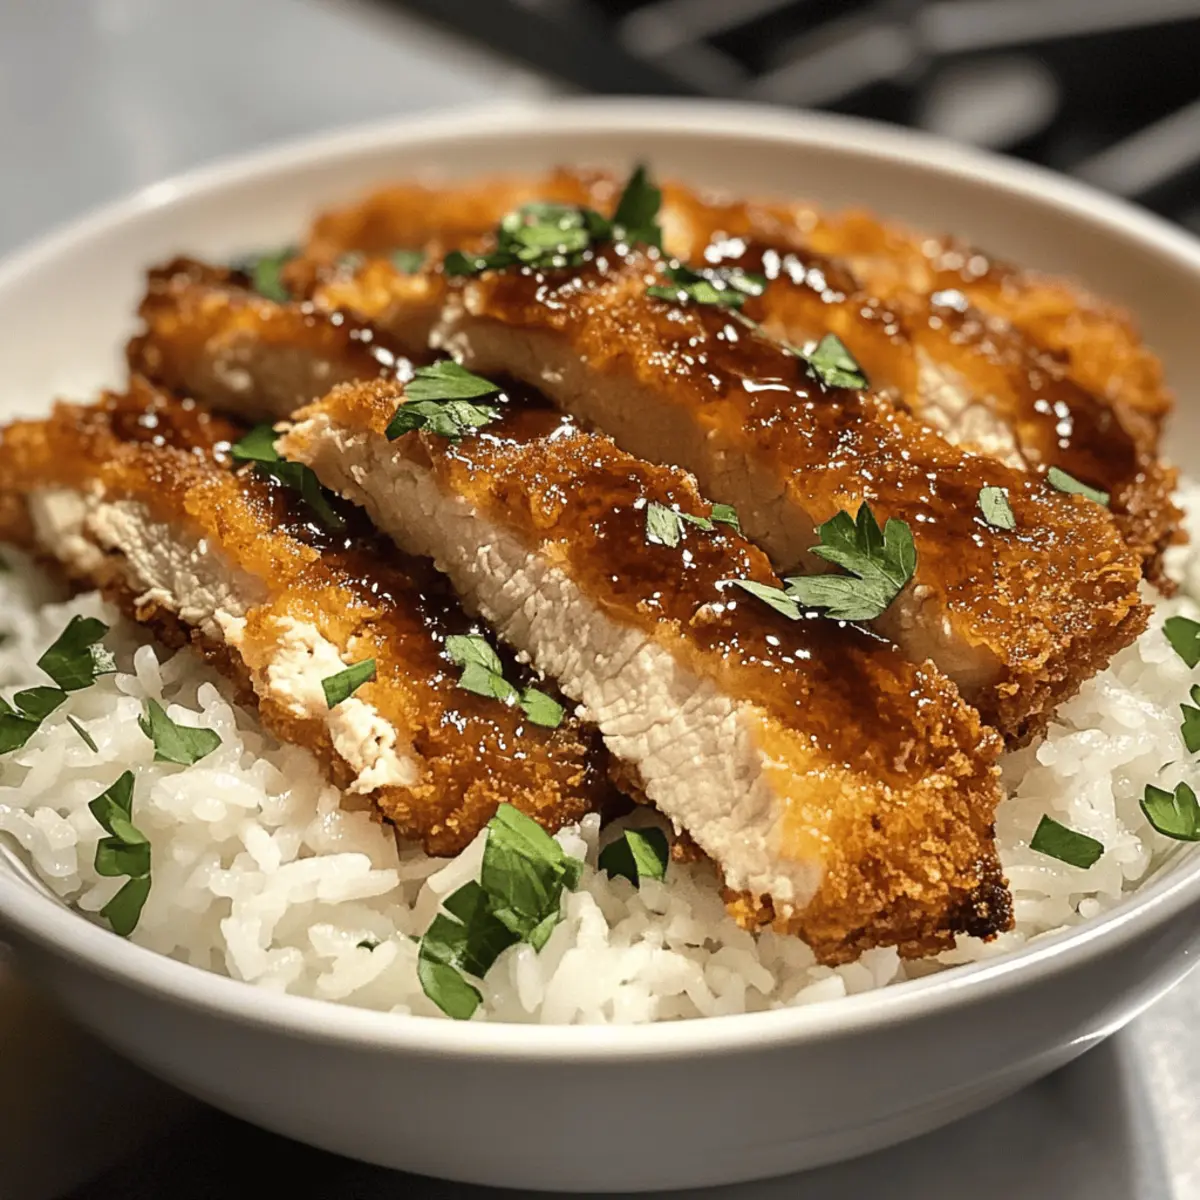
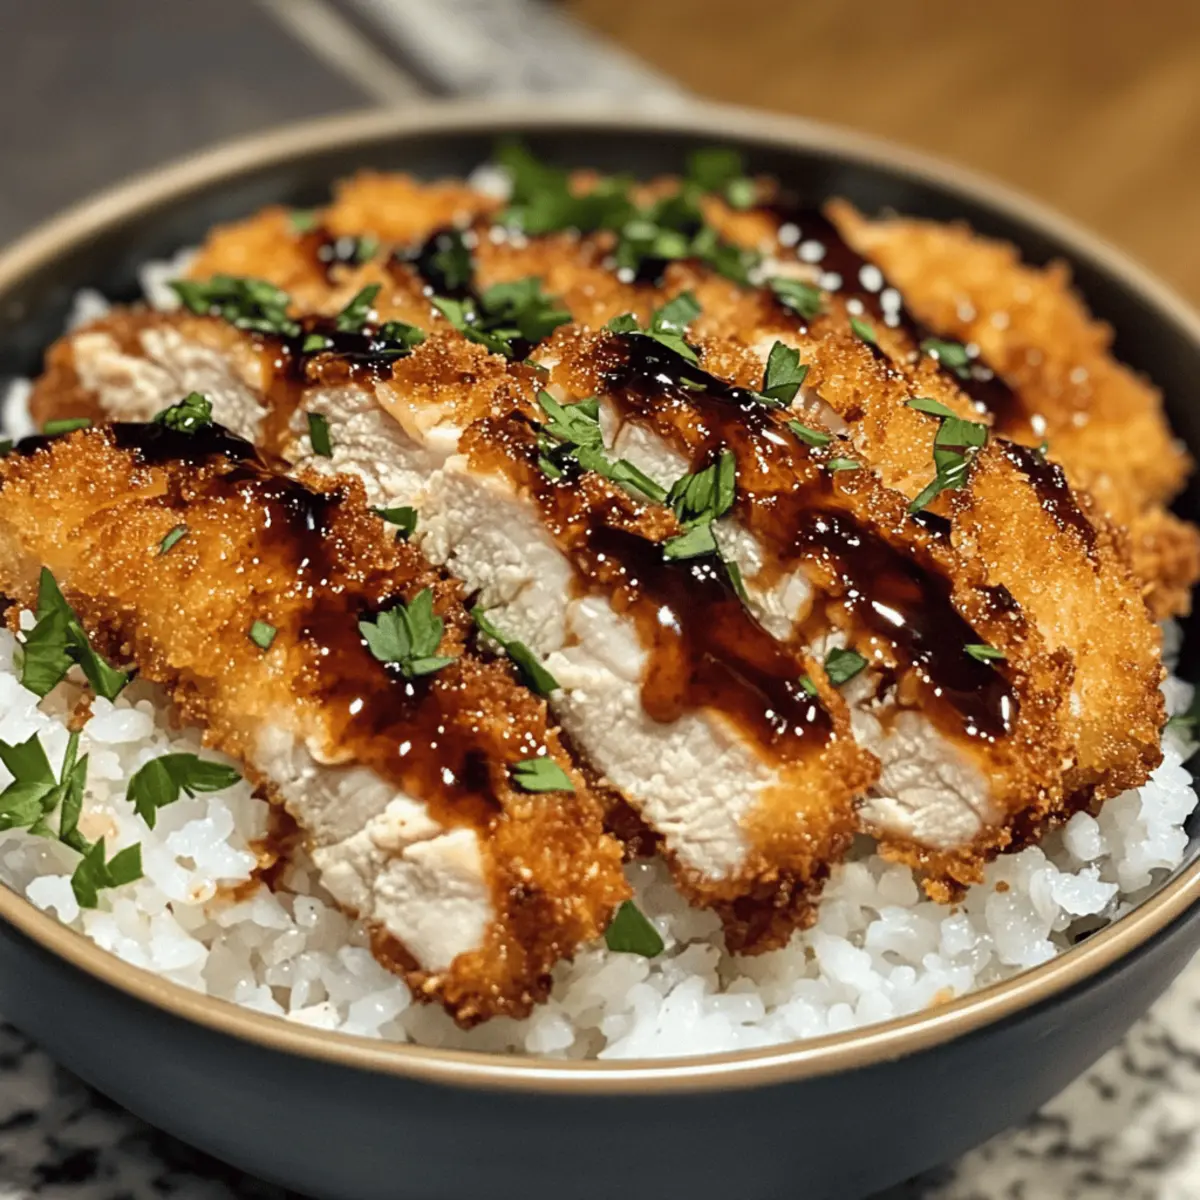
To serve, place a generous scoop of steamed white rice in each bowl. Slice the crispy cutlets into strips and arrange them beautifully on top of the rice. Drizzle the tonkatsu sauce over the cutlets, allowing it to pool slightly on the rice for added flavor. If desired, sprinkle fresh parsley or sliced green onions for that extra touch of freshness.
Step 8: Serve
Enjoy these delicious Japanese Katsu Bowls with Tonkatsu Sauce while they’re hot. The contrast of the crunchy cutlets against the soft rice, combined with the tangy sauce, promises a delightful meal. Gather around the table, savor each bite, and share the joy of homemade comfort food with loved ones!
Expert Tips for Japanese Katsu Bowls
-
Perfect Pounding: Ensure your cutlets are pounded evenly to ½ inch thickness to achieve consistent cooking. Uneven cutlets can lead to dry spots.
-
Temperature Check: Always heat your oil to 375°F before frying to avoid sogginess. If it’s too cool, the cutlets absorb more oil and lose crispiness.
-
Crispy Coating: Press the panko breadcrumbs firmly onto the cutlets during breading. This guarantees a thicker, crunchier coating that holds up while frying in your Japanese Katsu Bowls.
-
Storage Savvy: Store leftover katsu and rice separately to maintain texture. Reheat the rice with a splash of water for a soft, fluffy finish.
-
Sauce Balance: Adjust the sweetness of the tonkatsu sauce to your preference. Start with less sugar and gradually add more until you hit the perfect balance for your taste buds.
How to Store and Freeze Japanese Katsu Bowls
Fridge: Keep leftover Japanese Katsu Bowls in an airtight container in the fridge for up to 3 days to maintain freshness and flavor.
Freezer: If you need to freeze, store the cooked cutlets and rice separately in freezer-safe containers for up to 1 month. Thaw overnight in the fridge before reheating.
Reheating: To reheat, warm the rice with a splash of water in the microwave or stovetop and crisp the cutlets in a preheated oven at 375°F for about 10 minutes.
Leftover Storage: For best results, always store katsu and rice separately to maintain the cutlet’s crispiness when enjoying leftovers.
Make Ahead Options
These Japanese Katsu Bowls with Tonkatsu Sauce are a meal prep dream! You can prepare the cutlets up to 24 hours in advance by breading them and storing them in the refrigerator in an airtight container; this helps to maintain their crunch. The tonkatsu sauce can also be made ahead and refrigerated for up to 3 days—just whisk together the ingredients and store in a sealed jar. When you’re ready to serve, simply fry the breaded cutlets and reheat the sauce gently. This way, you can enjoy a comforting, homemade meal with minimal effort on busy evenings, all while savoring every crispy bite!
Japanese Katsu Bowls with Tangy Twists
Feel free to get creative with this recipe and make it your own; the flavors and textures are waiting for your personal touch!
- Vegetarian Katsu: Substitute chicken or pork with sliced eggplant or firm tofu, offering a satisfying and hearty alternative. The crispy texture will still thrill your taste buds.
- Brown Rice Boost: Swap white rice for brown rice or quinoa for a nutty flavor and added nutrients. You’ll enjoy a wholesome twist that keeps you full longer.
- Nutty Crunch: Experiment with different coating options like crushed nuts or sesame seeds to give a delicious twist of flavor and an irresistible crunch.
- Zesty Additions: Stir some grated ginger or minced garlic into the tonkatsu sauce for a zesty kick that elevates every bite. Your sauce will have a fresh vibrancy!
- Heat It Up: Add a splash of sriracha or a pinch of red pepper flakes to the tonkatsu sauce for some heat that perfectly complements the sweetness.
- Crispy Kale Garnish: Top your bowls with crispy kale or seaweed for an unexpected crunch and a touch of umami. You’ll add a delightful contrast of flavors and textures.
- Fresh Herbs: Try garnishing with fresh cilantro or basil instead of parsley for a herbaceous twist that brightens the dish. Each bite will pack a punch!
- Tangy Pineapple: Add diced pineapple to your rice for a sweet and tangy flavor that pairs perfectly with the savory katsu. This twist will brighten your meal and tickle your taste buds!
As you explore these variations, don’t forget to pair your meal with a delicious side like a refreshing Cucumber Salad Blueberries or a warm bowl of miso soup for a complete experience!
What to Serve with Crispy Japanese Katsu Bowls with Homemade Tonkatsu Sauce?
Elevate your dining experience with delightful pairings that complement the satisfying crunch and savory flavor of your Katsu bowl.
-
Miso Soup: A warm, comforting bowl of miso soup brings an umami richness that balances the crunch of the katsu, making every bite a delight.
-
Cucumber Salad: The crispness of fresh cucumbers marinated in rice vinegar adds a refreshing contrast and lightens the meal, enhancing your overall experience.
-
Steamed Broccoli: Tender steamed broccoli offers a vibrant green touch filled with nutrients, balancing the dish while adding an appealing texture.
-
Pickled Ginger: A sharp and zesty bite of pickled ginger cleanses the palate between bites, enhancing the luscious flavors of the tonkatsu sauce in your Katsu bowls.
-
Boba Tea: A sweet and creamy boba tea complements the savory elements beautifully, turning your meal into a fun, playful experience that feels like a treat.
-
Fruit Sorbet: For a light dessert, serve a scoop of fruity sorbet to cleanse the palate. Its subtle sweetness perfectly contrasts the savory notes of the Katsu bowl.
-
Japanese Beer: Pairing your Katsu bowl with a cold Japanese beer enhances the flavors. The carbonation cuts through the richness, making each bite even more enjoyable.
Embrace these pairings for a balanced, vibrant meal that transforms your dining table into a delightful celebration of flavors!
Japanese Katsu Bowls with Tonkatsu Sauce Recipe FAQs
How do I choose the right cutlets for my Japanese Katsu Bowls?
When selecting your cutlets, look for chicken breasts or pork chops that are fresh and free from any dark spots or discoloration. Make sure they are around ½ inch thick for even cooking. If you opt for chicken, boneless, skinless breasts work wonderfully. For pork, look for tender loin chops for maximum tenderness and flavor.
What’s the best way to store leftover Katsu Bowls?
Absolutely! To keep your Japanese Katsu Bowls fresh, store the cutlets and rice separately in airtight containers in the fridge. They will remain good for up to 3 days. For reheating, microwave the rice with a splash of water to revive its texture and crisp the cutlets in an oven at 375°F for about 10 minutes for that original crunch.
Can I freeze my Katsu Bowls for later use?
Yes, you can! To freeze, I recommend placing your cooked cutlets and rice in individual freezer-safe containers. They can be kept frozen for up to 1 month. When you’re ready to enjoy them, thaw overnight in the fridge and reheat as mentioned before, ensuring to warm the rice and crisp the katsu properly.
What can I do if my cutlets are soggy after frying?
Very! If your cutlets turn out soggy, it’s likely due to the oil temperature being too low or the coating not adhering properly. To prevent this, always heat your oil to 375°F before adding cutlets, and ensure you press the panko firmly onto each cutlet while breading. If they are soggy after frying, try placing them in a hot oven for a few minutes to help them regain their crispiness.
Are there any dietary considerations I should keep in mind?
Definitely! If you’re catering to gluten sensitivities, you can substitute regular flour and panko breadcrumbs with gluten-free alternatives. Additionally, if you’re cooking for pets, avoid using soy sauce or Worcestershire sauce, as these can be harmful to them. Always check for any specific allergies and rejoice in creating a dish that everyone can enjoy!
Savory Japanese Katsu Bowls with Tonkatsu Sauce for Cozy Nights
Ingredients
Equipment
Method
- Prepare the cutlets by pounding to a uniform thickness of about ½ inch. Season both sides with salt and pepper.
- Set up three shallow bowls for breading: one with flour, one with beaten eggs, and one with panko breadcrumbs.
- Bread the cutlets by dredging in flour, dipping in eggs, and pressing into panko breadcrumbs.
- Heat oil in a skillet to 375°F. Test the temperature with a piece of breaded panko.
- Fry each cutlet for about 3-4 minutes per side until golden brown. Check for doneness.
- In a bowl, mix ketchup, Worcestershire sauce, soy sauce, and sugar to make the tonkatsu sauce.
- Assemble bowls by placing rice, sliced cutlets, and drizzling tonkatsu sauce over the top. Garnish if desired.
- Serve while hot and enjoy the contrast of textures and flavors.
Leave a Reply