
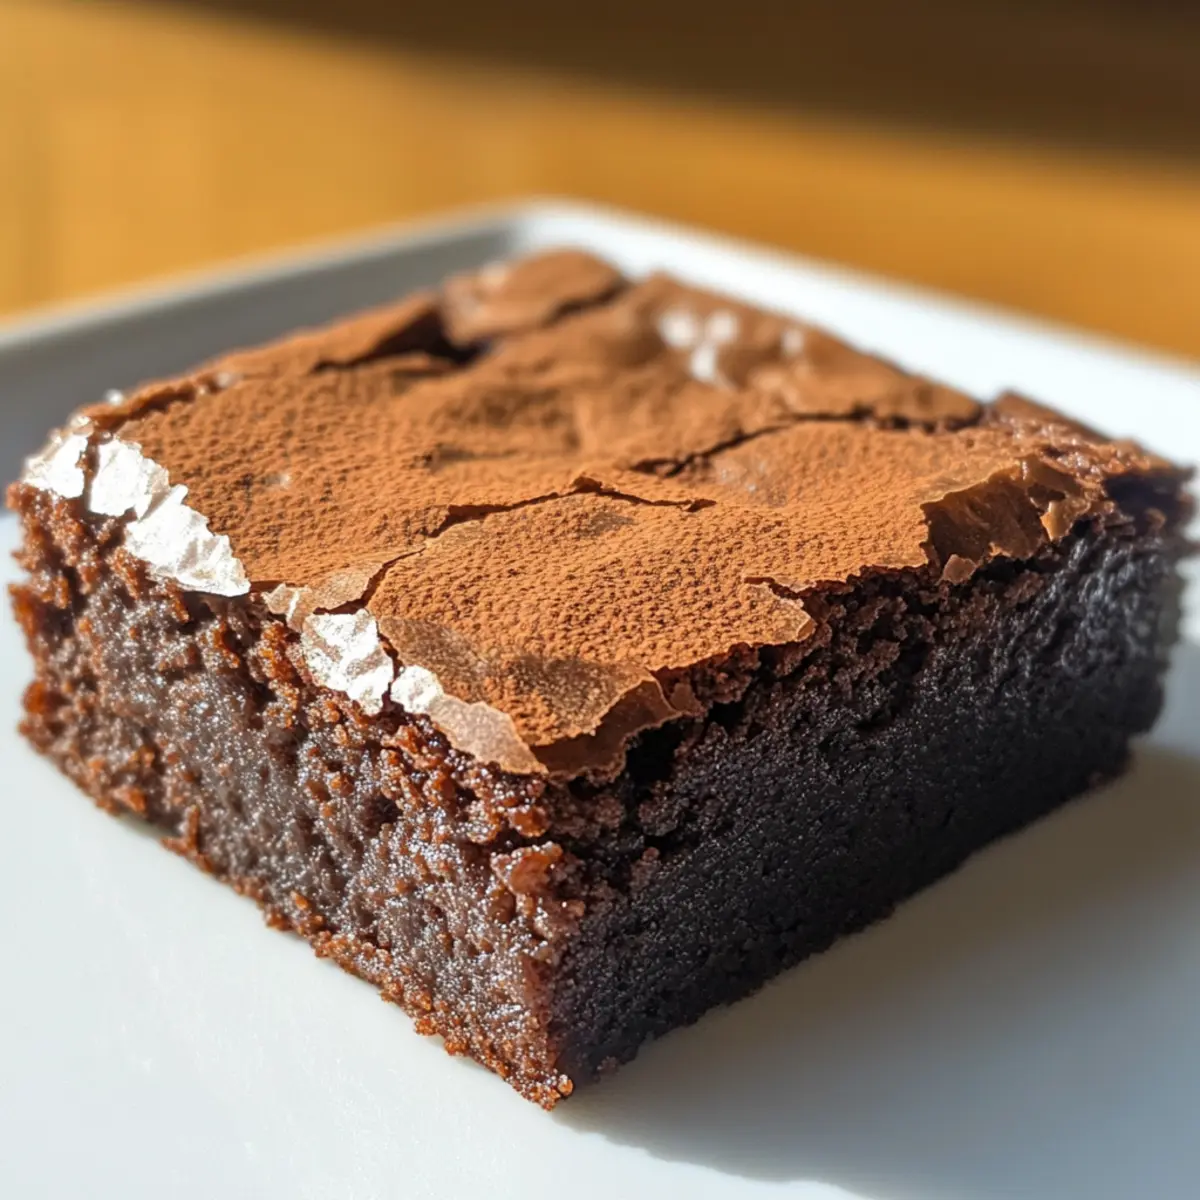
In the midst of a bustling kitchen, I stumbled upon a magical fusion of flavors: Mochi Brownies. This delightful treat marries the beloved richness of chocolate with the chewy texture that only glutinous rice flour can offer. Not only is this recipe perfect for satisfying sweet cravings, but it’s also gluten-free, making it accessible for everyone at the table. Imagine serving up a dessert that not only wows your guests but is also simple enough to whip up after a long day. These brownies boast a uniquely gooey center with crisp edges, a comforting twist on traditional treats that will have you reaching for seconds. Curious about how to make your own indulgent batch? Let’s dive into this chewy chocolate adventure together!
Why Choose Mochi Brownies?
Chewy Delight: Imagine a brownie that offers a chewy, satisfying texture combined with rich, chocolatey goodness.
Simple Ingredients: With just a handful of easy-to-find ingredients, you can create something extraordinary that tastes gourmet!
Gluten-Free: Perfect for everyone, these mochis cater to dietary preferences without sacrificing flavor.
Impressive & Fun: They’re not just delicious; they’re a conversation starter, making your dessert table truly unforgettable.
Customizable: Feel free to mix in your favorite nuts or fruits for a unique twist each time!
Quick & Easy: This recipe is straightforward and quick, perfect for busy evenings when a sweet craving strikes.
Mochi Brownie Ingredients
• Get ready to indulge in a delightful chocolate adventure!
For the Brownie Batter
- Glutinous Rice Flour – This is the star for achieving that delightful chewy texture.
- Cocoa Powder – Use unsweetened for a rich chocolate flavor—key to those mochi brownies!
- Dark Chocolate – High-quality chocolate enhances the overall richness, so choose a favorite brand.
- Unsalted Butter – Adds moisture and decadence; replace with coconut oil for a dairy-free alternative.
- Eggs – Essential for binding; make sure they’re at room temperature for the best mix.
- Milk – Contributes moisture; almond or coconut milk works well for a dairy-free option.
- Sugar – Sweetens your brownies up; try brown sugar for more depth and flavor.
- Baking Powder – A small addition that gives your brownies a slight lift for a fantastic texture.
- Salt – Just a pinch heightens all the flavors, balancing out the sweetness beautifully.
Optional Toppings
- Chocolate Chunks – Sprinkle on top before baking for a melty finish.
- Nuts/Dried Fruit – Mix in for an extra crunch or chew, elevating your mocha brownie experience!
Get your ingredients ready, and let’s bring these chewy chocolate mochi brownies to life!
Step‑by‑Step Instructions for Mochi Brownies
Step 1: Preheat and Prepare
Begin by preheating your oven to 320°F (160-170°C). While the oven warms, line an 8×8 inch baking pan with baking paper, making sure it hangs over the edges for easy removal later. This preparation will ensure your mochi brownies don’t stick, resulting in smooth, clean cuts once baked.
Step 2: Melt the Chocolate and Butter
In a double boiler, combine dark chocolate and unsalted butter. Heat gently, allowing them to melt together, stirring frequently until smooth and well blended. Once melted, remove the bowl from heat and let the mixture cool slightly; this step is essential for preventing the eggs from cooking when combined later.
Step 3: Whisk the Eggs and Milk
In a separate mixing bowl, whisk together the eggs and vanilla extract until smooth and frothy, creating a light texture. Gradually add the milk, stirring just until blended. This beautiful mixture will combine with the chocolate blend, enhancing the richness of your mochi brownies.
Step 4: Combine Wet Ingredients
Pour the cooled chocolate and butter mixture into the egg and milk mixture. Stir vigorously until the ingredients are well combined and the batter is smooth, allowing the flavors to meld. This luscious chocolate blend will be the base for your delicious mochi brownies, imparting rich flavor.
Step 5: Mix the Dry Ingredients
In another bowl, whisk together glutinous rice flour, cocoa powder, baking powder, salt, and sugar. This dry blend will provide the structure and sweetness needed for your brownies. Ensure there are no lumps, as a smooth dry mix is essential for creating that perfect, chewy texture.
Step 6: Combine Wet and Dry Mixtures
Gradually pour the wet mixture into the dry ingredients, stirring until the batter is smooth and homogeneous. Be careful not to overmix, as you want to keep that lovely chewy texture characteristic of mochi brownies. The batter should be thick and glossy, ready for baking.
Step 7: Pour and Prep for Baking
Pour the brownie batter into your prepared baking pan, using a spatula to spread it out evenly. For a delightful surprise, sprinkle chocolate chunks on top of the batter, ensuring they settle into the mixture slightly. This will create melty pockets of chocolate in your mochi brownies.
Step 8: Bake to Perfection
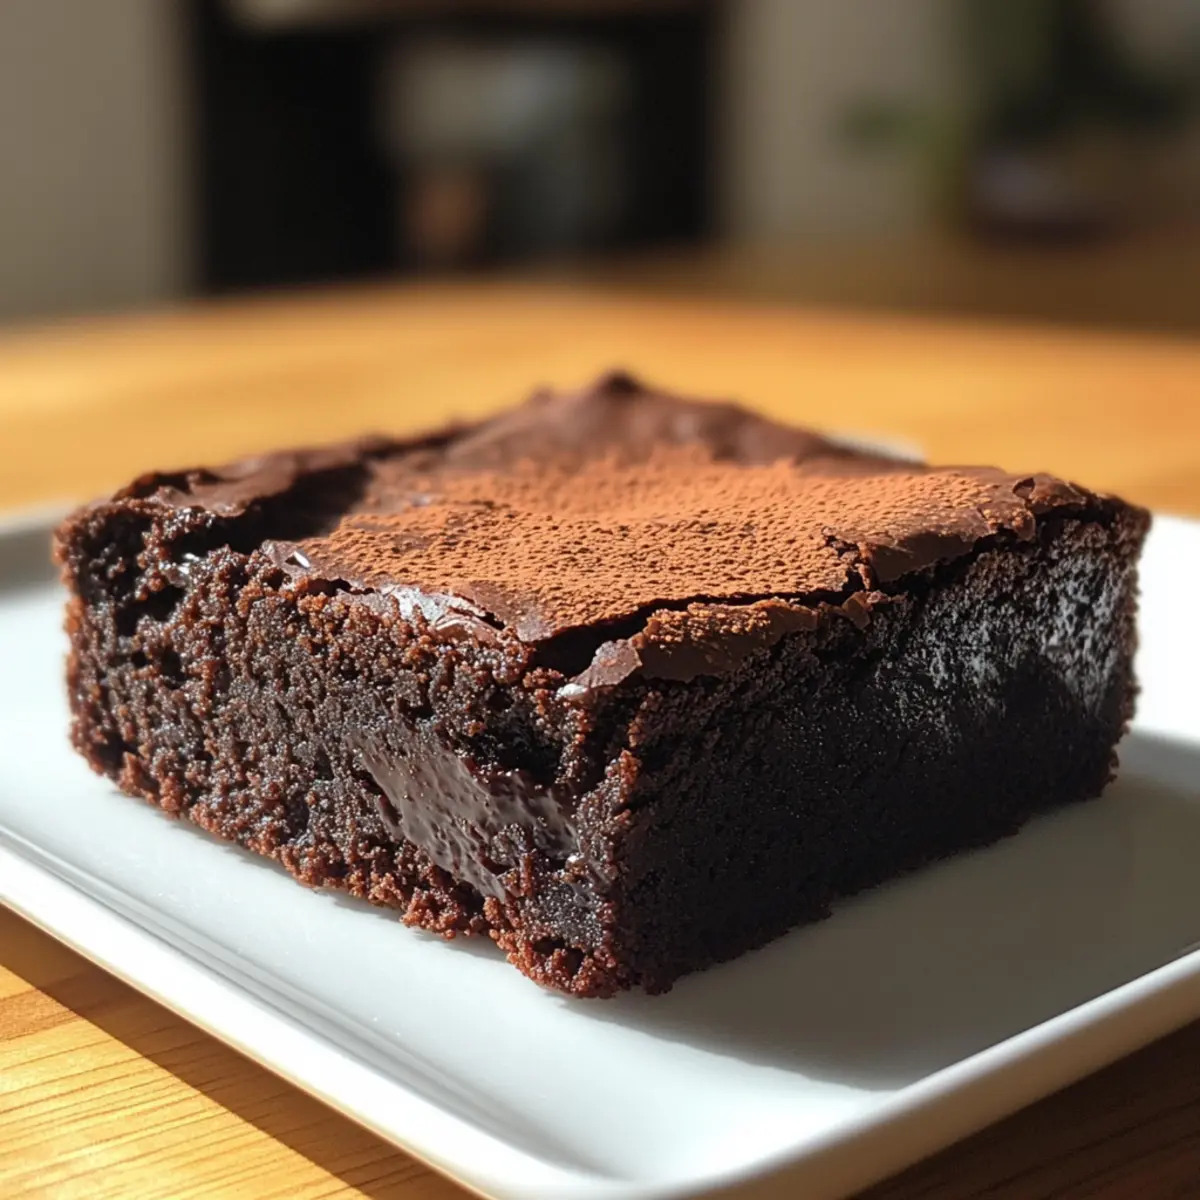
Place the pan in the preheated oven and bake for 55-60 minutes. Keep an eye on the brownies as they bake, checking for doneness by inserting a toothpick into the center; it should come out with a few moist crumbs, not wet batter. This ensures that your brownies remain deliciously chewy.
Step 9: Cool and Slice
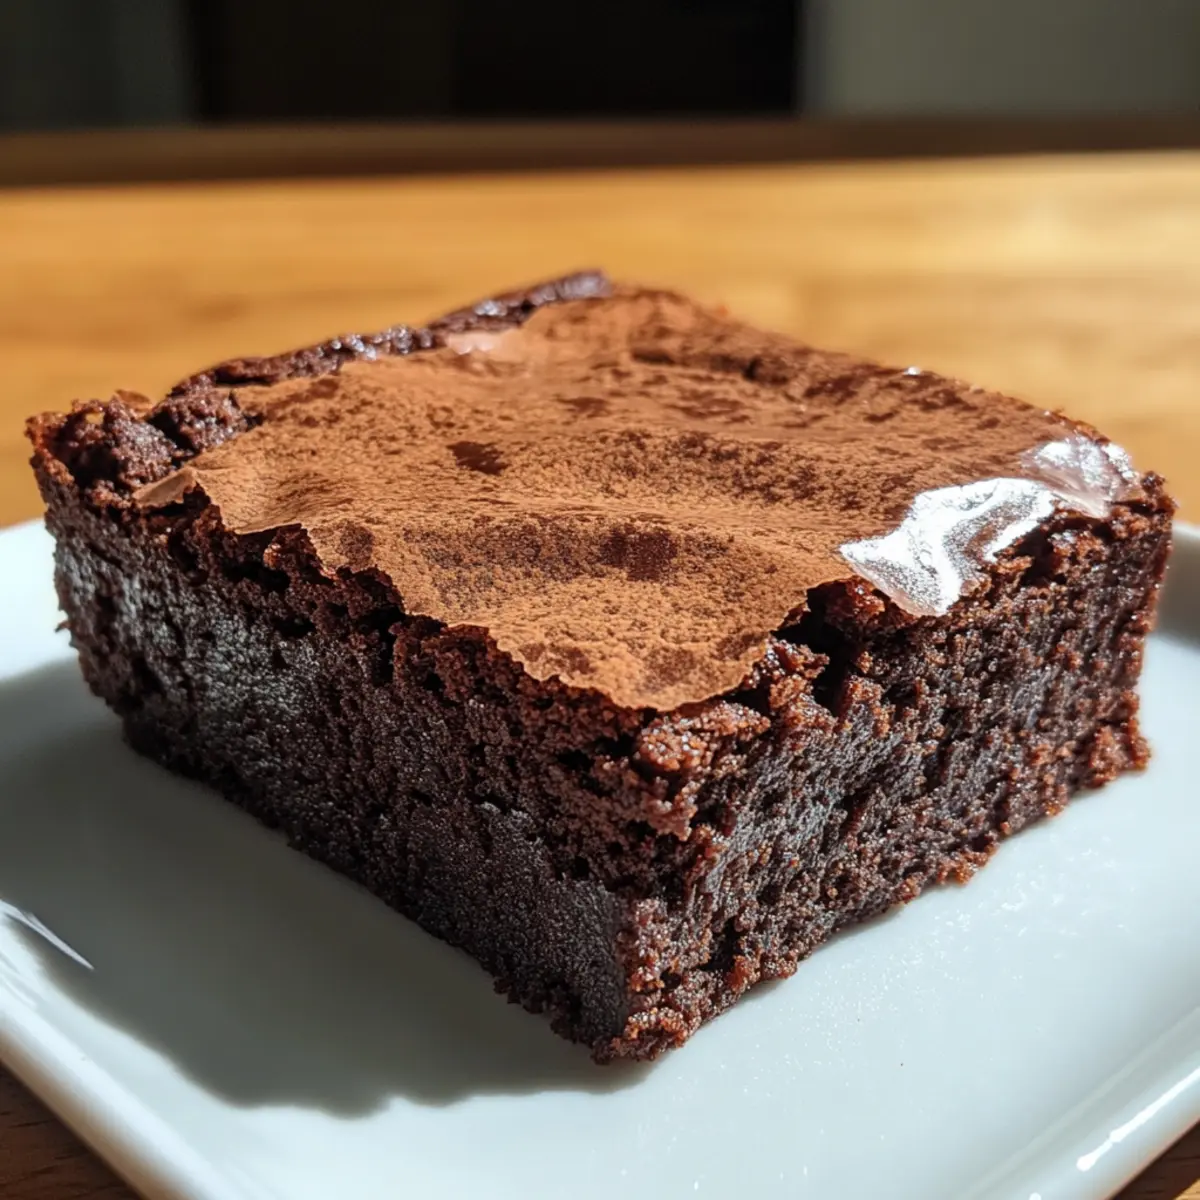
Once baked, remove the pan from the oven and allow the mochi brownies to cool completely in the pan before transferring them to a wire rack. Allowing them to cool fully is crucial for achieving those clean, beautiful slices when you cut into the rich, gooey brownies.
Mochi Brownies Variations & Substitutions
Feel free to get creative and personalize your mochi brownies with these exciting variations that will tantalize your taste buds!
-
Milk Chocolate: Swap dark chocolate for milk chocolate for a sweeter taste that’s perfect for those with a sweet tooth.
For a fun twist, consider pairing these brownies with a drizzle of caramel sauce for added indulgence. -
Nut-Free: Replace any nuts with sunflower seeds or omit them entirely for a nut-free treat that’s still satisfying.
This is a great option if you’re catering to allergies while keeping the brownies delightful and chewy. -
More Chocolate: Add chocolate chunks or chips into the batter for extra melty goodness.
The unexpected bursts of rich chocolate will surprise your guests in every bite! -
Coconut Flavor: Substitute milk with coconut milk for a tropical spin, enhancing moisture and flavor.
Paired with some shredded coconut on top, these brownies will whisk you away to a sunny beach! -
Spicy Kick: Add a dash of cayenne pepper or chili powder to give your brownies a delightful kick of heat.
This unexpected twist can add depth to the flavor, creating a unique dessert experience! -
Hawaiian Butter Mochi: Want a traditional Hawaiian spin? Incorporate vanilla extract and coconut milk to mimic Hawaiian butter mochi.
The chewy texture blend is quite the delectable surprise that’s sure to impress your guests. -
Flavored Extracts: Use almond or mint extract to personalize your brownies beyond chocolate; a little goes a long way.
This subtle addition can elevate the entire dessert, creating a whole new flavor profile to explore. -
Add Fruit: Include dried fruits like cranberries or cherries for a pop of tartness in every chewy bite.
This creates a beautiful balance of flavors, making your brownies more complex and satisfying.
For more delicious options, consider pairing your mochi brownies with a scoop of homemade chocolate ice cream for a dreamy dessert experience!
Make Ahead Options
These Mochi Brownies are perfect for busy home cooks who want to save time without sacrificing flavor! You can prepare the brownie batter up to 24 hours in advance, covering it tightly in the refrigerator to maintain its freshness and prevent drying out. For an even smoother process, you can also pre-measure and mix the dry ingredients (glutinous rice flour, cocoa powder, baking powder, salt, and sugar), storing them in an airtight container for up to 3 days. When you’re ready to enjoy your brownies, simply mix the wet and dry ingredients together, pour the batter into the pan, and bake as instructed. This way, you’ll have delicious Mochi Brownies with minimal effort, just when you need them!
Expert Tips for Perfect Mochi Brownies
Use Parchment Paper: Line your baking pan with parchment paper to prevent sticking and make removal easier.
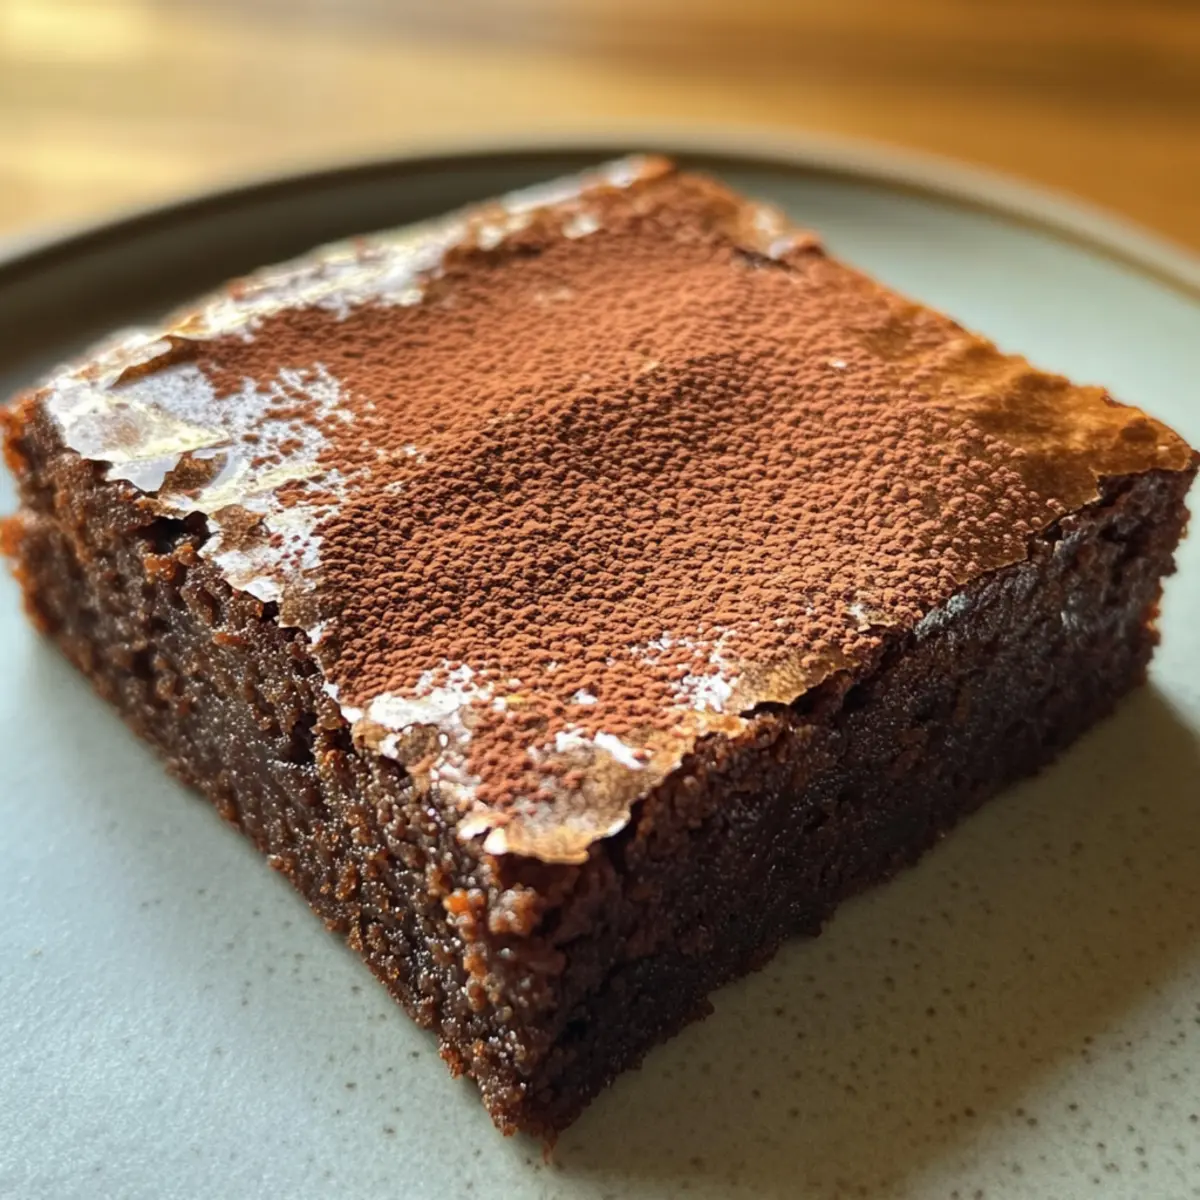
Cool Completely: Allow brownies to cool fully before slicing. This prevents them from falling apart and ensures cleaner edges.
Oiled Knife Trick: Lightly oil your knife before cutting to help slice through the sticky texture of the mochi brownies smoothly.
Watch the Time: Keep an eye on your baking duration; overbaking can lead to a drier texture. Aim for a moist crumb for that perfect chewy result.
Customize Wisely: If adding nuts or dried fruit, chop them finely to distribute evenly throughout the batter without compromising the chewy texture.
How to Store and Freeze Mochi Brownies
Room Temperature: Keep mochi brownies in an airtight container at room temperature for up to 3 days to maintain their chewy texture.
Fridge: For extended freshness, store the brownies in the fridge for up to a week. Seal them in an airtight container to prevent drying out.
Freezer: Wrap individual brownies tightly in plastic wrap before placing them in a freezer bag. They can be frozen for up to 3 months, ensuring you always have a treat ready!
Reheating: Thaw brownies in the fridge overnight before warming in the microwave for 10-15 seconds, to revive that gooey, chocolatey delight of your mochi brownies.
What to Serve with Chewy Chocolate Mochi Brownies?
Enhance your dessert experience by pairing these delightful brownies with complementary flavors and textures that elevate each bite.
- Whipped Cream: A dollop of sweet, fluffy cream adds lightness, balancing the rich chocolate and chewy texture beautifully.
- Vanilla Ice Cream: The creamy sweetness of vanilla ice cream provides a perfect contrast to the brownies’ fudginess, creating a delightful temp.
- Fresh Berries: Raspberries or strawberries offer a refreshing burst of tartness that cuts through the brownie’s richness, making every bite refreshing.
- Coconut Flakes: Sprinkle toasted coconut on top to add a subtle crunch and tropical flavor, enhancing the mochi experience inspired by Hawaii.
- Chocolate Sauce: Drizzle warm chocolate sauce over the brownies for a decadent treat that intensifies the chocolate experience, a must for chocoholics!
- Nuts: Chopped walnuts or pecans bring a satisfying crunch that contrasts beautifully with the chewy softness of the brownies.
- Coffee: Serve alongside a cup of brewed coffee or espresso; the bitter notes complement the sweetness of the brownies wonderfully.
- Mint Tea: A refreshing mint tea can cleanse the palate, providing a fragrant and herbaceous counterpoint to the dense chocolate flavors.
- Mochi Ice Cream: For an adventurous twist, pair with mochi ice cream—just like a flavor explosion, connecting the mochi roots of the brownies!
- Salted Caramel Sauce: The sweet-salty combination of caramel drizzled over the brownies brings a new depth of flavor that is simply irresistible.
Mochi Brownies Recipe FAQs
What type of glutinous rice flour should I use for mochi brownies?
Absolutely! For mochi brownies, it’s essential to use glutinous rice flour (also known as sweet rice flour) because it’s the key ingredient for achieving that signature chewy texture. Regular rice flour or any substitutes won’t work the same way, as they lack the necessary starch content that gives mochi its delightful consistency.
How should I store my mochi brownies for maximum freshness?
To keep your mochi brownies beautifully chewy, store them in an airtight container at room temperature for up to 3 days. If you’d like to prolong their life, you can refrigerate them for up to a week. Just make sure they are well-sealed to prevent them from drying out—no one wants a dry brownie!
Can I freeze mochi brownies? How do I do that?
Yes, you can freeze mochi brownies! After allowing them to cool completely, wrap each brownie individually in plastic wrap and place them in a freezer bag. They’ll keep well for up to 3 months. When you’re ready to enjoy, simply thaw them in the refrigerator overnight and then warm them gently in the microwave for about 10-15 seconds to revive that gooey goodness.
What if my brownies turn out too dry?
If your mochi brownies turn out dry, this could be due to overbaking. Always stick to the recommended baking time of 55-60 minutes and use the toothpick test, where a few moist crumbs should cling to the toothpick when done. If they still feel dry, adding some whipped cream or serving them with ice cream can elevate the texture by adding moisture and richness on the plate!
Are mochi brownies safe for those with gluten allergies?
Absolutely! Mochi brownies are made with glutinous rice flour, which is naturally gluten-free. However, always double-check that all other ingredients, especially the chocolate and baking powder, are gluten-free. It’s essential to ensure that everything is safe for those with dietary restrictions, particularly if you’re serving guests.
Mochi Brownies: Chewy, Chocolatey Bliss You’ll Love!
Ingredients
Equipment
Method
- Preheat your oven to 320°F (160-170°C) and line an 8x8 inch baking pan with baking paper.
- Melt dark chocolate and unsalted butter in a double boiler, stirring until smooth.
- Whisk together eggs and vanilla extract until frothy; add milk and blend.
- Stir the cooled chocolate mixture into the egg and milk mixture until combined.
- Whisk together glutinous rice flour, cocoa powder, baking powder, salt, and sugar until smooth.
- Combine the wet and dry mixtures, stirring until smooth and glossy.
- Pour the batter into the prepared pan and sprinkle chocolate chunks on top.
- Bake for 55-60 minutes, checking for doneness with a toothpick.
- Cool completely in the pan before slicing and serving.
Leave a Reply