
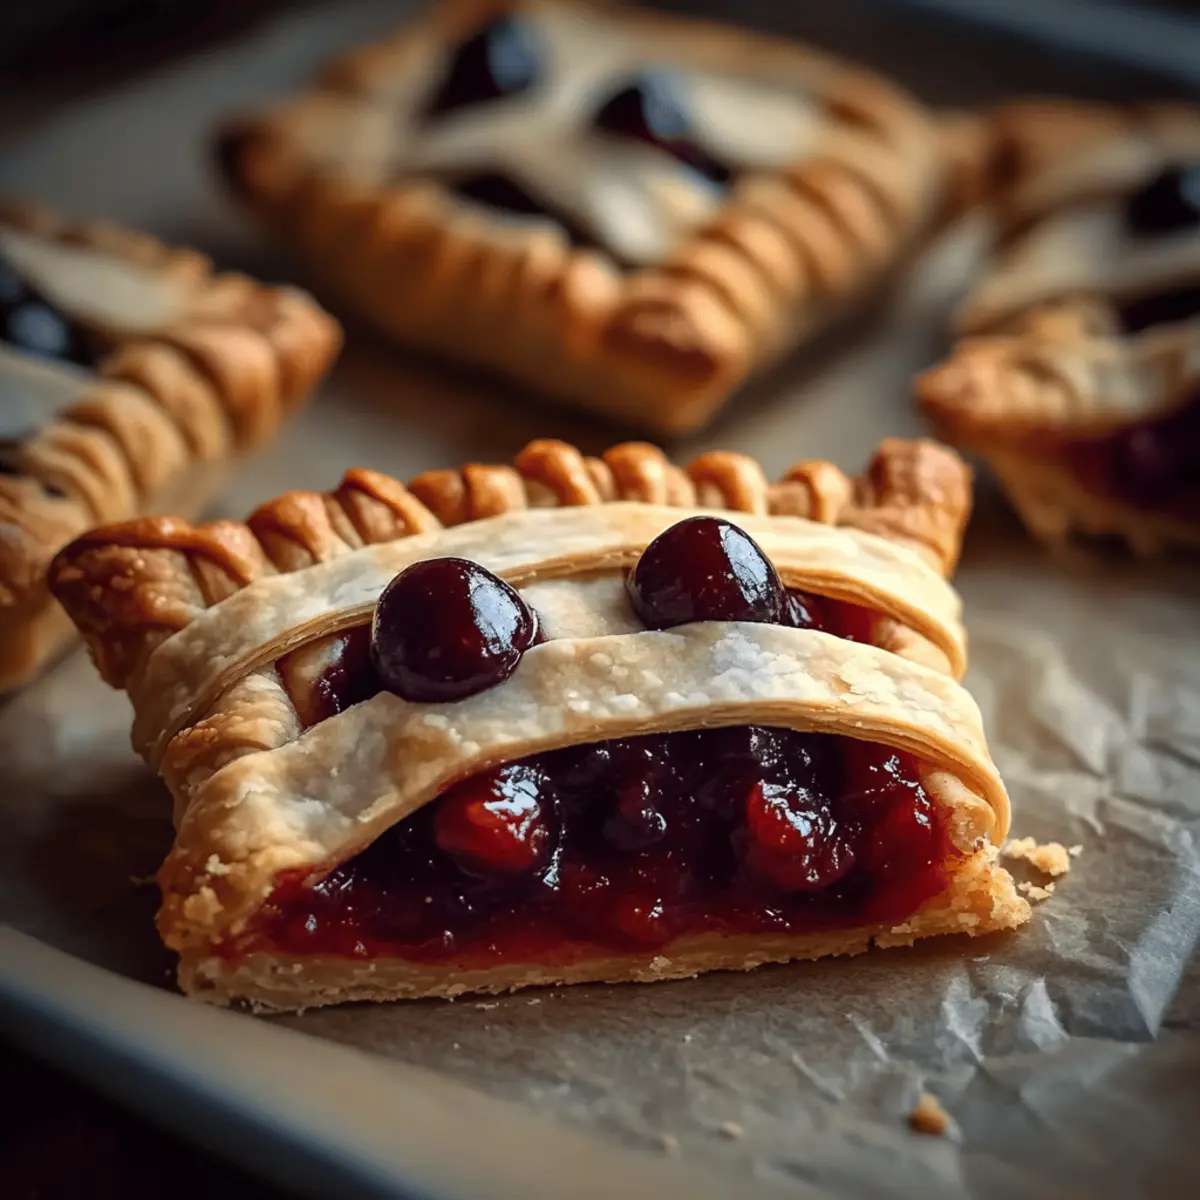
Halloween is just around the corner, and I’ve found the perfect way to bring a little spooky fun into the kitchen! These charming Mummy Cherry Pies combine flaky, buttery crust with a sweet and tart cherry filling, wrapped up just like a fun trick-or-treat surprise. As an easy dessert idea, these portable treats are not only delightful to look at but also a hit for gatherings, satisfying both the young and the young-at-heart. Plus, with the option to swap cherry for other fillings like apple or blueberry, you can customize these little mummies to fit your tastes. Ready to roll up your sleeves and create a bake that’s bound to become a Halloween favorite? Let’s dive into this frightfully delicious adventure!

Why Are Mummy Cherry Pies a Must-Try?
Fun and Festive: These Mummy Cherry Pies are not just desserts; they’re a playful addition to your Halloween festivities, perfect for both kids and adults alike.
Effortless Preparation: With premade pie dough, making these cuties is a breeze, letting you focus on enjoying the fun rather than stressing in the kitchen.
Endless Variations: While cherry filling is delightful, feel free to experiment with apple or blueberry to suit everyone’s palate. Explore more delicious ideas like Oatmeal Cream Pies for an extra treat!
Crowd-Pleasing Appeal: Their adorable design and sweet gooeyness make these pies a guaranteed hit at any gathering.
Handheld Delight: These portable treats fit perfectly in little hands, making them ideal for parties, potlucks, or family movie nights!
Mummy Cherry Pies Ingredients
- For the Dough
• Premade Pie Dough – This provides structure and convenience; feel free to use homemade pie crust for a personal touch! - For the Filling
• Cherry Pie Filling – Adds sweetness and flavor for these Mummy Cherry Pies; consider using apple or blueberry for a unique twist! - For the Wash
• Beaten Egg – Helps achieve a golden-brown crust; ensure it is well beaten for an even, glossy finish. - For Decoration
• Candy Eyes – A fun, festive garnish; while optional, they add a delightful visual charm for your Halloween treats.
Step‑by‑Step Instructions for Mummy Cherry Pies
Step 1: Preheat the Oven
Begin by preheating your oven to 375°F (190°C). While the oven warms up, line a baking sheet with parchment paper to prevent the pies from sticking. This preparation step is essential to ensure even baking and a perfectly golden crust for your adorable Mummy Cherry Pies.
Step 2: Prepare the Dough
Roll out your premade pie dough on a floured surface. Use a 3-inch round cookie cutter or a glass to cut out 16 circles of dough. Arrange 8 of these circles on the prepared baking sheet, providing ample space for each pie to expand as they bake. Keep the other 8 circles handy for the bandages.
Step 3: Form the Bandages
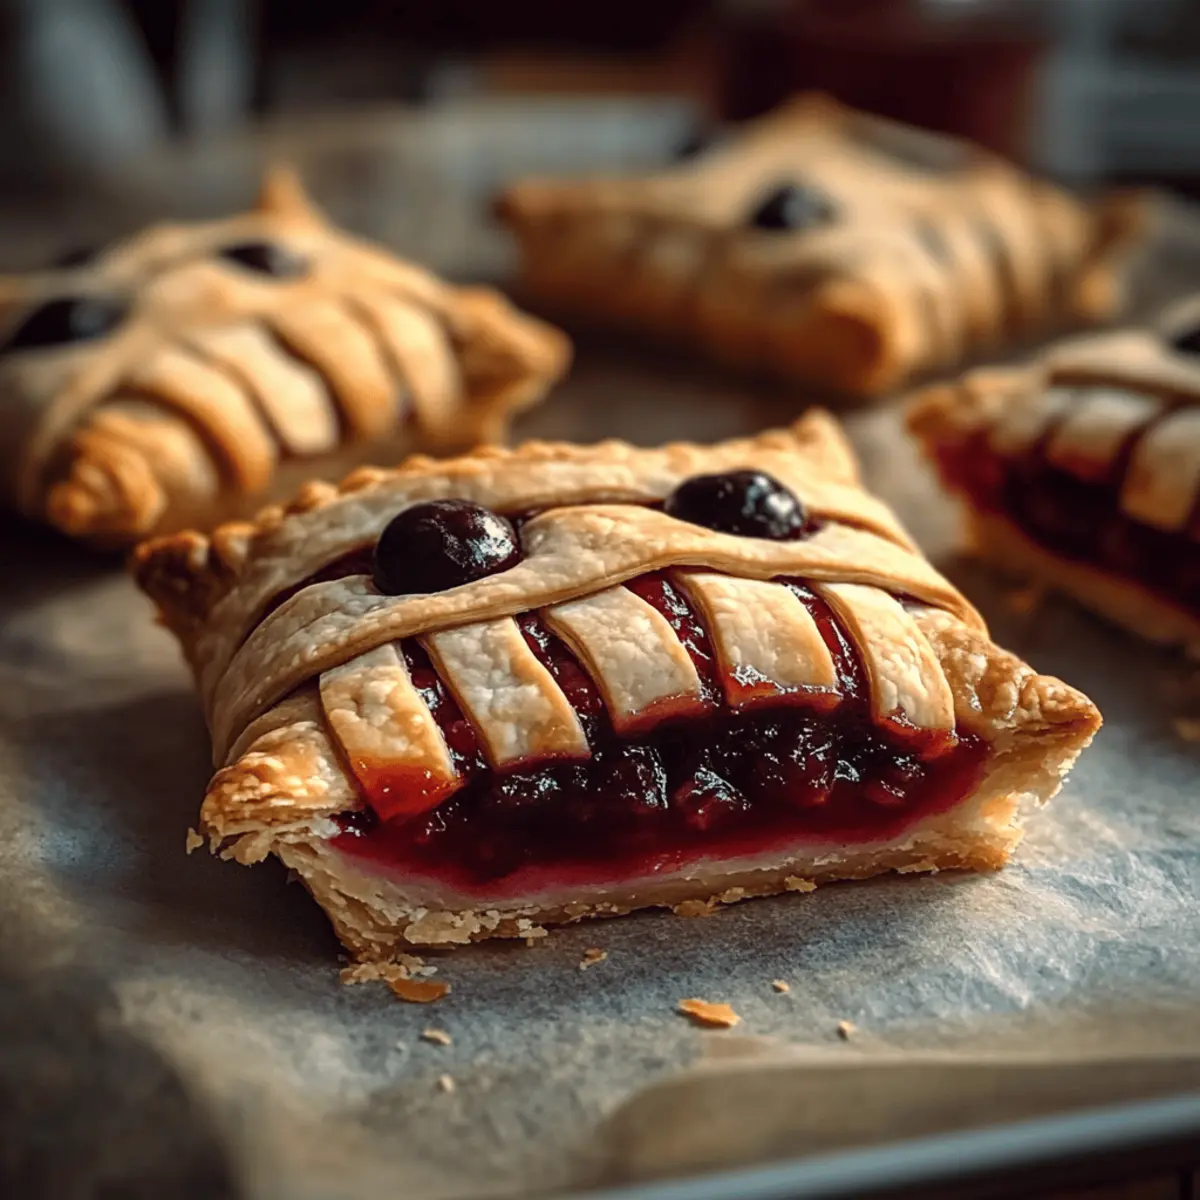
Now, take the remaining 8 dough circles and slice them into thin strips about ½ inch wide. These strips will serve as the “bandages” for your Mummy Cherry Pies. Aim for a mix of long and short pieces to create a more playful, haphazard mummy look when you lay them over the filling.
Step 4: Assemble the Pies
Spoon a small amount of cherry pie filling onto the center of each dough circle on your baking sheet. Be careful not to overfill, as excess filling may spill out during baking. Next, place the sliced dough strips over the filling in a crisscross pattern, resembling mummy bandages for a fun Halloween treat.
Step 5: Finish Prep with Egg Wash
To give your Mummy Cherry Pies a beautiful golden sheen, brush the surfaces with the beaten egg. Use a pastry brush to evenly coat the top of each pie, making sure the dough is fully covered without pooling. This step enhances both the appearance and flavor of your delightful handheld desserts.
Step 6: Bake the Pies
Carefully place the baking sheet into the preheated oven and bake the Mummy Cherry Pies for 8–10 minutes. Keep an eye on them as they bake; you want to pull them out when the crust turns a lovely golden brown. The aroma of the cherry filling will fill your kitchen, making it hard to resist!
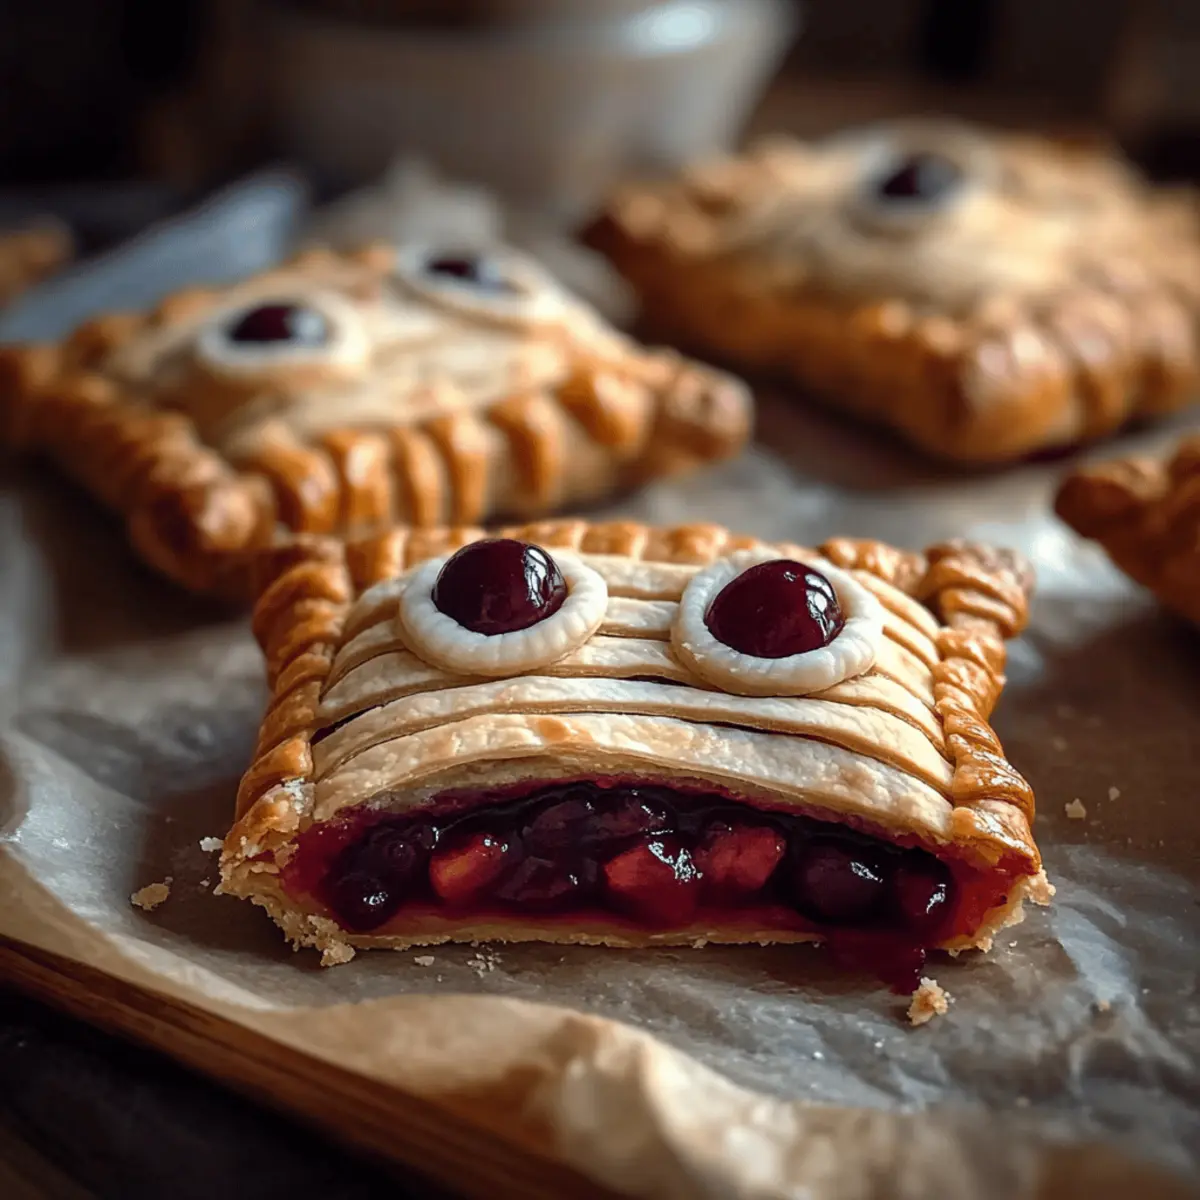
Step 7: Add the Candy Eyes
Once the pies are baked to perfection, remove them from the oven and allow them to cool slightly for about 5 minutes. This cooling time helps you handle them easily. Finally, while they are still warm, add the candy eyes on top of each pie to bring your mummies to life and make them extra festive!
What to Serve with Mummy Cherry Pies
As you prepare these delightful Mummy Cherry Pies, consider pairing them with tempting accompaniments that elevate your Halloween festivities.
-
Vanilla Ice Cream: A scoop of creamy vanilla complements the tart cherry filling, creating a luscious contrast that’s simply irresistible.
-
Caramel Sauce: Drizzling warm caramel atop these pies adds a rich sweetness, enhancing the flavors and making every bite even more indulgent.
-
Whipped Cream: A dollop of freshly whipped cream adds a light and airy texture, balancing the dense flavors in your Mummy Cherry Pies beautifully.
-
Hot Chocolate: Cozy up with a mug of rich hot chocolate. The warmth and chocolatey goodness make an inviting pairing for your spooktacular treats.
-
Pumpkin Spice Latte: Embrace the fall spirit with a pumpkin spice latte. The seasonal flavors harmonize beautifully with the fruitiness of the cherry pies.
-
Apple Slices with Cinnamon: Fresh apple slices sprinkled with cinnamon provide a refreshing crunch that pairs well with the warm, gooey filling.
-
Chilled Cider: Enjoy a glass of crisp apple cider, offering a festive taste that enhances the autumn vibes while perfectly complementing your sweet pies.
-
Sugar Cookies: Soft, chewy sugar cookies can provide a sweet balance to the tart cherry filling, keeping a fun dessert theme alive.
-
Spiced Nuts: A handful of spiced nuts offers a delightful crunch and savory contrast, rounding out your dessert table beautifully.
Storage Tips for Mummy Cherry Pies
- Room Temperature: Enjoy Mummy Cherry Pies the same day for the best flavor and texture; if left out, they can stay fresh for up to 4 hours.
- Fridge: Store any leftover pies in an airtight container in the fridge for up to 2 days. Reheat in the oven for that just-baked taste.
- Freezer: Freeze unbaked Mummy Cherry Pies by placing them on a baking sheet until firm, then transfer to a freezer bag for up to 3 months. Bake straight from frozen, adding 3–5 extra minutes to the time.
- Reheating: To reheat baked Mummy Cherry Pies, preheat your oven to 350°F (175°C) and warm for about 10–15 minutes until heated through.
Expert Tips for Mummy Cherry Pies
-
Chill the Dough: Keep your pie dough cold before cutting. This helps maintain its shape and prevents sticking, making your Mummy Cherry Pies easier to assemble.
-
Perfect Filling Amount: Don’t overfill the pies! A spoonful of cherry filling is enough; too much will cause overflow during baking and create a mess.
-
Golden Finish: Brushing the dough with the beaten egg gives a beautiful golden color. Ensure it’s beaten thoroughly for an even coat on your Mummy Cherry Pies.
-
Let Them Cool: Allow the pies to cool slightly after baking before adding candy eyes; this prevents the eyes from melting and keeps their spooky appearance.
-
Freezing Flexibility: If you’re making these Mummy Cherry Pies ahead of time, freeze unbaked pies. Just remember to add an extra 3–5 minutes to the baking time when cooking from frozen.
Mummy Cherry Pies Variations & Substitutions
Feel free to unleash your creativity and tailor these Mummy Cherry Pies to suit your taste!
- Fruit Filling Options: Swap cherry filling for other favorites like apple or blueberry; they make fantastic alternatives that still delight the palate.
- Pumpkin Spice Twist: Use pumpkin filling to add a seasonal flair; the warm spices create a cozy, Halloween vibe. A fun way to sneak in some fall flavors!
- Nutty Crunch: Incorporate crushed nuts (like almonds or pecans) into your filling for added texture; they provide a delightful crunch with every bite.
- Spice it Up: Add a pinch of cinnamon or nutmeg to your filling to warm up the flavor profile; this subtle change can take your pies to the next level!
- Dairy-Free: Substitute the egg wash with a plant-based milk for a vegan-friendly version; your pies will still look fabulous and tasty.
- Decorative Design: Instead of traditional bandages, use cookie cutters to create fun shapes out of crust for a unique mummy look; this adds a playful twist for kids especially!
- Extra Sweetness: Drizzle with caramel or chocolate sauce after baking for an indulgent finish; this adds another layer of flavor that’s sure to impress.
If you’re on the hunt for exciting flavors, I highly recommend trying these pies alongside Oatmeal Cream Pies for a delightful dessert spread! The choices are endless, and the fun lies in experimenting!
Make Ahead Options
These Mummy Cherry Pies are perfect for meal prep, allowing you to enjoy delicious Halloween treats without all the last-minute fuss! You can prepare the unbaked pies up to 24 hours in advance. To do this, assemble the pies entirely with the cherry filling and bandages, then cover them with plastic wrap and refrigerate. For even longer storage, consider freezing the unbaked Mummy Cherry Pies; they can stay in the freezer for up to 3 months. When you’re ready to bake, simply remove them from the refrigerator or freezer, brush with the egg wash, and bake straight from frozen, adding a few extra minutes to the cooking time. This way, you’ll have adorable, flaky, and sweet Mummy Cherry Pies ready to impress!
Mummy Cherry Pies Recipe FAQs
How do I select ripe cherries for the filling?
Absolutely! When choosing cherries for your filling, look for firm, plump fruits that have a vibrant color and a glossy sheen. Avoid any cherries with dark spots or blemishes, as these are signs of overripeness. If you’re using canned cherry pie filling, check the ingredient list for high-quality fruit and minimal added sugars.
What is the best way to store leftover Mummy Cherry Pies?
I recommend storing any leftover Mummy Cherry Pies in an airtight container in the refrigerator for up to 2 days. This will keep them fresh and delicious. If you’d like to enjoy them warm, simply reheat in the oven for about 10–15 minutes at 350°F (175°C) to regain that perfect flaky crust.
Can I freeze unbaked Mummy Cherry Pies?
The answer is yes! To freeze unbaked Mummy Cherry Pies, assemble them up to the point of baking, then place them on a baking sheet in the freezer until firm. Once frozen, transfer the pies to a freezer-safe bag or container. They’ll last up to 3 months. When you’re ready to bake, simply cook from frozen and add an extra 3–5 minutes to the original baking time—easy and convenient!
Why are my pies leaking filling during baking?
Very often, the culprit is overfilling the pies. Make sure to only add a small spoonful of filling to each pie; a little goes a long way! Additionally, sealing the edges well and using the right cut for your dough strips can help keep all that delicious cherry goodness contained.
Can pets safely eat Mummy Cherry Pies?
I advise against sharing Mummy Cherry Pies with pets, especially since certain ingredients may be harmful, such as the sugar and any artificial additives in the pie filling. It’s always best to avoid giving your furry friends anything that could upset their tummies. Stick to pet-friendly treats if you want to share the love!
What can I substitute for the candy eyes if I can’t find them?
If candy eyes aren’t available, feel free to be creative! You can use small chocolate chips or raisins, or even a dab of frosting or melted chocolate to create fun, spooky faces on your Mummy Cherry Pies. The more the merrier when it comes to personalizing these treats!
Mummy Cherry Pies That Will Wow Your Halloween Guests
Ingredients
Equipment
Method
- Begin by preheating your oven to 375°F (190°C) and lining a baking sheet with parchment paper.
- Roll out your premade pie dough on a floured surface and cut out 16 circles using a 3-inch round cookie cutter.
- Slice the remaining dough circles into thin strips about ½ inch wide for the bandages.
- Spoon a small amount of cherry pie filling onto the center of each dough circle and place the sliced dough strips over the filling in a crisscross pattern.
- Brush the surfaces with the beaten egg to give the pies a beautiful golden sheen.
- Bake the Mummy Cherry Pies for 8–10 minutes until the crust turns a lovely golden brown.
- Allow the pies to cool slightly before adding the candy eyes on top while they are still warm.
Leave a Reply