
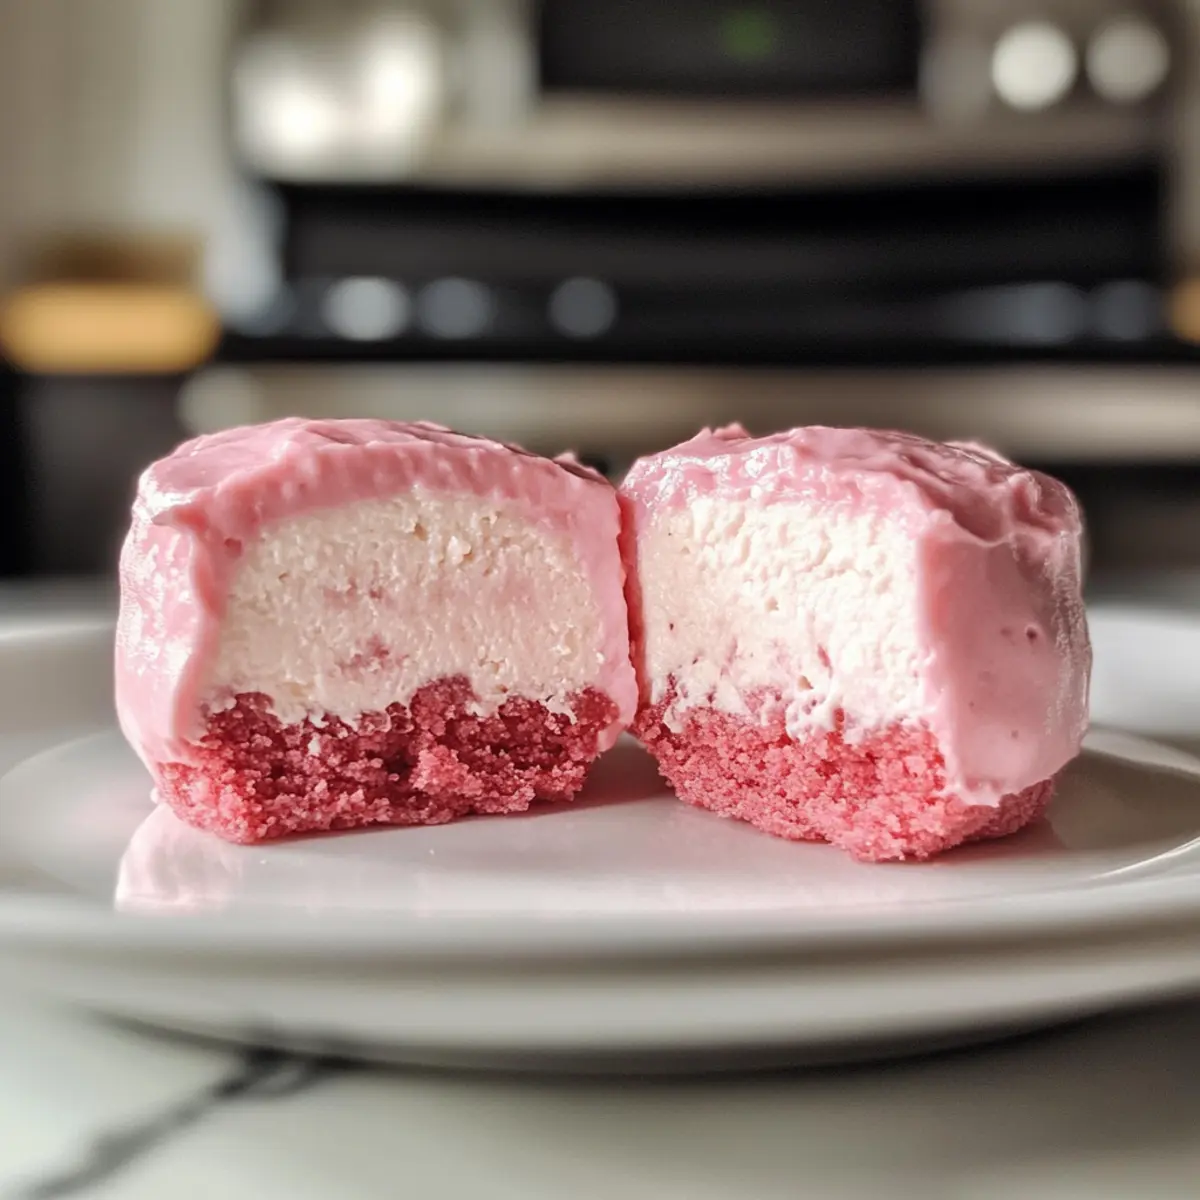
A sprinkle of glittering pink and a bite of creamy bliss—these No-Bake Pink Velvet Cheesecake Bites are a dazzling twist on classic desserts! As someone who enjoys creating sweets that wow my friends and family, I’m always on the lookout for recipes that deliver big on taste without demanding hours in the kitchen. These delightful bites not only require zero baking, but they’re also a breeze to whip up, making them the perfect solution for unexpected cravings or last-minute gatherings. Plus, the vibrant pink color adds a festive flair that’s sure to impress at any celebration. So, are you ready to dive into this easy and scrumptious treat that will have everyone asking for seconds?
Why Are These Cheesecake Bites Irresistible?
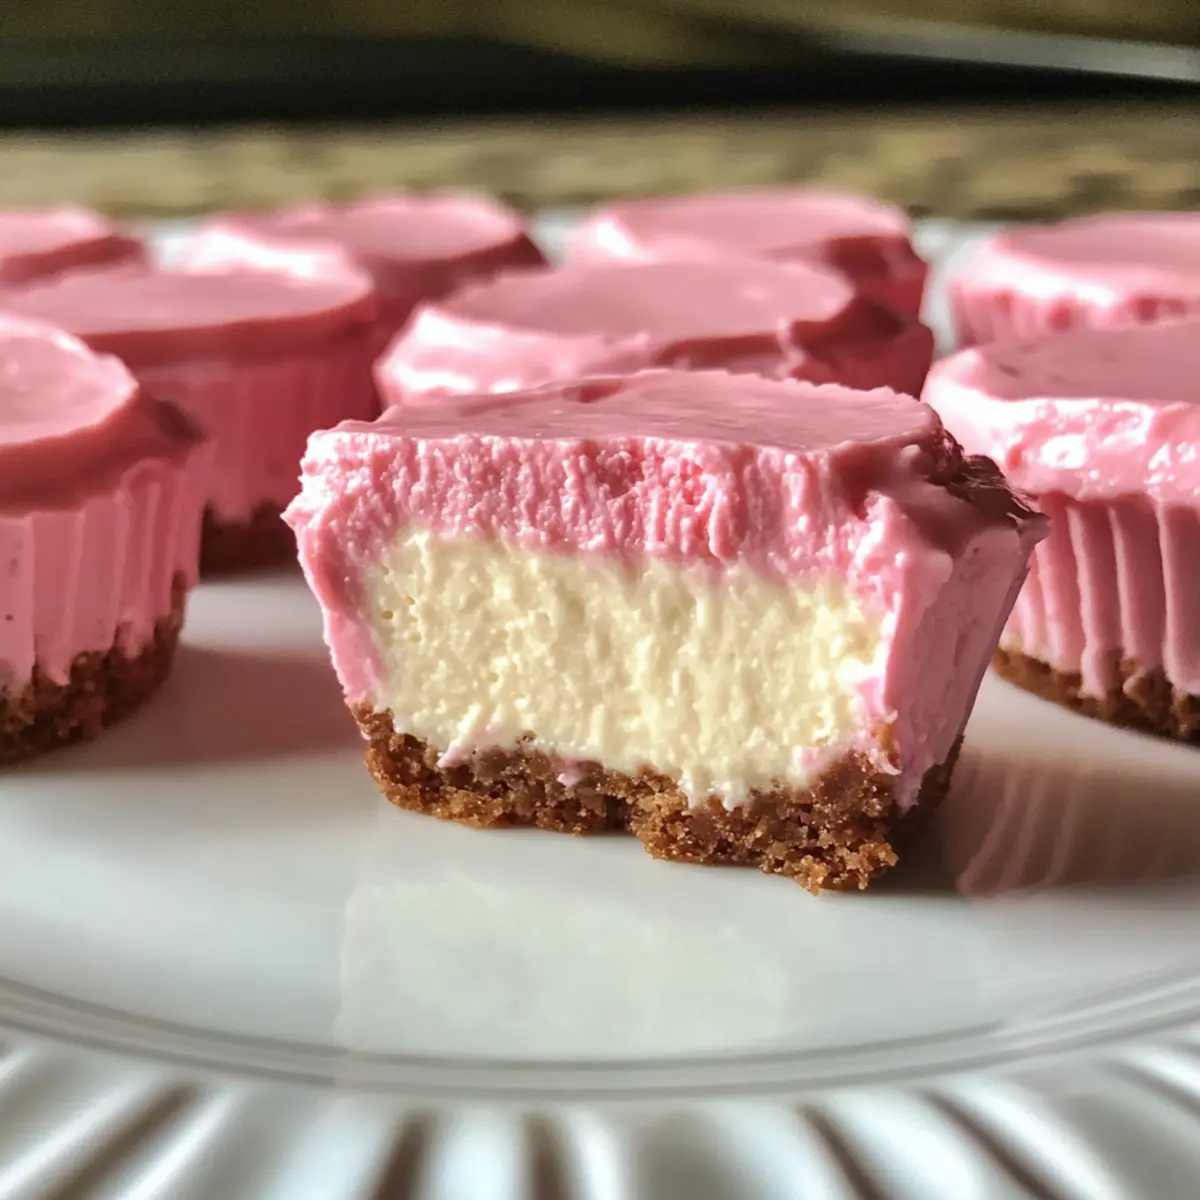
Indulgent Flavor: Each bite bursts with rich cream cheese layers, leaving you craving more.
No Baking Required: Quick and simple, perfect for anyone who wants delightful desserts without fuss.
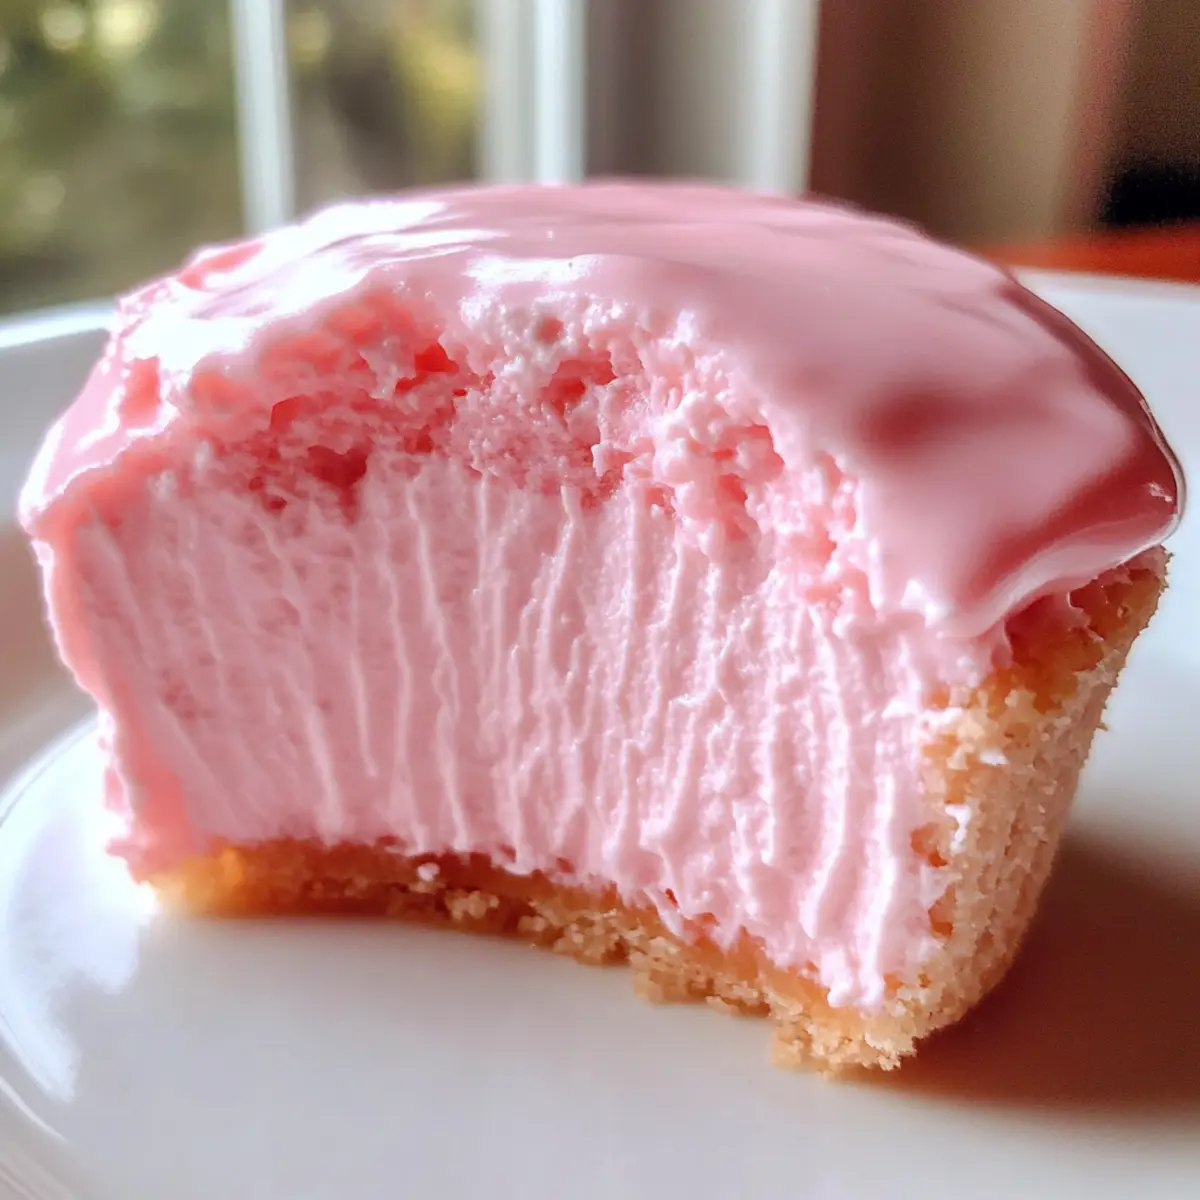
Vibrant Presentation: The stunning pink color elevates your desserts, making them the highlight of any gathering.
Customization Options: Easily tweak ingredients for gluten-free or low-sugar diets for everyone to enjoy.
These No-Bake Pink Velvet Cheesecake Bites are not just visually appealing; they’re also a hit at parties, much like my Pumpkin Cheesecake Muffins or Peach Cobbler Cheesecake. So whether you’re hosting a bash or simply indulging at home, these bites will bring a smile to your face!
No-Bake Pink Velvet Cheesecake Bites
Ingredient Breakdown
-
For the Cheesecake Filling
-
Cream Cheese – Provides richness and creaminess; use full-fat for the best texture.
-
Powdered Sugar – Sweetens the cheesecake filling; can substitute with a sugar alternative for low-sugar options.
-
Vanilla Extract – Adds flavor depth; swap it for almond extract if you’re seeking a different flavor profile.
-
Pink Food Coloring – Gives the cheesecake its vibrant hue; this is optional and can be adjusted for color intensity.
-
For the Crust
-
Butter – Acts as a binding agent for the crust; unsalted butter is recommended for controlled salt levels.
-
Graham Cracker Crumbs – Provides the crust’s structure and crunch; can be replaced with gluten-free crumbs for dietary needs.
Feel free to experiment and enjoy making these delightful No-Bake Pink Velvet Cheesecake Bites your own!
Step‑by‑Step Instructions for No-Bake Pink Velvet Cheesecake Bites
Step 1: Prepare the Crust
Start by melting 1/4 cup of unsalted butter in a medium saucepan over low heat. Once melted, remove it from heat and stir in 1 1/2 cups of graham cracker crumbs until well combined. Press this mixture firmly into the bottom of a 9-inch square pan, creating an even layer. This crust will provide a delightful crunch for your No-Bake Pink Velvet Cheesecake Bites.
Step 2: Create the Cheesecake Filling
In a large mixing bowl, use a hand mixer to beat 16 ounces of room-temperature cream cheese on medium speed for about 1-2 minutes until smooth and creamy. Gradually add in 1 cup of powdered sugar and 1 teaspoon of vanilla extract. Continue mixing until the filling is rich and fluffy, which should take another 2-3 minutes. This creamy mixture will form the luscious base of your cheesecake bites.
Step 3: Add the Color
Once your cheesecake filling is smooth, it’s time to incorporate some fun! Add a few drops of pink food coloring to the mixture. Mix on low speed until the color is evenly distributed, adjusting the amount based on your desired vibrancy. The aim is to achieve a cheerful pink hue that will brighten up your No-Bake Pink Velvet Cheesecake Bites.
Step 4: Combine and Spread
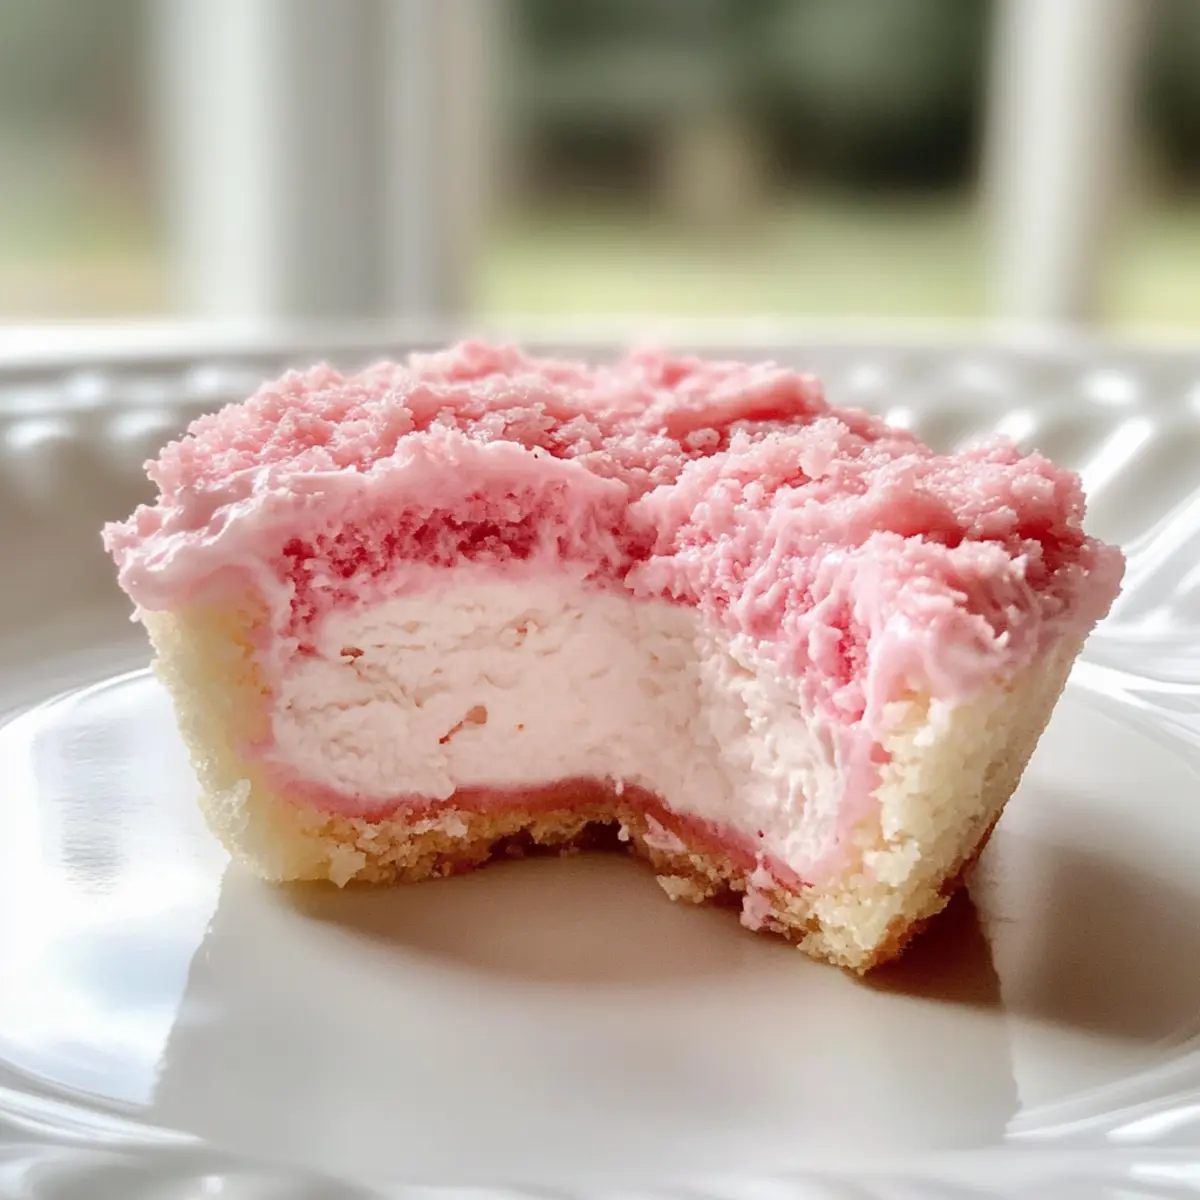
Carefully spoon the creamy cheesecake mixture over the prepared crust in the pan. Use a spatula to gently spread it evenly, smoothing the top for a beautiful finish. This topping will create a delightful contrast against the crunchy base, ensuring every bite of your No-Bake Pink Velvet Cheesecake Bites is a heavenly experience.
Step 5: Chill to Set
Cover the pan with plastic wrap and refrigerate for at least 4 hours, allowing the cheesecake to set properly. The longer you chill, the firmer the bites will be, enhancing their texture. This step is crucial for achieving the perfect sliceable cheesecake bites that will melt in your mouth.
Step 6: Slice and Serve
After chilling, remove the cheesecake from the refrigerator and carefully lift it out of the pan using the edges of the wrap. Use a sharp knife to cut the cheesecake into bite-sized squares or rectangles. These No-Bake Pink Velvet Cheesecake Bites are now ready to be served on a decorative platter, bringing a festive touch to any gathering!
No-Bake Pink Velvet Cheesecake Bites Variations
Don’t be afraid to sprinkle a little creativity into these amazing bites!
-
Gluten-Free Crust: Use gluten-free cookie crumbs or ground almonds instead of graham crackers to make the crust celiac-friendly. Enjoy every bit without worry!
-
Low-Sugar Option: Swap powdered sugar for your favorite sugar substitute, ensuring the sweetness remains. This way, everyone can enjoy these dewy delights!
-
Add Zest: Incorporate the zest of a lemon or an orange into the filling for a citrusy kick. The fresh flavor will brighten every creamy bite!
-
Cheesecake Swirls: Before chilling, fold in dollops of fruit preserves for a mesmerizing swirl effect. You’ll add an eye-catching and delicious variation!
-
Chocolate Lovers: Add mini chocolate chips to the filling for bursts of sweetness in each bite. This will make these treats utterly irresistible!
-
Berry Bliss: Top the cheesecake bites with fresh berries or a berry compote for a delightful fruit contrast. The flavor mixture will delight your taste buds!
Make these No-Bake Pink Velvet Cheesecake Bites even more special—and don’t forget to check out my delightful Pumpkin Cheesecake Muffins for another fun twist on desserts!
Expert Tips for No-Bake Pink Velvet Cheesecake Bites
-
Room Temperature Cream Cheese: Always use cream cheese at room temperature; this ensures a smooth and creamy filling without lumps.
-
Don’t Over-Mix: Mix just until combined to avoid air bubbles that can cause cracks in your cheesecake.
-
Chill Well: Give your bites ample time to chill in the refrigerator for at least 4 hours to achieve the perfect texture before slicing.
-
Color Gradation: Start with a few drops of pink food coloring, mixing slowly until you reach your preferred shade—this way, you avoid oversaturating the color.
-
Customize Your Crust: For a unique flavor, try using crushed cookies or nuts instead of graham cracker crumbs for your crust when making these No-Bake Pink Velvet Cheesecake Bites.
Make Ahead Options
These No-Bake Pink Velvet Cheesecake Bites are a fantastic option for meal prep enthusiasts! You can prepare the crust and cheesecake filling up to 24 hours in advance. Simply follow the steps to create the crust and filling, then cover the pan with plastic wrap and refrigerate it overnight to allow the flavors to meld beautifully. To maintain their creamy texture, avoid cutting them until just before serving. When you’re ready to impress your guests, simply remove them from the refrigerator, slice into bite-sized pieces, and enjoy the delightful flavors with minimal effort. This makes your entertaining prep streamlined and enjoyable!
How to Store and Freeze No-Bake Pink Velvet Cheesecake Bites
Fridge: Store your cheesecake bites in an airtight container in the refrigerator for up to 1 week to keep them fresh and creamy.
Freezer: These bites can be frozen for up to 2 months—just place them in a single layer in a freezer-safe container or wrap individually to prevent freezer burn.
Thawing: To enjoy frozen No-Bake Pink Velvet Cheesecake Bites, thaw in the fridge overnight before serving for the best texture.
Reheating: There’s no need to reheat these bites; simply serve chilled straight from the fridge or after thawing for a refreshing treat.
What to Serve with No-Bake Pink Velvet Cheesecake Bites
Looking to create a memorable dessert spread alongside your delightful treats?
- Fresh Berries: The tartness of raspberries or strawberries balances the sweetness perfectly, bringing a refreshing fruitiness to each bite.
- Chocolate Drizzle: A warm chocolate drizzle adds rich depth and contrast, enticing chocolate lovers to indulge further.
- Whipped Cream: Light and fluffy whipped cream enhances the creamy texture, making for an irresistible indulgence that feels luxurious.
- Mint Leaves: The bright flavor of fresh mint acts as a delightful contrast, adding freshness to the overall dessert experience.
- Sparkling Rosé: A glass of sparkling rosé offers vibrant acidity and fruit notes, harmonizing beautifully with the cheesecake’s sweetness.
- Mini Fruit Tarts: These offer a range of flavors and textures, introducing a playful element to the dessert table while appealing to a variety of tastes.
- Caramel Sauce: The buttery richness of caramel sauce drizzled over the bites provides an eye-catching presentation and a luscious flavor boost.
- Coconut Macaroon Cookies: Chewy, sweet, and toasty, these cookies provide a delightful contrast in texture alongside the creamy cheesecake bites.
- Chocolate-Covered Strawberries: A decadent pairing that complements the pink velvet theme and satisfies chocolate cravings in a fun way.
These pairings elevate your No-Bake Pink Velvet Cheesecake Bites into a full-fledged dessert experience, perfect for any gathering or celebration!
No-Bake Pink Velvet Cheesecake Bites Recipe FAQs
How should I select ripe ingredients for these cheesecake bites?
Absolutely! For the best results, ensure your cream cheese is fresh and at room temperature for a smooth blend. Check the expiration dates, and remember that the pink food coloring can be adjusted according to your taste preferences and desired vibrancy.
What is the best way to store leftover cheesecake bites?
Very! Store your No-Bake Pink Velvet Cheesecake Bites in an airtight container in the refrigerator for up to 1 week. This helps maintain their creaminess and flavor. For longer storage, you can freeze them.
Can I freeze No-Bake Pink Velvet Cheesecake Bites?
Yes, indeed! You can freeze these delightful bites for up to 2 months. Just place them in a single layer in a freezer-safe container or wrap each piece individually to avoid freezer burn. When you’re ready to enjoy them, simply thaw overnight in the refrigerator.
What should I do if my cheesecake filling is too runny?
If your filling turns out a bit too runny, don’t worry! Mix in an additional 1/4 cup of powdered sugar to help thicken it. You might also want to let the filling chill in the fridge for 15-30 minutes before spreading it over the crust. This can help it set up a bit better and provide the desired texture.
Are these cheesecake bites suitable for those with dietary restrictions, like gluten intolerance?
Absolutely! These No-Bake Pink Velvet Cheesecake Bites can be made gluten-free by simply substituting the graham cracker crumbs for gluten-free cookie crumbs or crushed nuts. Just ensure that any sugar substitutes you use also align with your dietary needs.
How long do these cheesecake bites need to chill?
I recommend letting them chill in the refrigerator for at least 4 hours, but if you can, allow them to sit overnight. This ensures they set properly and develop their full flavor, resulting in the perfect melt-in-your-mouth bites!
No-Bake Pink Velvet Cheesecake Bites That Melt in Your Mouth
Ingredients
Equipment
Method
- Melt the unsalted butter in a medium saucepan over low heat. Stir in the graham cracker crumbs until well combined. Press firmly into the bottom of a 9-inch square pan.
- In a large mixing bowl, beat cream cheese on medium speed for 1-2 minutes until smooth. Gradually add powdered sugar and vanilla extract, mixing until fluffy.
- Add a few drops of pink food coloring to the cheesecake mixture and mix on low speed until the color is evenly distributed.
- Spoon the cheesecake mixture over the crust and spread evenly with a spatula.
- Cover the pan with plastic wrap and refrigerate for at least 4 hours to allow the cheesecake to set.
- Remove the cheesecake from the refrigerator, lift it out of the pan, and slice it into bite-sized squares.
Leave a Reply