
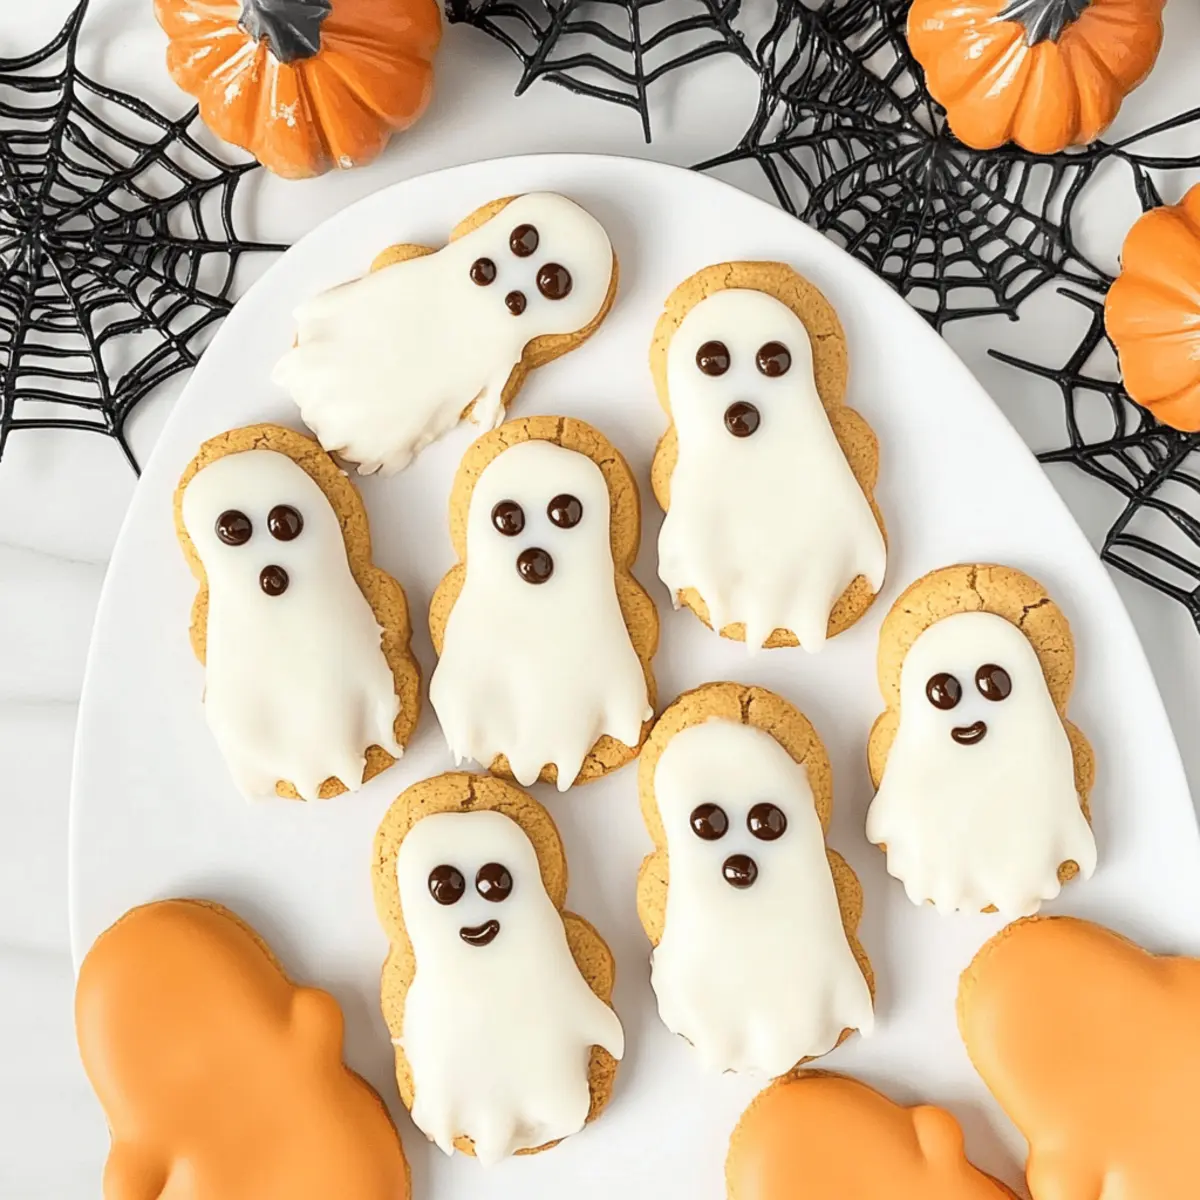
As I reached into the pantry for my favorite cookie, I stumbled upon autumn’s magic waiting to unfold. These Nutter Butter Ghost Cookies are not just a delightful treat; they conjure up a fun-filled atmosphere perfect for Halloween get-togethers. With just four simple ingredients and no baking required, they’re incredibly easy to whip up alongside little helpers, making them a fantastic family activity. Imagine the joy on your kids’ faces as they decorate these spooky sweets! Ideal for classroom parties or to share with friends, these ghostly delights are sure to bring smiles galore. Ready to scare up some fun in the kitchen? Let’s dive into this spooktacular recipe!
Why are these cookies a Halloween must?
Fun and Easy: These Nutter Butter Ghost Cookies are a fantastic way to introduce children to baking—no mess and no stress!
Kid-Friendly Delight: With just four ingredients, it’s a simple task to create these playful treats that your kids will love making (and eating!).
No-Bake Magic: Say goodbye to complicated recipes; these cookies require zero baking, making them perfect for any busy home.
Festive Appeal: Their adorable ghostly design brings Halloween fun right to your kitchen, making them a hit at parties or classroom events. Pair them with hot cocoa to complete the spooky vibe!
Customization Options: Switch things up for different occasions by using colored candy melts or experimenting with different cookie shapes, like our Pumpkin Smores Cookies!
Nutter Butter Ghost Cookies Ingredients
For the Cookies
- Nutter Butter Cookies – These provide the core peanut butter flavor while shaping the playful ghosts.
- White Candy Melts – Perfect for coating, offering a sweet, ghostly finish; swap with white almond bark or white chocolate chips if needed.
For Decoration
- Candy Eyeballs – Essential for adding personality and spookiness to each ghost cookie.
- Mini Chocolate Chips – Create the ghost’s mouth, bringing a charming detail to your spooky treats.
These Nutter Butter Ghost Cookies are a breeze to make while ensuring a delightful touch for your Halloween festivities!
Step‑by‑Step Instructions for Nutter Butter Ghost Cookies
Step 1: Prepare Your Baking Surface
Begin by lining a baking sheet with wax paper. This will create a non-stick surface for your Nutter Butter Ghost Cookies as they set. Make sure the baking sheet is clean and dry to ensure a smooth assembly process.
Step 2: Melt the Candy Coating
In a microwave-safe bowl, combine your white candy melts. Microwave them on 50% power in 30-second intervals, stirring after each until melted and smooth; this should take about 4 to 5 minutes. Keep an eye on the melts to prevent burning, aiming for a glossy consistency that flows gently.
Step 3: Dip the Cookies
Once your white candy melts are ready, take a Nutter Butter cookie and dip it into the melted candy, covering approximately 70–75% of the cookie. Allow the excess coating to drip back into the bowl, giving you a nice even layer that clings but isn’t overloaded.
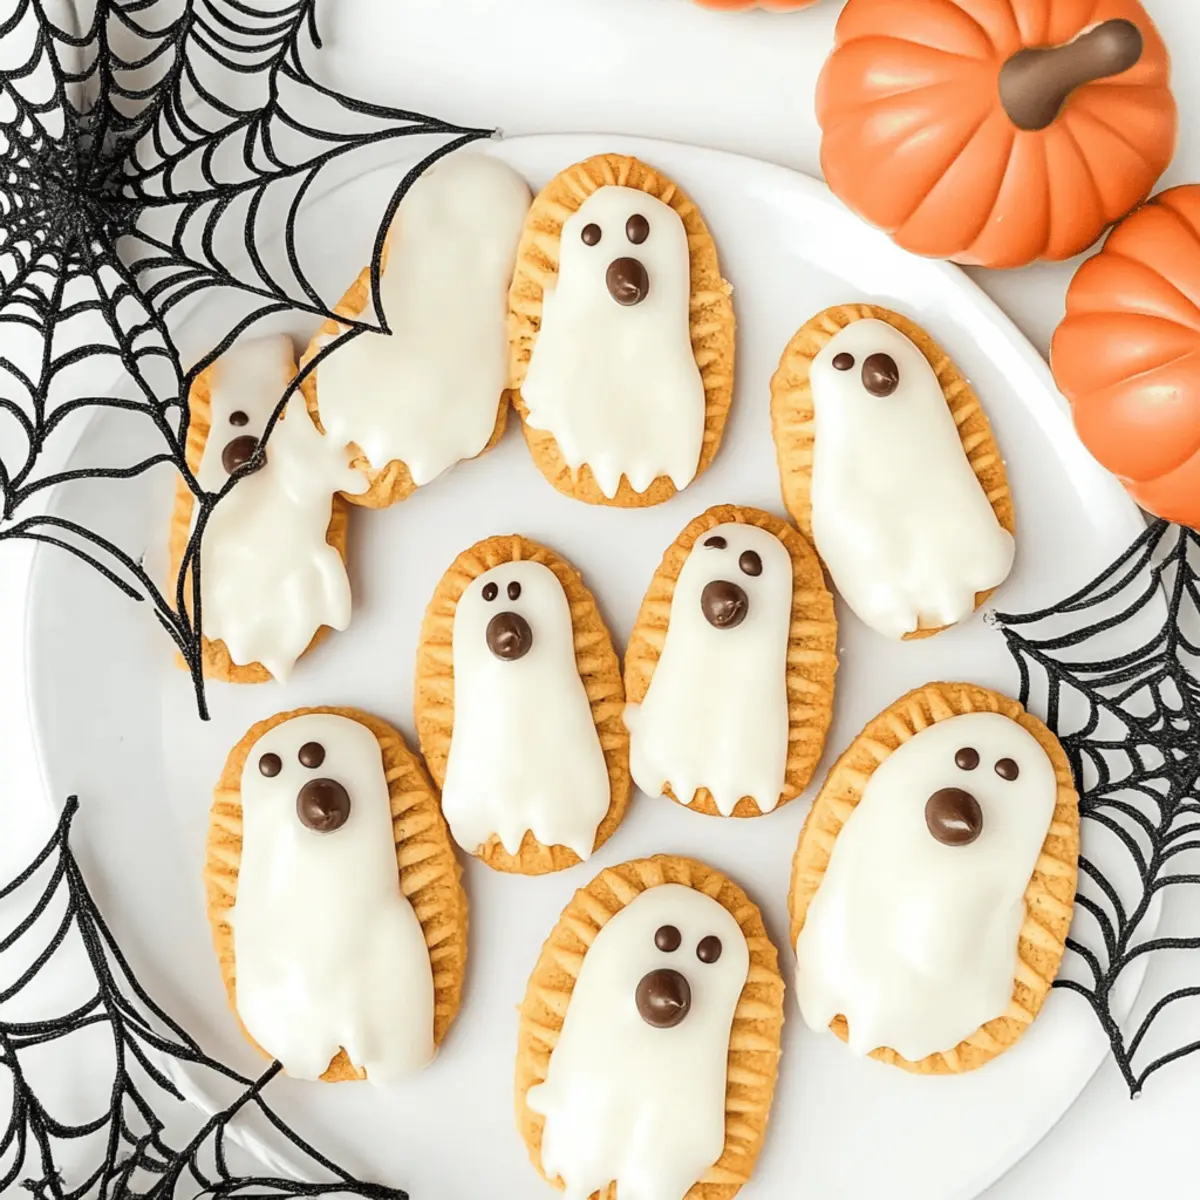
Step 4: Decorate the Ghosts
While the candy coating is still wet, place two candy eyeballs and one mini chocolate chip on each dipped cookie to form the ghostly face. Create a cute expression that captures the spirit of Halloween. Work quickly, as the coating will firm up as it cools.
Step 5: Set the Cookies
Transfer the decorated cookies onto the lined baking sheet and let them sit undisturbed for about 5 to 10 minutes. This will allow the candy coating to set fully, creating a beautiful, solid finish on your Nutter Butter Ghost Cookies.
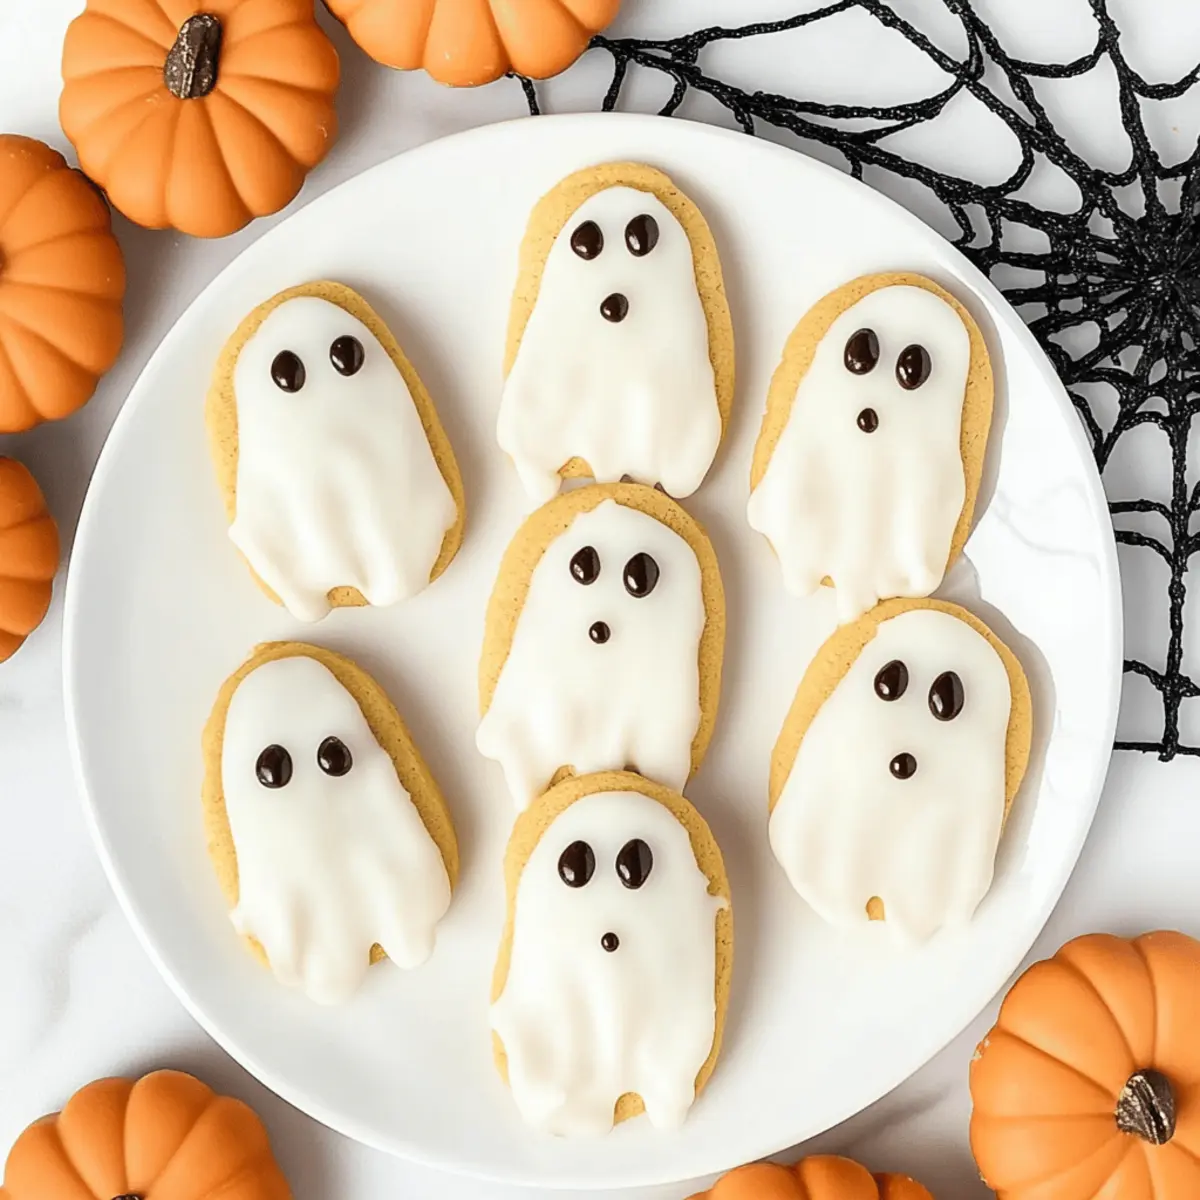
Step 6: Serve Your Ghostly Treats
Once the coating has hardened, your delightful Nutter Butter Ghost Cookies are ready to be served! Place them on a festive platter, perfect for sharing at Halloween gatherings or enjoying during cozy family occasions. Enjoy the smiles they bring!
Nutter Butter Ghost Cookies Variations
Get ready to unleash your creativity in the kitchen as you make these whimsical treats your own!
- Peanut-Free Option: Substitute Nutter Butter cookies with Milano cookies for a nut-free version that still delivers on flavor.
- Colorful Coating: Use colored candy melts to craft vibrant spooky ghosts for Halloween or even pastel hues for Easter-themed treats.
- Sweetened Coconut: Roll your dipped cookies in shredded coconut before the candy coating sets for a deliciously textured twist.
- Flavor Boost: Add a sprinkle of sea salt on top of the melted candy for a sweet-salty flavor explosion.
- Pumpkin Spice: Mix in pumpkin spice with the candy coating to capture that fall flavor in every delightful bite.
- Spicy Surprise: For a kick, add a pinch of cayenne pepper to the candy coating—spookily sweet with a surprising heat.
- Oreo Twist: Stuff Nutter Butter cookies with a thin layer of cream from your favorite Oreos like our Halloween Oreo Cookies before dipping them for additional flavor.
- Candy Coating Alternatives: Instead of white candy melts, try dark chocolate or butterscotch melts for a different delicious experience.
With these variations, you’ll be sure to make your Nutter Butter Ghost Cookies unique and delightful every time!
Make Ahead Options
These Nutter Butter Ghost Cookies are a fantastic choice for meal prep, allowing busy cooks to enjoy festive treats without the last-minute rush! You can prepare the cookies up to 24 hours in advance by melting the white candy melts and dipping the Nutter Butter cookies. After dipping, let them set on wax paper, then store in an airtight container. For best results, keep them refrigerated to maintain the candy coating’s texture and prevent any melting. When you’re ready to serve, simply add the candy eyeballs and mini chocolate chips to create the ghost faces. With this prep, you’ll have delightful treats ready to impress your guests with minimal effort!
What to Serve with Nutter Butter Ghost Cookies
What pairs best with these spooky, delightful treats?
Picture your loved ones gathering around in a cozy ambiance, and the aroma of these ghostly cookies lingering in the air; here are some perfect accompaniments to make your Halloween celebration complete.
-
Creamy Hot Cocoa: A warm, rich drink that perfectly balances the sweet peanut butter flavor, creating a delightful contrast.
-
Milkshake Madness: Whip up a chocolate milkshake for a fun twist. Its creamy texture complements the crunchy cookies: an indulgent treat for all ages.
-
Spooky Fruit Platter: A colorful mix of fruits like oranges, grapes, and bananas adds freshness and a playful pop of color—perfect for a bit of balance against the sweetness.
-
Caramel Corn: The slightly salty crunch of caramel corn pairs beautifully with the sweetness of the cookies, creating an irresistible flavor combination.
-
Candy Corn Cupcakes: A festive pairing for a Halloween party, these cupcakes mirror your ghost cookies while adding a fun, colorful surprise.
-
Apple Cider: Warm or cold, apple cider offers a sweet, tangy contrast that contrasts beautifully with the ghostly cookies, adding seasonal joy to your spread.
-
Decorative Platter: Present your Nutter Butter Ghost Cookies on a themed platter surrounded by miniature pumpkins and candles. This makes a stunning centerpiece, gathering folks around!
Make your Halloween gatherings memorable by pairing these sweet treats with your favorite fall flavors!
Expert Tips for Nutter Butter Ghost Cookies
-
Clean Surface: Ensure your workspace is clean and dry before starting. This prevents the candy coating from seizing and creates a smoother finish.
-
Careful Melting: Melt the white candy melts slowly to avoid burning. Use 50% power in the microwave and stir often for best results.
-
Quick Decoration: Work fast when adding candy eyeballs and mini chocolate chips. The coating sets quickly, so place decorations while it’s still wet for better adhesion.
-
Substitution Savvy: If you have peanut allergies, simply swap Nutter Butter cookies with Milano cookies to create a similar ghostly treat without compromising flavor.
-
Storing Tips: Once cooled, store Nutter Butter Ghost Cookies in a sealed container at room temperature for up to 5 days. This will keep them fresh and tasty for your Halloween festivities.
Storage Tips for Nutter Butter Ghost Cookies
Room Temperature: Store leftover cookies in a sealed container at room temperature for up to 5 days to maintain their delightful crunch.
Fridge: If you prefer, you can also refrigerate the cookies to keep them fresh for an additional day or two. Just make sure they’re in an airtight container to prevent moisture.
Freezer: For longer storage, these Nutter Butter Ghost Cookies can be frozen in an airtight container for up to 2 weeks. Thaw them at room temperature before serving for the best taste.
Reheating: There’s no need to reheat these cookies; enjoy them as is for the ultimate spooky snack experience!
Nutter Butter Ghost Cookies Recipe FAQs
How do I choose ripe ingredients for Nutter Butter Ghost Cookies?
Absolutely! When selecting Nutter Butter cookies, look for those with no visible dark spots or damage on the packaging. Fresh candy melts should be free of any lumps and have a glossy appearance, which indicates they are ready for melting. Keep an eye on the expiration dates for both cookies and candy melts to ensure the best flavor.
What is the best way to store leftover cookies?
To keep your Nutter Butter Ghost Cookies fresh, store them in a sealed container at room temperature for up to 5 days. If you’re looking to extend their shelf life, consider refrigerating them in an airtight container for an extra couple of days, preventing any moisture from affecting their texture.
Can I freeze these cookies?
Yes, you can! To freeze your Nutter Butter Ghost Cookies, first, allow them to cool completely. Then, place them in an airtight container or a freezer bag, separating layers with parchment paper if you stack them to prevent sticking. They can be frozen for up to 2 weeks. Thaw the cookies in the fridge or at room temperature before serving for the best taste.
What if my candy melts seize when melting?
Very! If your candy melts seize up, you can salvage the mixture by adding a small amount of vegetable oil or shortening, stirring gently until smooth again. Always use a clean, dry bowl for melting to prevent any moisture exposure, which can cause seizing.
Are there any dietary considerations for Nutter Butter Ghost Cookies?
When it comes to allergies, keep in mind that Nutter Butter cookies contain peanuts. For those with peanut allergies, I recommend using Milano cookies as a substitute—they provide a similar shape and sweet texture without the risk. Always check labels for any other potential allergens in the ingredients, especially the candy melts and decorations.
How should I decorate my Nutter Butter Ghost Cookies?
To create those spooky faces on your cookies, remember to work quickly after dipping them in the candy melts! Place the candy eyeballs and mini chocolate chips while the coating is still wet. If you’re feeling creative, you can switch up the eye colors or add other shapes to create even more fun cookie designs—imagination is your best friend here!
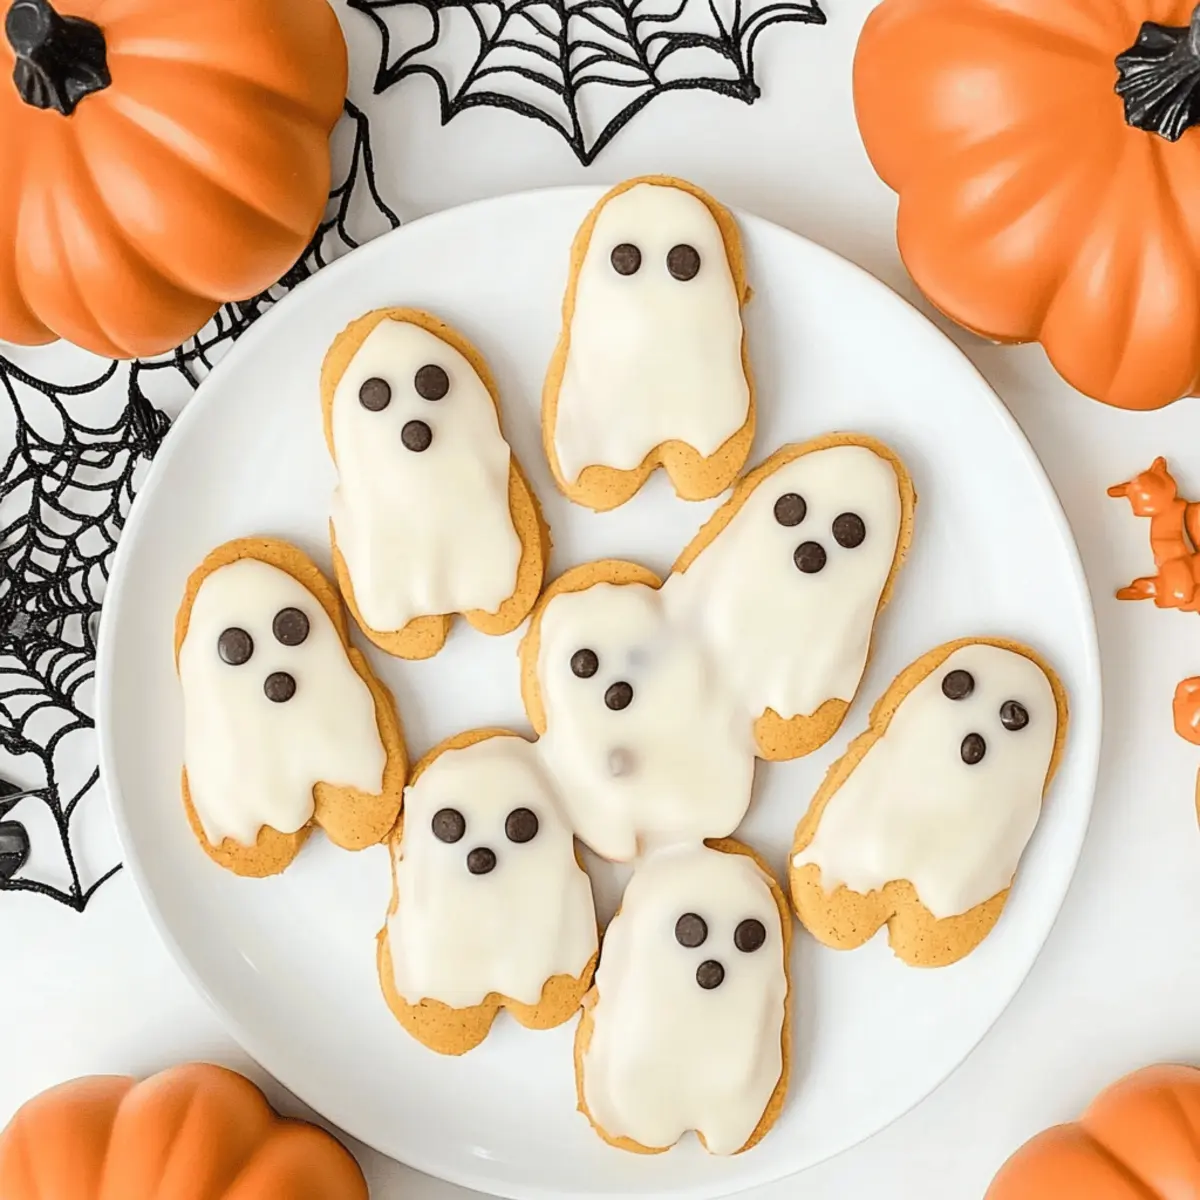
Nutter Butter Ghost Cookies That Kids Will Adore This Halloween
Ingredients
Equipment
Method
- Prepare your baking surface by lining a baking sheet with wax paper.
- Melt the white candy melts in a microwave-safe bowl, stirring every 30 seconds until smooth.
- Dip each Nutter Butter cookie into the melted candy, covering about 70-75% of the cookie.
- While the coating is wet, place two candy eyeballs and one mini chocolate chip on each cookie.
- Transfer the decorated cookies onto the lined baking sheet and let them sit for 5 to 10 minutes to set.
- Serve your Nutter Butter Ghost Cookies on a festive platter for Halloween gatherings.
Leave a Reply