
As I sifted through my overflowing recipe box this holiday season, I stumbled upon a card that immediately transported me back to my grandmother’s cozy kitchen. The scent of peanut butter and chocolate wafted through the air like a warm embrace, reminding me of her famous Peanut Butter Blossoms. These delightful cookies are not just sweet treats; they’re an invitation to bond with loved ones while baking. In just a few simple steps, you can create these nostalgic Christmas cookies that blend creamy peanut butter with the rich, melty bliss of Hershey’s Kisses. They’re a winning combination of quick prep time and crowd-pleasing appeal, perfect for holiday gatherings or quiet evenings at home. Ready to spread the joy of baking? Let’s dive in!
Why Are Peanut Butter Blossoms So Beloved?
Warm, Nostalgic Comfort: These peanut butter blossoms bring a wave of nostalgia with every bite, reminiscent of cherished family gatherings and holiday cheer.
Easy to Make: This recipe is perfect for bakers of any level, allowing everyone to feel like a pro in the kitchen.
Customizable Delights: Feel free to switch up the chocolate with dark chocolate or peppermint-flavored Kisses for a festive flair that suits your palate.
Crowd-Pleaser: With their irresistible combination of sweet and salty flavors, these cookies are sure to please both friends and family at any gathering.
Make-Ahead Magic: Prepare the dough in advance and store it in the fridge for up to two days! It’s the perfect way to have fresh cookies on hand when holiday cravings strike.
Perfect Pairing: Serve alongside a cup of hot cocoa or even a warm slice of cake from our Honey Butter Skillet for an adorable dessert spread that will delight everyone.
Peanut Butter Blossoms Ingredients
Creating these delightful Peanut Butter Blossoms is a breeze with the right ingredients!
For the Batter
- All-Purpose Flour – Provides structure; for gluten-free, swap it with a 1:1 gluten-free baking flour.
- Granulated Sugar – Adds sweetness and helps create a crunchy exterior; extra for rolling enhances texture.
- Light Brown Sugar – Brings moisture and a hint of caramel flavor to the cookies.
- Unsalted Butter – Contributes richness; ensure it’s softened to room temperature for easier blending.
- Creamy Peanut Butter – The star ingredient that delivers a nutty flavor and chewy texture; stick to a smooth variety for best results.
- Large Egg – Binds all the ingredients together and adds essential moisture.
- Vanilla Extract – Elevates the flavor profile; a splash brings everything together beautifully.
- Baking Soda – Acts as a leavening agent, helping the cookies rise evenly.
- Salt – Balances the sweetness and enhances the overall flavor.
- Milk Chocolate Hershey’s Kisses – The signature topping; substitute with dark chocolate or peppermint-flavored Kisses for festive variations.
Let’s get ready to brighten your holiday table with these sweet treats!
Step‑by‑Step Instructions for Peanut Butter Blossoms
Step 1: Preheat the Oven
Begin by preheating your oven to 375°F (190°C) to ensure it reaches the right temperature while you prepare the dough. Meanwhile, line your baking sheets with parchment paper, creating a non-stick surface that will help your Peanut Butter Blossoms bake evenly.
Step 2: Prepare the Cookie Dough
In a large mixing bowl, combine softened unsalted butter, granulated sugar, and light brown sugar. Use an electric mixer to cream these ingredients together on medium speed until light and fluffy, about 2-3 minutes. Next, add the creamy peanut butter, large egg, and vanilla extract, mixing until well combined and smooth.
Step 3: Mix Dry Ingredients
In a separate mixing bowl, whisk together the all-purpose flour, baking soda, and salt until evenly blended. Gradually add this dry mixture to the wet ingredients in the first bowl. Mix on low speed or with a spatula until just combined, ensuring no flour pockets remain, creating a cohesive peanut butter dough.
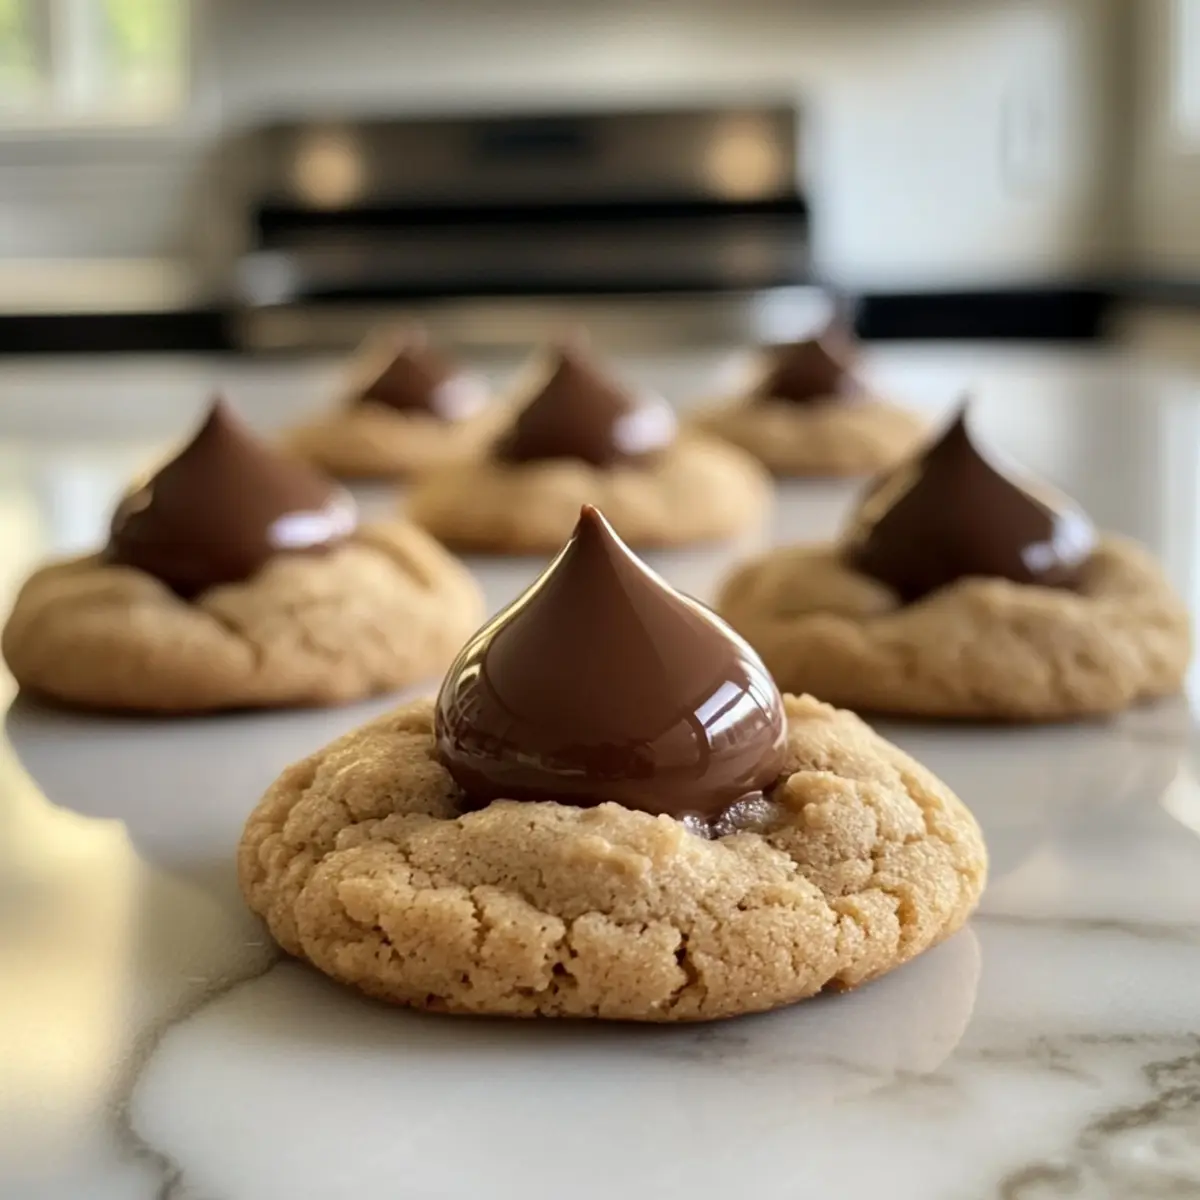
Step 4: Shape the Cookies
Scoop out approximately 1-inch balls of dough and roll them between your palms to form smooth spheres. Roll each dough ball in granulated sugar for added sweetness and texture before placing them on the lined baking sheets, spacing them about 2 inches apart to allow for spreading during baking.
Step 5: Bake the Cookies
Transfer the baking sheets to the preheated oven and bake the cookies for 10-12 minutes. Keep an eye on them; the edges should be golden brown while the centers remain soft. This ensures a chewy peanut butter blossom.
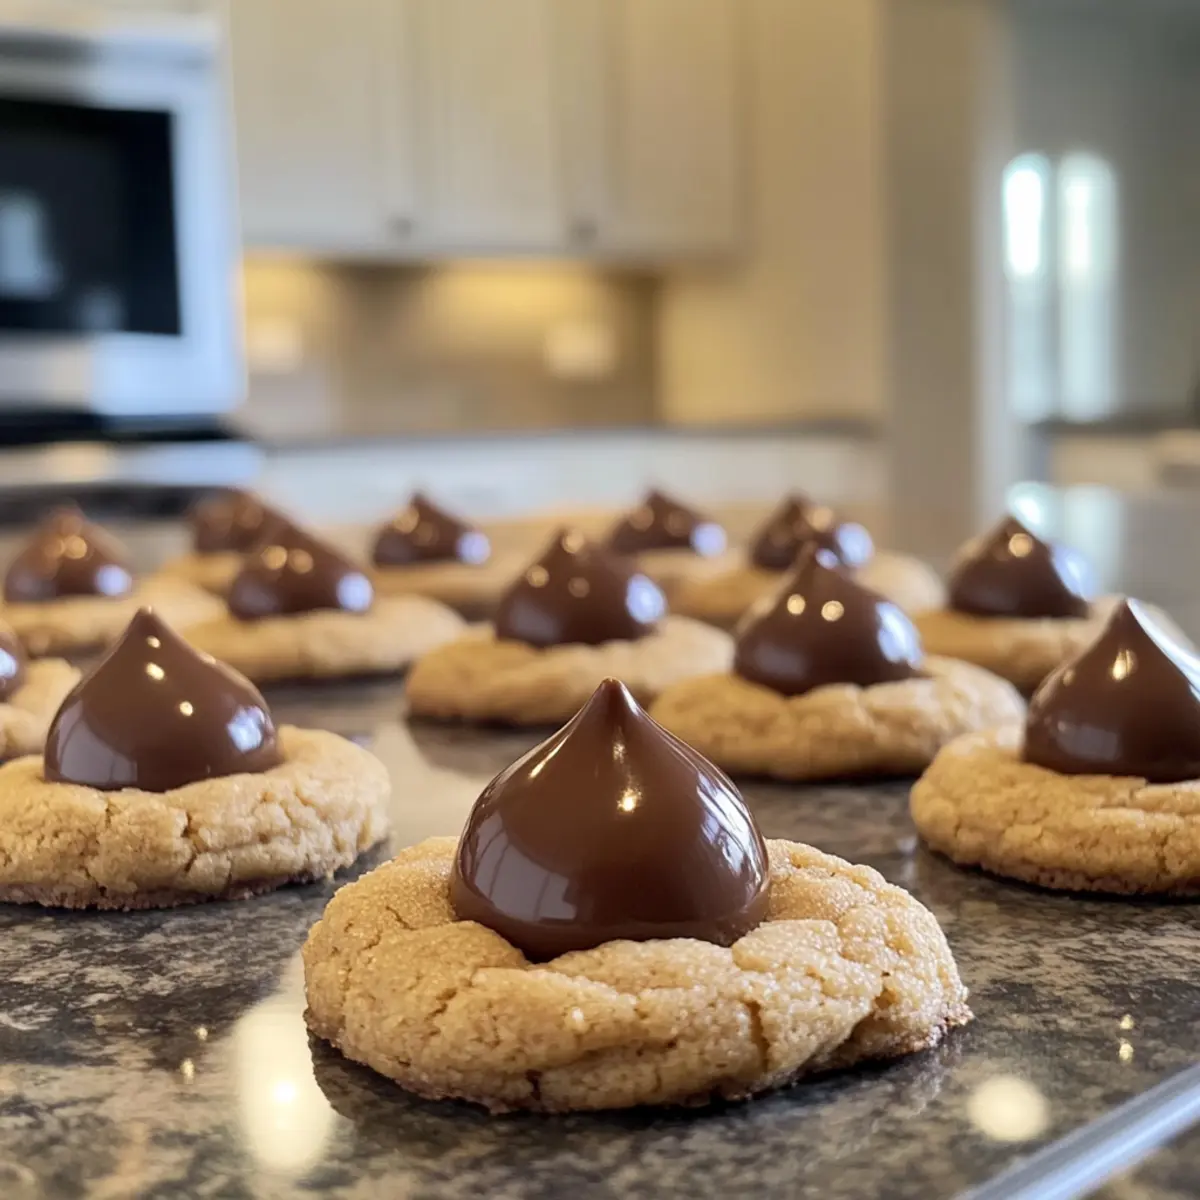
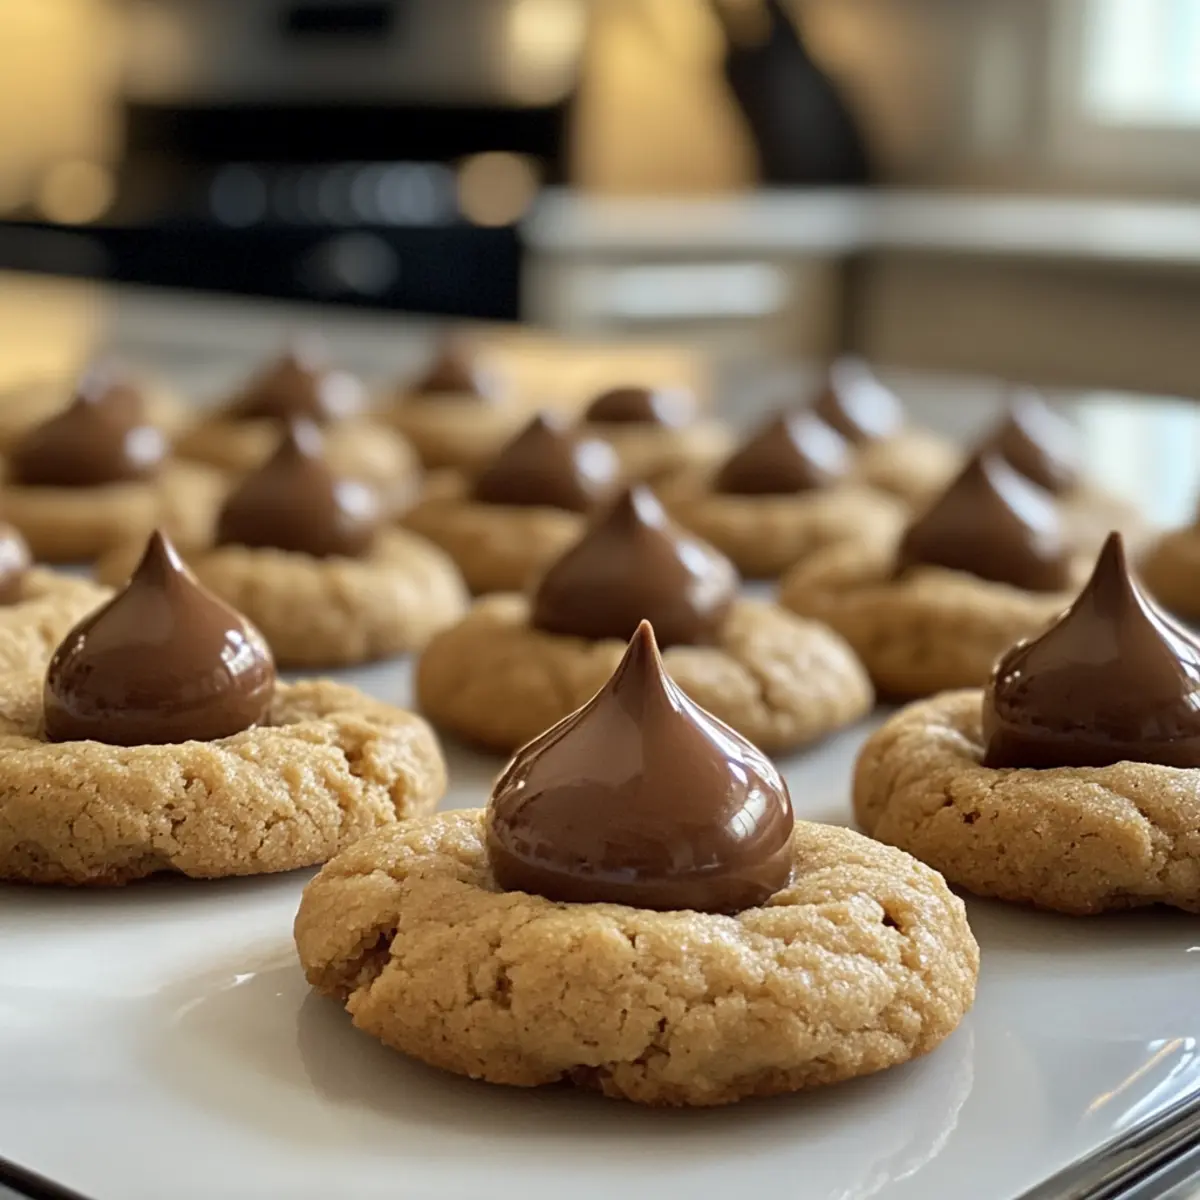
Step 6: Add the Hershey’s Kisses
As soon as you remove the baking sheets from the oven, gently press a Milk Chocolate Hershey’s Kiss into the center of each cookie. The warmth of the cookie will melt the chocolate slightly, creating that signature delicious look we all love in Peanut Butter Blossoms.
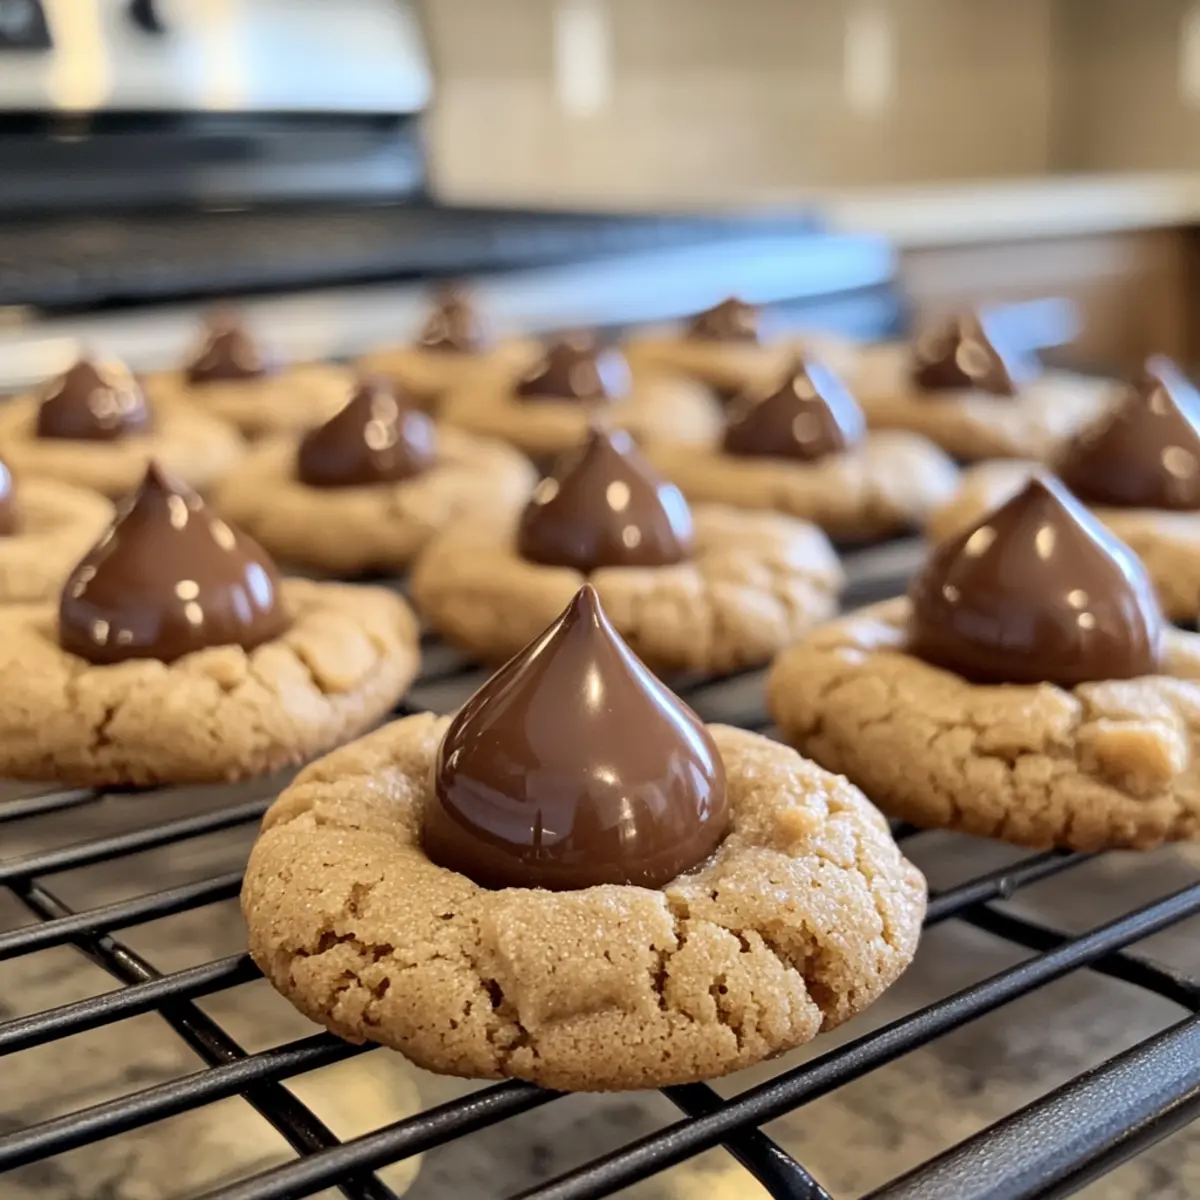
Step 7: Cool the Cookies
Allow the cookies to rest on the baking sheet for about 5 minutes. This waiting period lets them firm up slightly before transferring them to a wire rack. Let the cookies cool completely on the rack to finish setting and enhance their chewy texture.
Expert Tips for Peanut Butter Blossoms
-
Use Smooth Peanut Butter: Opt for creamy peanut butter that’s not too oily. Natural varieties can alter dough consistency, leading to dry or crumbly cookies.
-
Chill the Dough: Briefly chilling the dough for 20-30 minutes helps prevent excessive spreading, ensuring that your Peanut Butter Blossoms hold their shape.
-
Perfect Baking Time: Keep an eye on the cookies as they bake; underbaking slightly ensures a chewy texture and delicious melt-in-your-mouth experience.
-
Don’t Overmix: When combining dry and wet ingredients, mix until just combined. Overmixing can lead to tougher cookies, losing that delightful softness.
-
Explore Chocolate Variations: Experiment with different types of chocolate for the Kisses. Dark chocolate or peppermint Kisses add festive flair and cater to different taste preferences.
-
Storage Matters: Store your cookies in an airtight container at room temperature for up to 5 days to maintain their freshness and texture.
Make Ahead Options
These Peanut Butter Blossoms are ideal for busy home cooks looking to save time during the hectic holiday season! You can prepare the dough up to 2 days in advance by chilling it in the refrigerator, which helps to maintain the texture and flavor. When ready to bake, simply let the dough come to room temperature for about 15 minutes before rolling it into balls and baking. Alternatively, you can roll the cookie balls, coat them in sugar, and freeze them for up to 3 months. Just bake straight from the freezer, adding a couple of extra minutes to the baking time. This way, you can enjoy fresh-baked cookies whenever the mood strikes without the fuss!
What to Serve with Classic Peanut Butter Blossoms
Create the perfect sweet spread to complement these delightful holiday cookies, indulging your senses with every bite.
- Creamy Hot Cocoa: This warm, chocolatey drink enhances the rich peanut butter, making each sip and cookie bite a cozy delight.
- Spiced Chai Tea: The aromatic spices of chai elevate the sweetness of the cookies, bringing warmth to your holiday gatherings.
- Vanilla Ice Cream: A scoop of vanilla ice cream adds a creamy contrast to the chewy cookie, creating a pleasing temperature play.
- Crumbly Shortbread Cookies: The buttery texture of shortbread provides a beautiful contrast to the peanut butter blossoms, appealing to every palate.
- Fresh Fruit Platter: Juicy berries or crisp apple slices brighten the dessert table and offer a refreshing counterpoint to the sweetness.
- Gingerbread Cookies: Pair with gingerbread for a classic holiday duo, mixing sweet, spicy flavors that add to the festive spirit.
- Milk: A classic pairing, it balances the salty and sweet notes of the peanut butter and chocolate, making it a favorite for kids and adults alike.
- Pretzel Bites: The saltiness of pretzels contrasts with the sweet flavors of the cookies, creating an exciting flavor dynamic.
- Peppermint Hot Chocolate: For a touch of holiday cheer, this festive drink enhances the chocolatey flavor of the Kisses in your blossoms.
Peanut Butter Blossoms Variations
Feel free to play around with these Peanut Butter Blossoms and let your creative culinary spirit shine!
-
Dark Chocolate: Swap out the milk chocolate Kisses for dark chocolate ones for a richer flavor. This adds depth to your cookies, making each bite even more indulgent.
-
Peppermint Flavor: Use peppermint-flavored Kisses for a festive twist during the holidays. The refreshing mint complements the peanut butter beautifully and brings a seasonal cheer to your cookies.
-
Nut-Free Option: Substitute creamy peanut butter with sun butter or almond butter for a nut-free treat. This option still gives you that creamy consistency without the peanuts.
-
Flavor Boost: Add a pinch of cinnamon or a dash of espresso powder to the dough for extra warmth and spice. These small additions elevate the taste and can bring delightful surprises to your cookies.
-
Chunky Peanut Butter: Swap creamy peanut butter for chunky peanut butter to introduce delightful texture. The little bits of peanuts add crunch, enhancing the eating experience!
-
Coconut Delight: Add shredded coconut to the dough for a chewy texture and tropical twist. Pairing the coconut with chocolate Kisses gives your cookies a lovely, unexpected flavor profile.
-
Spicy Kick: For those who love a little heat, introduce a pinch of cayenne pepper to the dough. It may sound unusual, but it creates a tantalizing contrast between sweet and spicy!
-
Vegan Version: Create a vegan twist by substituting the egg with a flax egg and using vegan butter instead. This way, everyone can enjoy these delightful cookies, regardless of dietary preferences!
For more delightful pairings, consider serving these cookies alongside a warm mug of cocoa or even with our scrumptious Honey Butter Skillet Corn that perfectly complements the sweetness of your Peanut Butter Blossoms!
How to Store and Freeze Peanut Butter Blossoms
Room Temperature: Store your Peanut Butter Blossoms in an airtight container at room temperature for up to 5 days. This keeps them soft and delicious!
Fridge: For longer freshness, you can refrigerate the cookies, extending their shelf life to about 1 week. Just be sure to use an airtight container.
Freezer: Freeze any leftover cookies for up to 3 months. Layer them between parchment paper in a freezer-safe container to prevent sticking.
Reheating: When you’re ready to enjoy, thaw at room temperature or pop them in the microwave for 10-15 seconds for that fresh-baked feel!
Peanut Butter Blossoms Recipe FAQs
How do I choose the right peanut butter for my Peanut Butter Blossoms?
Absolutely! For the best results, opt for creamy, smooth peanut butter that isn’t too oily. Natural peanut butter can lead to a dryer, crumbly cookie, so stick to a conventional brand for the consistent texture and flavor that creates classic Peanut Butter Blossoms.
How should I store my Peanut Butter Blossoms?
Store your Peanut Butter Blossoms in an airtight container at room temperature for up to 5 days. If you want to extend their life, refrigeration is an option too, giving you about a week of deliciousness. Just ensure the container is well-sealed to keep them soft!
Can I freeze Peanut Butter Blossoms? If so, how?
Yes, you can freeze your Peanut Butter Blossoms! To do this, place a layer of parchment paper between each cookie and then store them in a freezer-safe container. They can be frozen for up to 3 months. When you’re ready to indulge, simply let them thaw at room temperature, or microwave them for 10-15 seconds for that fresh-baked warmth!
Why did my Peanut Butter Blossoms spread too much while baking?
Very common! If your cookies spread excessively, it may be due to too much moisture in your peanut butter or insufficient chilling of the dough. Chill the dough for 20-30 minutes before baking to help the cookies keep their shape. Also, make sure you’re using a smooth peanut butter and not over-mixing your wet and dry ingredients!
Are Peanut Butter Blossoms safe for people with nut allergies?
For those with nut allergies, traditional Peanut Butter Blossoms aren’t safe, but you can make a nut-free version by using sun butter instead of peanut butter. It offers a similar taste and texture, allowing everyone to enjoy these delightful cookies during the holidays!
Can I prepare the dough ahead of time?
Absolutely! You can prepare the dough ahead of time and refrigerate it for up to 2 days. Just remember to let the dough come back to room temperature before shaping it into balls for baking. This makes it super convenient for when you’re ready to bake fresh cookies for any occasion!
Peanut Butter Blossoms That Melt Hearts This Holiday Season
Ingredients
Equipment
Method
- Preheat your oven to 375°F (190°C) and line your baking sheets with parchment paper.
- In a large mixing bowl, cream together softened unsalted butter, granulated sugar, and light brown sugar until light and fluffy.
- Add creamy peanut butter, large egg, and vanilla extract, mixing until well combined and smooth.
- In a separate bowl, whisk together all-purpose flour, baking soda, and salt. Gradually add to wet ingredients until just combined.
- Scoop out 1-inch balls of dough, roll in granulated sugar, and place on baking sheets spacing them about 2 inches apart.
- Bake for 10-12 minutes until edges are golden and centers are soft. Remove from oven.
- Press a Milk Chocolate Hershey’s Kiss into the center of each cookie while warm.
- Let cookies rest on the baking sheet for about 5 minutes before transferring to a wire rack to cool completely.
Leave a Reply