
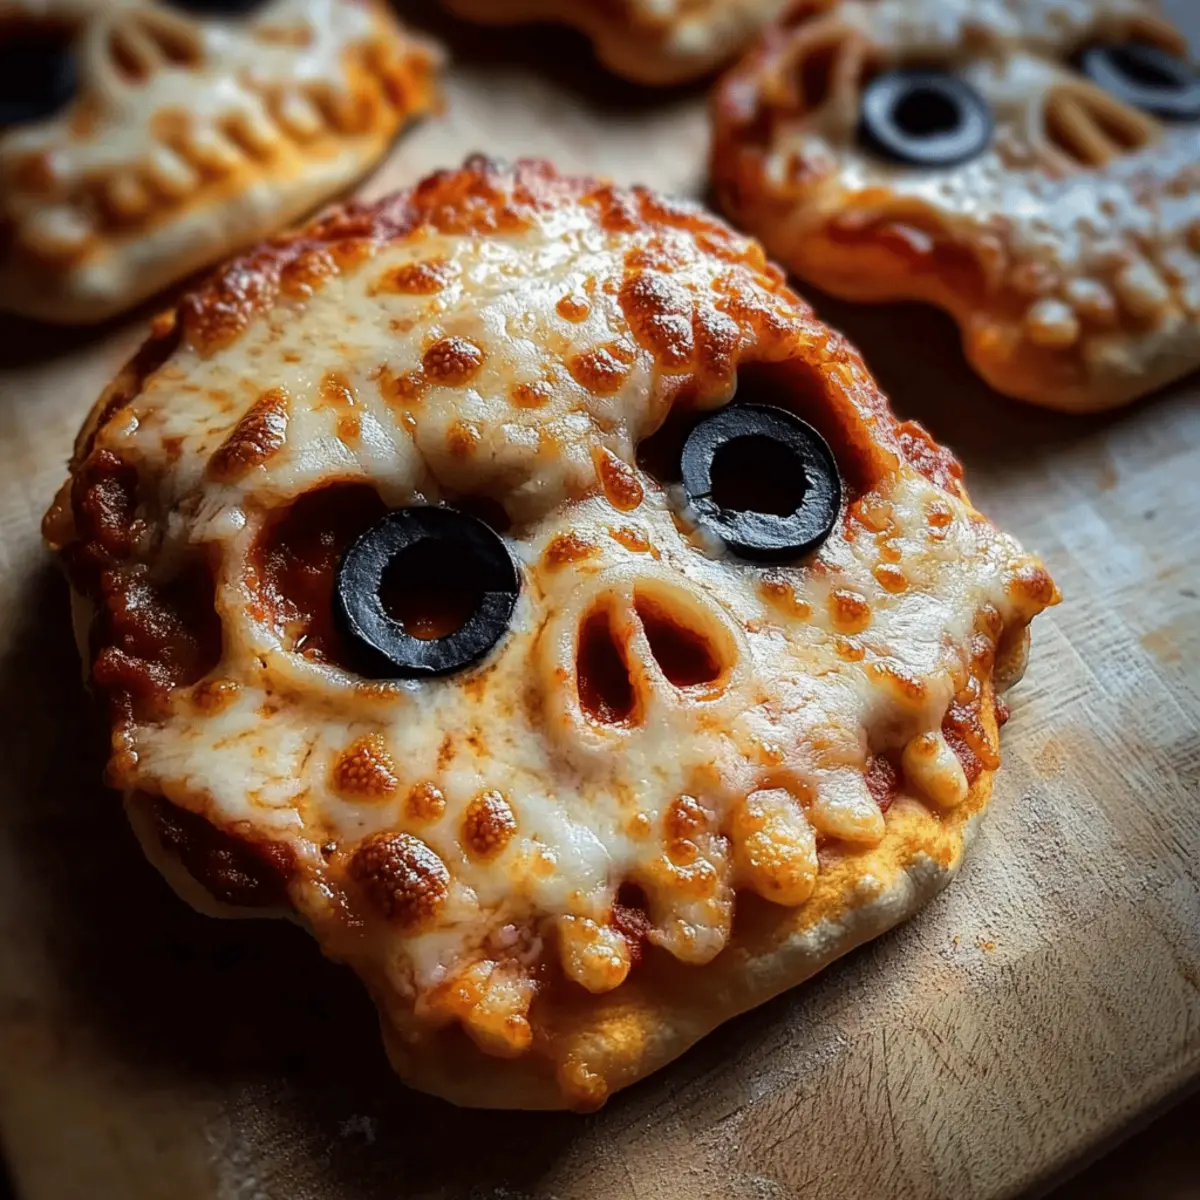
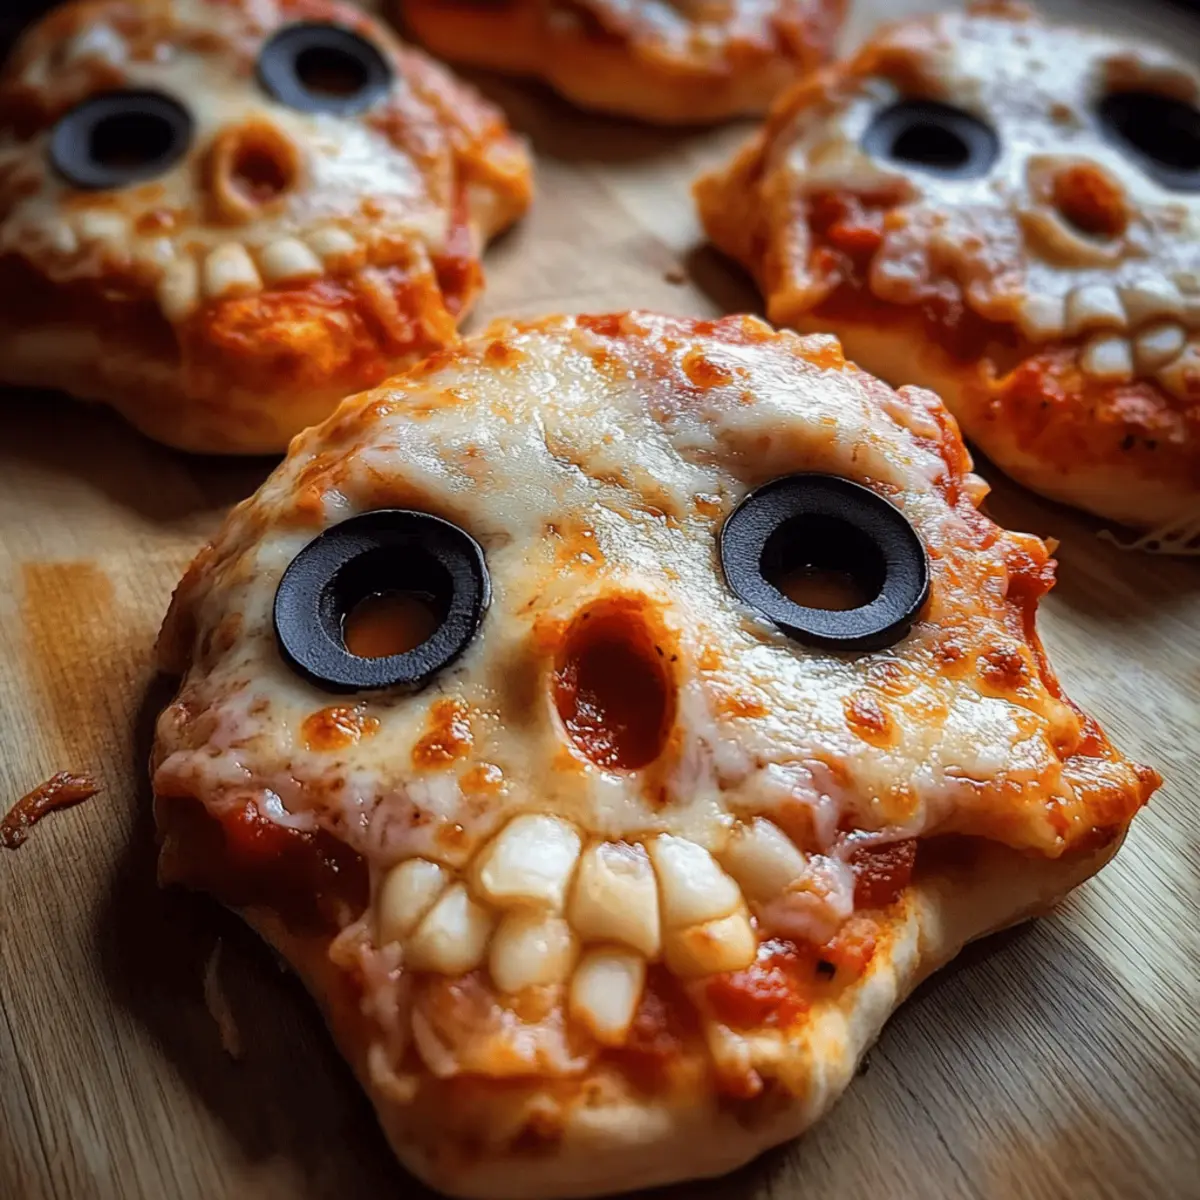
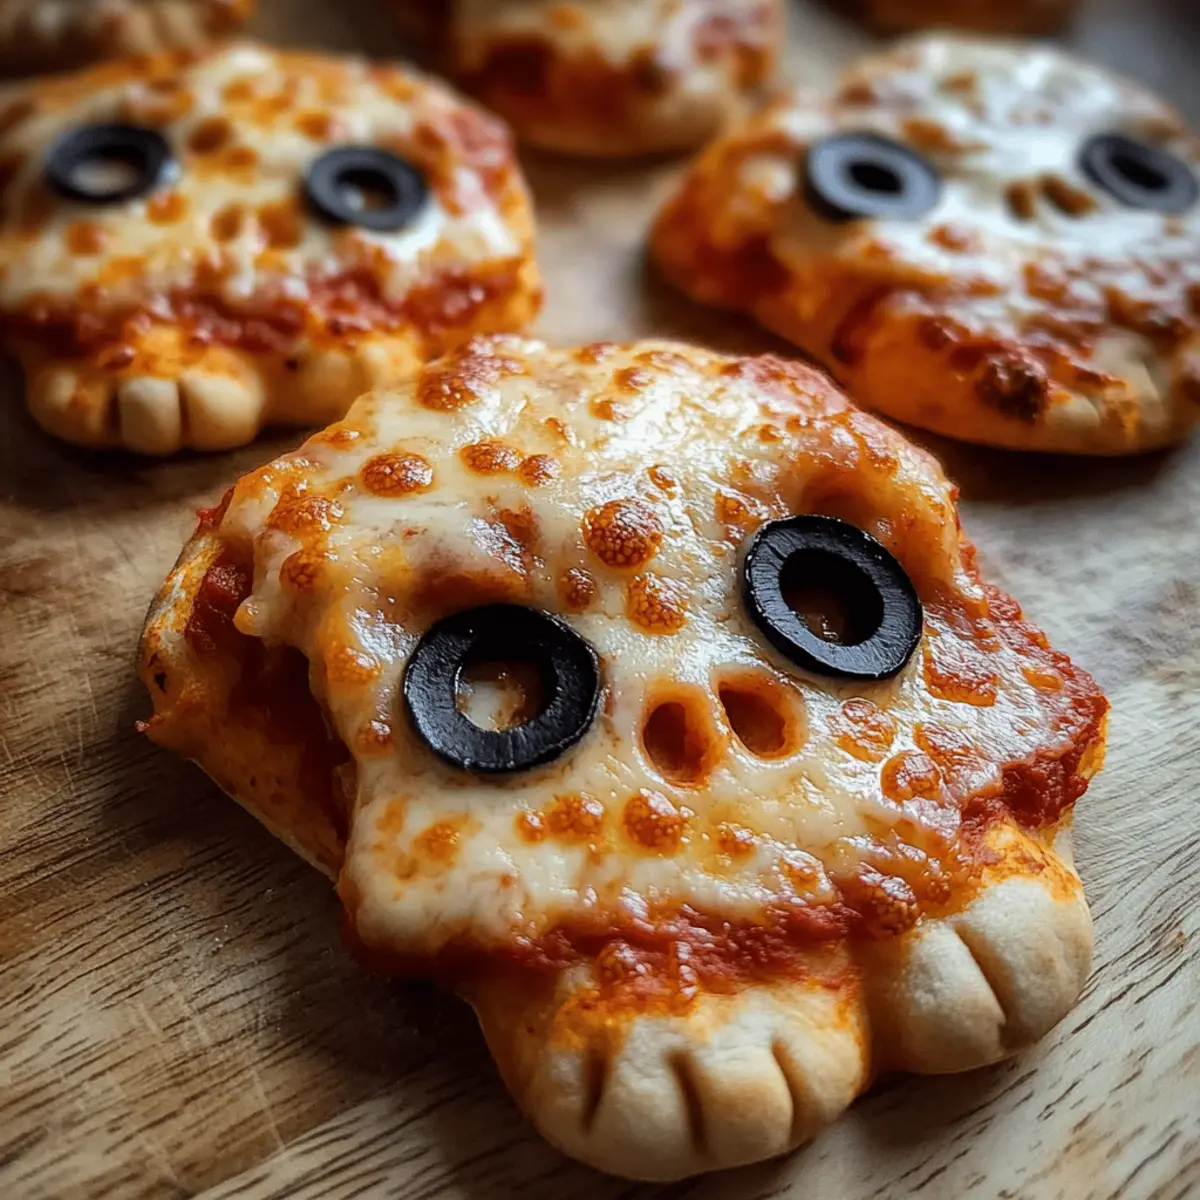
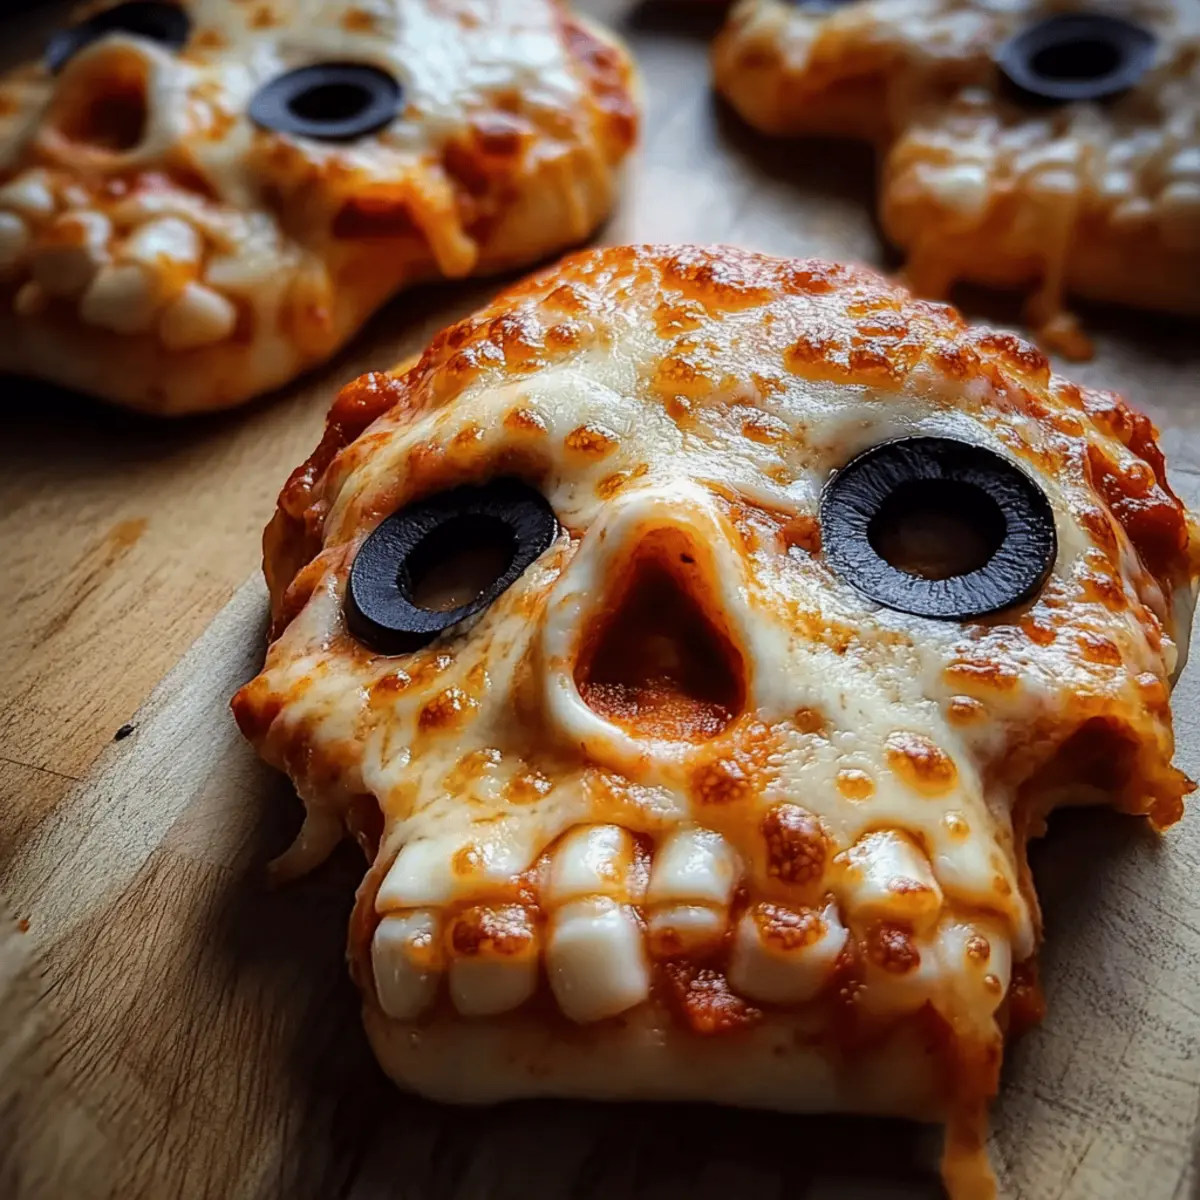
As I sifted through spooky recipes for Halloween, a familiar aroma wafted from the kitchen—warm dough mingling with rich, savory fillings. It wasn’t long before I conjured up my ultimate Halloween treat: Pizza Skulls. These delightful, kid-friendly snacks combine all the cheesy goodness of pizza into a fun skull shape, making them the perfect centerpiece for any festive gathering. Not only are they a crowd-pleaser that guarantees smiles all around, but their easy prep allows you to whip them up in no time, leaving you free to enjoy the festivities. Whether you’re hosting a haunted dinner or looking for a playful treat to share with the little ones, these Pizza Skulls will surely enchant everyone. Ready to make this Halloween tasty and memorable? Let’s dive into the details!
Why Are Pizza Skulls So Fun?
Kid-Friendly Fun: These Pizza Skulls are not just delicious; their spooky shape makes them an instant hit with kids and adults alike!
Easy to Customize: With a variety of toppings and fillings, you can tailor them to suit everyone’s taste—from classic pepperoni to veggie-packed options.
Quick Prep Time: Whip these up in no time; they’re perfect for last-minute Halloween gatherings or cozy family nights.
Delightfully Cheesy: The melty, gooey cheese filling always hits the spot, providing a comforting flavor that everyone loves.
Memorable Presentation: Serve these fun treats at your Halloween party and watch them steal the spotlight! Don’t forget to try making your own dough for a truly special touch with these homemade pizza recipes.
Pizza Skulls Ingredients
• The ingredients listed here will help you create these spooky Halloween treats that are sure to be a hit!
For the Dough
- All-Purpose Flour – Provides structure and texture; substitute with gluten-free flour for a gluten-free version.
- Warm Water – Activates yeast and binds the dough; use unsalted broth for extra flavor.
- Active Dry Yeast – Leavens the dough for a fluffy texture; ensure it’s fresh for the best results.
- Sugar – Feeds the yeast and helps brown the crust; honey can be used as an alternative.
- Salt – Enhances flavors; use sea salt for a more nuanced taste.
- Olive Oil – Adds moisture and richness; can be substituted with melted butter or vegetable oil.
For the Filling
- Pizza Sauce – Provides moisture and flavor; store-bought or homemade can be used.
- Shredded Mozzarella Cheese – The primary cheese for stretching and flavor; for a vegan option, use plant-based cheese.
- Pepperoni Slices – Adds savory meatiness; substitute with veggie alternatives or omit for a cheese-only version.
- Black Olives – Used for decoration as “eyes”; any sliced olives can work.
These ingredients will help you create delicious Pizza Skulls that are not only fun to make, but are also a delightful addition to your Halloween celebrations!
Step‑by‑Step Instructions for Pizza Skulls
Step 1: Prepare the Dough
In a bowl, combine 1 cup of warm water, 1 tablespoon of sugar, and 2 teaspoons of active dry yeast. Allow the mixture to sit for about 5 minutes until it becomes frothy, indicating that the yeast is active. This step is essential for achieving the perfect rise in your pizza skulls.
Step 2: Combine Ingredients
In a large mixing bowl, whisk together 3 cups of all-purpose flour and 1 teaspoon of salt. Pour in the frothy yeast mixture along with 2 tablespoons of olive oil. Stir with a wooden spoon until the ingredients begin to come together, forming a shaggy dough that will serve as the base for your spooky pizza skulls.
Step 3: Knead the Dough
Turn the dough out onto a well-floured surface and knead it for 8-10 minutes. The goal is to achieve a smooth and elastic dough, so don’t hesitate to sprinkle in more flour if it feels too sticky. Once ready, form the dough into a ball and prepare for its first rise.
Step 4: First Rise
Place the kneaded dough in a lightly oiled bowl; cover it with a damp cloth. Allow it to rise in a warm place for about 30 minutes, or until it doubles in size. This crucial step ensures your pizza skulls will have a light and fluffy texture when baked.
Step 5: Shape the Skulls
Once the dough has risen, transfer it to a floured surface and roll it out to about 1/4-inch thickness. Use a skull-shaped cookie cutter to cut out shapes, placing half of them onto a parchment-lined baking sheet. This is where the fun begins, as you’ll start seeing the spooky faces come to life!
Step 6: Assemble
Take the half of the skulls on the baking sheet and top each with a spoonful of pizza sauce, a generous sprinkle of shredded mozzarella cheese, and your chosen toppings like pepperoni. Carefully place the remaining skull cutouts on top and press to seal the edges, then crimp them with a fork to ensure they stay together during baking.
Step 7: Bake
Preheat your oven to 375°F (190°C). When the oven is hot, place your baking sheet with the assembled pizza skulls inside and bake for 20-25 minutes. Keep an eye on them as they transform into golden brown treats with bubbling cheese, filling the kitchen with a mouthwatering aroma that is perfect for Halloween!
Pizza Skulls: Endless Variations Await
Feel free to unleash your creativity by customizing these delightful Pizza Skulls with various swaps and twists that capture your flavor preferences and dietary needs!
- Gluten-Free Dough: Substitute all-purpose flour with a gluten-free blend to create an equally delightful treat without the gluten.
- Dairy-Free Upgrade: Opt for coconut or almond milk cheese in place of mozzarella for a creamy vegan pizza skull that everyone can enjoy.
- Veggie Lovers: Load up on colorful vegetables such as sautéed zucchini, bell peppers, or spinach for an added nutritional boost and delightful crunch.
- Spicy Kick: Add a sprinkle of crushed red pepper flakes or jalapeños to the filling for a fiery Halloween twist that will thrill heat seekers.
- Herb-Infused: Mix fresh or dried herbs like basil or oregano into your pizza sauce for an aromatic flavor explosion that takes your skulls to the next level.
- Sweet Treat Option: For a fun dessert variation, replace savory fillings with chocolate chips or a sweet cream cheese mixture for a Halloween treat that’s to die for!
- Mini Skulls: Create bite-sized versions using smaller cookie cutters for fun party hors d’oeuvres that are perfect for little hands and big appetites.
- Creative Shapes: Instead of skulls, experiment with spooky bat or pumpkin shapes to delight the kids and keep your Halloween theme going strong.
By exploring these variations, your Pizza Skulls can cater to any taste and make your Halloween feast even more enjoyable! If you’re looking for more homemade inspiration, trying your hand at pizza dough recipes can really elevate this dish!
Storage Tips for Pizza Skulls
Room Temperature: For best flavor and texture, enjoy baked Pizza Skulls the same day. If needed, they can be kept at room temperature for up to 4 hours, covered to prevent drying out.
Fridge: Store leftover Pizza Skulls in an airtight container in the fridge for up to 3 days. Reheat in the oven to maintain their crispy texture, warming at 350°F (175°C) for about 10 minutes.
Freezer: For longer storage, freeze uncooked Pizza Skulls on a baking sheet. Once solid, transfer to a freezer-safe bag. They can be kept frozen for up to 3 months; bake directly from frozen when ready to enjoy!
Reheating: For best results, reheat baked Pizza Skulls in the oven or toaster oven at 350°F (175°C) for 10-15 minutes. This helps regain their golden crust while warming the cheesy filling.
What to Serve with Pizza Skulls?
Gathering your friends and family around steaming Pizza Skulls can set the perfect playful mood for any Halloween celebration.
- Marinara Sauce: A classic dipping sauce that complements the cheesy flavors inside, adding a tangy kick to each bite.
- Mixed Green Salad: A refreshing side salad with crisp greens and a light vinaigrette balances the richness of Pizza Skulls, providing a burst of freshness.
- Garlic Breadsticks: Crispy on the outside and soft within, these are perfect for dipping in sauce and make your meal feel complete.
- Caramelized Pumpkin Risotto: Creamy and subtly sweet, the pumpkin flavor enhances the fall vibe of your Halloween gathering.
- Veggie Platter: Crunchy vegetables with a creamy dip offer a fresh contrast, making snacking fun and festive.
- Apple Cider: A warm spiced apple cider will entice everyone with its fall aroma, keeping spirits bright on chilly Halloween nights.
- Chocolate Mousse Cups: Rich, decadent chocolate mousse served in mini cups brings a sweet ending to your spooky feast that no one can resist.
- Halloween Fruit Skewers: Colorful fruit skewers with spooky cookie shapes or ghostly marshmallows add a whimsical touch and make for a healthy dessert option.
- Spooky Mocktails: Festive, non-alcoholic drinks can elevate the mood, allowing everyone to enjoy vibrant flavors while toasting to Halloween fun!
Make Ahead Options
These Pizza Skulls are perfect for meal prep enthusiasts! You can assemble the Pizza Skulls up to 24 hours in advance by preparing them completely and refrigerating them until you’re ready to bake. Simply follow the steps to shape and fill them, then cover them tightly with plastic wrap to prevent drying out. Alternatively, you can prepare the dough up to 3 days ahead of time, allowing it to rise, then storing it in the fridge. When it’s time to serve, preheat your oven and bake the Pizza Skulls directly from the fridge; they’ll be just as delicious and fun, saving you precious time on busy Halloween nights!
Expert Tips for Pizza Skulls
-
Yeast Activation: Ensure your warm water is around 110°F (43°C); too hot will kill the yeast, preventing your Pizza Skulls from rising.
-
Avoid Overfilling: When assembling, avoid overloading with sauce and cheese—keeping fillings moderate helps seal edges and prevents leakage during baking.
-
Watch the Baking: Start checking your Pizza Skulls around 18 minutes of baking; oven temperatures can vary, and you want them golden, not burnt.
-
Flouring Skills: Use enough flour while kneading to avoid sticky dough but be cautious not to add too much, as it can result in tough Pizza Skulls.
-
Creative Shapes: Don’t limit yourself to just skulls! Explore other Halloween shapes with cookie cutters to make these treats even more festive.
Pizza Skulls: Spooky Halloween Treats Recipe FAQs
What is the best way to select ripe ingredients for Pizza Skulls?
Absolutely! Choosing the right ingredients sets the stage for delicious Pizza Skulls. For fresh veggies, look for bright colors and no dark spots, especially for toppings like bell peppers or mushrooms. When selecting cheese, opt for products that feel slightly soft but not overly sticky. For olives, pick those that are plump and without any signs of excessive wrinkling.
How should I store leftover Pizza Skulls?
Store your leftover Pizza Skulls in an airtight container in the fridge for up to 3 days. Make sure they are completely cooled before placing them in the container to avoid excess moisture, which can make them soggy. If you plan to enjoy them later, I recommend reheating them in the oven to maintain that lovely crispy exterior!
Can I freeze Pizza Skulls for later use?
Yes! To freeze uncooked Pizza Skulls, first arrange them on a parchment-lined baking sheet and freeze until solid, about 1 to 2 hours. Once solid, transfer them to a freezer-safe bag or container. They can be kept in the freezer for up to 3 months. When you’re ready to bake, there’s no need to thaw; simply bake them from frozen, extending the baking time by a few minutes as needed.
What should I do if my Pizza Skulls leak while baking?
Very! If your Pizza Skulls leak during baking, it may be due to overfilling them or insufficiently sealing the edges. For better results, limit the amount of sauce and cheese to about 1 tablespoon per skull. When sealing, crimp the edges thoroughly with a fork and make sure the dough is pressed tightly together. If you notice they are leaking, you can place a tray underneath the baking sheet to catch any drips.
Are there any dietary considerations I should keep in mind when serving Pizza Skulls?
Absolutely! When preparing Pizza Skulls, consider food allergies. Common allergens include dairy (from cheese), gluten (from flour), and certain toppings like pepperoni. For a gluten-free version, simply swap the all-purpose flour for a gluten-free blend. If you’re cooking for vegans or those with dairy allergies, use plant-based cheese and omit any meat toppings. Always ask your guests about their dietary restrictions to ensure everyone can enjoy these spooky treats!
Delicious Pizza Skulls: Fun Halloween Treats Everyone Will Love
Ingredients
Equipment
Method
- In a bowl, combine warm water, sugar, and active dry yeast. Allow to sit for 5 minutes until frothy.
- In a large mixing bowl, whisk together all-purpose flour and salt. Pour in the frothy yeast mixture and olive oil. Stir until a shaggy dough forms.
- Knead the dough on a floured surface for 8-10 minutes until smooth and elastic. Form into a ball.
- Place the dough in an oiled bowl and cover. Let rise in a warm place for about 30 minutes or until doubled.
- Roll out the risen dough to 1/4-inch thick. Cut out skull shapes and place half on a baking sheet.
- Top each skull with pizza sauce, mozzarella, and pepperoni. Place the remaining skulls on top and seal edges.
- Preheat the oven to 375°F (190°C) and bake for 20-25 minutes until golden brown.
Leave a Reply