
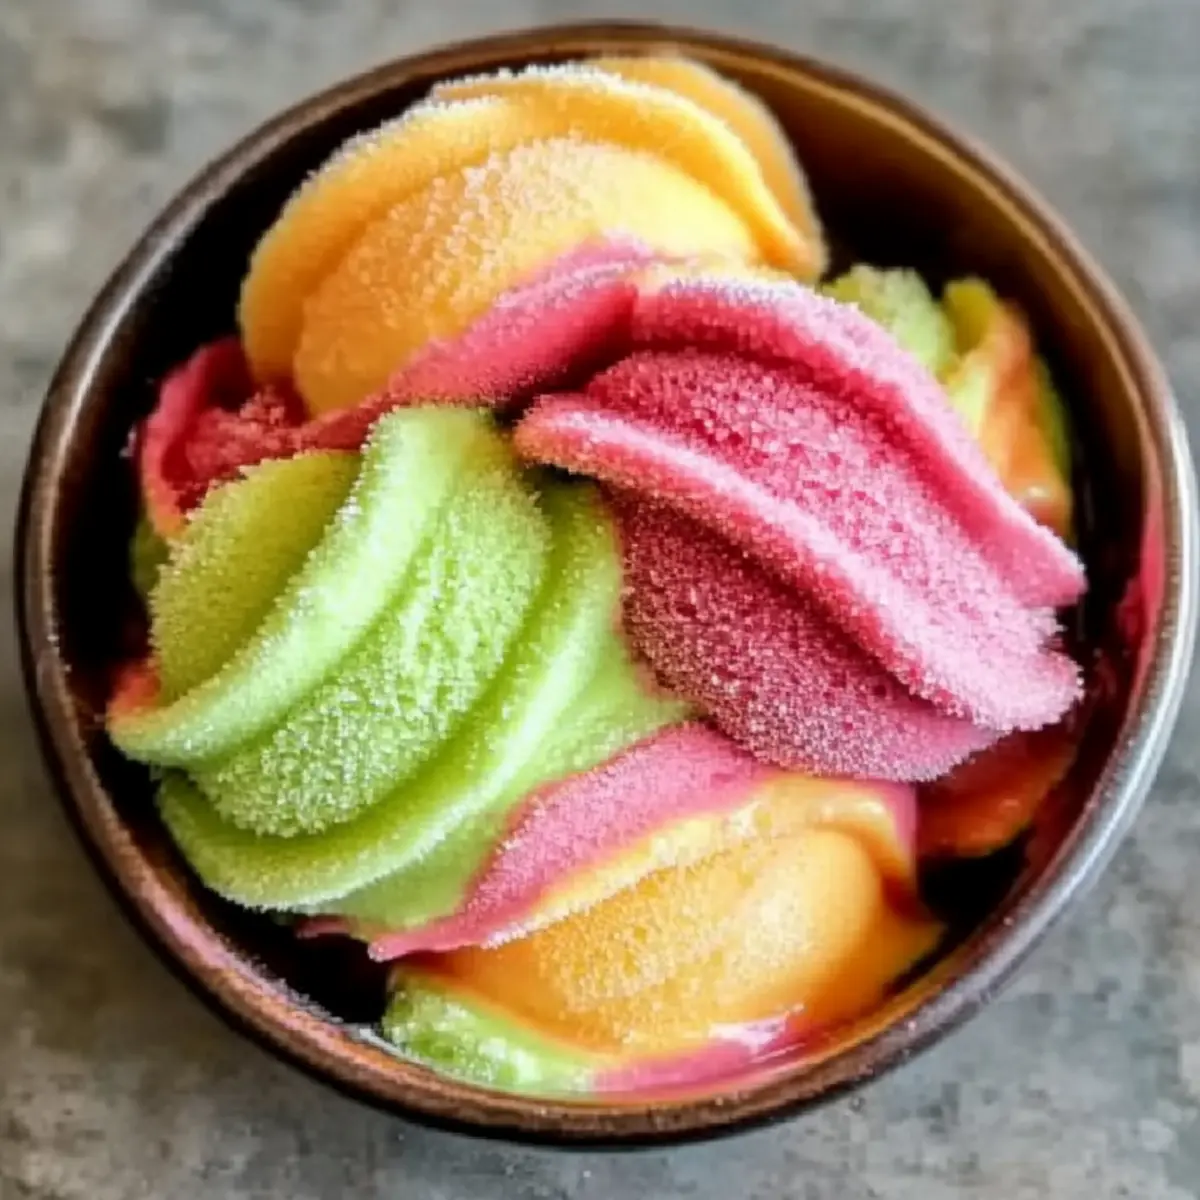
As I scooped into that creamy, vibrant mix of homemade rainbow sherbet, I was immediately transported back to sunlit summers filled with laughter and sweetness. This delightful dessert, featuring layers of raspberry, orange, and lime, isn’t just a treat; it’s an experience that invites creativity and joy into the kitchen. Perfect for summer gatherings or a special family celebration, this rainbow sherbet captivates with its refreshing taste and customizable flavors. It’s a fun, fruit-based alternative to store-bought options that lets you play with color and flavor to your heart’s content. Plus, it’s an impressive way to showcase your culinary skills—even to those who usually opt for fast food! Are you ready to dive into this colorful homemade creation? Let’s get started!
Why is This Rainbow Sherbet a Must-Try?
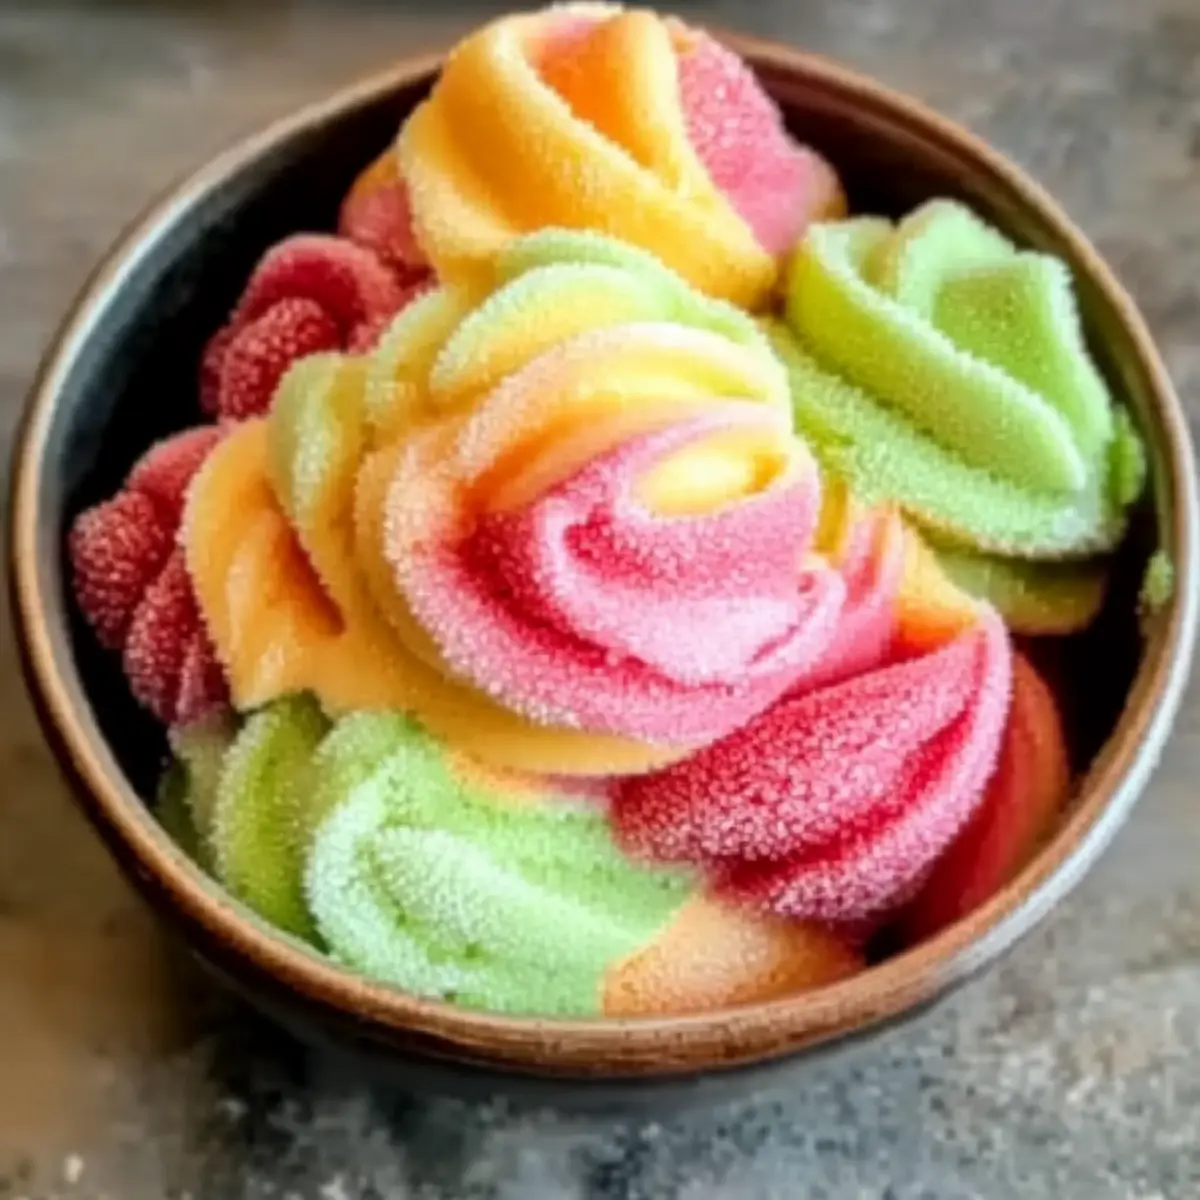
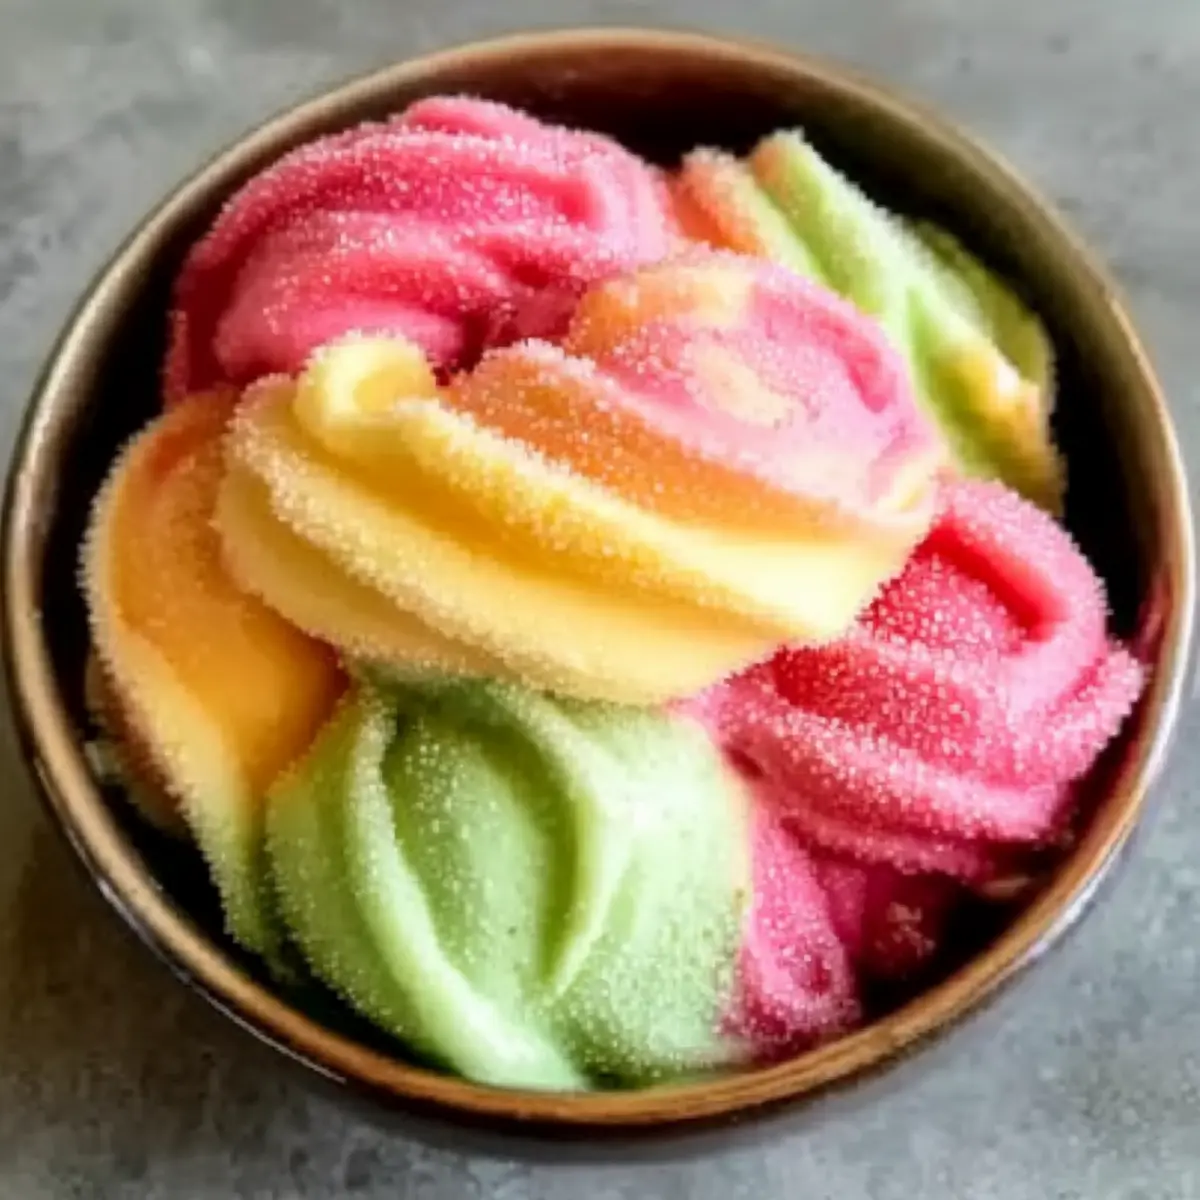
Vibrant Colors: This rainbow sherbet is a feast for the eyes, boasting stunning layers of raspberry, orange, and lime that make any occasion feel festive.
Refreshing Flavors: Each spoonful offers a refreshing burst of fruity goodness, perfect for cooling off in the summer heat!
Customizable: Mix and match fruits or swap in your favorites for a personal touch—try mango, pineapple, or even a minty herb twist!
Easy to Make: With simple steps and no advanced cooking skills needed, this recipe is a delightful way to enjoy homemade ice cream without the fuss of store-bought options.
Crowd-Pleaser: Serve it at parties, potlucks, or family gatherings, and watch everyone revel in the joy of homemade goodness!
Rainbow Sherbet Ingredients
• Dive into the vibrant world of flavors with these essential ingredients for the perfect rainbow sherbet!
For the Base
- Heavy Cream – Adds a rich and creamy texture; for a lighter version, substitute with whole milk.
- Whole Milk – Lightens the mixture; can switch to a dairy-free alternative for a vegan treat.
- Granulated Sugar – Sweetens to taste; adjust according to the natural sweetness of your fruits.
- Vanilla Extract – Enhances the overall flavor depth; always opt for pure vanilla over synthetic versions.
For the Flavors
- Raspberries – The star of the raspberry layer; using frozen is fine, just thaw slightly before blending.
- Orange Juice – Provides a tangy flavor for the orange layer; fresh-squeezed is the best choice.
- Lime Juice – Adds a zesty kick to the lime layer; freshly squeezed will give it a vibrant taste.
- Food Coloring – Optional for a visual pop; natural colors are recommended for that wholesome touch.
- Zest from Oranges/Limes – Optional for added citrus aroma and flavor; it brightens up your sherbet beautifully.
Embrace the joy of creating your very own rainbow sherbet that will delight family and friends!
Step‑by‑Step Instructions for Homemade Rainbow Sherbet
Step 1: Prepare the Base
In a medium saucepan, gently heat 2 cups of heavy cream, 1 cup of whole milk, and 1 cup of granulated sugar over medium heat. Stir continuously until the sugar completely dissolves, which should take about 5-7 minutes. You’ll know the mixture has gained a slight steam and is warm to the touch but not boiling; remove from heat to enhance your rainbow sherbet base.
Step 2: Cool the Mixture
Once the base is heated, stir in 1 tablespoon of pure vanilla extract for a depth of flavor. Allow the mixture to cool to room temperature before transferring it to the refrigerator. Chill the base for at least 2 hours, or until it’s completely cold, to develop the luscious texture essential for a delightful homemade rainbow sherbet.
Step 3: Make Raspberry Puree
While the base is chilling, prepare the raspberry layer. Blend 2 cups of fresh or thawed raspberries with 1/4 cup of sugar in a blender until smooth. To ensure a silky consistency for your rainbow sherbet, strain the puree through a fine sieve, discarding the seeds, and set aside the vibrant raspberry sauce to incorporate later.
Step 4: Churn the Base
Once your carefully prepared base is chilled, pour it into an ice cream maker. Follow your ice cream maker’s instructions and churn until the mixture reaches a soft-serve consistency, which typically takes about 20-25 minutes. This step is crucial for achieving that creamy texture in your rainbow sherbet, so keep an eye on it!
Step 5: Create Flavor Layers
Divide the churned base into three equal parts in separate bowls. For the orange layer, mix 2/3 cup of fresh orange juice and a bit of orange zest into one part of the base, using food coloring if desired. For the lime layer, use the same method with 1/3 cup of fresh lime juice and zest in another part. In the last portion, incorporate your prepared raspberry puree to create a gorgeous, fruity layer.
Step 6: Layer the Flavors
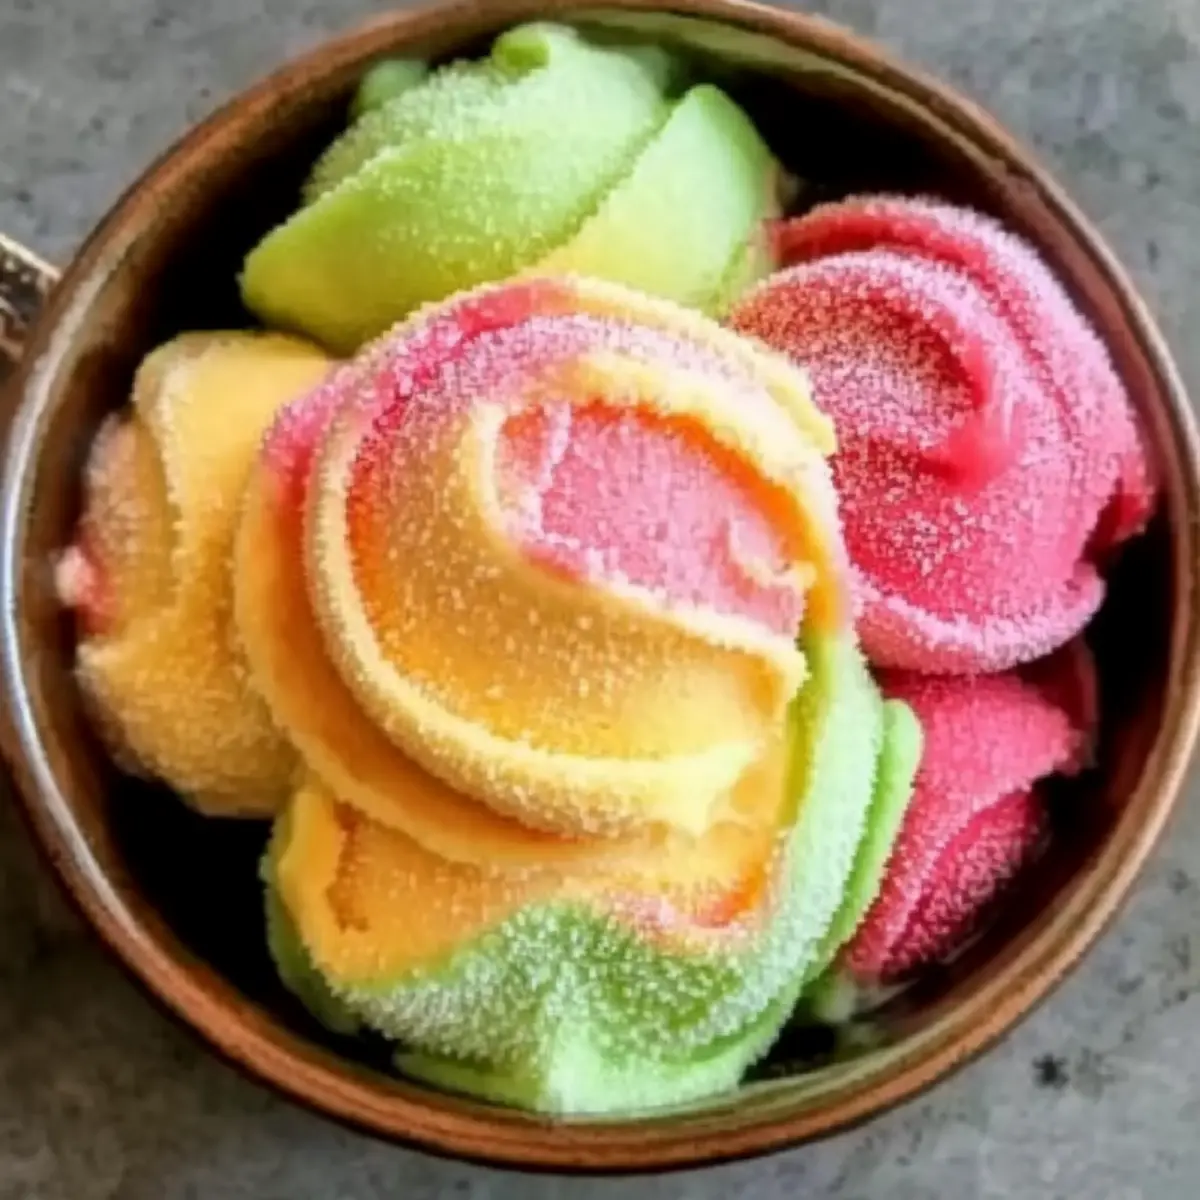
In a freezer-safe container, start spooning the orange layer followed by the lime layer, and then the raspberry layer. Repeat this process, alternating each flavor, and use a knife or skewer to lightly swirl them together to create a marbled effect. This beautiful layering transforms your rainbow sherbet into a visual and flavorful masterpiece!
Step 7: Freeze the Sherbet
Cover the container tightly with a lid or plastic wrap to prevent ice crystals from forming. Place it in the freezer and allow the sherbet to set for at least 4-6 hours, or until it becomes firm. The longer it freezes, the more scoopable it becomes, creating that perfect texture you’ll love to serve.
Step 8: Serve and Savour
When you’re ready to enjoy your homemade rainbow sherbet, remove it from the freezer and let it sit at room temperature for a few minutes to soften slightly. Scoop into colorful cones or bowls, and watch as everyone delights in the burst of summer flavors. This refreshing dessert is perfect for sharing at gatherings or enjoying alone!
Make Ahead Options
These delightful rainbow sherbet layers are perfect for meal prep enthusiasts! You can prepare the sherbet base and flavors up to 24 hours in advance by chilling the base and storing it in airtight containers in the refrigerator. To maintain quality, allow it to cool completely before refrigerating, which helps prevent unwanted texture changes. Each flavor component can be mixed and refrigerated separately, so when it’s time to serve, simply churn the cold base and layer the flavors as instructed. Freeze it for 4-6 hours until firm, and you’ll have a refreshing dessert that’s just as delicious as if made fresh on the spot!
Expert Tips for the Best Rainbow Sherbet
• Quality Ingredients Matter: Use fresh, high-quality fruits for the best flavor. Ripe fruits enhance the natural sweetness and vibrancy in your rainbow sherbet.
• Chill the Base: Make sure your cream and milk mixture is completely chilled before churning. This step is crucial for achieving that creamy texture that makes for an irresistible sherbet.
• Avoid Freezing Too Long: Don’t freeze the sherbet for longer than 6 hours without checking. Over-freezing can lead to a rock-solid texture, making it hard to scoop.
• Serve Smart: Let the rainbow sherbet sit out for a few minutes before serving. This will soften it just enough for easy scooping while keeping its delightful flavors intact.
• Creative Variations: Don’t hesitate to experiment with fruits like mango, strawberries, or even herbs like mint for delightful twists. Your creativity can make each batch of rainbow sherbet uniquely yours!
What to Serve with Homemade Rainbow Sherbet
Imagine a sunny afternoon where every scoop of vibrant rainbow sherbet is complemented by delightful side dishes that enhance its refreshing qualities.
-
Fresh Fruit Salad: Juicy melons, berries, and citrus fruits offer a light, refreshing contrast that balances the creamy sherbet. Toss in a hint of mint to amplify the freshness!
-
Chocolate Wafer Cookies: The crisp, chocolaty crunch of these cookies add an irresistible texture contrast to the smoothness of the sherbet. Perfect for a delightful scoop or for sandwiching some sherbet between two cookies!
-
Lemonade or Iced Tea: A cold beverage such as lemonade or iced tea brings a zesty or sweet complement to the fruity flavors of the rainbow sherbet, keeping everything bright and summery.
-
Mini Cupcakes: Light and airy, these little cakes can be topped with a swirl of frosting that matches the sherbet’s flavors—cherry, lime, or orange! They add a fun, celebratory feel to your dessert table.
-
Granola or Nuts: A sprinkle of crunchy granola or chopped nuts can introduce a delightful texture and added nutritional benefits, making the dessert not just enjoyable, but also healthful!
-
Rainbow Sprinkles: They might be simple, but colorful sprinkles can bring a playful element to your served sherbet. They not only look beautiful but also add a sweet crunch with every scoop!
Storage Tips for Rainbow Sherbet
Fridge: Store any leftovers in the refrigerator if you plan to eat them within 1-2 days. Keep it covered to maintain freshness.
Freezer: Properly store your rainbow sherbet in an airtight container for up to 2 months. This will prevent freezer burn and maintain its delicious taste.
Reheating: Allow the sherbet to soften at room temperature for about 5-10 minutes before scooping. This ensures you’ll get that creamy texture you love!
Serving: If you’re serving leftover rainbow sherbet later, give it a quick stir before serving to improve the texture and make it easier to scoop!
Rainbow Sherbet Variations & Substitutions
Feel free to let your creativity shine as you customize this rainbow sherbet to suit your taste buds!
-
Dairy-Free: Substitute heavy cream and whole milk with coconut milk or almond milk for a creamy, vegan alternative. This twist adds a delightful tropical hint!
-
Flavor Fusion: Try using pureed mango or pineapple in place of raspberries for a sweet tropical delight that brightens up summer days. Imagine the burst of sunshine in every scoop!
-
Herb-Infused: Add fresh mint or basil to the lime layer for a refreshing herbal twist. This unexpected combination elevates the sherbet’s flavor profile and adds an aromatic touch.
-
Sweetness Adjustments: Use honey or maple syrup instead of granulated sugar for a natural sweetness that harmonizes beautifully with the fruit’s flavors. Adjust the amount based on personal taste and fruit sweetness.
-
Extra Zest: Boost the citrusy kick by incorporating additional zest from lemons or grapefruits in the orange and lime layers. This simple addition makes each bite more vibrant and bursting with flavor!
-
Frozen Fruits: For a quick and easy twist, use frozen fruits for the layers. Thaw them slightly before blending, and savor the infused flavors without the fuss!
-
Swirls of Surprise: Blend in a few tablespoons of fruit or chocolate sauce between the layers for a surprise inside! This will create unexpected pockets of flavor and delight for your family and friends.
-
Heat it Up: Add a pinch of cayenne pepper or a dash of jalapeño juice to the lime layer for a fun spicy kick. This adds a surprising depth that tantalizes the taste buds!
Explore these variations as a fun way to make every batch of homemade rainbow sherbet uniquely yours. For more inspiring flavor combinations or creative dessert ideas, check out our delicious recipes for Frozen Fruit Sorbet or Chocolate Chip Cookie Recipe!
Homemade Rainbow Sherbet Recipe FAQs
What type of fruit should I use for my rainbow sherbet?
Absolutely! When selecting fruits, aim for ripe but not overly soft varieties. For the raspberry layer, fresh or slightly thawed frozen raspberries work wonderfully. Always opt for fresh-squeezed juices for the orange and lime layers to achieve the brightest flavors. If you’re looking to switch things up, try mango or strawberries for a unique twist!
How should I store leftover homemade rainbow sherbet?
To keep your rainbow sherbet fresh, store it in an airtight container in the freezer, where it can last up to 2 months. Make sure the container is tightly sealed to avoid freezer burn. If you’re planning to finish the sherbet within a couple of days, you can keep it in the refrigerator, covered, for 1-2 days.
Can I freeze the rainbow sherbet after making it?
Certainly! Once you’ve layered your rainbow sherbet in a freezer-safe container, cover it well and freeze for 4-6 hours until firm. If you’re freezing it longer, check it after a few hours to ensure it stays at the right consistency—over-freezing can make it rock solid and hard to scoop!
What do I do if my rainbow sherbet is too hard to scoop?
Very simple! If you find your sherbet has become too hard, let it sit at room temperature for about 5-10 minutes before scooping. This will soften it slightly and make it easier to scoop. You can also stir the sherbet gently with a spoon or spatula before serving to improve its texture.
Can I make this rainbow sherbet vegan or dairy-free?
Yes! To create a dairy-free version, simply substitute the heavy cream and whole milk with coconut milk or almond milk. Just ensure to blend them well with sugar and vanilla extract. This way, you’ll still have a delightful, creamy texture while enjoying all the refreshing flavors!
Is there a good way to adjust the sweetness of the sherbet?
Definitely! Taste your fruit before adding sugar, as the sweetness can vary. If your fruits are naturally sweet, reduce the sugar in the base accordingly. Start with a smaller amount, say ½ cup, and adjust to your preference after blending. The more the merrier! Enjoy customizing your rainbow sherbet to fit your taste!
Homemade Rainbow Sherbet That's a Burst of Summer Flavor
Ingredients
Equipment
Method
- In a medium saucepan, gently heat 2 cups of heavy cream, 1 cup of whole milk, and 1 cup of granulated sugar over medium heat. Stir continuously until the sugar completely dissolves.
- Allow the mixture to cool to room temperature before transferring it to the refrigerator. Chill the base for at least 2 hours, or until it's completely cold.
- While the base is chilling, prepare the raspberry layer. Blend 2 cups of fresh or thawed raspberries with 1/4 cup of sugar until smooth. Strain the puree through a fine sieve, discarding the seeds.
- Once your base is chilled, pour it into an ice cream maker and churn until it reaches a soft-serve consistency.
- Divide the churned base into three equal parts in separate bowls. For the orange layer, mix 2/3 cup of fresh orange juice and orange zest into one part of the base. For the lime layer, use 1/3 cup of fresh lime juice and zest in another part. In the last portion, incorporate your prepared raspberry puree.
- In a freezer-safe container, start spooning the orange layer followed by the lime layer, and then the raspberry layer. Alternate each flavor and lightly swirl them together.
- Cover the container tightly and place it in the freezer for at least 4-6 hours, or until it becomes firm.
- Before serving, let the sherbet sit at room temperature for a few minutes to soften slightly and then scoop into bowls or cones.
Leave a Reply