
As the summer sun begins to warm up our days, the excitement of July festivities fills the air. I can almost hear the laughter of family and friends, gathered to celebrate Independence Day with a festive spread of delectable treats. That’s where my love for Red, White, and Blue Desserts comes in. These vibrant desserts are not only visually striking, but they’re also incredibly simple to whip up, making them a breeze for any gathering. From refreshing parfaits to mouthwatering ice cream cakes, every recipe shines with patriotic flair, ensuring you delight guests of all ages. Plus, I’ve included gluten-free options, so no one misses out on the fun! Are you ready to make your summer celebration unforgettable with these delightful desserts? Let’s dive in!
Why Choose Red, White, and Blue Desserts?
Simplicity at its best: Each dessert is designed to be straightforward, perfect for both novice and seasoned bakers.
Vibrant Presentation: With bold colors, these desserts are stunning centerpieces for any gathering.
Endless Variety: From creamy parfaits to festive ice cream cakes, there’s something to please everyone’s palate. You might also want to try these delicious Candy Corn White for a fun twist!
Crowd-Pleasing Flavors: A combination of sweet and fruity flavors that will delight both kids and adults alike.
Diet-Friendly Options: Many recipes offer gluten-free alternatives, ensuring no one is left out.
Make-Ahead Enchantment: Prepare these tasty treats in advance, saving you time on the day of your celebration!
Red, White, and Blue Dessert Ingredients
Get ready to gather all the essentials for your festive treats!
For the Base
- Vanilla Fudge – A creamy base that serves as a make-ahead centerpiece. Substitution: Use white chocolate for a different flavor.
- Gluten-Free Cake Mix – Base for gluten-free cupcakes and other desserts. Prep Note: Follow the package instructions closely for best results.
- Cookie Dough or Brownie Base – Forms the bottom layer of various dessert pizzas and individual servings. Substitution: Use a gluten-free mix for dietary restrictions.
For the Toppings
- Cool Whipped Topping – Light texture that adds decoration and creaminess. Substitution: Greek yogurt can be used for a healthier alternative.
- Cream Cheese – Adds richness to cheesecake-style desserts. Substitution: Use mascarpone for a lighter texture.
For the Layers
- Seasonal Berries (Strawberries/Blueberries) – Freshness and a burst of flavor complement desserts. Substitution: Any seasonal fruit can work.
- Jello – As a fun, colorful layer in desserts. Prep Note: Choose gelatin-free for vegetarian options.
For the Mix
- Popcorn with Colorful Candy – A crunchy, sweet, and salty mix that appeals to all ages. Prep Note: Use festive sprinkles for added visual appeal.
These Red, White, and Blue Dessert essentials will set the stage for a summer celebration bursting with flavor and fun! Grab your ingredients and let the festivities begin!
Step‑by‑Step Instructions for Red, White, and Blue Dessert
Step 1: Prepare the Base
Start by preheating your oven to 350°F (175°C). Depending on your chosen base, prepare either the vanilla fudge, gluten-free cake mix, or cookie dough according to package instructions. Pour the mixture into a greased baking pan and bake for approximately 25-30 minutes until golden and a toothpick inserted comes out clean. Allow the base to cool completely before adding layers, ensuring a sturdy foundation for your Red, White, and Blue Dessert.
Step 2: Create Colorful Layers
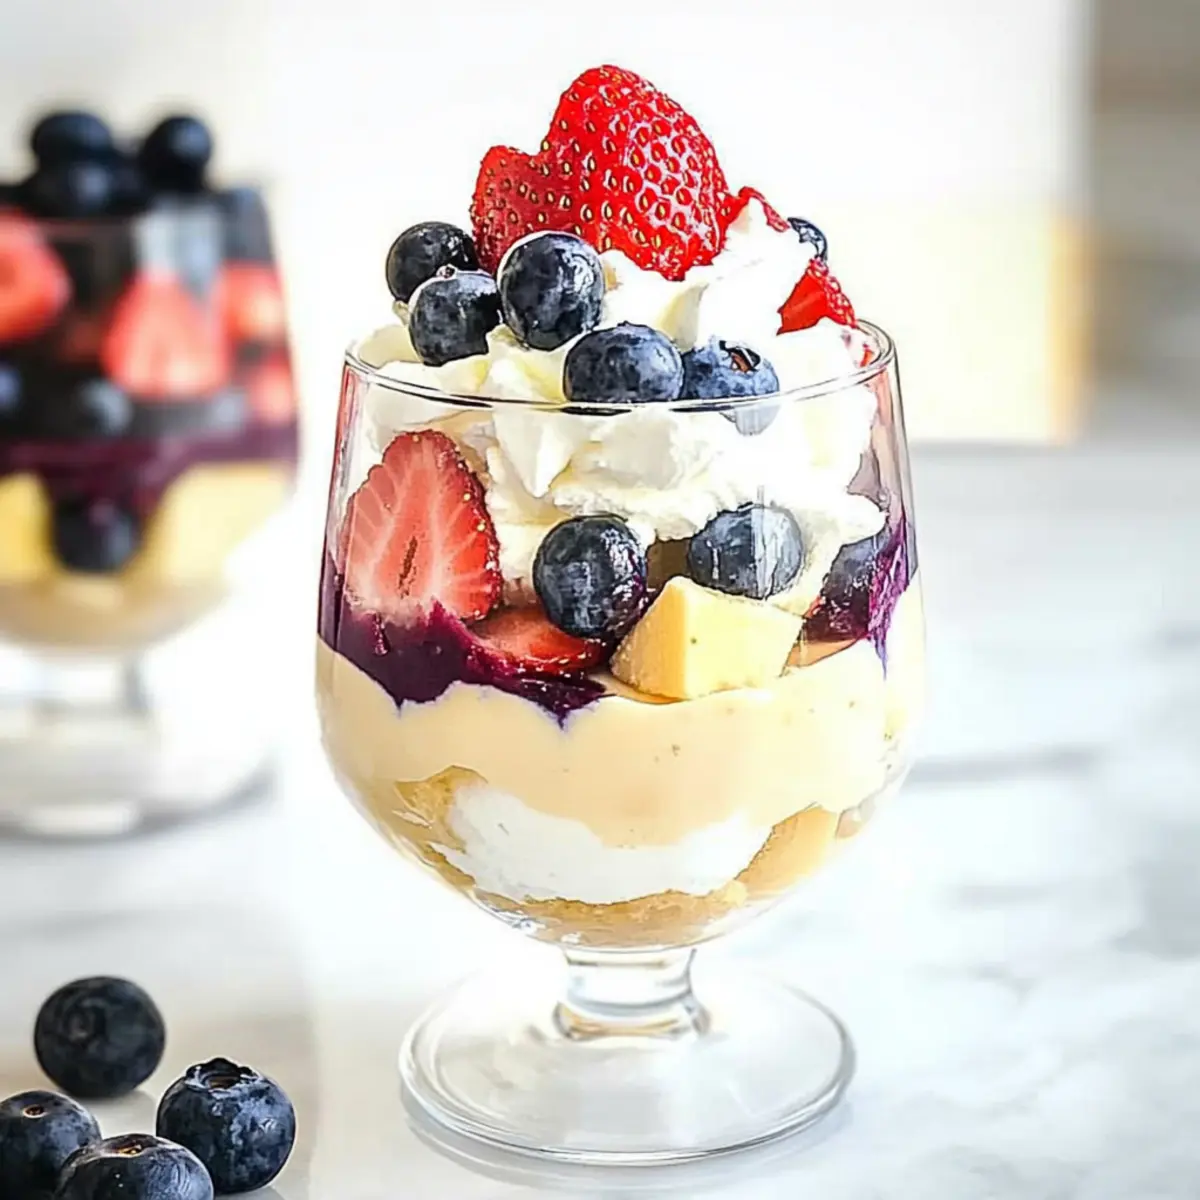
While the base cools, prepare your toppings and layers. If using Jello, mix it according to the package instructions and let it set in a flat dish. Meanwhile, wash and slice the fresh strawberries and blueberries. Once your Jello is firm, cut it into cubes. For a striking presentation, start layering in a clear glass or bowl—begin with a layer of the base, followed by cream cheese, Jello, and a sprinkle of berries.
Step 3: Whip Up the Toppings
In a mixing bowl, take the cool whipped topping or Greek yogurt and add it to a chilled bowl. Whip for about 3-5 minutes until fluffy and smooth. Fold in any remaining cream cheese if you want a richer texture. Once your mixture is light and airy, it’s time to layer it atop your desserts. This topping adds the perfect creamy contrast to the colorful layers while enhancing the festive look of your Red, White, and Blue Dessert.
Step 4: Assemble the Dessert
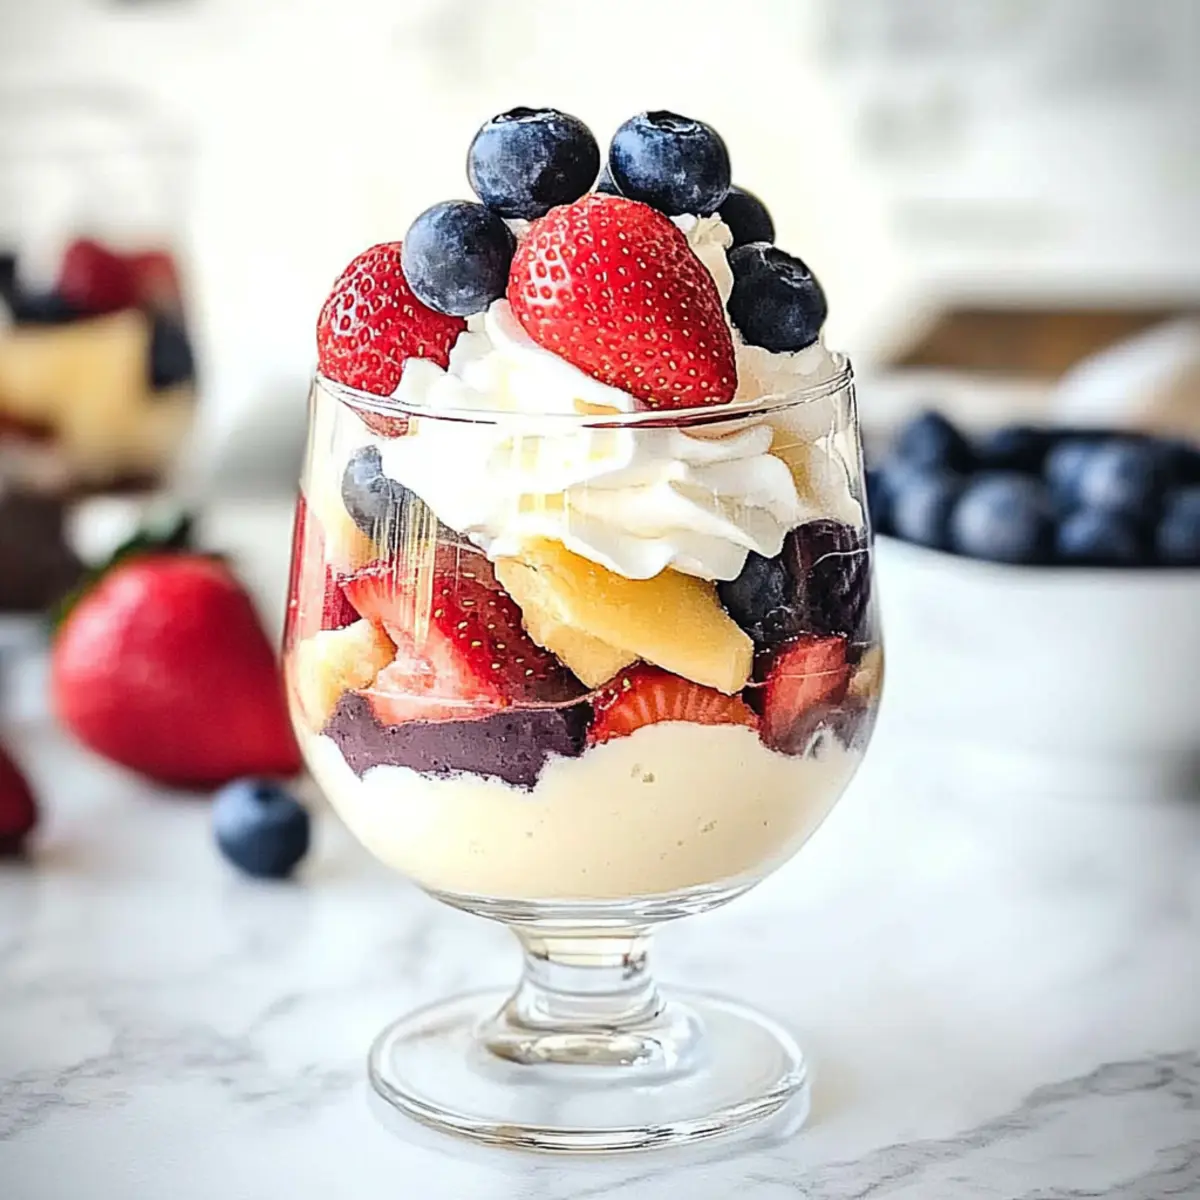
Now that all your components are prepared, it’s time to assemble your festive treats. In a clear cup or jar, alternate layers of dessert base, whipped topping, berries, and Jello. Aim for vibrant visibility with each layer showcasing the beautiful red, white, and blue colors. Press lightly after each addition to secure the layers. Repeat until cups are filled, leaving a little space at the top to add additional whipped topping.
Step 5: Decorate and Chill
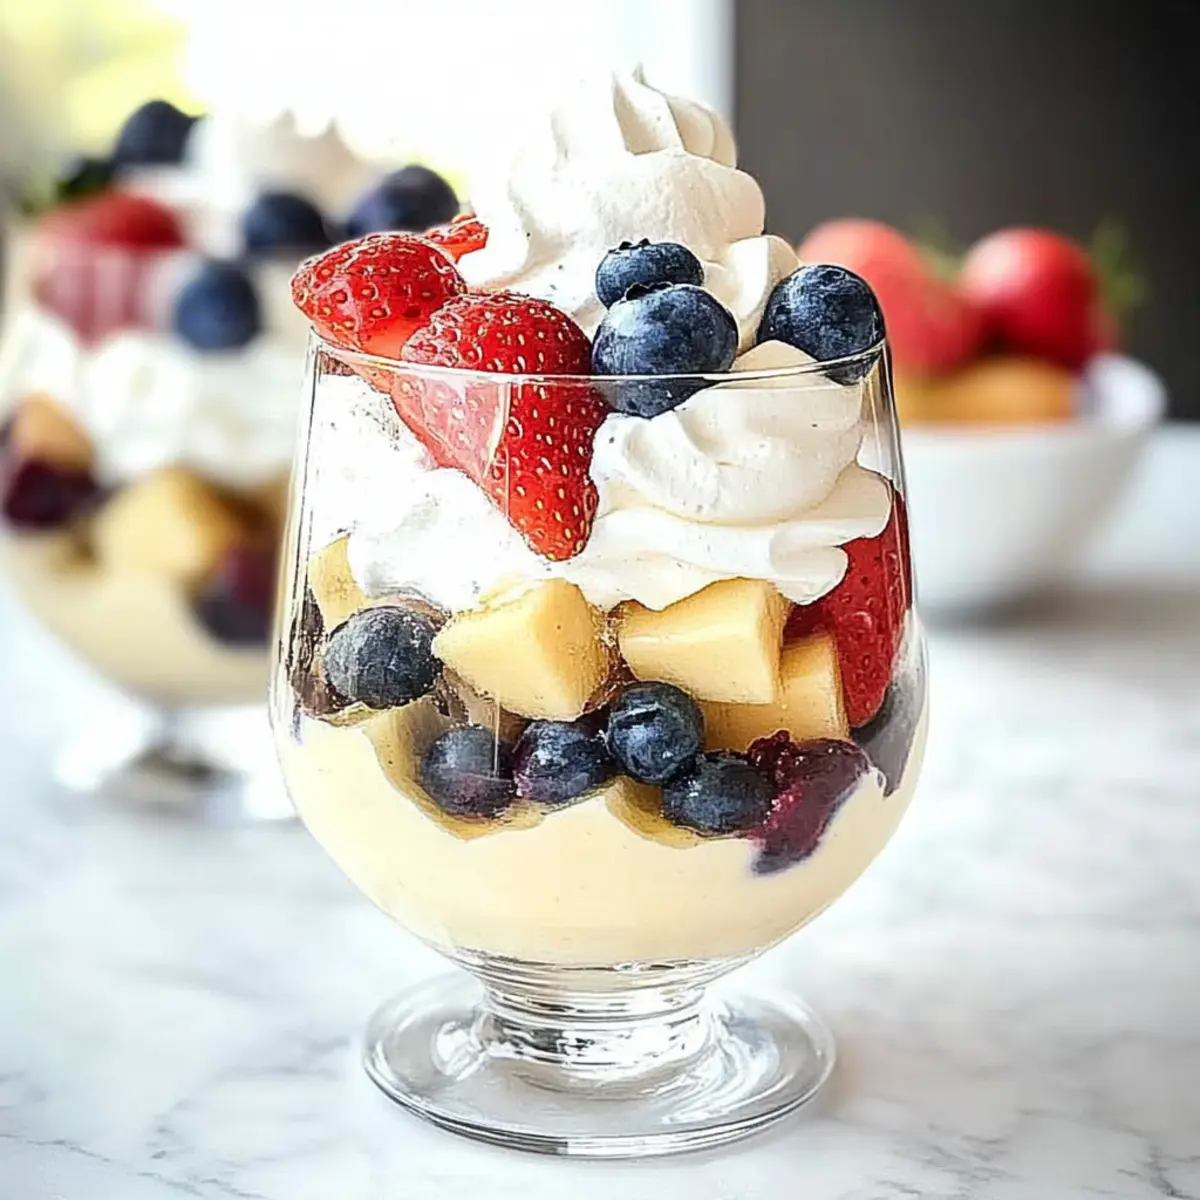
After assembling your Red, White, and Blue Desserts, take some extra berries and a sprinkling of festive candy or sprinkles to decorate the top. This adds a delightful visual appeal. Cover each dessert with plastic wrap or a lid and refrigerate for at least 2 hours. Chilling allows the flavors to meld and provides a refreshing treat when served, ensuring a perfect summer experience.
Step 6: Serve and Enjoy
Once chilled, take your assembled desserts out of the refrigerator. Remove the plastic wrap or lids and serve immediately to your eager guests. These vibrant Red, White, and Blue Desserts are perfect for summer celebrations, offering a delightful blend of tastes and textures that will enchant both kids and adults alike. Delight in the festive spirit while sharing these homemade treats!
Red, White, and Blue Dessert Variations
Feel free to unleash your creativity and customize these delightful desserts to match your tastes and dietary needs!
-
Chocolate Twist: Swap vanilla fudge for chocolate fudge for a decadent flavor enhancement. Chocolate brings a rich depth, balancing beautifully with the fruity layers.
-
Berry Fusion: Use a mixture of raspberries and blackberries to add a vibrant color contrast that’s both eye-catching and delicious. The tartness of these berries plays wonderfully against the creaminess of the toppings.
-
Zesty Refreshment: Trade the traditional cake for a zesty lemon cake for a refreshing twist. The citrus notes will brighten the overall flavor while maintaining that beautiful patriotic aesthetic.
-
Nut-Free Delight: Replace nuts in any of your recipes with seeds like sunflower or pumpkin for a safe alternative that’s just as satisfying. These swaps make it friendly for individuals with nut allergies.
-
Crumbly Texture: For an extra crunch, consider adding a layer of crumbled graham crackers or crushed cookies between the layers. This will enhance the texture and create a delightful contrast.
-
Frozen Treats: Transform these desserts into popsicles by blending the layers and pouring them into molds. This option is perfect for those hot summer days! Kids and adults alike will love enjoying these festive frozen treats.
-
Dairy-Free Option: Use coconut cream instead of cool whipped topping for a lush, dairy-free alternative. It brings a subtle coconut flavor, adding an extra layer of deliciousness.
Take your dessert experience further by pairing these treats with a refreshing drink, like a homemade strawberry lemonade, or serve alongside a luscious Fall Pumpkin Dessert. Enjoy experimenting with these variations!
Expert Tips for Red, White, and Blue Dessert
-
Temperature Matters: Ensure ingredients are at room temperature for optimal mixing. Cold ingredients can lead to lumpy textures in your Red, White, and Blue Dessert.
-
Color Contrast: For vibrant layers, choose berries that contrast well with the topping colors. Combining strawberries with blueberries creates an eye-catching display.
-
Prepping Ahead: Make bases like fudge or cake a day in advance. This saves time on the day of your celebration while enhancing flavors.
-
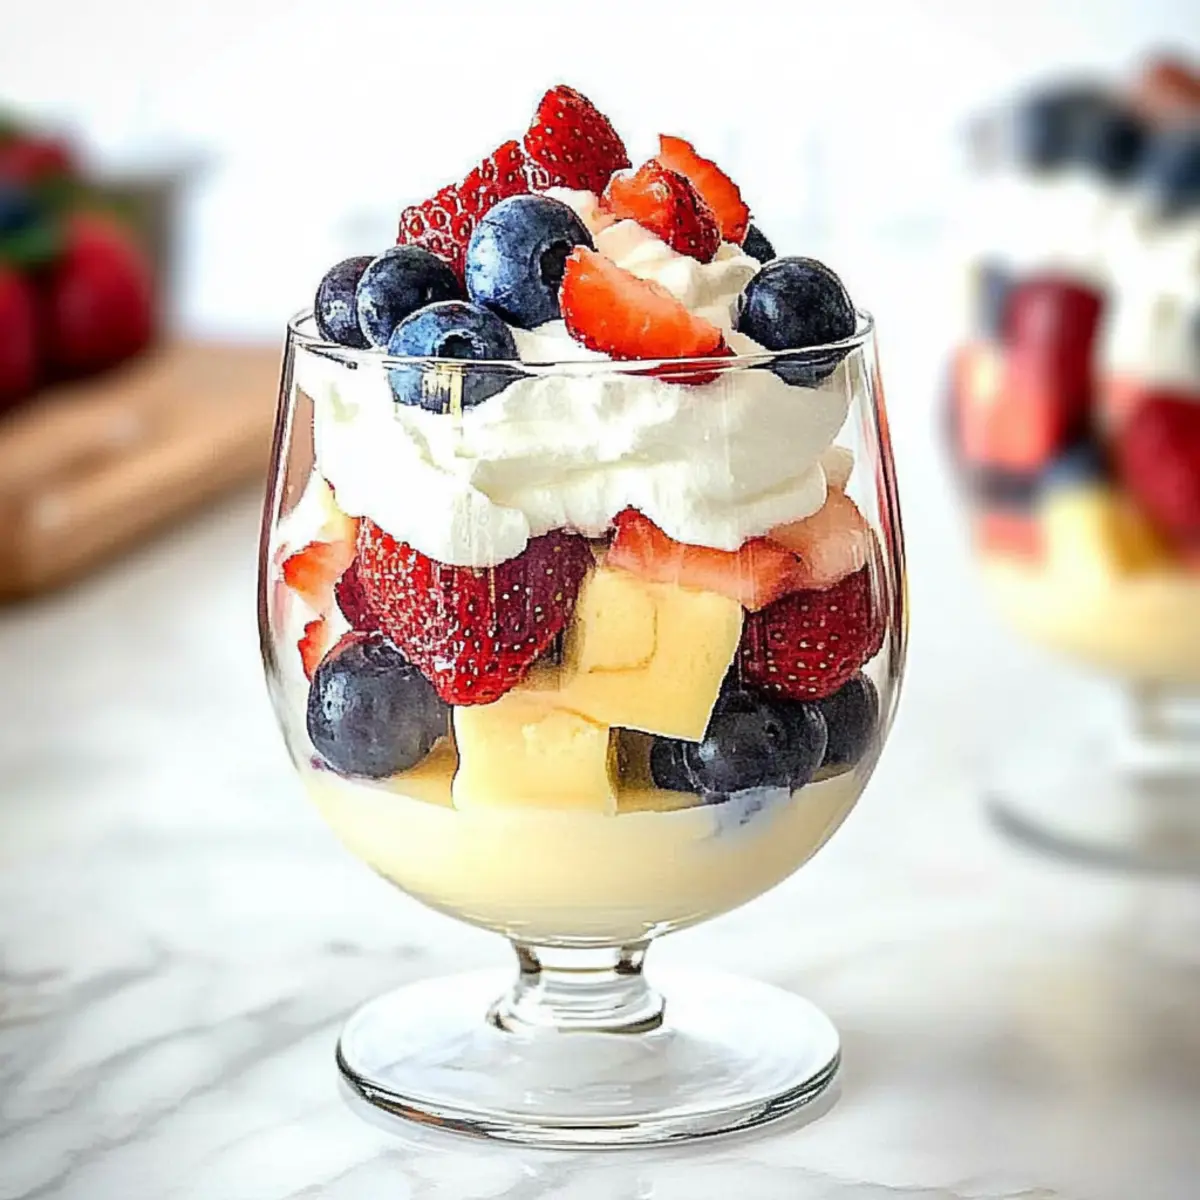
Layering Technique: For parfaits, layer ingredients in transparent containers to beautifully showcase those patriotic colors.
-
Chill for Perfection: Refrigerate assembled desserts for at least two hours to achieve that refreshing, creamy texture, then serve chilled.
How to Store and Freeze Red, White, and Blue Desserts
Fridge: Store assembled desserts in an airtight container for up to 3 days. This keeps them fresh and vibrant for your summer celebrations.
Freezer: You can freeze individual layers or components for up to 1 month. Just remember to wrap them well to prevent freezer burn!
Reheating: If you’ve frozen a base, let it thaw in the fridge overnight. For warm bases, reheat gently in the oven at 350°F until warmed through.
Make-Ahead Tip: Many components of your Red, White, and Blue Dessert can be prepared in advance. Just assemble closer to serving time for the best texture!
What to Serve with Red, White, and Blue Desserts?
Summer celebrations deserve delightful pairings that enhance your festive treats.
-
Grilled Corn on the Cob: The smoky sweetness of charred corn is the perfect contrast to sweet desserts. It’s a summer classic that everyone loves!
-
Berry Sorbet: A refreshing, light dessert that echoes your red, white, and blue theme while cleansing the palate between servings.
-
Refreshing Lemonade: A tart and sweet drink, lemonade adds a zesty twist that balances the richness of creamy desserts. Serve it iced for a cooling effect!
-
Caprese Salad Skewers: Juicy tomatoes, fresh basil, and mozzarella drizzled with balsamic glaze provide a savory sharpness. The colors also fit the red, white, and blue vibe!
-
Mini Fruit Pizzas: These bite-sized treats, topped with fruit and a cream cheese layer, mirror the vibrant theme while offering a crunchy texture.
-
Chocolate-Dipped Pretzels: Combining salty and sweet, these create a delightful snack alongside sweet desserts. Plus, they add a fun crunch!
-
Peach Iced Tea: A subtly sweet beverage that complements the fruity flavors of your desserts, peach iced tea is a summertime favorite that refreshes and delights.
-
Fireworks Popcorn: Drizzle melted chocolate and sprinkle festive red and blue candies over popcorn for a sweet treat. It’s both fun and flavorful, perfect for celebrating!
These delightful pairings will ensure your summer gathering radiates joy and flavor as you serve up those vibrant Red, White, and Blue Desserts!
Make Ahead Options
These delightful Red, White, and Blue Desserts are perfect for meal prep enthusiasts! You can prepare the base—whether it’s the vanilla fudge, gluten-free cake, or cookie dough—up to 24 hours in advance, ensuring a solid foundation. Additionally, the layered components, such as the Jello and sliced berries, can be prepped up to 3 days ahead and stored in airtight containers in the refrigerator to maintain freshness. When you’re ready to serve, simply assemble the layers with your toppings and let them chill for at least 2 hours to meld the flavors. This prep-ahead strategy saves you valuable time on celebration day while still delivering just as delicious results!
Red, White, and Blue Dessert Recipe FAQs
How do I select ripe seasonal berries for my dessert?
When choosing strawberries and blueberries, look for firm, plump fruit with vibrant colors. Strawberries should be bright red with their green leaves intact and slightly fragrant. Blueberries should be deep blue; avoid any with white or grayish spots, which indicate overripeness. If the berries are soft or have dark spots all over, it’s best to skip them!
What’s the best way to store my assembled Red, White, and Blue Desserts?
Store your desserts in an airtight container in the refrigerator for up to 3 days. This keeps their flavors fresh while maintaining the beautiful colors. If you prepare the base and layers separately, they can last in the fridge for up to 4 days. Just remember to assemble closer to your gathering for the best taste and texture!
Can I freeze my Red, White, and Blue Desserts? If so, how?
Absolutely! You can freeze individual layers or components for up to 1 month. To do this, wrap layers in plastic wrap or foil, then place them in a freezer-safe bag. When you’re ready to enjoy, allow them to thaw in the fridge overnight. If you’ve frozen a base, reheat gently in the oven at 350°F until warmed through. This method ensures you can enjoy the delight of red, white, and blue treats even after the festivities!
What should I do if my cream cheese layer is too thick?
If your cream cheese mixture is too thick, try adding a splash of milk or a dollop of whipped cream to lighten it up! Be sure to mix thoroughly until you reach your desired texture. This allows the cream to incorporate better into your Red, White, and Blue Dessert, creating a smoother, more enjoyable layer.
Are there any dietary restrictions I should consider when making these desserts?
Definitely! Many of these recipes offer gluten-free options, especially with the substitution of gluten-free cake mixes or cookie dough. If you want to accommodate vegetarians, opt for gelatin-free Jello. Additionally, if you’re serving kids or guests with allergies, check for allergies to berries or dairy. I often make the cream layer with Greek yogurt, which is a healthier alternative and often works for those trying to cut down on sugar!
How long can I prepare these desserts in advance?
You can certainly make many components ahead of time! The base, like vanilla fudge or cakes, can be made a day or two in advance to save time, while the toppings can be whipped and stored until assembly time. This preparation allows flavors to meld beautifully. Assemble and chill your finished dessert at least 2 hours before serving for the best presentation and taste!
Delicious Red, White, and Blue Dessert Ideas for Summer Fun
Ingredients
Equipment
Method
- Prepare the Base: Preheat oven to 350°F (175°C). Prepare your chosen base and bake for 25-30 minutes. Allow to cool completely.
- Create Colorful Layers: Prepare toppings and layers while base cools. Mix Jello and let it set. Slice fresh strawberries and blueberries.
- Whip Up the Toppings: Whip the cool whipped topping or Greek yogurt. Fold in cream cheese if desired.
- Assemble the Dessert: In a clear cup, layer base, topping, berries, and Jello. Repeat until filled.
- Decorate and Chill: Top with extra berries and sprinkles, then refrigerate for at least 2 hours.
- Serve and Enjoy: Remove from fridge, serve to guests, and enjoy the festive flavors!
Leave a Reply