
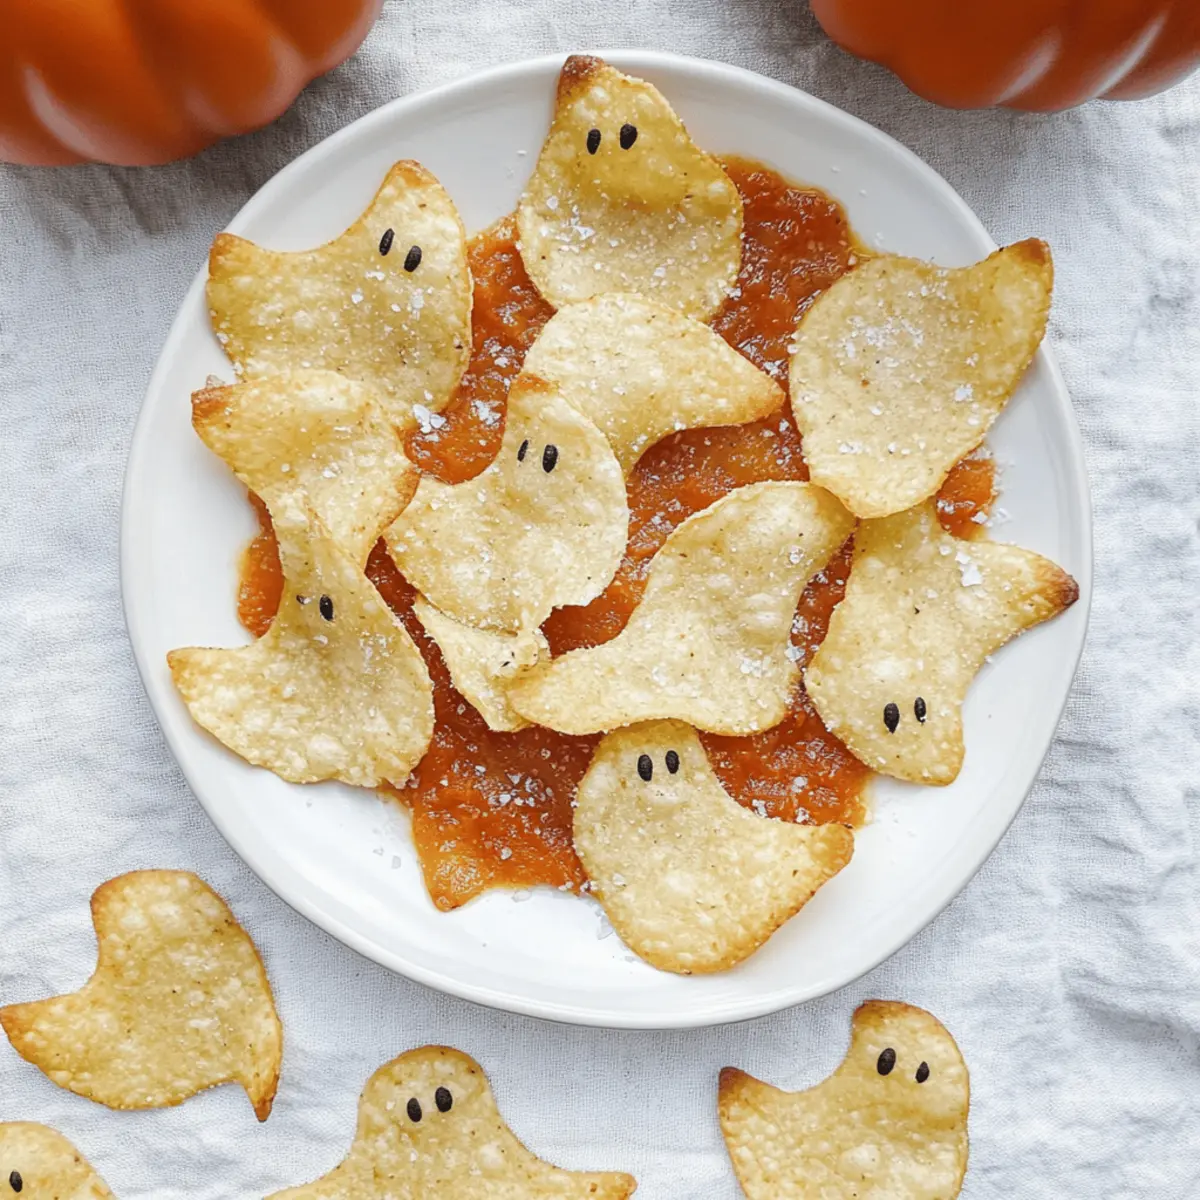
As I sift through the vibrant hues of fall, a giddy anticipation fills the air—Halloween is just around the corner! There’s something incredibly satisfying about creating spooky treats that not only delight the eyes but also satisfy those crunchy cravings. Enter my Spooky Baked Halloween Chips, a playful snack that comes together in just 15 minutes with only three simple ingredients. These chips are not only gluten-free and paleo-friendly but also a fun way to get creative in the kitchen. You can cut them into whimsical ghost shapes and enjoy their crispy texture as a perfect companion to your favorite dips. Whether you’re hosting a Halloween bash or simply snacking with your family, these chips will surely spark joy and smiles. So, are you ready to bring a little crunch to your Halloween celebrations?
Why are Halloween Chips a Must-Make?
Quick & Easy: You can whip up these Spooky Baked Halloween Chips in just 15 minutes! Perfect for busy schedules or last-minute party prep.
Delightful & Fun: Shaped like ghosts, they’re guaranteed to be a hit with both kids and adults, adding a playful twist to your Halloween festivities.
Versatile Ingredients: With only three ingredients, these chips cater to various dietary preferences, including gluten-free and paleo. Try swapping out tortillas or get creative with spices!
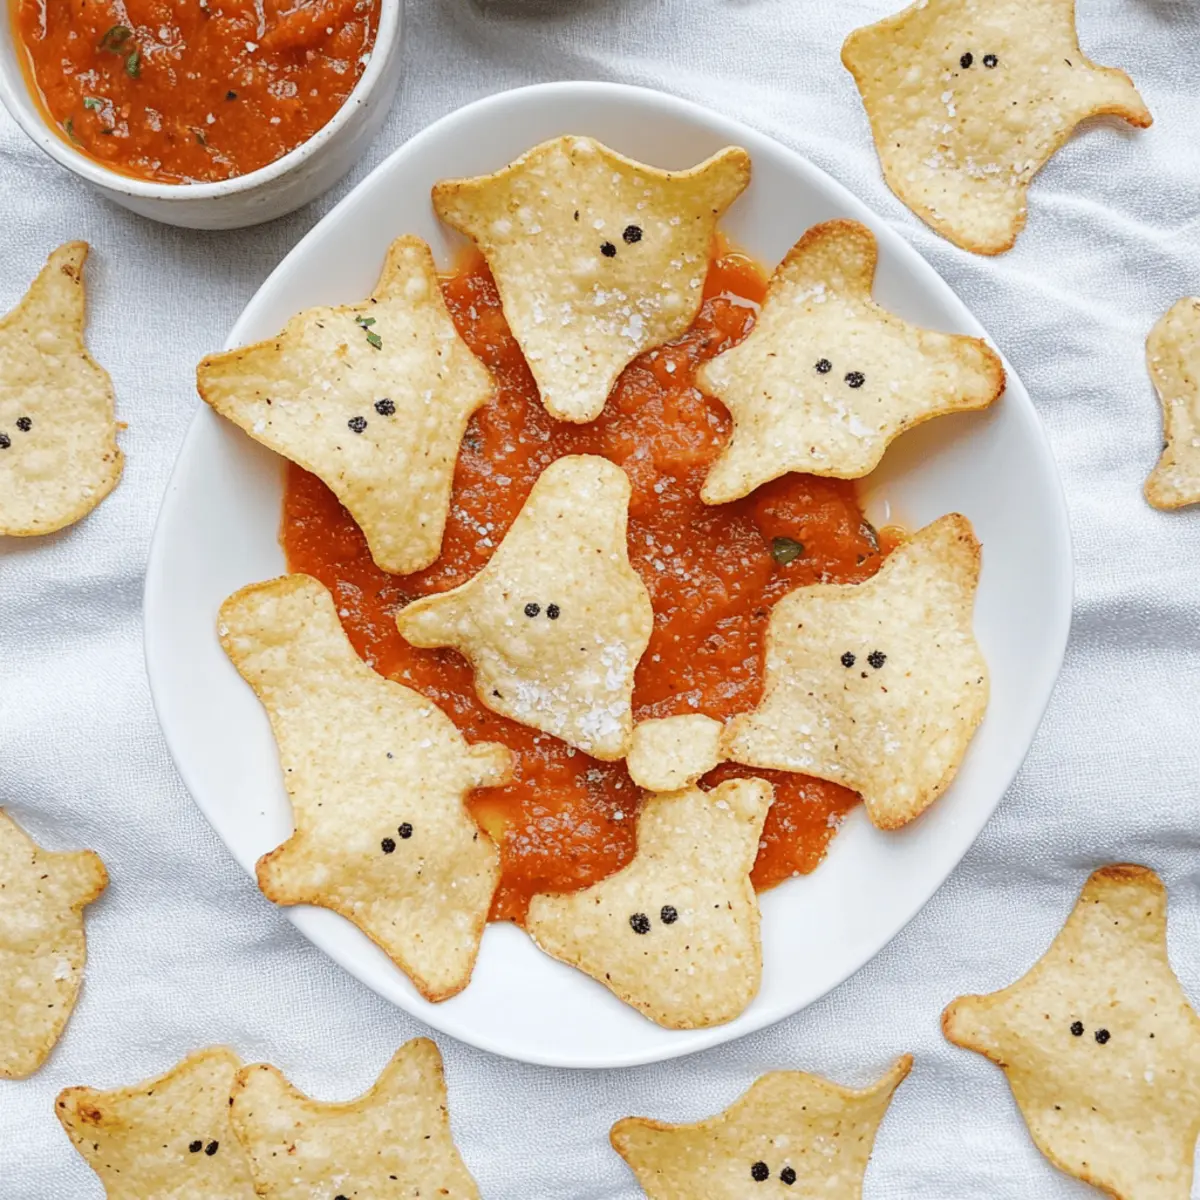
Perfect Crunch: Crispy, light, and crunchy, they bring the best of both worlds—fun visuals and satisfying textures. Ideal for snacking or as an accompaniment to dips like guacamole or salsa.
Crowd-Pleaser: These chips will steal the show at any gathering, making them a stellar addition to your Halloween table, alongside other treats like Halloween Witch Cookies or Baked Pumpkin Goat.
Spooky Baked Halloween Chips Ingredients
For the Chips
• Tortillas – Use flour or corn tortillas as the base; substitute with gluten-free tortillas like Mission or Siete for a safe snacking option.
• Oil – Brush with 100% avocado oil or olive oil to enhance crispiness and flavor.
• Salt – Sprinkle for that perfect flavor boost; feel free to experiment with additional seasonings!
Enjoy creating these delightful Spooky Baked Halloween Chips and let your imagination take flight!
Step‑by‑Step Instructions for Spooky Baked Halloween Chips
Step 1: Preheat the Oven
Begin by preheating your oven to 350°F (175°C). This temperature is crucial for achieving that perfect crispiness in your Spooky Baked Halloween Chips. While the oven warms, gather your cookie cutters and baking sheets, and line the sheets with parchment paper for easy cleanup.
Step 2: Cut the Tortillas
Once the oven is preheated, take your tortillas and use a ghost-shaped cookie cutter to create playful shapes. Feel free to get creative and mix different sizes! Aim for about 8-10 shapes per tortilla, ensuring you maximize your snacks while minimizing waste. Set the cut tortillas aside.
Step 3: Brush with Oil
With the tortilla shapes ready, lightly brush each piece with your choice of oil, ideally 100% avocado or olive oil. This step not only enhances crispiness but also adds delightful flavor to your Spooky Baked Halloween Chips. Be sure to coat both sides for even baking.
Step 4: Season the Chips
Sprinkle a pinch of salt over each oil-brushed tortilla shape, distributing it evenly for a balanced flavor. If you’re feeling adventurous, this is a great time to add extra seasonings like paprika or garlic powder. Place the seasoned shapes on your lined baking sheet, ensuring they don’t overlap.
Step 5: Bake Until Crispy
Now, it’s time to bake! Slide the baking sheet into your preheated oven and let the chips bake for 5-7 minutes. Keep a close eye on them as they can turn golden quickly. Look for a light golden color and a delightful crunch indicating they are done.
Step 6: Cool Before Serving
Once baked, remove your Spooky Baked Halloween Chips from the oven and let them cool on the baking sheet for a few minutes. This cooling period helps them maintain their crispiness. Serve them immediately or transfer them to a plate, ready for snacks or dips!
Step 7: Store Any Leftovers
If you happen to have leftovers (which is rare!), let them cool completely and store them in an airtight container at room temperature. While they are best enjoyed the same day, they can stay fresh for up to 1-2 days. Enjoy your spooky snack!

What to Serve with Spooky Baked Halloween Chips
Elevate your Halloween snacking experience with these delightful chips that complement a variety of festive flavors and textures!
- Guacamole: The creaminess of guacamole contrasts beautifully with the crunch of the chips, creating a satisfying snack duo.
- Salsa: Fresh and zesty salsa adds a burst of flavor that enhances the chips’ lightness, making every bite a fiesta.
- Pumpkin Chili: This hearty dish pairs wonderfully, offering warmth and depth that balances the playful spirit of the chips.
- Creamy Spinach Dip: A rich spinach dip adds indulgence, creating a deliciously smooth and savory experience alongside the chip’s crunch.
- Cheesy Queso: The velvety texture of queso brings a touch of indulgence that kids and adults alike will enjoy. It’s a perfect party favorite!
- Fresh Vegetable Platter: Crisp, colorful veggies offer a refreshing crunch that elevates your snack spread, balancing flavors beautifully.
- Mocktails: Serve fun, colorful beverages like pumpkin spice soda or apple cider to keep the Halloween spirit alive in every sip.
- Caramel Apples: For a sweet finish, these classic treats add a delightful contrast to the savory chips—sweet, chewy, and irresistibly fun!
- Chocolate-covered Pretzels: A sweet-and-salty combo that makes for an exciting treat, perfectly rounding off your spooky snack assortment.
- Halloween-themed Cupcakes: End on a sweet note with festive cupcakes that will delight guests and bring joy to your Halloween gathering.
Expert Tips for Spooky Baked Halloween Chips
• Tortilla Type Matters: Choosing flour tortillas may yield better chip shapes with fewer scraps than corn tortillas, which can break more easily.
• Oil Options: For the best flavor and crunch, stick to high-quality oils like avocado or olive oil. Avoid using oils that have low smoke points.
• Seasoning Boost: Don’t be shy! Experiment with your favorite spices—add garlic powder, chili powder, or even nutritional yeast for cheesy flavor without the cheese.
• Watch the Bake Time: Keep a close eye on your chips while baking; they can go from perfect to burnt in just a minute!
• Perfect Storage: For optimal freshness of your Spooky Baked Halloween Chips, store them in an airtight container at room temperature and consume within 1-2 days.
Make Ahead Options
These Spooky Baked Halloween Chips are ideal for busy home cooks looking to save time during the festive season! You can cut the tortillas into ghost shapes and brush them lightly with oil up to 24 hours in advance. Store the prepared tortilla shapes in an airtight container in the refrigerator to maintain their freshness. When you’re ready to serve, simply sprinkle with salt, bake at 350°F (175°C) for 5-7 minutes, and enjoy the same crispy, delightful texture as if they were made fresh! This prep-ahead method allows you to spend more time enjoying the festivities without sacrificing quality.
How to Store and Freeze Spooky Baked Halloween Chips
Room Temperature: Store leftover Spooky Baked Halloween Chips in an airtight container at room temperature for up to 1-2 days to maintain their crispiness.
Fridge: If you prefer, you can refrigerate the chips in an airtight container, but this may affect their crunchiness—consume within a day for the best experience.
Freezer: These chips aren’t ideal for freezing due to their texture. However, if you must freeze, place them in a freezer-safe bag, ensuring as much air is removed as possible, and use within a month.
Reheating: To restore crispiness, reheat baked chips in the oven at 350°F (175°C) for about 5 minutes before serving.
Spooky Baked Halloween Chips: Customization Ideas
Feel free to sprinkle your own magic on these delightful chips—let’s turn up the creativity in your kitchen!
- Flavor Boost: Add spices like chili powder or paprika to the oil before brushing for a savory kick. These simple tweaks bring a whole new depth to your chips.
- Gluten-Free Delight: Swap regular tortillas for gluten-free options like those from Siete or Mission, ensuring everyone can join in on the fun. It’s a thoughtful swap that keeps the spirit alive for those with dietary restrictions.
- Cheesy Twist: Sprinkle nutritional yeast over your chips before baking for a cheesy flavor without dairy. It adds a nutty richness and is perfect for spice lovers.
- Veggie Power: Use colored tortillas made from spinach or beet to create visually striking chips. Different colors can evoke a vibrant Halloween ambiance while adding a slight flavor twist.
- More Crunch: Crush leftover chips into crumbs and mix with your spices for a flavorful topping. Use these crumbs over your favorite fall soups, like Pumpkin Chili, for an added crunch.
- Sweet Option: For a dessert twist, sprinkle cinnamon sugar on the chips before baking. The sweet and savory combo will surprise and delight your guests at any Halloween gathering!
- Heat It Up: Add a pinch of cayenne pepper to the salt before seasoning for those who love a fiery kick. A little heat can make your snack way more exciting!
These Spooky Baked Halloween Chips are just a stepping stone for endless creativity—try pairing them with dips like guacamole or a creamy salsa, or for something seasonal, serve them alongside Baked Pumpkin Goat for an unforgettable fall feast!
Spooky Baked Halloween Chips Recipe FAQs
What type of tortillas should I use for the chips?
Absolutely! For the best results, I recommend using flour tortillas, as they tend to yield better shapes and less waste. If you need a gluten-free option, brands like Mission or Siete offer excellent substitutes.
How should I store leftover Spooky Baked Halloween Chips?
To maintain their delicious crunch, store any leftover chips in an airtight container at room temperature. They can last for up to 1-2 days, but I’ve found they are best enjoyed the same day they are made!
Can I freeze Spooky Baked Halloween Chips?
While I don’t usually recommend freezing these chips because it affects their wonderful crunch, you can do so if you must. Place them in a freezer-safe bag, removing as much air as possible, and store for up to a month. When you’re ready to enjoy, simply reheat them in an oven at 350°F (175°C) for about 5 minutes to restore their crispy goodness.
What should I do if my chips burn while baking?
Very easily done! Keep a watchful eye during baking as chips can turn from golden to burnt quickly. If your oven runs hot, try reducing the bake time or lowering the temperature slightly. A good tip is to check them around the 5-minute mark!
Are these chips safe for pets or people with allergies?
Good question! These Spooky Baked Halloween Chips are made from tortillas, oil, and salt, which are generally safe for most dogs in moderation. However, always ensure there are no allergens in the specific brands of tortillas you choose. If anyone in your home has gluten or soy allergies, stick to certified gluten-free tortillas and check the ingredients carefully.
Crispy Spooky Baked Halloween Chips in Just 15 Minutes
Ingredients
Equipment
Method
- Preheat the oven to 350°F (175°C) and prepare your baking sheets with parchment paper.
- Cut the tortillas into ghost shapes using a cookie cutter.
- Brush both sides of the tortilla shapes with oil.
- Sprinkle salt evenly over the oil-brushed tortillas.
- Bake in the preheated oven for 5-7 minutes until golden and crispy.
- Allow the chips to cool for a few minutes before serving.
- Store any leftovers in an airtight container.
Leave a Reply