
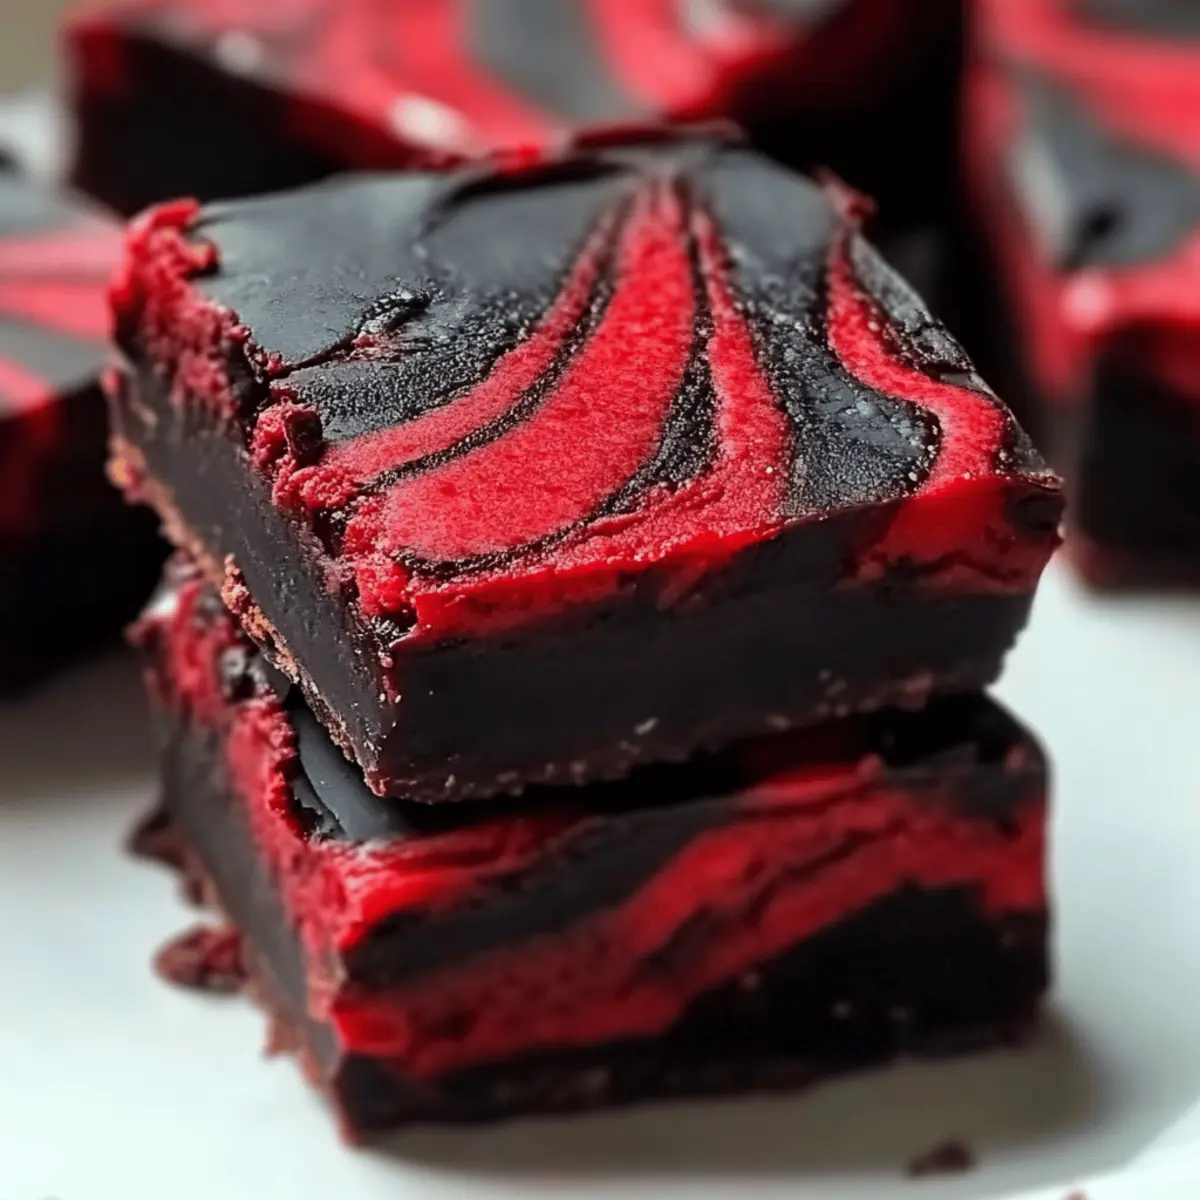
As I unwrapped the parchment paper revealing my latest Halloween masterpiece, the deep, dark chocolate glowed like a full moon against the vibrant raspberry swirls. This Vampire Fudge is not just any treat; it’s a whimsical delight that brings together two worlds—rich chocolate and a playful hint of fruity “blood.” With just three simple ingredients, this no-bake Halloween fudge stands out as a crowd-pleaser at parties and bake sales alike, making it perfect for anyone eager to impress without the fuss. Plus, it’s vegetarian-friendly and totally customizable, so you can add your twist to the chilling effect. Are you ready to conjure some festive treats that will keep your guests talking long after the last bite?
Why is Vampire Fudge a must-try?
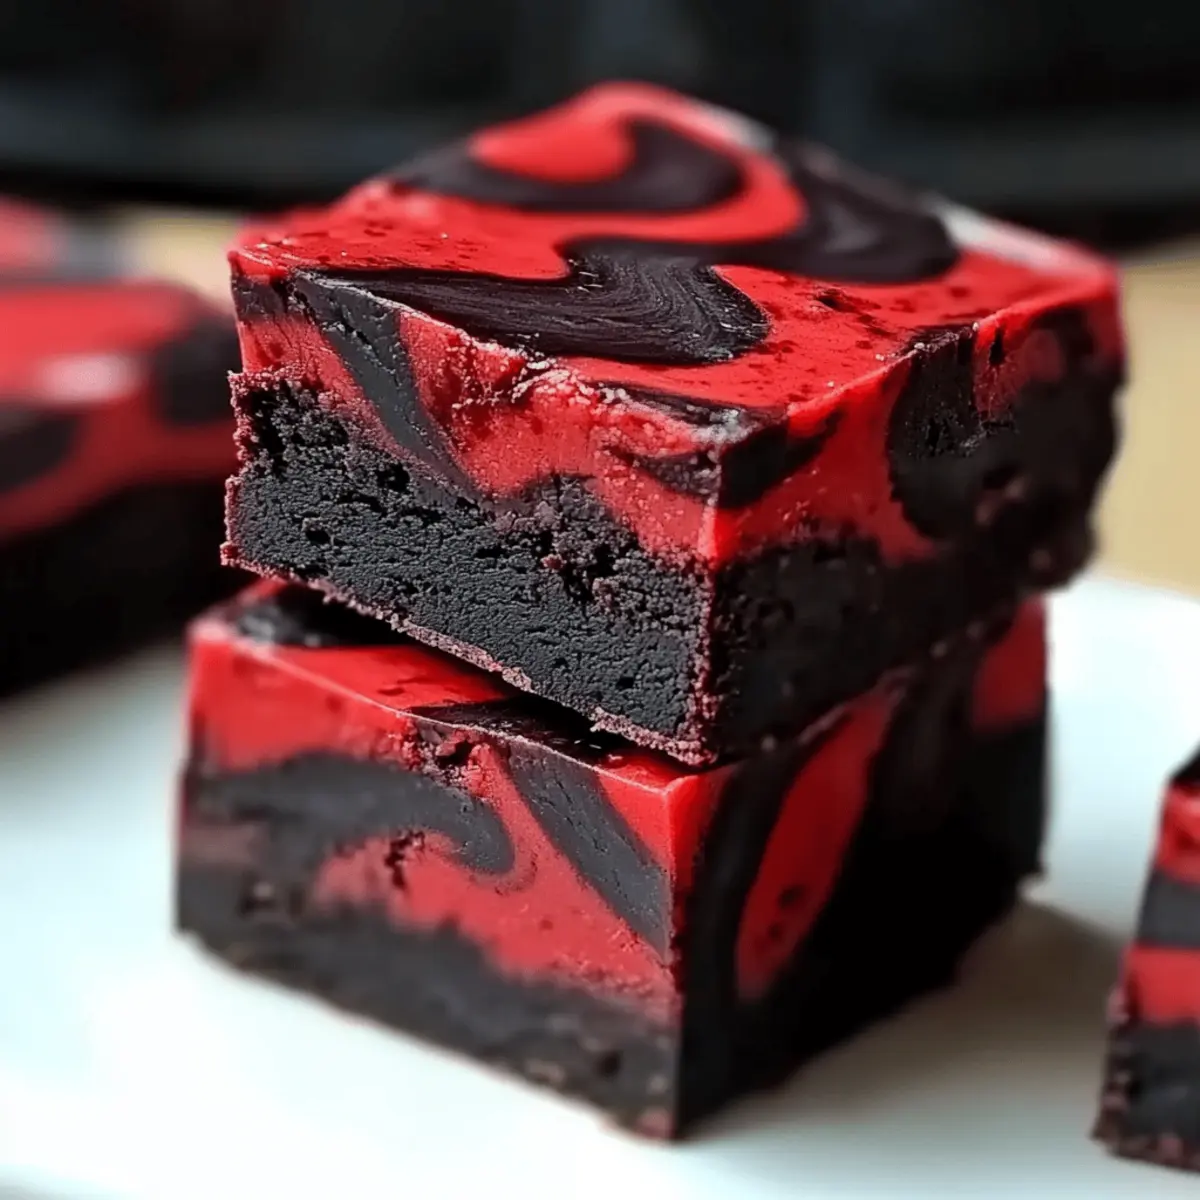
Irresistible Texture: The creamy, smooth fudge melts in your mouth, creating a luxurious experience that is hard to resist.
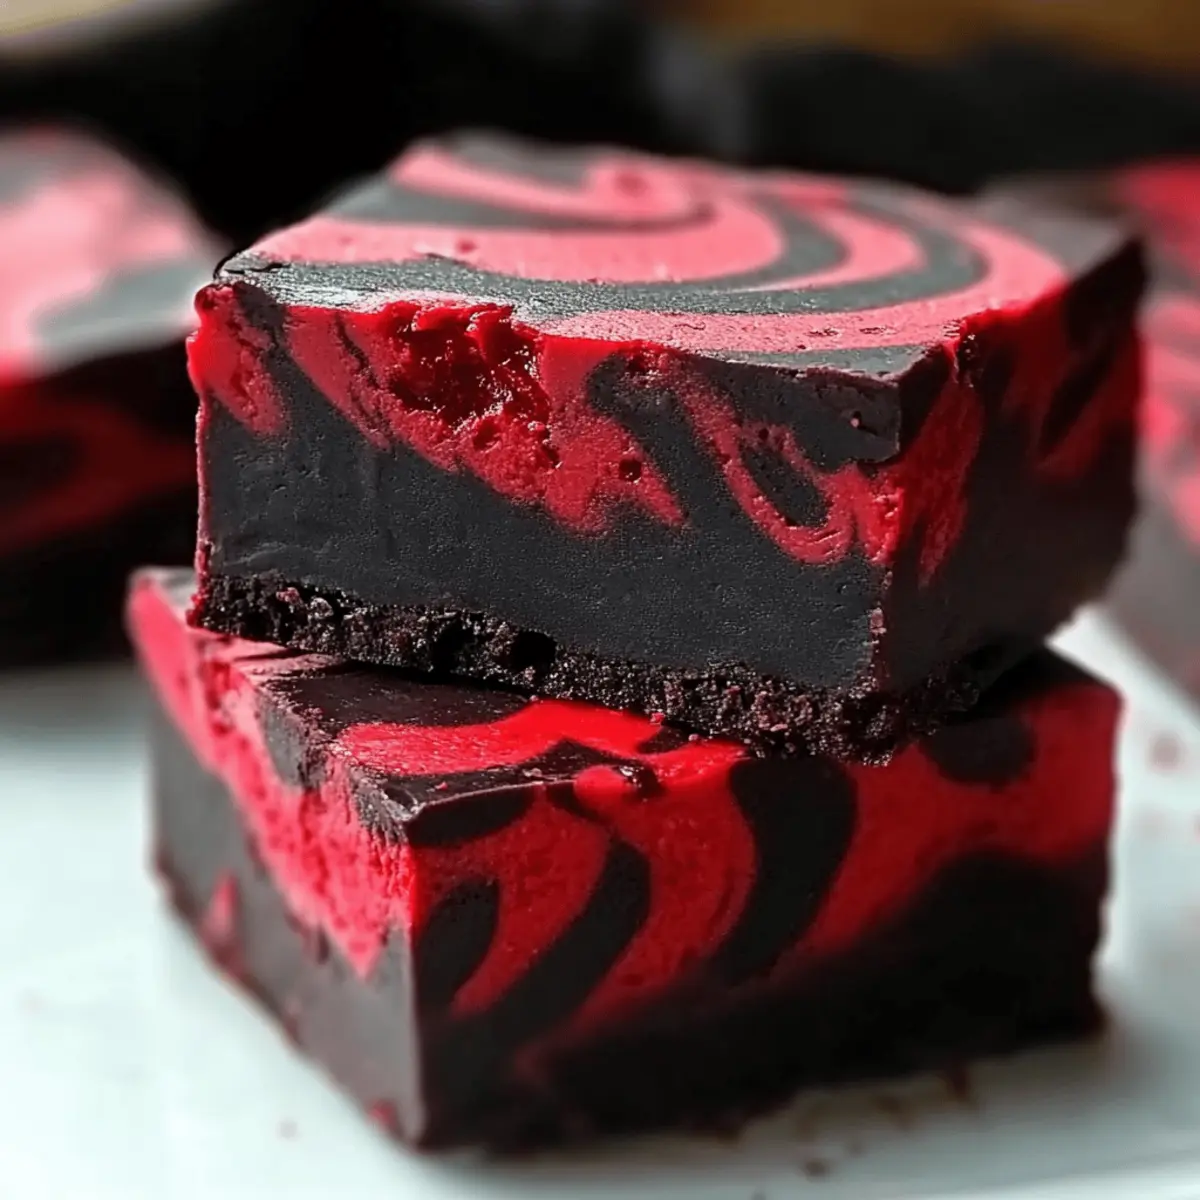
Boo-worthy Presentation: With its dark chocolate base and vibrant raspberry swirls, it’s not just a treat; it’s a showstopper on any dessert table.
Quick and Easy: You’ll love that it comes together in minutes with only three ingredients—perfect for busy bakers or anyone dreading the hassle of elaborate desserts.
Crowd-Pleasing Flavor: The rich chocolate paired with tart raspberry makes it a flavor bomb that appeals to both kids and adults alike.
Versatile Treat: Feel free to experiment with different jams or even chocolate types, allowing you to personalize your fudge to fit every spooky celebration. For extra inspiration, check out other Halloween desserts or easy no-bake recipes.
Vampire Fudge Ingredients
• Here’s everything you’ll need for your spooky treat!
For the Fudge Base
- Semi-Sweet Chocolate Chips – This ingredient provides a rich, deep chocolate flavor; opt for high-quality chips for the best results.
- Sweetened Condensed Milk – Adds creaminess and acts as the binding agent for your fudge; be careful not to overheat it to maintain smoothness.
For the Bloody Swirl
- Raspberry Jam or Preserves – Creates those haunting “blood” swirls; warm it slightly for better drizzle consistency.
Feel inspired to whip up a batch of this Vampire Fudge? It’s a deliciously simple way to celebrate the spooky season with style!
Step‑by‑Step Instructions for Vampire Fudge
Step 1: Prepare the Pan
Begin by lining an 8×8-inch square pan with parchment paper, allowing some overhang on the edges for easy removal later. This ensures that your Vampire Fudge won’t stick and will come out beautifully when it’s time to slice. Set the pan aside as you move on to the fudge mixture.
Step 2: Melt the Chocolate Mixture
In a medium saucepan over low heat, combine semi-sweet chocolate chips and sweetened condensed milk. Stir continuously until the chocolate chips are fully melted and the mixture is smooth, which should take about 5–7 minutes. Alternatively, you can melt the mixture in the microwave in 30-second intervals, stirring in between until everything is incorporated.
Step 3: Pour Into the Pan
Once the chocolate mixture in your Vampire Fudge is velvety and well-combined, pour it into the prepared pan. Using a spatula, gently spread the mixture evenly across the bottom, smoothing it out to create a flat surface. This will form the rich base of your fudge, which will soon be adorned with raspberry swirls.
Step 4: Warm the Raspberry Jam
For the “bloody” effect, warm your raspberry jam slightly in the microwave for about 10–15 seconds. This will make it easier to drizzle over the fudge. Once warmed, remove it from the microwave and set it aside while you prepare for the next step.
Step 5: Drizzle the Jam
Carefully drizzle the warmed raspberry jam over the chocolate fudge layer, aiming for nice, even coverage. Don’t worry about perfection; these swirls are meant to look organic. The vibrant red will create the spooky presentation you’re after, setting the Halloween mood for your treat.
Step 6: Create the Swirls
With a knife or skewer, swirl through the chocolate and raspberry layers to create a macabre design. Make gentle, back-and-forth motions, ensuring that the jam is mixed in but not completely blended. Aim for a pattern that resembles sinister splatters for your Vampire Fudge, enhancing its creepy appeal.
Step 7: Chill and Set
Transfer the pan to the refrigerator and chill for at least 2 hours, or until the fudge is firm to the touch. This step is crucial for developing the creamy texture and allows the flavors to meld beautifully. Keep an eye on it; as it firms up, you’ll notice the glorious contrast of dark chocolate and vibrant raspberry.
Step 8: Slice and Serve
Once chilled, lift the fudge out of the pan using the parchment overhang. Place it on a cutting board, and with a sharp knife, slice it into squares or rectangles. For clean cuts, run the knife under hot water, dry it, and then slice your chilled Vampire Fudge. Serve immediately or store for later enjoyment.
Expert Tips for Vampire Fudge
Quality Counts: Use high-quality semi-sweet chocolate chips for the richest flavor; cheaper options can alter the taste and texture.
Avoid Graininess: Be careful not to overheat the sweetened condensed milk while melting; overheating can lead to a grainy fudge instead of a smooth consistency.
Perfect Swirls: Warm your raspberry jam slightly before drizzling to allow for better control when creating the spooky “blood” swirls in your Vampire Fudge.
Chill Thoroughly: Make sure to chill the fudge for at least 2 hours to achieve perfect firmness; under-chilling can cause it to be too soft when slicing.
Clean Cuts: For the neatest slices, run your knife under hot water, wipe it dry, then cut through the fudge. This technique gives you beautiful edges and enhances presentation.
Make Ahead Options
These Vampire Fudge treats are perfect for busy home cooks seeking to save time! You can prepare the chocolate base up to 24 hours in advance by following the first five steps, then cover the pan tightly with plastic wrap and refrigerate it. The raspberry jam can also be warmed and drizzled over the fudge just before chilling for a fresh look. If you prefer to prepare everything in advance, you can also slice the fudge and store it in an airtight container in the fridge for up to 3 days. This way, you’ll have a delightfully spooky dessert ready to impress your guests just in time for Halloween!
Vampire Fudge Variations & Substitutions
Feel free to let your imagination run wild and make this Vampire Fudge your own with these delightful twists and swaps!
- Fruit Flavor Swaps: Substitute the raspberry jam with any jam or preserve you love, such as strawberry or cherry, for a different fruity kick. Experimenting with flavors not only enhances the aesthetic but offers a unique tasting experience!
- White Chocolate Twist: Use white chocolate chips instead of semi-sweet for a sweeter, creamier fudge. This provides a stunning visual contrast with the raspberry swirls and gives a delightful taste variation.
- Nutty Crunch: Add in some crushed nuts or cookie crumbles into the fudge mixture for extra texture and a satisfying crunch. Walnuts or pecans can complement the chocolate beautifully while offering a hearty bite.
- Spicy Surprise: Want to spice things up? Incorporate a dash of chili powder or cayenne pepper into the chocolate mixture for a surprising hint of heat that beautifully offsets the sweetness.
- Layered Fudge: Create layers by alternating chocolate and jam mixtures in the pan, giving each bite a surprise. This visual and taste dynamic can impress your guests, making the fudge even more festive!
- Dairy-Free Delight: Use coconut milk or almond milk sweetened with a touch of maple syrup to replace sweetened condensed milk. This swap still offers creaminess while being suitable for those following a dairy-free lifestyle.
- Festive Colors: For an extra spooky touch, add a few drops of red or black food coloring to the fudge mixture for an eye-catching effect. Just be sure to mix gently—the vibrant colors will create a dramatic and festive flair!
If you’re looking for more ideas, do check out our other Halloween desserts or other tasty options to elevate your spooky celebrations!
How to Store and Freeze Vampire Fudge
Room Temperature: Store your Vampire Fudge in an airtight container at room temperature for up to 5 days to maintain its deliciously creamy texture.
Fridge: If you prefer a cooler treat, refrigerate in an airtight container for 1–2 weeks. Just make sure it’s tightly sealed to prevent drying out!
Freezer: To keep your fudge longer, wrap it tightly in plastic wrap and place it in a freezer-safe bag for up to 2 months. Just let it thaw in the refrigerator overnight before indulging.
Reheating: There’s no need to reheat fudge, but if you’re enjoying it cold, let it sit at room temperature for a few minutes for the ideal melty texture.
What to Serve with Vampire Fudge
Indulging in this dark and rich treat opens up a world of culinary possibilities that both intrigue and delight the senses.
-
Crescent Roll Mummy Hot Dogs: These fun, flaky pastries add a savory element that balances the sweetness of the fudge perfectly. The playful presentation makes them a hit at Halloween gatherings.
-
Ghost Fruit Skewers: Fresh fruit skewers adorned with ghostly yogurt dip provide a refreshing contrast to the dense chocolate fudge. It’s a light side that will keep your celebration festive and colorful.
-
Spooky Sips Cocktails: A whimsical, Halloween-themed drink like a blackcurrant spritzer or a haunted punch complements the fudge beautifully, enhancing the overall festive vibe.
-
Pumpkin Spice Cookies: Soft and fragrant cookies topped with cream cheese icing bring warm, comforting flavors that pair wonderfully with the rich chocolate in the fudge.
-
Chocolate-Covered Pretzels: These sweet and salty snacks add a fun crunchy texture, creating a delightful contrast to the creamy Vampire Fudge.
-
Caramel Apple Bites: Juicy apple slices dipped in caramel sauce offer a crisp, refreshing bite that balances the indulgence of your fudge dessert.
Serve your Vampire Fudge alongside these exciting options, and watch how your Halloween gathering becomes a delightful experience that keeps everyone talking!
Vampire Fudge Recipe FAQs
What type of chocolate chips should I use for the Vampire Fudge?
Absolutely, I recommend using high-quality semi-sweet chocolate chips as the main ingredient. They provide a rich and deep flavor, elevating your fudge to the next level. Avoid generic brands, as they can compromise the taste and smoothness of your fudge.
How should I store leftover Vampire Fudge?
You can store your Vampire Fudge in an airtight container at room temperature for up to 5 days. If you prefer it chilled, refrigerate it in an airtight container for 1–2 weeks. Just make sure it’s tightly sealed to keep the creamy texture intact!
Can I freeze Vampire Fudge, and how?
Yes! To freeze your Vampire Fudge, wrap it tightly in plastic wrap and then place it in a freezer-safe bag. It can be stored in the freezer for up to 2 months. When you’re ready to enjoy, simply let it thaw in the refrigerator overnight before serving. This ensures it stays delicious and doesn’t lose its texture.
What if my fudge doesn’t set properly?
If your fudge isn’t setting after chilling, it might be due to overheating the sweetened condensed milk or not using enough chocolate chips. Make sure to melt the ingredients gently and check their ratios. If it remains too soft, you can try re-melting and adding a bit more chocolate to help firm it up, then chill again until set.
Can pets eat Vampire Fudge?
No, it’s best to keep this Vampire Fudge away from pets. The chocolate content is harmful to dogs and cats, and sweetened condensed milk can upset their stomachs. It’s always a good idea to share your homemade treats with friends and family, but not with our furry companions.
Is this Vampire Fudge suitable for people with allergies?
This fudge is vegetarian-friendly but contains common allergens such as chocolate and condensed milk. If you or anyone you’re serving has allergies, consider using dairy-free chocolate chips and a plant-based condensed milk alternative to make it safe for everyone to enjoy.

Devilishly Delicious Vampire Fudge for Spooky Celebrations
Ingredients
Equipment
Method
- Prepare the Pan: Line an 8x8-inch square pan with parchment paper, allowing some overhang for easy removal.
- Melt the Chocolate Mixture: In a saucepan over low heat, combine chocolate chips and condensed milk, stirring until melted and smooth.
- Pour Into the Pan: Spread the chocolate mixture evenly across the bottom of the prepared pan.
- Warm the Raspberry Jam: Warm the raspberry jam in the microwave for about 10–15 seconds.
- Drizzle the Jam: Drizzle the warmed raspberry jam over the chocolate fudge layer.
- Create the Swirls: Use a knife or skewer to swirl through the chocolate and raspberry layers.
- Chill and Set: Refrigerate for at least 2 hours until firm.
- Slice and Serve: Lift the fudge out of the pan, slice into squares, and serve.
Leave a Reply