Go Back
+ servings
Easter Bunny Coconut Tails

Easter Bunny Coconut Tails: Fun, Easy No-Bake Treats

A delightful no-bake treat, Easter Bunny Coconut Tails are fluffy coconut bites that bring joy to your Easter celebration.
Prep Time 45 minutes
Chilling Time 30 minutes
Total Time 45 minutes
Servings: 12 tails
Course: Desserts
Cuisine: American
Calories: 150

Ingredients
  

For the Coconut Base
  • 3 cups sweetened shredded coconut Use sweetened for extra sweetness.
  • 1 can sweetened condensed milk Can substitute with dairy-free condensed milk for vegan option.
  • 1 teaspoon pure vanilla extract Opt for pure vanilla for bolder flavor.
For Color and Coating
  • gel food coloring (optional) Use to add pastel colors.
  • extra shredded coconut For rolling the formed tails.

Equipment

  • Mixing bowl
  • tray
  • tablespoon
  • Parchment Paper

Method
 

Preparation Steps
  1. In a large mixing bowl, combine 3 cups of sweetened shredded coconut, 1 can of sweetened condensed milk, and 1 teaspoon of pure vanilla extract. Mix everything together until the mixture is sticky and holds its shape, which should take about 2-3 minutes.
  2. If the mixture feels too dry, add a teaspoon of milk to achieve the right consistency.
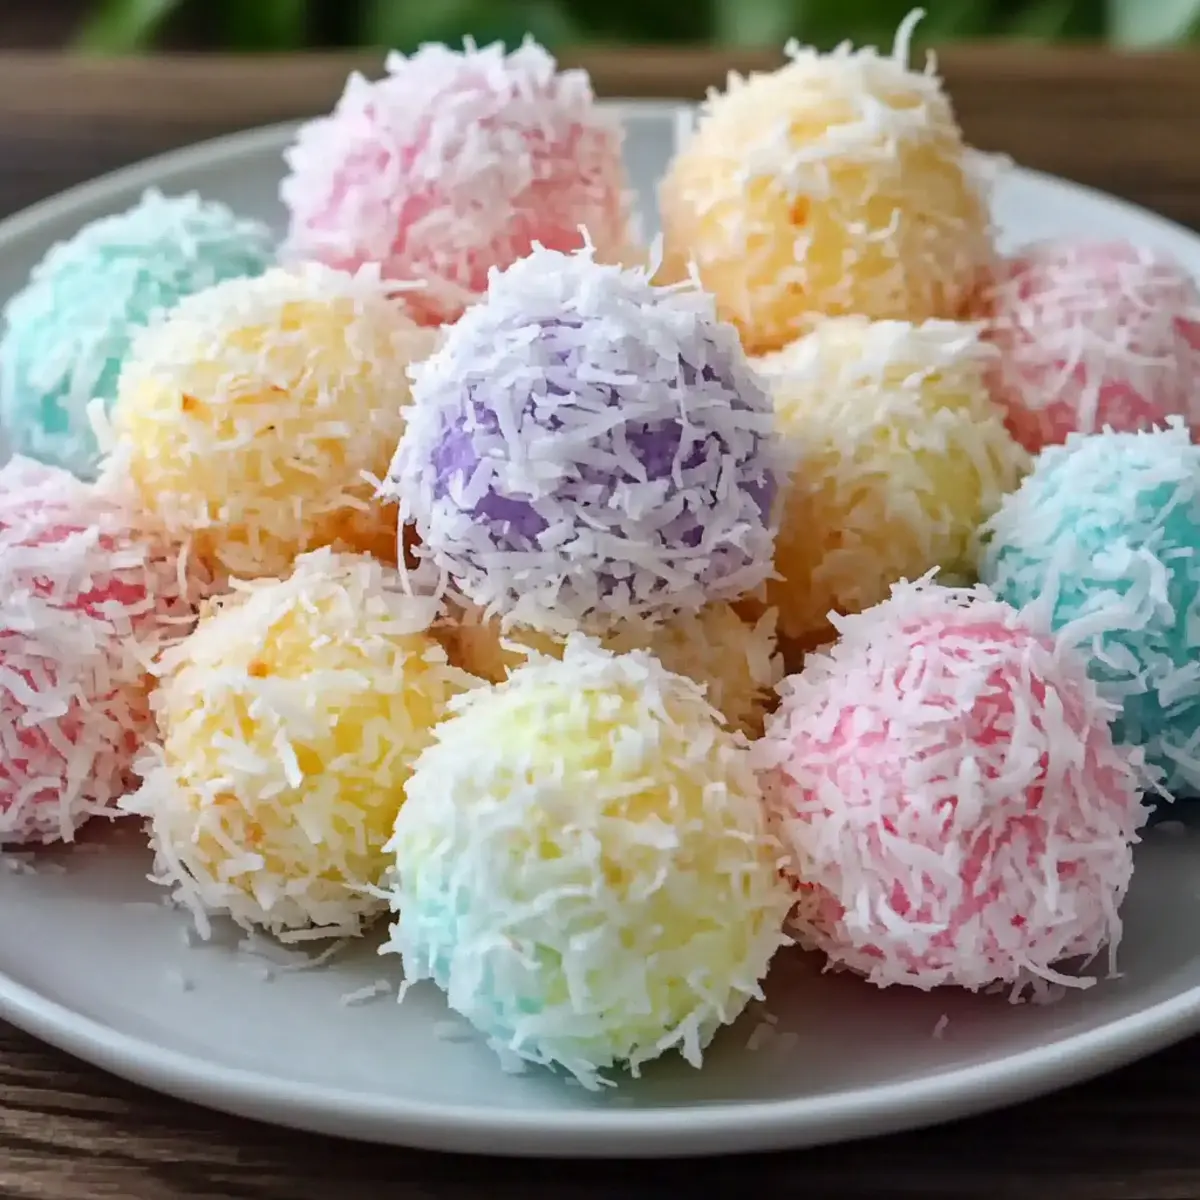
  3. If you'd like to add a fun twist, divide the mixture into smaller bowls. Add a few drops of gel food coloring to each bowl, incorporating pastel shades.
  4. Scoop out portions and roll them into 1-inch tail shapes, then roll each tail in extra shredded coconut.
  5. Line a tray with parchment paper and place the formed tails on it. Refrigerate for at least 30 minutes.
  6. Once chilled, serve or store in an airtight container in the fridge for up to 3-4 days.

Nutrition

Serving: 1tailCalories: 150kcalCarbohydrates: 20gProtein: 2gFat: 8gSaturated Fat: 7gMonounsaturated Fat: 1gCholesterol: 5mgSodium: 80mgPotassium: 60mgFiber: 1gSugar: 12gVitamin A: 2IUCalcium: 2mgIron: 2mg

Notes

Ensure the coconut mixture is sticky enough; if it feels too dry, simply add a teaspoon of milk. Prepare the mixture up to 2 days in advance for convenience.

Tried this recipe?

Let us know how it was!