
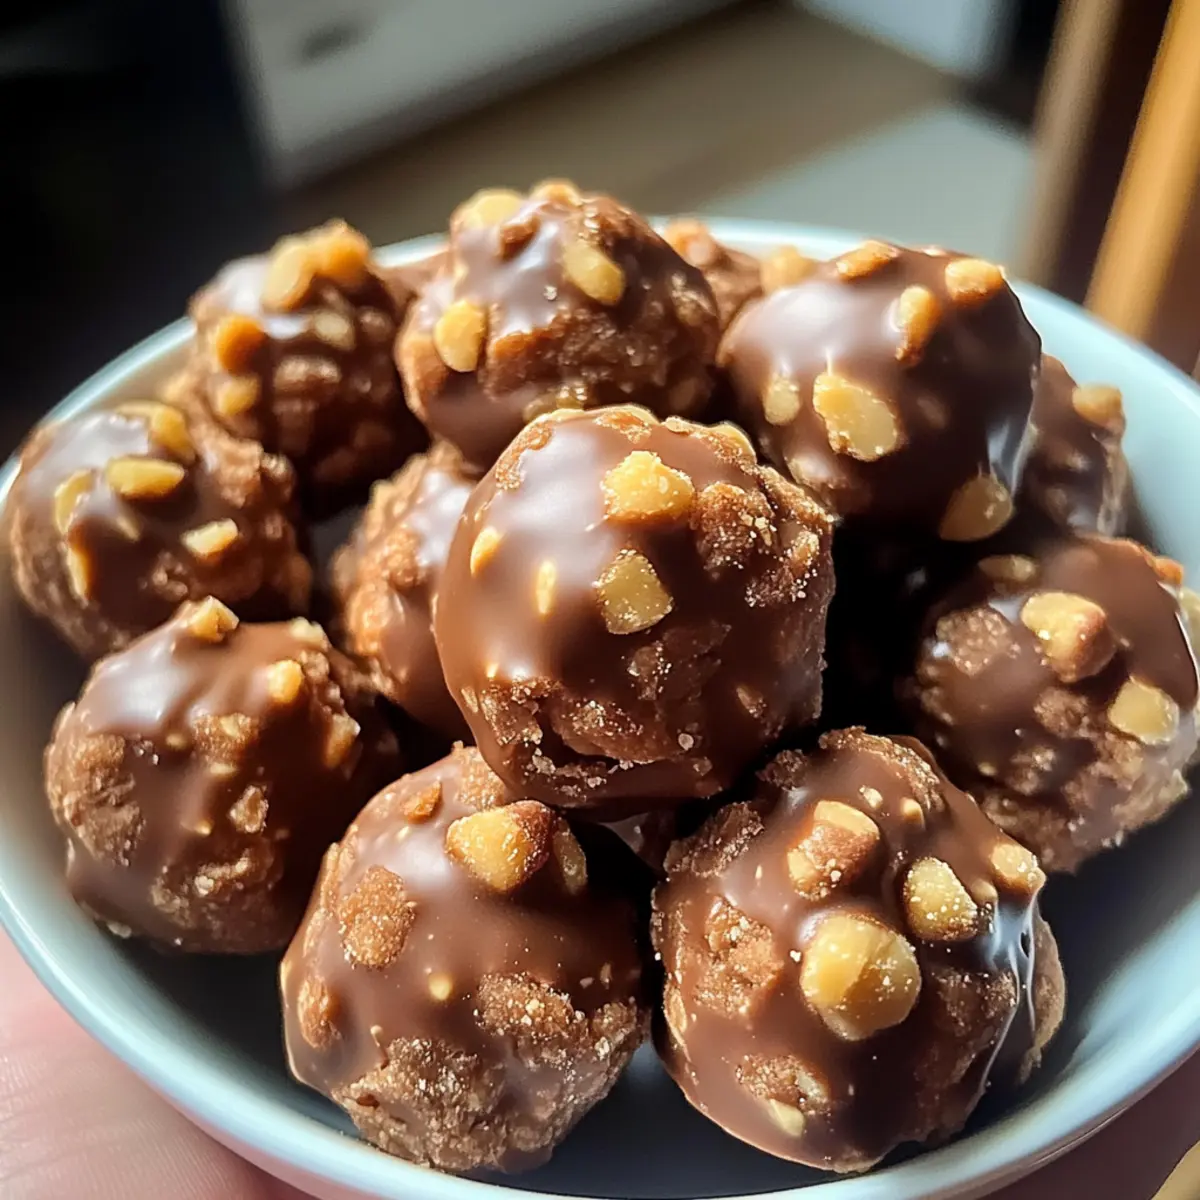
In the bustling world of homemade desserts, I stumbled upon a delightful surprise the other day: Butterfinger Bliss Balls. These irresistible no-bake treats combine the creamy goodness of peanut butter with the satisfying crunch of graham crackers and the iconic flavor of Butterfinger candy bars, all wrapped in a shiny chocolate coat. Not only are they incredibly quick to whip up—perfect for those spontaneous cravings—but they’re also a hit at any gathering, transforming a simple afternoon into a festive celebration. With endless variations to suit your taste, they’re my go-to sweet fix that never disappoints. What creative twist will you add to yours?
Why Are Butterfinger Balls So Irresistible?
Decadent flavors: The blend of creamy peanut butter and crunchy Butterfinger bars creates an explosion of taste that you’ll crave again and again.
Easy preparation: With no baking involved, these treats come together in just a few minutes—ideal for those last-minute dessert needs!
Endless variations: Try swapping out Butterfinger for your favorite candy bars, or add a sprinkle of coarse sea salt for that perfect sweet-salty combo.
Crowd pleaser: Whether you’re hosting a party or need a sweet pick-me-up, these Butterfinger Balls are sure to impress guests and family alike.
Make-ahead friendly: Keep a batch in the freezer for whenever a sweet craving strikes; just thaw them at room temperature for a quick indulgence!
Butterfinger Balls Ingredients
For the Batter
- Softened Butter – Provides richness and moisture to the mixture; make sure it’s at room temperature for easy blending.
- Vanilla Extract – Adds depth of flavor and aroma, enhancing the overall taste of the Butterfinger Balls.
- Chocolate Bark or Chocolate Chips – Used for coating the balls; choose high-quality chocolate for a smooth, glossy finish.
- Crushed Butterfinger Bars – Integral to the recipe, adding unique flavor and texture; feel free to swap with other candy bars if desired.
- Powdered Sugar – Sweetens the mixture and aids in firming up the texture; sift it for a smoother blend.
- Peanut Butter – Acts as the base and main flavor component; avoid natural brands as they can be too oily.
- Graham Cracker Crumbs – Provides structure and crunch; adjust the amount if using different types of peanut butter.
Optional Garnishes
- Extra Crushed Butterfinger Bars – Use for a delightful topping that adds extra crunch and flavor.
- Festive Sprinkles – Perfect for adding a touch of color and fun to your Butterfinger Balls.
- Coarse Sea Salt – Sprinkle on top for a delicious sweet and salty balance that enhances the flavors!
Step‑by‑Step Instructions for Butterfinger Balls
Step 1: Mix the Base
In a large mixing bowl, beat together 1 cup of softened butter and 1 cup of creamy peanut butter with an electric mixer on medium speed until the mixture is light and fluffy—about 2 minutes. This creamy base will serve as the foundation of your Butterfinger Balls. Make sure there are no lumps, and then move on to add flavor.
Step 2: Add Flavor
Pour in 1 teaspoon of vanilla extract into the butter and peanut butter blend. Mix it on low speed for about 30 seconds until it’s fully incorporated. The warmth of the vanilla will heighten the flavors, making your Butterfinger Balls even more irresistible. Scrape down the sides of the bowl to ensure everything is well combined.
Step 3: Incorporate the Sugar
Gradually sift in 2 cups of powdered sugar while mixing on low speed. This should take about 1 minute, and you’ll notice the mixture becoming thicker. Continue to mix until there are no dry patches, and the batter resembles a thick dough. This step is crucial as it creates the right sweetness and texture for your Butterfinger Balls.
Step 4: Fold in the Crunch
Gently fold in 1 cup of graham cracker crumbs and 1 cup of crushed Butterfinger bars using a spatula. Stir until all ingredients are fully combined, which should take about 1-2 minutes. You should see the delightful pieces of Butterfinger sprinkled throughout the mixture. This adds that signature crunch and flavor we love!
Step 5: Form the Balls
Using your hands, scoop and roll the mixture into balls about 1 to 1½ tablespoons in size. Place each ball on a lined cookie sheet, ensuring they have space between them. You should have around 24 Butterfinger Balls. This stage is fun and messy, so embrace the process of shaping these delicious treats!
Step 6: Chill Until Firm
Refrigerate the cookie sheet with the balls for about 30 minutes. This chilling step allows the Butterfinger Balls to firm up, making them easier to coat with chocolate later. After the time is up, check to see if they have set, and get ready to prepare the chocolate coating.
Step 7: Melt the Chocolate
In a microwave-safe bowl, add 12 ounces of chocolate bark or chocolate chips. Heat on high for 30 seconds, then stir. Continue heating in 15-second intervals, stirring in between, until completely melted and smooth, which usually takes about 1-2 minutes total. This velvety chocolate will coat your Butterfinger Balls beautifully.
Step 8: Coat the Balls
Carefully dip each chilled ball into the melted chocolate, ensuring it’s fully covered. Use a fork to lift it out, allowing excess chocolate to drip off before placing it back on the cookie sheet. The glossy finish will elevate the appearance of your Butterfinger Balls, making them even more tempting.
Step 9: Add Final Touches
For added decoration, sprinkle extra crushed Butterfinger on top of each chocolate-coated ball or use festive sprinkles while the chocolate is still wet. This not only enhances the visual appeal but also adds an extra layer of flavor to your Butterfinger Balls.
Step 10: Set and Serve
Allow the chocolate to set completely at room temperature, which usually takes about 30-45 minutes. Once hardened, transfer the Butterfinger Balls to an airtight container and store in the refrigerator. Enjoy your homemade goodies at parties, gatherings, or as an anytime sweet treat!
Butterfinger Balls Variations & Substitutions
Let your creativity flow and personalize the Butterfinger Balls to suit your taste preferences or dietary needs!
- Candy Bar Swap: Replace Butterfinger with Snickers, Milky Way, or your favorite chocolate bar for unique flavors. A simple substitute can surprise your taste buds!
- Protein Boost: Mix in protein powder for an extra nutritional kick. Not only does this enhance the health factor, but it gives a nice texture too.
- Nutty Crunch: Incorporate chopped pecans or walnuts into the mixture for added crunch and flavor depth. This twist will make each bite delightful and satisfying!
- Dairy-Free Delight: Use coconut oil instead of butter and dairy-free chocolate for a scrumptious vegan version. Enjoy the same rich flavors while accommodating dietary restrictions.
- Salted Caramel: Drizzle with caramel sauce and sprinkle sea salt on top before the chocolate coating sets for a decadent twist. This sweet and salty combo elevates the treat further!
- Flavor Infusion: Add a pinch of cinnamon or a splash of almond extract to the mixture for an unexpected warmth. These small tweaks can create a cozy flavor profile!
- Finish with Festivity: Roll the balls in crushed graham crackers or holiday-themed sprinkles before the chocolate sets for a decorative touch. Perfect for special occasions or celebrations!
- Protein-Filled Energy Bites: Aim for a healthy twist by adding chia seeds or flaxseeds to the mixture for extra nutrition. You’ll enjoy guilt-free indulgence with added health benefits!
If you’re feeling adventurous, why not try these Butterfinger Bliss Balls alongside Pie Protein Balls for a fantastic dessert spread? Or serve them with some Greek Chicken Meatballs for a delightful balance of savory and sweet!
Make Ahead Options
These Butterfinger Balls are perfect for busy home cooks looking to save time during the week! You can prepare the base mixture—comprising of peanut butter, butter, and graham cracker crumbs—up to 24 hours in advance. Simply mix, roll into balls, and refrigerate them on a cookie sheet. Once you’re ready to serve, melt the chocolate and coat the chilled balls; this ensures they maintain their creamy texture without becoming too soft. For even longer storage, freeze the rolled balls for up to 3 months. Just thaw them in the fridge overnight before coating with chocolate for delicious results that are just as indulgent!
Expert Tips for Butterfinger Balls
- Butter Temperature: Use softened butter rather than melted; this helps maintain the right consistency in your Butterfinger Balls, preventing them from becoming too gooey.
- Chocolate Melting: Heat chocolate in small increments; overheating can lead to a gritty texture. Stir consistently for a smooth, glossy coating.
- Substitute Wisely: Feel free to use different candy bars, but ensure they’re of similar size to Butterfinger for optimal flavor and texture balance.
- Chill Time: Don’t rush the chilling process; allowing the balls to firm up makes them easier to coat and helps avoid messy drips.
- Storage Secrets: Keep your Butterfinger Balls in an airtight container in the fridge for up to a week. They also freeze beautifully for 5-6 months—just thaw before savoring!
- Mixing Method: When blending ingredients, scrape the bowl sides regularly to achieve a smooth dough; this ensures even distribution of flavors in your Butterfinger Balls.
What to Serve with Butterfinger Bliss Balls?
Indulging in Butterfinger Bliss Balls creates the perfect opportunity to elevate your dessert game and craft a delightful meal experience.
- Creamy Vanilla Ice Cream: The rich and smooth ice cream pairs beautifully with the crunchy and sweet bliss balls, creating a heavenly contrast.
- Chocolate-Dipped Strawberries: Fresh strawberries drizzled in chocolate add a fruity freshness that enhances the sweet, nutty flavor of each ball.
- Coffee or Espresso: A warm cup of coffee or a shot of espresso complements the sweetness perfectly, creating a warm and satisfying conclusion to any meal.
- Fruit Salad: A light and refreshing fruit salad helps balance the indulgence of the bliss balls, offering refreshing flavors and a vibrant splash of color.
- Nutty Granola: Serve a side of homemade or store-bought nutty granola to give a textural contrast to the creamy bliss balls and satisfy those with a crunch craving.
- Milkshake Float: A rich and creamy milkshake topped with whipped cream is an indulgent drink that pairs wonderfully, creating a nostalgic dessert experience reminiscent of childhood treats.
These delightful pairings not only enhance the flavors of your Butterfinger Bliss Balls but also help create a well-rounded and memorable dessert spread that friends and family will adore.
How to Store and Freeze Butterfinger Balls
Fridge: Store your Butterfinger Balls in an airtight container in the fridge for up to 1 week to maintain freshness and flavor.
Freezer: For longer storage, freeze the balls in a single layer on a baking sheet, then transfer to an airtight container. They can last for 5-6 months this way!
Thawing: When you’re ready to enjoy, simply thaw the frozen Butterfinger Balls at room temperature for about 15-20 minutes before serving.
Reheating: No need to reheat these treats—they’re best served chilled! Enjoy the delightful combination of flavors straight from the fridge.

Butterfinger Balls Recipe FAQs
What is the best way to select Butterfinger candy bars for this recipe?
Absolutely! When choosing Butterfinger bars, look for ones that are unblemished and fresh, avoiding packages with dark spots or signs of damage. A good quality Butterfinger bar will lend the best flavor and texture to your Butterfinger Balls, ensuring they’re as delightful as possible.
How do I store my Butterfinger Balls for maximum freshness?
Very! To keep your Butterfinger Balls fresh, simply store them in an airtight container in the refrigerator. They’ll last up to 1 week, but be sure to check for any signs of moisture or clumping. If you want to make them ahead of time, consider freezing them for longer storage.
Can I freeze Butterfinger Balls? If so, how?
Absolutely! To freeze your Butterfinger Balls, first, place them in a single layer on a baking sheet to freeze individually for about 1 hour. Once solid, transfer them to an airtight container or freezer bag, separating layers with parchment paper to prevent sticking. They’ll keep well for up to 5-6 months. When ready to enjoy, thaw them at room temperature for about 15-20 minutes before serving.
What if my Butterfinger Balls are too crumbly?
Don’t worry! If your mixture seems crumbly, you can remedy this by adding a little more peanut butter or softened butter—about 1 tablespoon at a time—until it reaches a cohesive texture. Ensure that all ingredients are well-blended and consider allowing your balls to chill longer before coating in chocolate, as this can help them hold together better.
Are Butterfinger Balls suitable for those with allergies?
Very! If you or your guests have allergies, you can make adaptations to the Butterfinger Balls. Substitute the peanut butter with almond or sunbutter for nut-free options, and ensure to use allergy-friendly chocolate. Always check ingredient labels for potential allergens, especially when using alternative candies or coatings.
How long should I chill the Butterfinger Balls before coating them in chocolate?
To get the best results, chill the formed balls in the refrigerator for at least 30 minutes. This step allows them to firm up, making them easier to handle and coat in the melted chocolate without becoming too soft or sticky. Enjoy your no-bake Butterfinger Balls!
Irresistible Butterfinger Balls You’ll Crave Again and Again
Ingredients
Equipment
Method
- In a large mixing bowl, beat together the softened butter and peanut butter until light and fluffy—about 2 minutes.
- Pour in the vanilla extract and mix on low speed for about 30 seconds until fully incorporated.
- Gradually sift in the powdered sugar while mixing on low speed for about 1 minute until thick.
- Gently fold in the graham cracker crumbs and crushed Butterfinger bars until fully combined.
- Scoop and roll the mixture into balls of about 1 to 1½ tablespoons in size and place on a lined cookie sheet.
- Refrigerate the cookie sheet for about 30 minutes until the balls are firm.
- In a microwave-safe bowl, melt the chocolate bark or chips in intervals until smooth.
- Dip each chilled ball into the melted chocolate, allowing excess to drip off before placing back on the sheet.
- Sprinkle extra crushed Butterfinger or festive sprinkles on top while the chocolate is still wet.
- Allow chocolate to set at room temperature for 30-45 minutes before transferring to an airtight container.
Leave a Reply