
It’s amazing how the simplest ingredients can transport us back in time. Picture yourself stirring a pot of rich, velvety chocolate pudding, as the warm scent of cocoa fills your kitchen, evoking fond memories of childhood. This Traditional Homemade Chocolate Pudding recipe is not just a sweet indulgence; it’s a delightful way to reconnect with the art of comforting, homemade desserts. Ready in just 40 minutes, this pudding is quick to whip up and perfect for satisfying your sweet cravings. What’s even better? It’s free from artificial flavors, so you can enjoy a rich chocolate experience that’s as wholesome as it is delicious. Whether you plan to savor it solo or share with loved ones, this classic treat will surely become a kitchen staple. Ready to impress your taste buds? Let’s dive into crafting this delightful chocolate pudding!
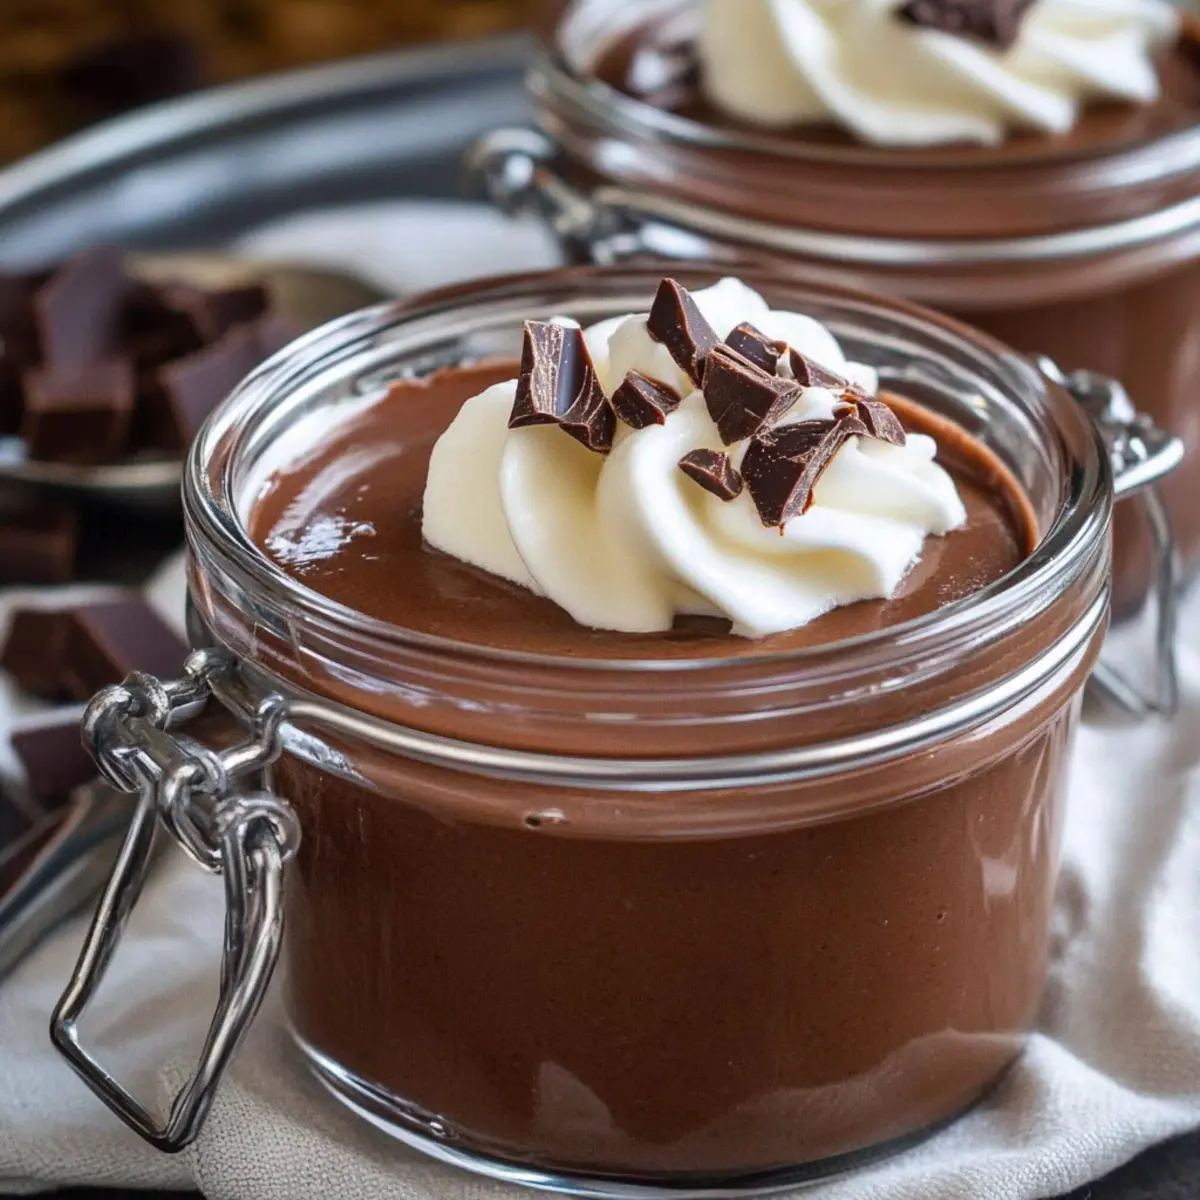
Why is homemade chocolate pudding special?
Unforgettable Flavor: This traditional chocolate pudding offers a depth of flavor that store-bought versions simply can’t match. Each spoonful is rich and creamy, evoking nostalgic memories.
Short Prep Time: You can whip this up in just 40 minutes, making it a fantastic option for those last-minute dessert cravings.
Versatile Base: This recipe is a perfect foundation to get creative! Add peppermint extract or even stir in chopped nuts for delightful variations.
No Artificial Ingredients: With all-natural ingredients, you get to enjoy a wholesome dessert without worrying about hidden additives.
Crowd-Pleaser: Whether it’s for a special occasion or a cozy night in, this pudding is sure to impress family and friends, especially when paired with whipped cream or fresh berries.
Chocolate Pudding Ingredients
• Here’s everything you need to make this delightful chocolate pudding from scratch!
For the Pudding
- Sugar – Adds sweetness; consider substituting with coconut sugar for a healthier option.
- Unsweetened Cocoa Powder – Provides that rich chocolate flavor; Dutch-processed cocoa offers a deeper and more intense taste.
- Cornstarch – Thickens the pudding to a perfect consistency; can be swapped with arrowroot powder for a gluten-free choice.
- Salt – Enhances the overall flavor; feel free to reduce or omit for dietary needs.
- Milk – Acts as the creamy base; almond or oat milk is a great alternative for a dairy-free version.
- Butter – Contributes a luscious mouthfeel; use vegan butter for a non-dairy option.
- Vanilla Extract – Boosts flavor; almond extract can be used for an exciting twist.
Optional Toppings
- Whipped Cream – Adds a light, airy contrast; homemade is ideal for a personal touch.
- Chocolate Shavings – Elevates the presentation and adds extra chocolatey goodness to each serving.
- Fresh Berries – Provides a refreshing complement; strawberries or raspberries work beautifully atop the silky pudding.
Step‑by‑Step Instructions for Traditional Homemade Chocolate Pudding
Step 1: Combine Dry Ingredients
In a medium saucepan, whisk together ¾ cup of sugar, ¼ cup of unsweetened cocoa powder, ¼ cup of cornstarch, and a pinch of salt. Make sure the dry ingredients are well mixed to prevent lumps from forming. This mixture will form the foundation of your chocolate pudding, setting the stage for a rich dessert.
Step 2: Add Milk Gradually
Slowly pour in 2 ¾ cups of milk while whisking continuously over medium heat. This step is crucial to prevent clumping and ensure the pudding reaches a smooth, creamy texture. Keep stirring as the mixture heats up, watching for it to thicken and become a luscious chocolate base.
Step 3: Bring to a Boil
Continue heating the mixture, stirring frequently, until it comes to a full boil. This process should take about 5-10 minutes. You’ll know it’s ready when the pudding thickly coats the back of a spoon and bubbles form at the surface. This is where the magic happens, transforming your ingredients into the decadent chocolate pudding.
Step 4: Remove from Heat and Add Flavor
Once the pudding has thickened, remove the saucepan from the heat. Stir in 2 tablespoons of butter and 1 teaspoon of vanilla extract, mixing until smooth and well incorporated. The butter adds a luxurious mouthfeel, while the vanilla enhances the rich chocolate flavor, making your traditional chocolate pudding even more delightful.
Step 5: Chill the Pudding
Transfer the warm chocolate pudding into individual ramekins or a large bowl, smoothing the tops with a spatula. Cover with plastic wrap, ensuring it touches the surface to prevent a skin from forming. Place the pudding in the refrigerator to chill for about 30 minutes, allowing it to set beautifully and develop its silky texture.
Step 6: Serve and Enjoy
After chilling, your traditional homemade chocolate pudding is ready to be served. You can top it with a dollop of whipped cream, chocolate shavings, or fresh berries for an extra festive touch. Each spoonful promises a creamy, rich experience that is sure to satisfy any chocolate lover’s cravings!
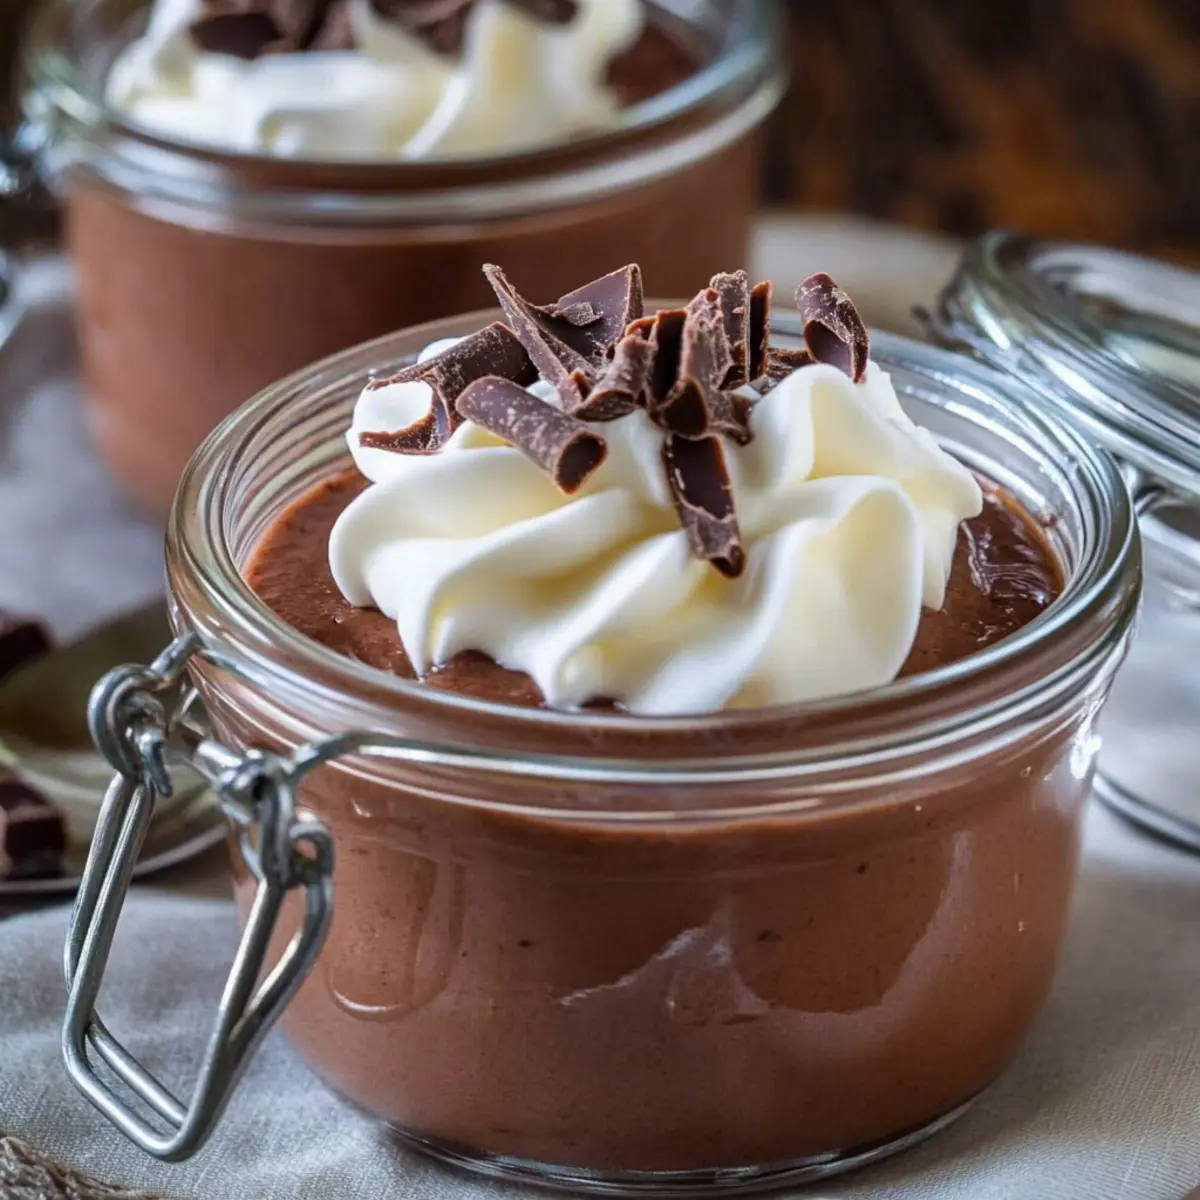
What to Serve with Traditional Homemade Chocolate Pudding
A beautifully crafted chocolate pudding deserves companions that elevate its comforting, velvety texture and rich flavor!
-
Whipped Cream: A light, airy topping that adds a delightful contrast, balancing the richness of the pudding. It’s a classic choice that feels indulgent yet simple.
-
Fresh Berries: Strawberries and raspberries introduce a refreshing tartness, cutting through the sweetness. Their vibrant colors also make for a stunning presentation!
-
Chocolate Shavings: For those who can’t get enough chocolate, a sprinkle of chocolate shavings enhances both flavor and visual appeal. It’s a sublime touch for true chocolate aficionados.
-
Nuts: Chopped hazelnuts or walnuts add a satisfying crunch, creating an inviting texture contrast to the silky pudding. They also introduce a delightful earthy flavor.
-
Caramel Sauce: Drizzling warm caramel over the pudding brings a rich sweetness that pairs beautifully with chocolate, creating a luscious dessert experience.
-
Coffee or Espresso: For an adult twist, consider serving with a side of espresso or coffee. The bitterness complements the sweet pudding, enhancing the chocolate flavor.
Each pairing not only heightens the taste but transforms a simple dessert into a memorable indulgence to share with loved ones.
Make Ahead Options
These delightful Chocolate Pudding cups are perfect for meal prep enthusiasts! You can prepare the entire pudding mixture up to 24 hours in advance, storing it in the refrigerator after cooking. Simply follow the steps until you’ve combined the butter and vanilla, then transfer the mixture into containers, covering tightly to prevent any skin from forming. When it’s time to enjoy, just chill the pudding for an additional 30 minutes to ensure it’s perfectly set. For maintained quality, ensure to whisk briefly before serving to restore its smooth texture. This makes it an ideal, fuss-free dessert for busy weeknights or unexpected guests, delivering hospital-quality results with minimal effort!
How to Store and Freeze Chocolate Pudding
Fridge: Store chocolate pudding covered in an airtight container in the refrigerator for up to 3-4 days. This preserves its creamy texture and rich flavor.
Freezer: If you want to freeze chocolate pudding, transfer it to an airtight freezer-safe container. It can be stored for up to 2 months. Allow it to thaw in the refrigerator before serving.
Reheating: When ready to enjoy, gently reheat in a saucepan over low heat, stirring frequently to restore its smooth consistency. You may need to add a splash of milk to achieve the desired creaminess.
Expert Tips for Chocolate Pudding
-
Mix Dry Ingredients Thoroughly: A well-mixed combination of sugar, cocoa powder, and cornstarch is essential. This prevents clumping when introducing the milk, ensuring a silky chocolate pudding.
-
Stir Constantly: As you cook the pudding, constant stirring will help avoid any lumps formation and achieve that perfectly smooth texture.
-
Watch for Thickness: Remember that the pudding will thicken even more as it cools. Remove it from heat at just the right consistency to avoid overcooking.
-
Quality Matters: Using high-quality cocoa powder or chocolate can significantly enhance the flavor of your chocolate pudding, bringing it to new heights.
-
Customize Toppings: Get creative with garnishes! A sprinkle of nuts or a drizzle of chocolate sauce can elevate your dessert, giving it that gourmet touch.
Chocolate Pudding Variations & Substitutions
Feel free to explore these delightful twists that will add your personal touch to this classic chocolate pudding.
-
Dairy-Free: Substitute milk with almond or oat milk for a creamy, non-dairy option.
-
Rich Chocolate Experience: Opt for Dutch-processed cocoa powder instead of regular unsweetened cocoa for a deeper chocolate flavor. This small change can elevate your dessert to new heights!
-
Gluten-Free: Replace cornstarch with arrowroot powder, making it a perfect choice for those avoiding gluten.
-
Flavor Infusion: Add a splash of peppermint extract for a refreshing twist that will delight your senses. Imagine enjoying the coolness of mint perfectly mingling with that rich chocolate!
-
Nutty Crunch: Stir in chopped nuts or chocolate chips before chilling for an added layer of texture and indulgence. Hazelnuts or walnuts complement chocolate beautifully.
-
Citrus Zing: Experiment with orange or lemon zest for a unique flavor profile, brightening the rich chocolate taste. A hint of citrus can awaken the palate!
-
No Sugar: Use coconut sugar instead of regular sugar for a lower glycemic index while still achieving the sweetness you crave.
-
Mixed Pudding: Try layering this chocolate pudding with vanilla pudding for a stunning visual and taste contrast.
No matter how you choose to customize your pudding, each variation is sure to make it a memorable treat that you’ll love to share with family and friends!
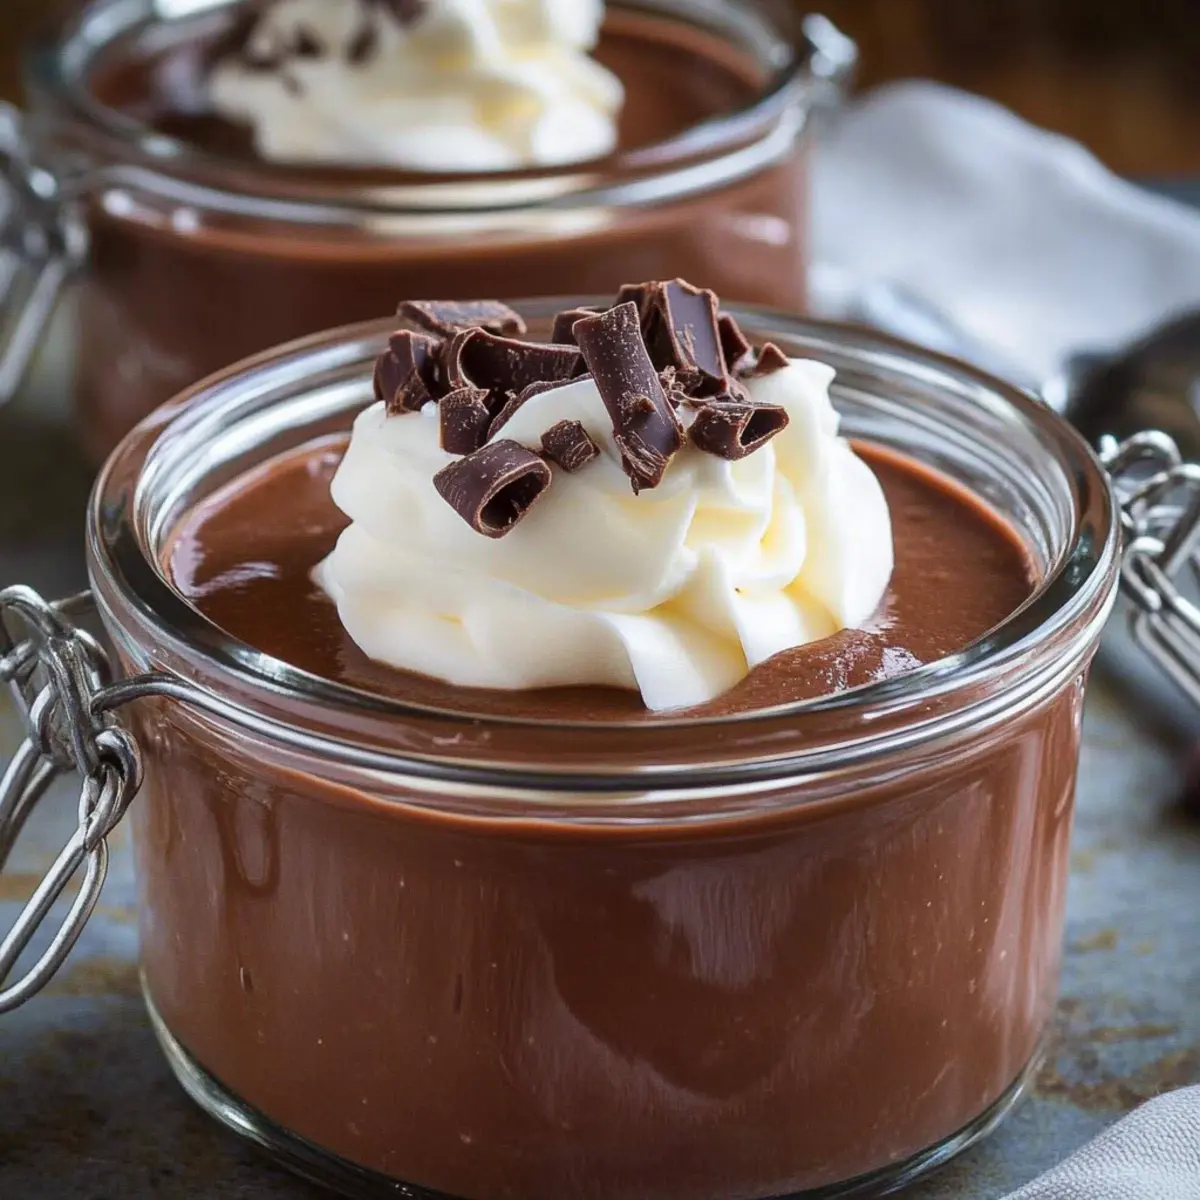
Chocolate Pudding Recipe FAQs
What chocolate type is best for the pudding?
Absolutely! For the richest flavor, I recommend using high-quality cocoa powder or dark chocolate. Dutch-processed cocoa will provide a deeper taste, while a semi-sweet chocolate can add a lovely texture if melted into the mixture.
How should I store chocolate pudding?
To keep your chocolate pudding fresh, store it covered in an airtight container in the refrigerator for about 3-4 days. Make sure it’s well-sealed to prevent it from absorbing other smells and flavors.
Can I freeze chocolate pudding?
Yes, you can freeze chocolate pudding! Just pour it into an airtight freezer-safe container, and it can last for up to 2 months. When you’re ready to enjoy it, thaw the pudding in the refrigerator overnight and gently reheat it on the stove if necessary, giving it a good stir to restore its smooth consistency. You might also want to add a splash of milk to get it creamy again.
What should I do if my pudding is lumpy?
If your chocolate pudding has lumps, don’t worry! You can strain it through a fine-mesh sieve to remove the lumps. If you’ve just made it, try whisking it vigorously or using an immersion blender for a smoother texture before chilling.
Is this recipe suitable for those with dietary restrictions?
Absolutely! This recipe can easily be modified for various dietary needs. You can use dairy-free milk like almond or oat milk for a lactose-free option. Also, substituting butter with vegan butter makes it suitable for a dairy-free diet. Remember to double-check the ingredients for allergies if serving to others!
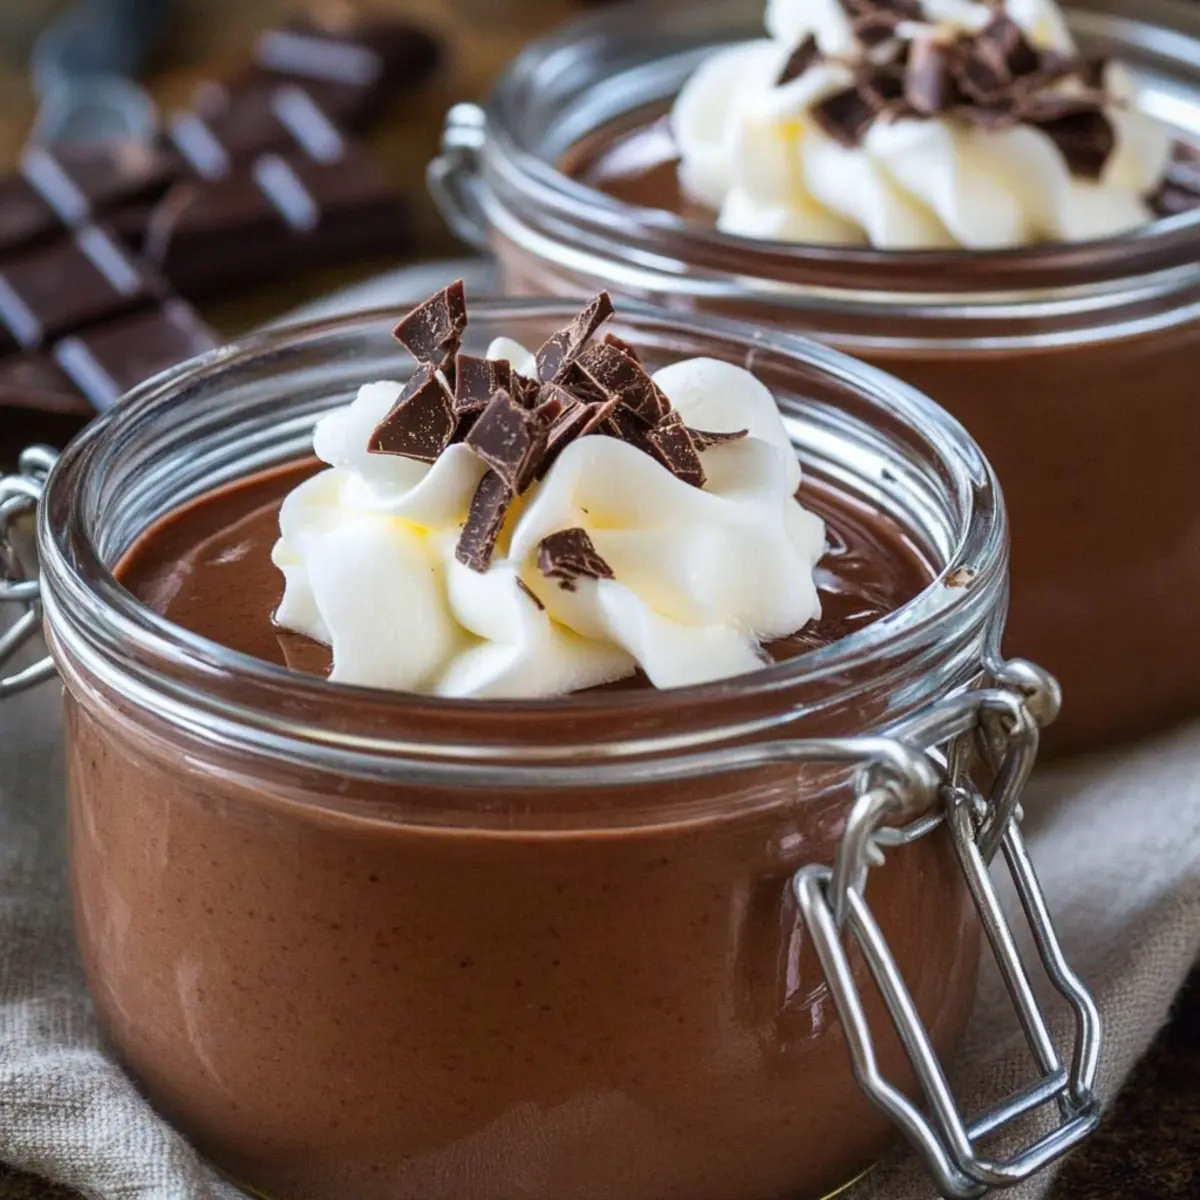
Decadent Chocolate Pudding Made Easy at Home
Ingredients
Equipment
Method
- In a medium saucepan, whisk together ¾ cup of sugar, ¼ cup of unsweetened cocoa powder, ¼ cup of cornstarch, and a pinch of salt.
- Slowly pour in 2 ¾ cups of milk while whisking continuously over medium heat.
- Continue heating the mixture, stirring frequently, until it comes to a full boil.
- Remove from heat and stir in 2 tablespoons of butter and 1 teaspoon of vanilla extract.
- Transfer the warm pudding into individual ramekins or a large bowl, cover with plastic wrap, and refrigerate for about 30 minutes.
- Serve and top with a dollop of whipped cream, chocolate shavings, or fresh berries.
Leave a Reply