
There’s something magical about the warm, buttery aroma wafting through my kitchen, instantly reminding me of cozy gatherings and hearty meals. Today, I’m excited to share my go-to recipe for Fluffy Bacon & Cheese Rolls with Garlic Butter, a delightful treat that marries comfort food with homemade goodness. These rolls are not only incredibly soft and fluffy but also packed with savory bacon bits and melty cheese, making them an irresistible indulgence for any occasion. Plus, they’re surprisingly quick to prepare, allowing you to whip them up without the fuss and impress your family and friends in no time! So, whether you’re looking for the perfect side dish or a snack that’s sure to please, these rolls won’t disappoint. Ready to dive into this mouthwatering recipe? Let’s get baking!
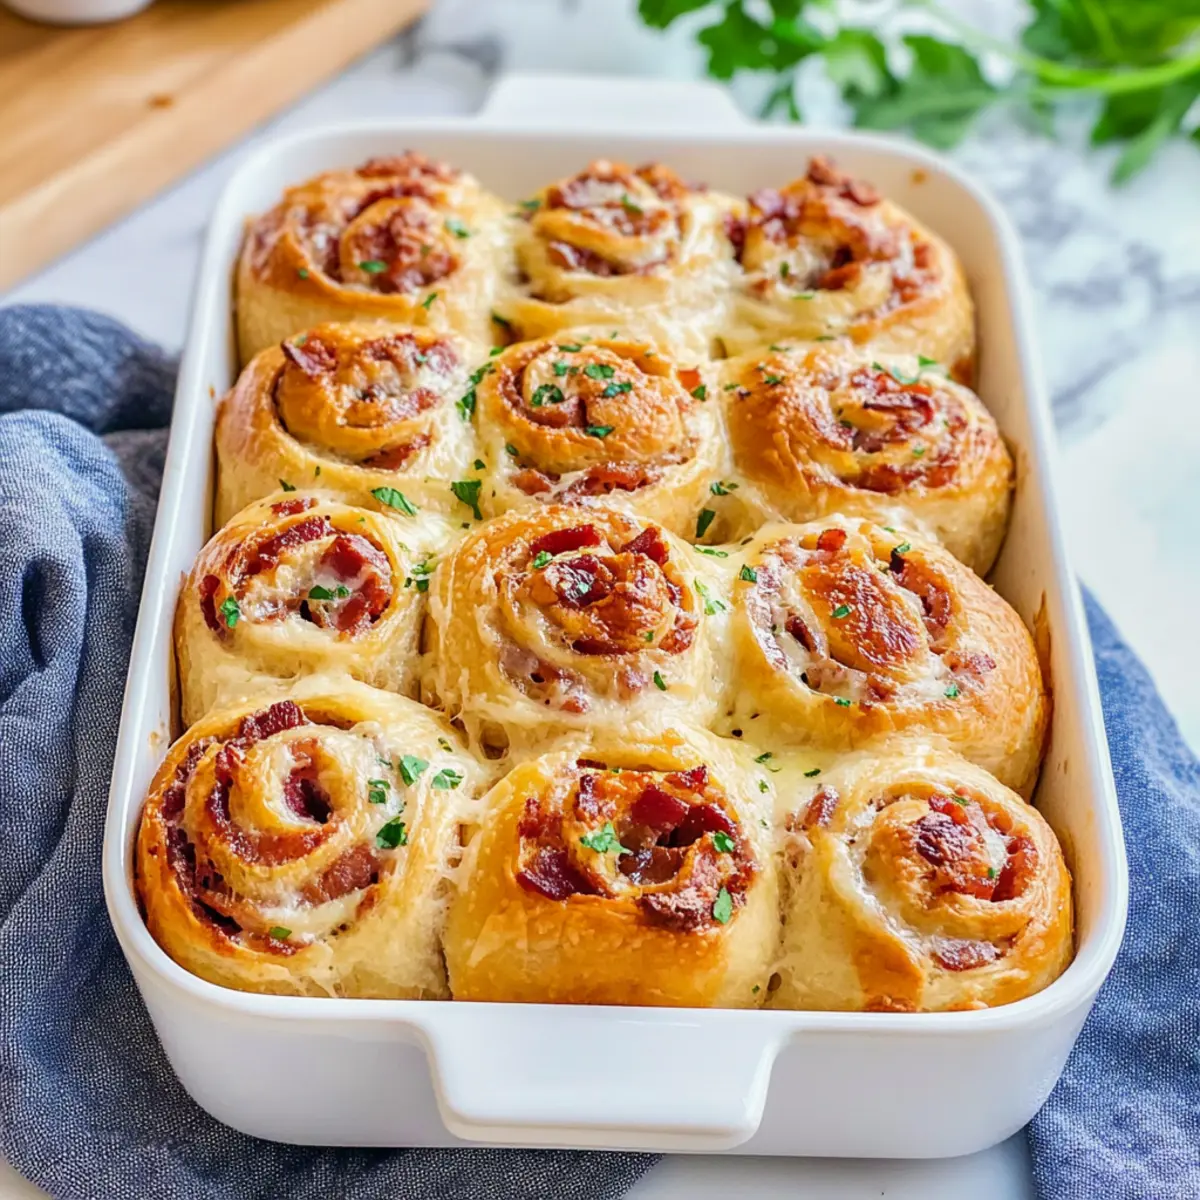
Why Are These Rolls So Irresistible?
Fluffy, these Bacon & Cheese Rolls boast a soft texture that practically melts in your mouth. Savory flavors combine the crunch of crispy bacon and the richness of melted cheese, creating a comforting bliss in every bite. Easy to make, you’ll have these rolls ready in no time, making them a perfect choice for gatherings or family dinners. Versatile options allow you to customize them with your favorite herbs or even mix in some spicy jalapeños. Serve them alongside Garlic Butter Beef or a fresh salad for a complete meal. Your kitchen will smell divine, and everyone will be asking for seconds!
Bacon & Cheese Rolls Ingredients
• Get ready to create a batch of heavenly Bacon & Cheese Rolls with Garlic Butter!
For the Dough
- Whole Milk – Adds moisture; heat to 120°F-130°F for optimal yeast activation.
- Dry Active Yeast – This leavening agent makes the rolls fluffy; proof it in warm milk with sugar to wake it up!
- White Granulated Sugar – Feeds the yeast for better activation; just a touch adds sweetness to the dough.
- Sea Salt – Essential for flavor enhancement and to strengthen the dough structure.
- Butter (melted, for dough) – Provides richness; substitute with oil for a dairy-free option.
- Eggs – Adds structure and richness; use flax eggs for a vegan alternative.
- All-Purpose Flour – Forms the dough’s main structure; can substitute with a gluten-free blend if needed.
For the Filling
- Smoked Bacon – Brings savory depth; consider turkey bacon for a lighter option.
- Cheddar Cheese – Provides rich, tangy flavor; any melty cheese like Monterey Jack works well too.
- Parmesan Cheese – Adds umami flavor that elevates the richness.
- Seasoned Butter (for filling) – Infuses the mixture with tasty herbs and spices; mix well for even flavor.
- Fresh Herbs (parsley, dill, green onions) – Brightens up the rolls; dried herbs can work if fresh isn’t available.
For the Garlic Topping
- Butter (for garlic topping) – Melts beautifully into a rich glaze after baking; swap for dairy-free spread if needed.
- Garlic – Infuses the rolls with flavor; fresh garlic is recommended for the best impact.
Step‑by‑Step Instructions for Bacon & Cheese Rolls with Garlic Butter
Step 1: Prepare the Dough
Heat whole milk in a saucepan until it reaches 120°F-130°F. Pour the warm milk into a mixing bowl and add the dry active yeast and sugar, stirring gently. Let it sit for about 5-10 minutes until frothy. Whisk in the melted butter, eggs, and sea salt, then gradually add the all-purpose flour until a dough forms. Knead the dough on a floured surface for about 5-7 minutes until smooth and elastic.
Step 2: First Proof
Lightly oil a large bowl and place the kneaded dough inside, turning to coat. Cover the bowl with a clean kitchen towel or plastic wrap and let it rise in a warm place for about 1 hour, or until doubled in size. This fermentation phase is crucial for creating fluffy Bacon & Cheese Rolls, so be patient and keep an eye on the dough’s progress!
Step 3: Cook Bacon
While the dough rises, diced smoked bacon in a frying pan over medium heat. Sauté until crispy, which should take about 6-8 minutes. Use a slotted spoon to transfer the cooked bacon to a paper towel-lined plate, allowing excess fat to drain. Let the bacon cool down while you prep the filling for the rolls—its savory aroma will only add to the excitement!
Step 4: Prepare Filling
In a mixing bowl, combine the melted seasoned butter with the cooked bacon, grated cheddar, and Parmesan cheese, mixing well to ensure even distribution. Add in your choice of fresh herbs like parsley, dill, or green onions for an aromatic kick. This delicious filling will make your Bacon & Cheese Rolls incredibly flavorful once they’re baked.
Step 5: Shape Rolls
Once the dough has risen, punch it down gently to release air bubbles. Roll the dough into a large square on a lightly floured surface. Spread the prepared filling evenly over the dough, then roll it tightly into a log starting from one edge. Cut the log into 12 equal pieces and place them into a greased baking pan, cut side up. Let the rolls rise again for 30-45 minutes until puffy.
Step 6: Bake
Preheat your oven to 350°F. Once the rolls have risen, bake them in the preheated oven for 35-40 minutes or until they are golden brown and sound hollow when tapped. The aroma will fill your kitchen, making it hard to resist these Bacon & Cheese Rolls with Garlic Butter!
Step 7: Garlic Butter Topping
While the rolls are baking, combine melted butter and minced garlic in a small bowl. As soon as the rolls are out of the oven, brush this aromatic garlic butter mixture generously over the hot rolls. The buttery glaze will enhance the flavor and make them extra tempting as they cool slightly before serving.
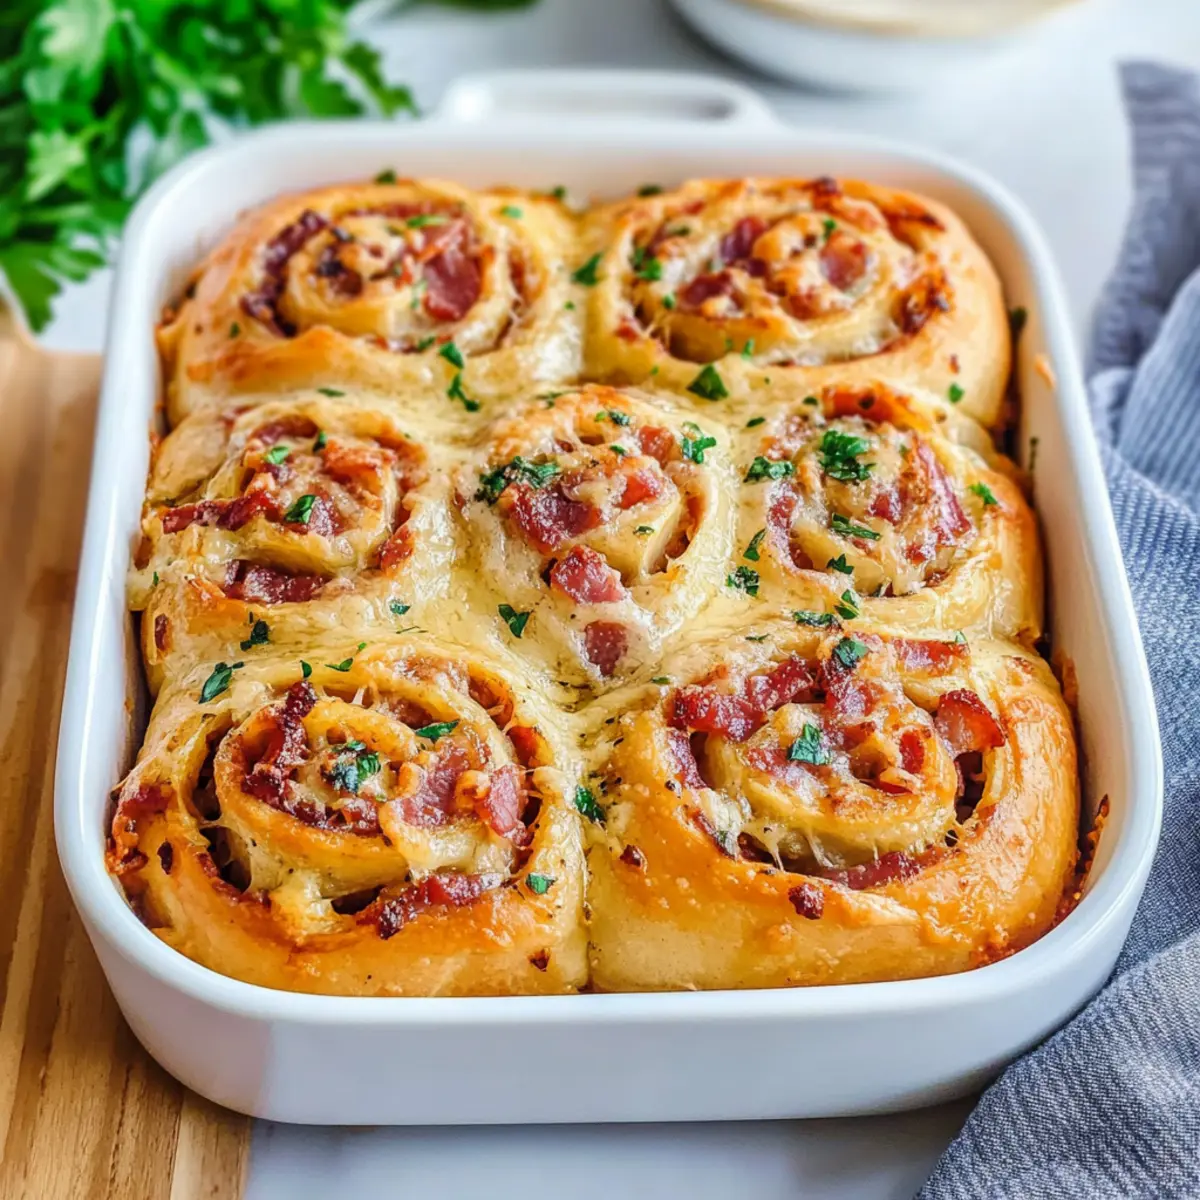
Bacon & Cheese Rolls with Garlic Butter Variations
Feel free to get creative and customize these delicious rolls to suit your taste buds!
-
Vegetarian: Swap the bacon for sautéed mushrooms or spinach for a hearty meat-free option.
-
Spicy Kick: Add finely chopped jalapeños or red pepper flakes to the filling for a fiery twist. The heat complements the cheese beautifully!
-
Herb Infusion: Replace fresh herbs with Italian seasoning for a different flavor profile. This gives the rolls an aromatic Mediterranean flair that will delight your senses.
-
Gluten-Free: Use a gluten-free flour blend to make these rolls gluten-free while still achieving a soft texture. You can enjoy the same deliciousness without worry!
-
Smoky Flavor: Try adding smoked paprika to the filling to enhance the savory notes of the rolls. The smoky aroma will add a depth of flavor that’s simply irresistible.
-
Cheese Variations: Substitute the cheddar with pepper jack or gouda for a unique melting experience. This will elevate the flavor and surprise your palate in the best way possible.
-
Add Crunch: Mix in some crispy shallots or crushed nuts for added texture. They give the rolls a delightful crunch that contrasts wonderfully with the soft, fluffy bread.
-
Sweet & Savory: A sprinkle of brown sugar mixed into the filling can create a delightful sweet and salty interplay, making each bite intriguing. Perfect for those who enjoy a touch of sweetness in their savory dishes!
If you’re looking for the perfect pairing, these rolls go wonderfully with Honey Butter Skillet Corn or a refreshing side salad. Enjoy experimenting!
Make Ahead Options
These Bacon & Cheese Rolls with Garlic Butter are perfect for meal prep enthusiasts! You can prepare the dough and shape the rolls up to 24 hours in advance; simply follow all the steps until shaping, then cover the rolls tightly and refrigerate. This helps maintain their fluffy texture and flavor. When you’re ready to bake, let them rise at room temperature for about 30 minutes before popping them in the oven. Alternatively, you can also freeze the shaped rolls for up to 3 months. Just ensure to wrap them well to prevent freezer burn; when you’re ready, thaw overnight in the refrigerator and allow to rise before baking. Enjoy the luxury of fresh, homemade rolls on busy weeknights with minimal fuss!
Expert Tips for Bacon & Cheese Rolls
- Yeast Activation: Ensure the milk isn’t too hot; otherwise, it can kill the yeast, resulting in dense rolls instead of fluffy Bacon & Cheese Rolls.
- Dough Resting: Allow the dough to rise in a warm place until doubled; rushing this step will yield tougher rolls, so be patient!
- Flouring Techniques: If the dough sticks while rolling it out, sprinkle with a little flour on your work surface to prevent a sticky situation.
- Quality Ingredients: Opt for high-quality cheese and fresh herbs for the best flavor; it makes a significant difference in your rolls’ taste!
- Baking Time: Keep an eye on the rolls while baking; ovens can vary, and you want the rolls to be golden brown but not overcooked.
What to Serve with Fluffy Bacon & Cheese Rolls with Garlic Butter
Savor the delightful warmth and richness of these rolls alongside delicious complementary dishes that elevate your mealtime experience.
- Creamy Tomato Soup: A classic pairing that balances the savory richness of the rolls with vibrant, tangy flavors. The warmth of the soup makes these rolls even more comforting.
- Garden Salad: Fresh greens tossed in a light vinaigrette add a crisp, refreshing contrast to the fluffy bacon and cheese rolls. The crunch will delight your senses!
- Garlic Roasted Vegetables: Seasoned colorful veggies roasted to perfection provide a deliciously earthy side, complementing the savory notes of the rolls beautifully.
- Honey Mustard Glazed Chicken: This succulent dish brings a sweet and tangy flavor, creating an appealing flavor contrast to the salty richness of the bacon and cheese.
- Stuffed Bell Peppers: A hearty choice that’s filled with grains and veggies, balancing the indulgence of the rolls while adding a burst of colors to your meal.
- Chardonnay or Sparkling Water: Pair your rolls with a glass of chilled Chardonnay for a treat that enhances the flavors, or enjoy sparkling water with lemon for a refreshing sip.
- Chocolate Chip Cookies: Finish off your meal with a warm, gooey cookie that creates a delightful sweet contrast to the savory rolls, perfect for those with a sweet tooth!
- Savory Cheese Platter: Share a variety of cheeses and crackers; a simple yet delightful addition to encourage nibbling while enjoying your rolls.
- Crispy Potato Wedges: Golden and crispy, these wedges can be a fun finger-food option that pairs with the roll’s softness, making it a fun feast for all!
Storage Tips for Bacon & Cheese Rolls
-
Room Temperature: Store any leftover Bacon & Cheese Rolls in an airtight container at room temperature for up to 3 days. To maintain freshness, you can wrap them in a clean kitchen towel before placing them in the container.
-
Fridge: If you need to keep the rolls for a longer time, refrigerate them in an airtight container for up to 5 days. Reheat in the oven at 350°F for about 10 minutes to restore their softness.
-
Freezer: These delightful rolls can be frozen for up to 3 months. Wrap each roll tightly in plastic wrap, then place them in a freezer bag. Thaw overnight in the fridge before reheating.
-
Reheating: For the best flavor experience, reheat frozen rolls in the oven at 350°F for 15-20 minutes, brushing with a bit of garlic butter for extra deliciousness.
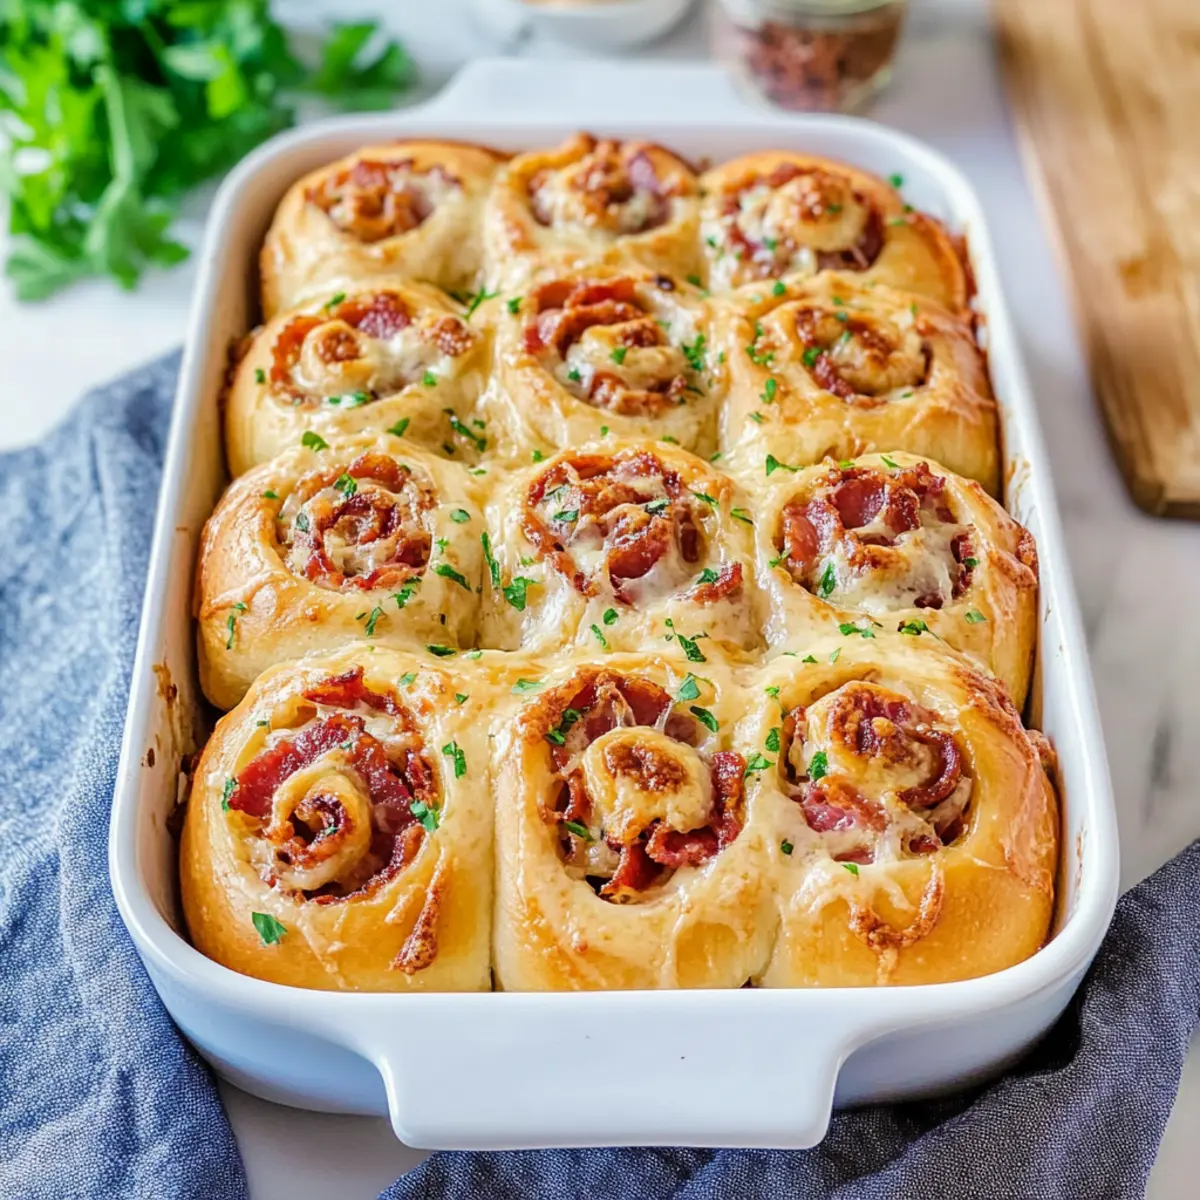
Bacon & Cheese Rolls with Garlic Butter Recipe FAQs
What kind of milk should I use for the rolls?
Absolutely use whole milk for the best moisture; heating it to 120°F-130°F activates the yeast effectively. If you’re after a lighter version, using 2% milk works well too, but the rolls may not be quite as rich.
How can I store the leftover Bacon & Cheese Rolls?
For room temperature storage, place the rolls in an airtight container, and they’ll keep fresh for up to 3 days. If you’d like them to last longer, refrigerate them for up to 5 days; just remember to reheat them in the oven at 350°F for about 10 minutes to regain their soft texture.
Can I freeze the Bacon & Cheese Rolls, and how?
Yes! These rolls freeze beautifully. Wrap each roll tightly in plastic wrap, then place them in a freezer bag. They can be frozen for up to 3 months. When you’re ready to enjoy them, thaw them overnight in the fridge, then reheat them in the oven at 350°F for 15-20 minutes, brushing them with garlic butter if you want an extra touch of flavor.
What can I do if my dough doesn’t rise?
If your rolls aren’t rising, double-check that your yeast is active—proofing it in warm milk with sugar should create a frothy mixture after about 5-10 minutes. If it doesn’t foam, the yeast may be expired. Ensure the milk is warm but not too hot, as temperatures above 130°F can kill the yeast. If you’re in a hurry, sometimes placing the dough in a slightly warmer area (like near a heating oven) can help it rise faster!
Can these rolls be made ahead of time?
Very! You can roll out the dough, let it proof for 30 minutes, then cover it and refrigerate for up to 48 hours. When you’re ready, let it rise again before baking as per the instructions. This is a fantastic way to plan for a gathering without last-minute stress!
Are these Bacon & Cheese Rolls safe for pets?
While these rolls are a delightful treat for us humans, the ingredients may not be safe for pets. The garlic in the garlic butter can be harmful to dogs and cats. It’s best to keep these rolls out of reach of your furry friends.
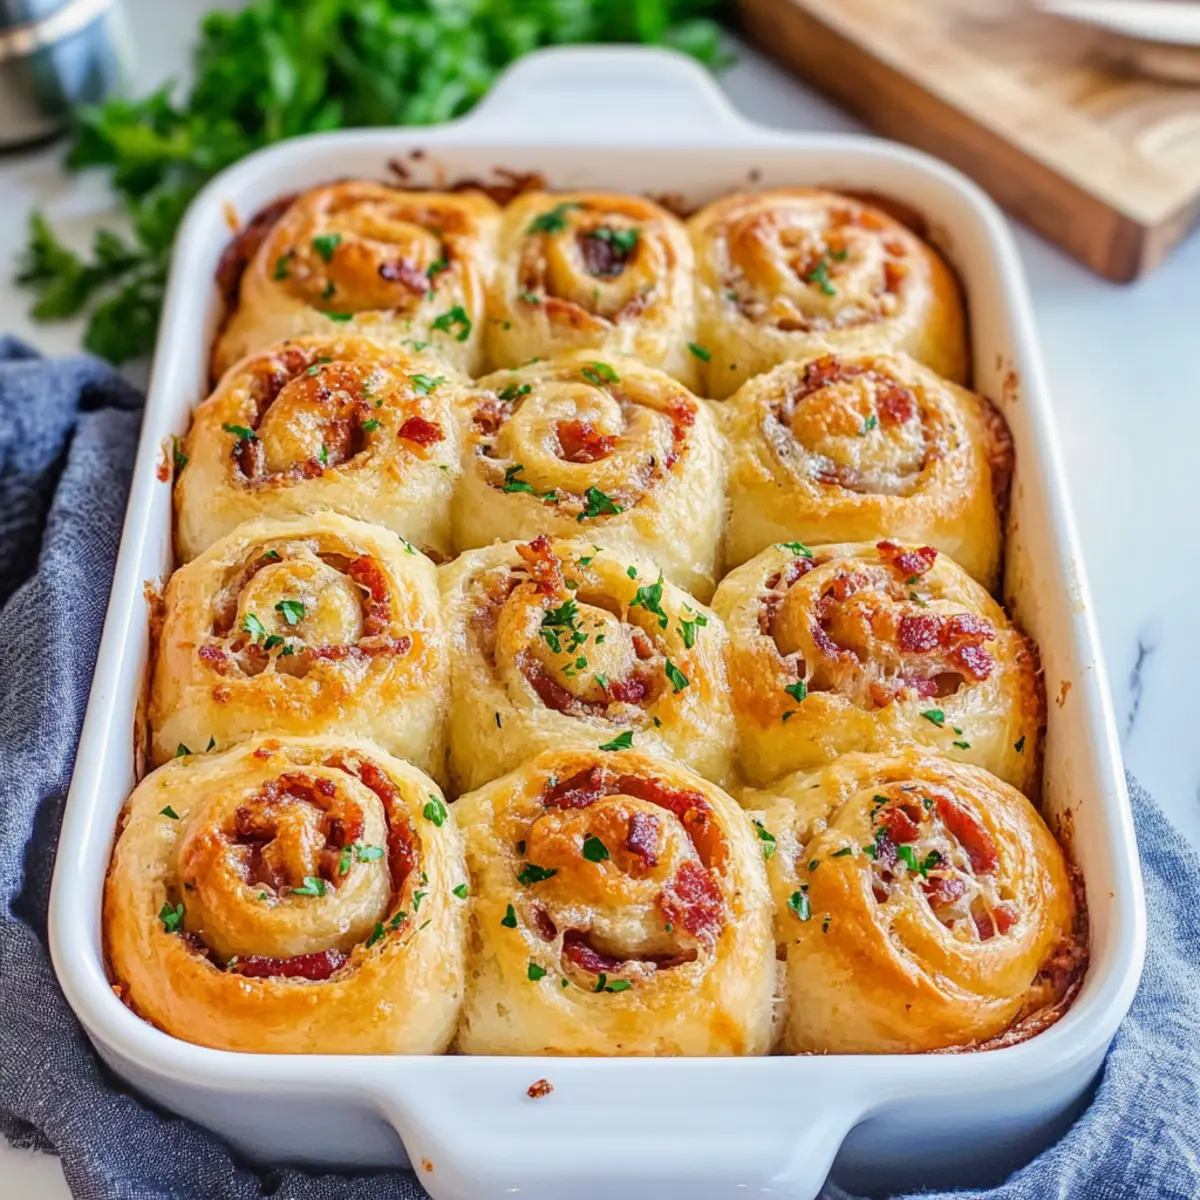
Irresistible Bacon & Cheese Rolls with Garlic Butter Bliss
Ingredients
Equipment
Method
- Heat whole milk in a saucepan until it reaches 120°F-130°F. Pour the warm milk into a mixing bowl and add the dry active yeast and sugar, stirring gently. Let it sit for about 5-10 minutes until frothy.
- Whisk in the melted butter, eggs, and sea salt, then gradually add the all-purpose flour until a dough forms.
- Knead the dough on a floured surface for about 5-7 minutes until smooth and elastic.
- Lightly oil a large bowl and place the kneaded dough inside, turning to coat. Cover and let it rise in a warm place for about 1 hour, or until doubled in size.
- Dice smoked bacon in a frying pan over medium heat. Sauté until crispy, about 6-8 minutes. Use a slotted spoon to transfer the cooked bacon to a paper towel-lined plate.
- In a mixing bowl, combine the melted seasoned butter with the cooked bacon, grated cheddar, and Parmesan cheese. Add in fresh herbs for flavor.
- Once the dough has risen, punch it down gently. Roll the dough into a square, spread the filling evenly, and roll it tightly into a log.
- Cut the log into 12 equal pieces and place them in a greased baking pan, cut side up. Let the rolls rise again for 30-45 minutes.
- Preheat your oven to 350°F. Bake the rolls for 35-40 minutes or until golden brown.
- Combine melted butter and minced garlic. Brush this mixture generously over the hot rolls as soon as they come out of the oven.
Leave a Reply