
As I stood in my kitchen, the tantalizing aroma of sizzling bacon whisked me back to summer barbecues, where every bite of a juicy cheeseburger was pure bliss. Today, I’m excited to share my take on that classic with a twist: these Bacon Cheeseburger Bombs. Trust me, they’re the perfect solution for anyone yearning for homemade comfort food that can turn a regular weeknight into something special. Not only are they quick to prep, making them ideal for busy evenings, but they also offer endless customization options to suit your cravings—whether you’re a cheese lover or a veggie fan. So, are you ready to indulge in a bite-sized explosion of flavor? Let’s dive into this scrumptious recipe together!
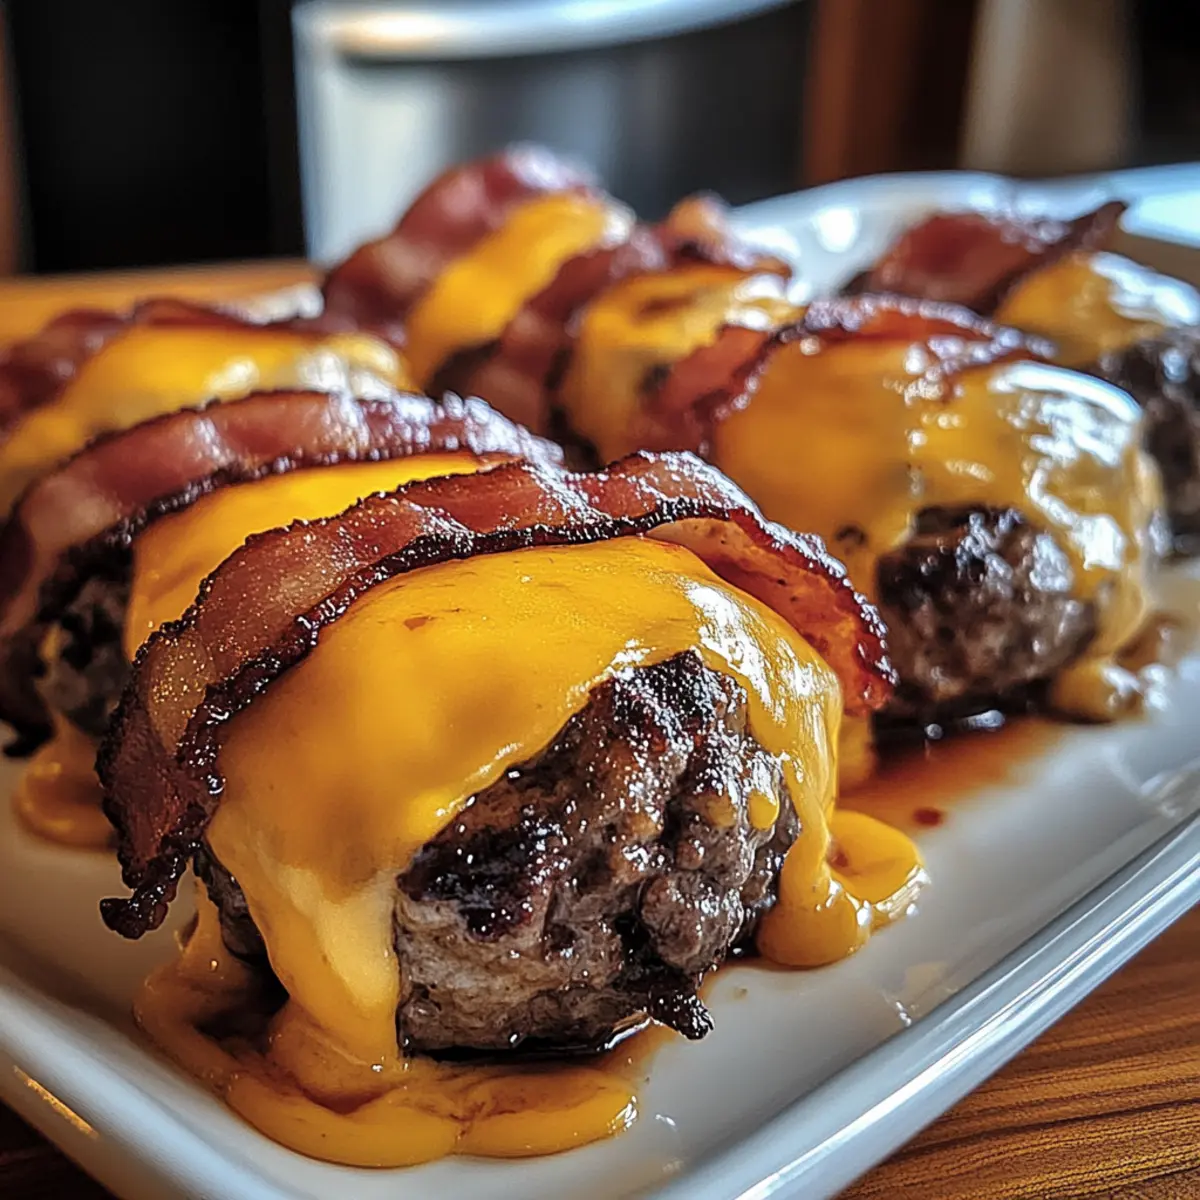
Why Are Bacon Cheeseburger Bombs Irresistible?
Savory Satisfaction: Each bite offers a delectable combination of crispy bacon and juicy beef, creating a flavor-packed mouthful that’s hard to resist.
Customizable Delights: Feel free to switch up the cheeses or add veggies to craft your ideal bomb. Explore variations with Chicken Bacon Ranch for even more fun!
Quick to Prep: Ready in under 30 minutes, these bombs are perfect for busy nights or spontaneous gatherings.
Crowd Pleaser: Serve them at parties, and watch as they disappear within moments—who can say no to these crispy delights?
Nostalgic Twist: Experience the traditional flavors of a cheeseburger, reimagined in a playful, portable form that’s great for any occasion.
Easy Cleanup: With just one baking sheet, you can enjoy scrumptious bites without the mess! Don’t forget to pair with your favorite dipping sauces for an extra layer of flavor!
Bacon Cheeseburger Bombs Ingredients
• Get ready to gather these essentials!
For the Bombs
- Ground Beef – A rich base ingredient providing protein and that classic burger flavor; consider ground turkey for a lighter option.
- Shredded Cheese (Cheddar) – Adds delicious creaminess; try different cheeses like mozzarella or provolone to create your flavor profile.
- Parmesan Cheese – Enhances overall flavor with a salty kick; this can be omitted for a simpler taste.
- Onion (diced) – Brings sweetness and depth; swap for green onions if you prefer a milder flavor.
- Garlic (minced) – Infuses aromatic depth into the mixture; always opt for fresh for the most vibrant taste.
- Egg – Binds the mixture together firmly; use a flax egg for a vegan alternative.
- Breadcrumbs – Contributes texture and structure, with whole wheat being a healthier choice.
- Salt & Pepper – Essential for seasoning; adjust these to your taste preference.
- Bacon slices – Wrap around the bombs for ultimate crispiness and flavor; turkey bacon or prosciutto are great alternatives.
Add your culinary magic to these Bacon Cheeseburger Bombs and bring joy to every bite!
Step‑by‑Step Instructions for Bacon Cheeseburger Bombs
Step 1: Prepare Meat Mixture
In a large mixing bowl, combine the ground beef, shredded cheddar cheese, Parmesan cheese, diced onion, minced garlic, egg, breadcrumbs, salt, and pepper. Use your hands to gently mix the ingredients until just combined, ensuring not to overmix for a tender texture. This flavorful mixture will serve as the heart of your Bacon Cheeseburger Bombs.
Step 2: Shape the Bombs
Divide the meat mixture into 12 equal portions, measuring about the size of a golf ball. Gently roll each portion between your palms to form a smooth ball. This step is crucial to ensure each Bacon Cheeseburger Bomb cooks evenly and maintains its shape while baking.
Step 3: Wrap in Bacon
Take a slice of bacon and carefully wrap it around each meatball, ensuring the entire surface is covered. For added security, use a toothpick to hold the bacon in place if needed. This crispy wrapping adds a delightful crunch and enhances the overall flavor of your Bacon Cheeseburger Bombs.
Step 4: Preheat Oven
Set your oven to 400°F (200°C) and allow it to preheat fully. While the oven is heating, prepare a baking sheet lined with parchment paper to prevent sticking and make cleanup easy. Preheating ensures that your Bacon Cheeseburger Bombs achieve that perfect crispy exterior when baked.
Step 5: Bake
Once the oven is preheated, place the bacon-wrapped bombs on the baking sheet with enough space between them for even cooking. Bake for 15 to 20 minutes, or until the bacon is crispy and golden brown, and the beef is cooked through. Keep an eye on them towards the end to achieve your desired doneness.
Step 6: Serve
Remove the Bacon Cheeseburger Bombs from the oven and let them cool for a minute or two. Serve them warm, accompanied by your choice of toppings like barbecue sauce or jalapeños for dipping. These delightful bites are now ready to be enjoyed, perfect for any gathering or a cozy night in!
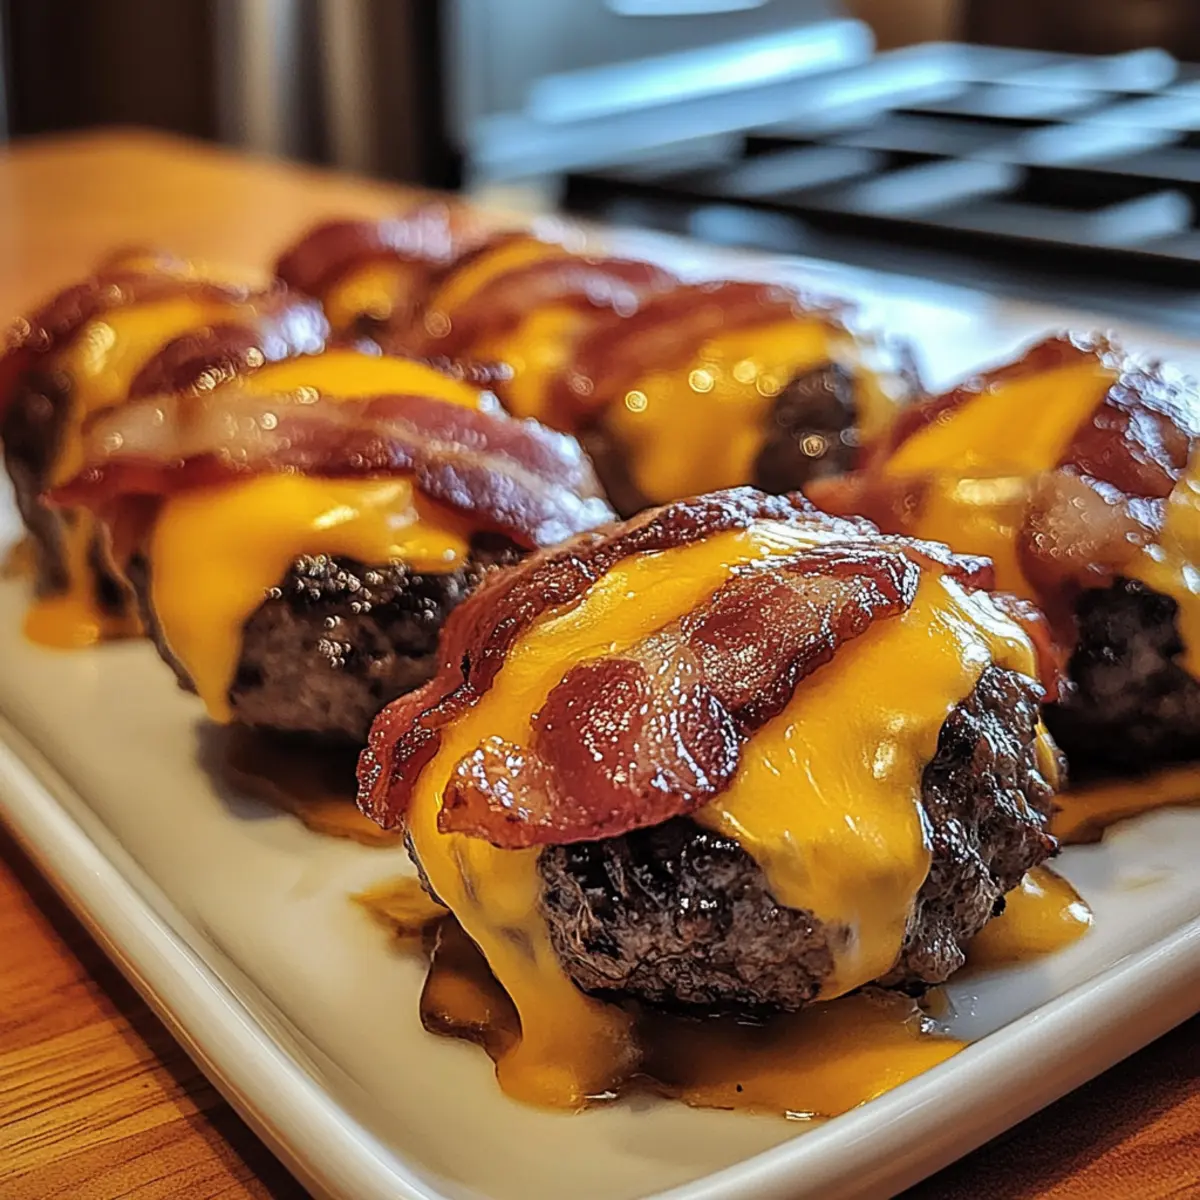
What to Serve with Bacon Cheeseburger Bombs
Elevate your meal experience with delightful accompaniments that perfectly complement these indulgent bites.
-
Crispy French Fries: The iconic pairing with burgers, these golden fries add a satisfying crunch and a hint of saltiness.
-
Fresh Garden Salad: Bright and refreshing, a mix of crisp greens and colorful veggies balances the richness of the bombs beautifully.
-
Loaded Nachos: With layers of cheese, jalapeños, and toppings, they bring a fun vibe to your spread and invite everyone to share.
-
Coleslaw: Creamy and tangy, this side introduces a refreshing contrast that cuts through the savory flavors of the Bacon Cheeseburger Bombs.
-
BBQ Sauce: A sweet and smoky dipping sauce that amps up the flavor profile while enhancing your tasting experience.
-
Pickle Chips: Their tangy crunch adds a delightful contrast to the savory, cheesy richness of the bombs.
-
Sweet Potato Fries: A healthier twist on fries, their slight sweetness makes them a perfect pairing for the savory bombs.
-
Beer or Cider: A cold brew or refreshing cider perfectly matches the fun, casual vibe of enjoying Bacon Cheeseburger Bombs.
-
Chocolate Chip Cookies: End on a sweet note; the warm, gooey cookies offer a comforting finish to your meal.
Make Ahead Options
Bacon Cheeseburger Bombs are fantastic for meal prep, allowing you to satisfy cravings effortlessly! You can prepare the meat mixture and shape the bombs up to 24 hours in advance. Simply mix the ground beef, cheeses, and seasonings, then form them into balls. Store them in the refrigerator in an airtight container to keep them fresh. For even quicker serving, you can also wrap the shaped bombs in bacon and refrigerate them until you’re ready to bake! When it’s time to cook, preheat your oven and bake the Bacon Cheeseburger Bombs as per the instructions, ensuring they’re just as delicious and crispy as if they were made fresh. Enjoy a homemade treat without the last-minute hassle!
Bacon Cheeseburger Bombs Variations
Feel free to unlock your culinary creativity and make these Bacon Cheeseburger Bombs uniquely yours!
- Lean Option: Swap ground beef for ground turkey or chicken for a lighter, healthier choice. This still delivers on flavor but with fewer calories.
- Cheese Swap: Experiment with different cheeses like Monterey Jack or pepper jack for extra creaminess and a spicy kick. The right cheese can elevate your bombs to new heights.
- Veggie Add-ins: Incorporate finely diced bell peppers or mushrooms for added texture and nutrition. This small twist makes a delightful difference!
- Herb Infusion: Add fresh herbs like minced parsley or chives to the meat mixture for a fresh burst of flavor. It brightens the savory notes just beautifully.
- Make it Spicy: Toss in some diced jalapeños or a splash of hot sauce to ignite your taste buds. For heat lovers, this is a game changer!
- Flax Egg Substitute: For a vegan twist, replace the egg with a flax egg, blending 1 tablespoon of ground flaxseed with 2.5 tablespoons of water. This binds your ingredients while keeping it plant-based.
- Bacon Alternatives: Use prosciutto or turkey bacon for a different flavor and texture experience. Perfect for those lowering their saturated fat intake!
- Italian Inspired: Add Italian seasoning or a splash of marinara sauce to the meat for an Italian twist. Serve with a side of marinara for dunking—delicious!
For more inspiration, why not explore pairing these bombs with a side of Beans Potatoes Bacon to create a comforting and hearty meal? Feel free to mix and match based on what you have at home!
Expert Tips for Bacon Cheeseburger Bombs
- Meat Texture: Use a gentle hand when mixing the ground beef mixture. Overmixing can lead to dense bombs rather than tender ones.
- Bacon Crispiness: For extra crispy bacon, partially cook the strips before wrapping them around the bombs. This will ensure crispness even after baking.
- Cheese Choices: Don’t shy away from experimenting with your cheese! Mixing different cheeses can elevate the flavor profile of your Bacon Cheeseburger Bombs.
- Ingredient Variety: Feel free to sneak in some finely chopped veggies, like bell peppers or mushrooms, to add nutrition without compromising flavor.
- Cooking Time: Keep an eye on the bombs while baking, as ovens can vary. Look for crispy bacon and an internal temperature of 160°F for the beef.
- Dipping Sauce: Pair your Bacon Cheeseburger Bombs with a tangy dipping sauce for an extra burst of flavor. Consider ranch or spicy aioli for the perfect accompaniment!
How to Store and Freeze Bacon Cheeseburger Bombs
Fridge: Store leftover Bacon Cheeseburger Bombs in an airtight container for up to 3 days. This keeps them fresh and ready for a quick snack.
Freezer: For longer storage, freeze the bombs on a baking sheet until solid, then transfer them to a freezer bag. They’ll stay good for up to 3 months.
Reheating: To enjoy, reheat from frozen or refrigerated in a preheated oven at 350°F (175°C) for about 15-20 minutes or until heated through and crispy.
Tip: If you plan to freeze, consider undercooking them slightly before freezing for the best texture when reheating later.
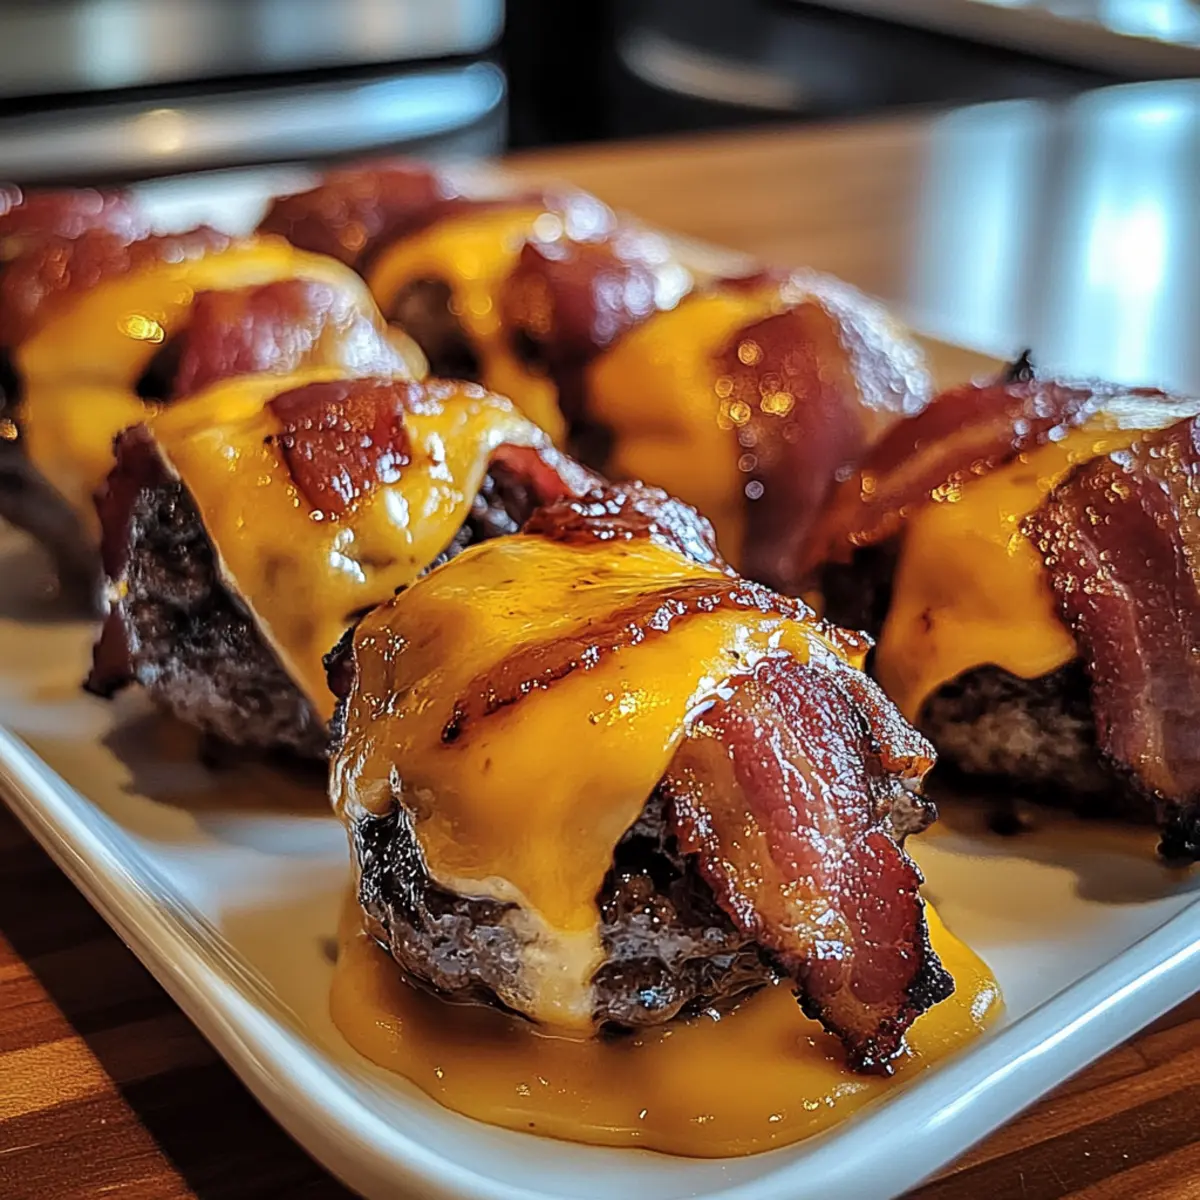
Bacon Cheeseburger Bombs Recipe FAQs
What should I look for when selecting ground beef?
Absolutely! When choosing ground beef, look for lean options with a fat content around 80/20 for the best balance of flavor and juiciness. Avoid any meat that has dark spots or an off smell. Fresh ground beef should have a bright red color and feel firm to the touch.
How long do Bacon Cheeseburger Bombs last in the fridge?
Stored properly in an airtight container, your delicious Bacon Cheeseburger Bombs will keep in the fridge for up to 3 days. To maintain their crispy texture, reheat them in an oven rather than a microwave.
Can I freeze Bacon Cheeseburger Bombs? What’s the best method?
Yes, absolutely! To freeze them, follow these steps: First, arrange the uncooked or cooked bombs on a baking sheet in a single layer and freeze until solid, about 1-2 hours. Then transfer them to a freezer-safe bag or container, removing as much air as possible. They can be frozen for up to 3 months. When you’re ready to enjoy them, bake straight from frozen for about 20-25 minutes at 400°F (200°C) or until heated through and crispy.
How can I make Bacon Cheeseburger Bombs a bit healthier?
Very much! You can opt for lean ground turkey instead of beef, use low-fat cheese, and incorporate whole grain breadcrumbs. Add chopped veggies like bell peppers or spinach to enrich the filling without adding too many calories. Additionally, consider baking them without bacon for a lighter version, or using turkey bacon for a healthier alternative.
What if my Bacon Cheeseburger Bombs are too dry?
If that happens, don’t worry! Next time, ensure you don’t overmix your ingredients, as doing so can lead to a dense texture. Additionally, consider using a higher fat content meat or adding a splash of Worcestershire sauce or a bit more cheese to increase moisture in the mix. Also, if you’re storing them, make sure they’re properly sealed to avoid drying out in the fridge.
Can pets eat Bacon Cheeseburger Bombs?
It’s best to keep these Bacon Cheeseburger Bombs away from pets. The ingredients like garlic and onions can be harmful to dogs and cats. If you want to share, always prepare a pet-friendly version using plain cooked ground meat and veggies without seasoning.
Irresistible Bacon Cheeseburger Bombs: A Flavorful Adventure
Ingredients
Equipment
Method
- In a large mixing bowl, combine the ground beef, shredded cheddar cheese, Parmesan cheese, diced onion, minced garlic, egg, breadcrumbs, salt, and pepper. Mix gently until just combined.
- Divide the meat mixture into 12 equal portions and roll them into smooth balls.
- Wrap a slice of bacon around each meatball and secure if needed with a toothpick.
- Preheat your oven to 400°F (200°C) and prepare a baking sheet lined with parchment paper.
- Place the bacon-wrapped bombs on the baking sheet and bake for 15 to 20 minutes until bacon is crispy and beef is cooked through.
- Cool for a minute before serving warm with your favorite dipping sauces.
Leave a Reply